SimpleSolutionsDiva.com

LauraMorey

Clear The Clutter: Too Many Photos On Display?


I LOVE photos of my family, especially of my children. But I do have a hard time taking some down to make room for more (it is more of an addiction!). I just buy more frames and put them along side all the other photos. Well, this can lead to lots of clutter! So Chris Stone, professional organizer and owner of NeatlyDeisgned.com, comes to my rescue to help me clear the clutter of too many photos!

Here is the before and after:

clutter shlef photo

We take you through the process of how to tackle those photos and really show off what is most important to you! So sit back and enjoy!


Clutter SHelf 2

One Pan Mexican Quinoa – A Meatless Monday Recipe!


My teenage daughter decided to go vegetarian about 6 months ago, because she loves animals (especially pigs), so I have been trying to find more meals and recipes that will give her the healthy nutrients she needs, give her a little protein, and will fill her up. Quinoa seemed to fit the bill! (1 Cup cooked Quinoa = 8 g. protein, plus it is a complete protein -packing in all nine essential amino acids your body needs.)

Meatless Monday QuinoaI found this recipe and have been making it for a few months now (among other recipes I am testing out). It is a tasty, easy and flavorful Meatless Monday recipe!! I hope you might give it a try!

One Pan Mexican Quinoa - A Meatless Monday Recipe!
 
Prep time
Cook time
Total time
 
A simple and flavorful Meatless Monday recipe to try!
Author:
Recipe type: Meatless Monday recipe
Cuisine: Vegetarian
Serves: 4 servings
Ingredients
  • 1 tablespoon olive oil
  • 2 cloves garlic, minced
  • 1 jalapeno, minced (I used canned)
  • 1 cup quinoa
  • 1 cup vegetable broth (I used chicken broth because my daughter is not strictly vegan)
  • 1 (15-ounce) can black beans, drained and rinsed
  • 1 (14.5 oz) can fire-roasted diced tomatoes
  • 1 cup corn kernels (I used frozen)
  • 1 teaspoon chili powder
  • ½ teaspoon cumin
  • Kosher salt and freshly ground black pepper, to taste
  • 1 avocado, halved, seeded, peeled and diced
  • Juice of 1 lime
  • 2 tablespoons chopped fresh cilantro leaves (Optional if you don't like cilantro!)
Instructions
  1. In a large pan, heat olive oil over medium high heat. Add garlic & jalapeno, and cook, stirring frequently for about 1 minute.
  2. Stir in quinoa, vegetable broth, beans, tomatoes, corn, chili powder and cumin; season with salt and pepper, to taste. Bring to a boil; cover, reduce heat and simmer until quinoa is cooked through, about 20 minutes. Stir in avocado, lime juice and cilantro.
  3. Serve immediately.

Recipe adapted from DamnDelicious.net.

Meatless Monday Mexican Quinoa

Keep The Family Entertained & Interacting This Holiday!

SSD Family Fun.jpg

The holidays mean lots of family time! But with people of different ages coming together, how do you keep everyone entertained and interacting? Try a few, fun holiday games to bring the family together to laugh and be silly – something all ages can get into!

Snowball Toss

What You Need:

  • Jumbo marshmallows (or you can use regular marshmallows) in a big bowl
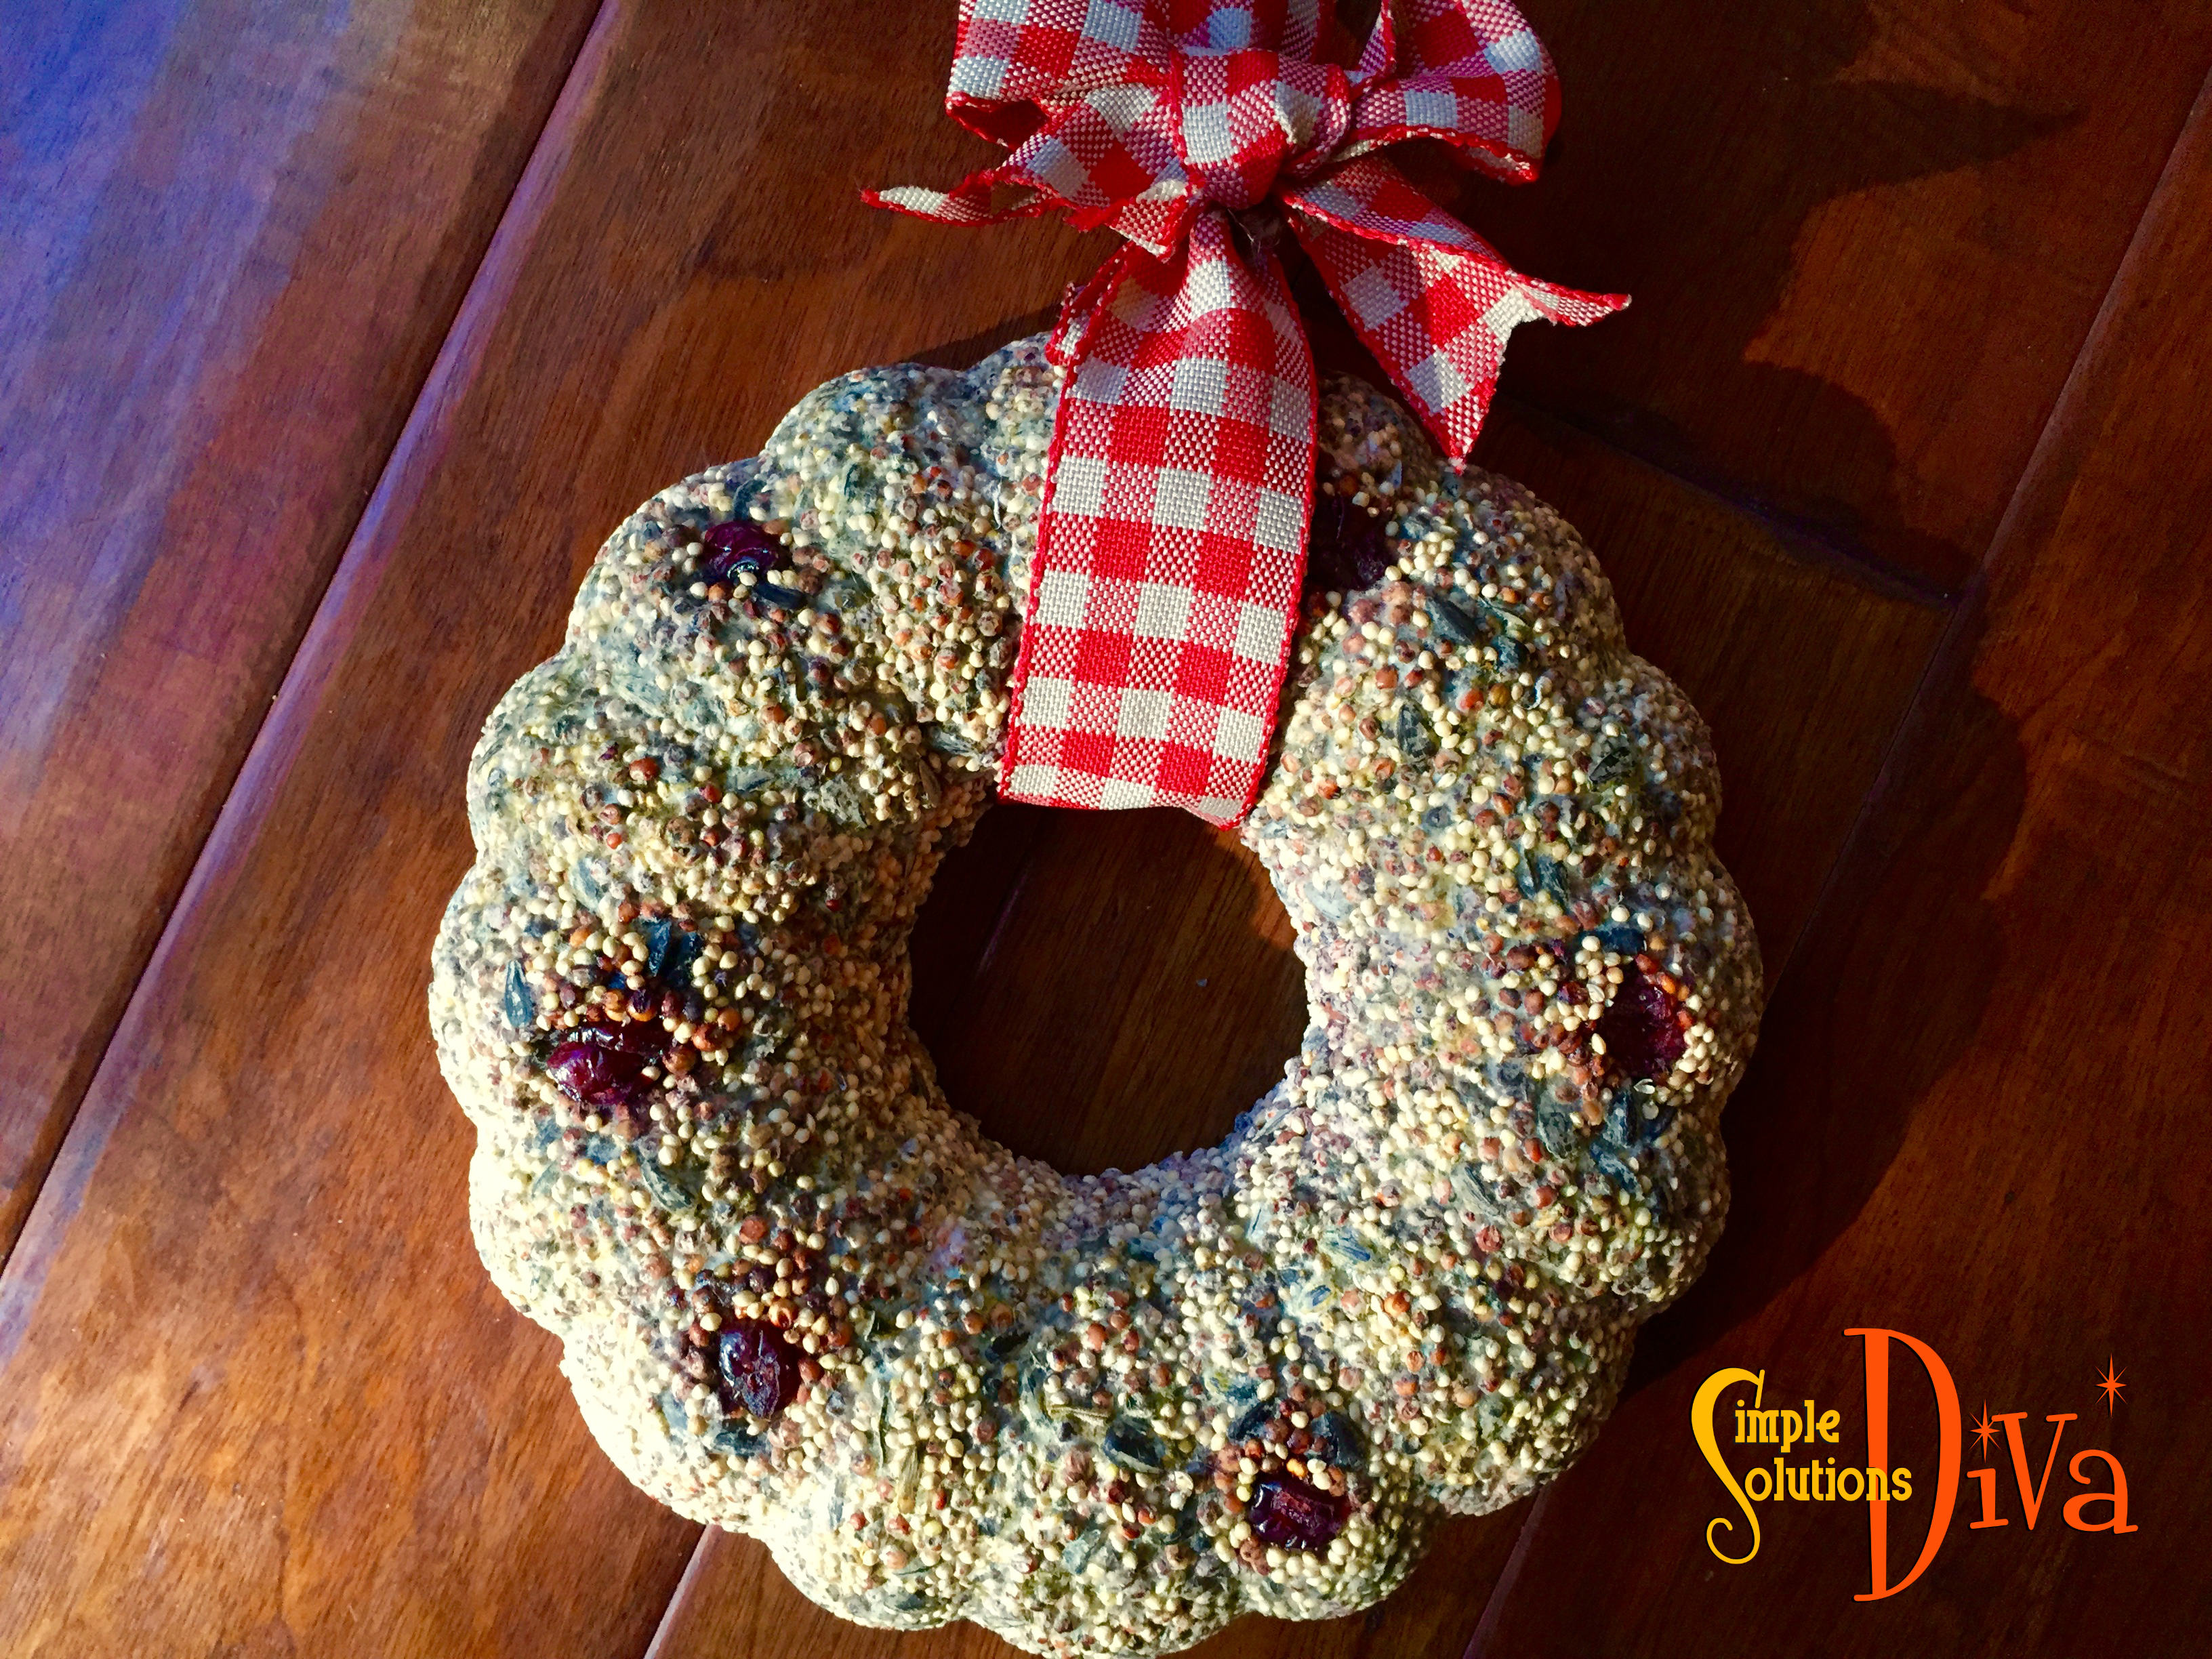
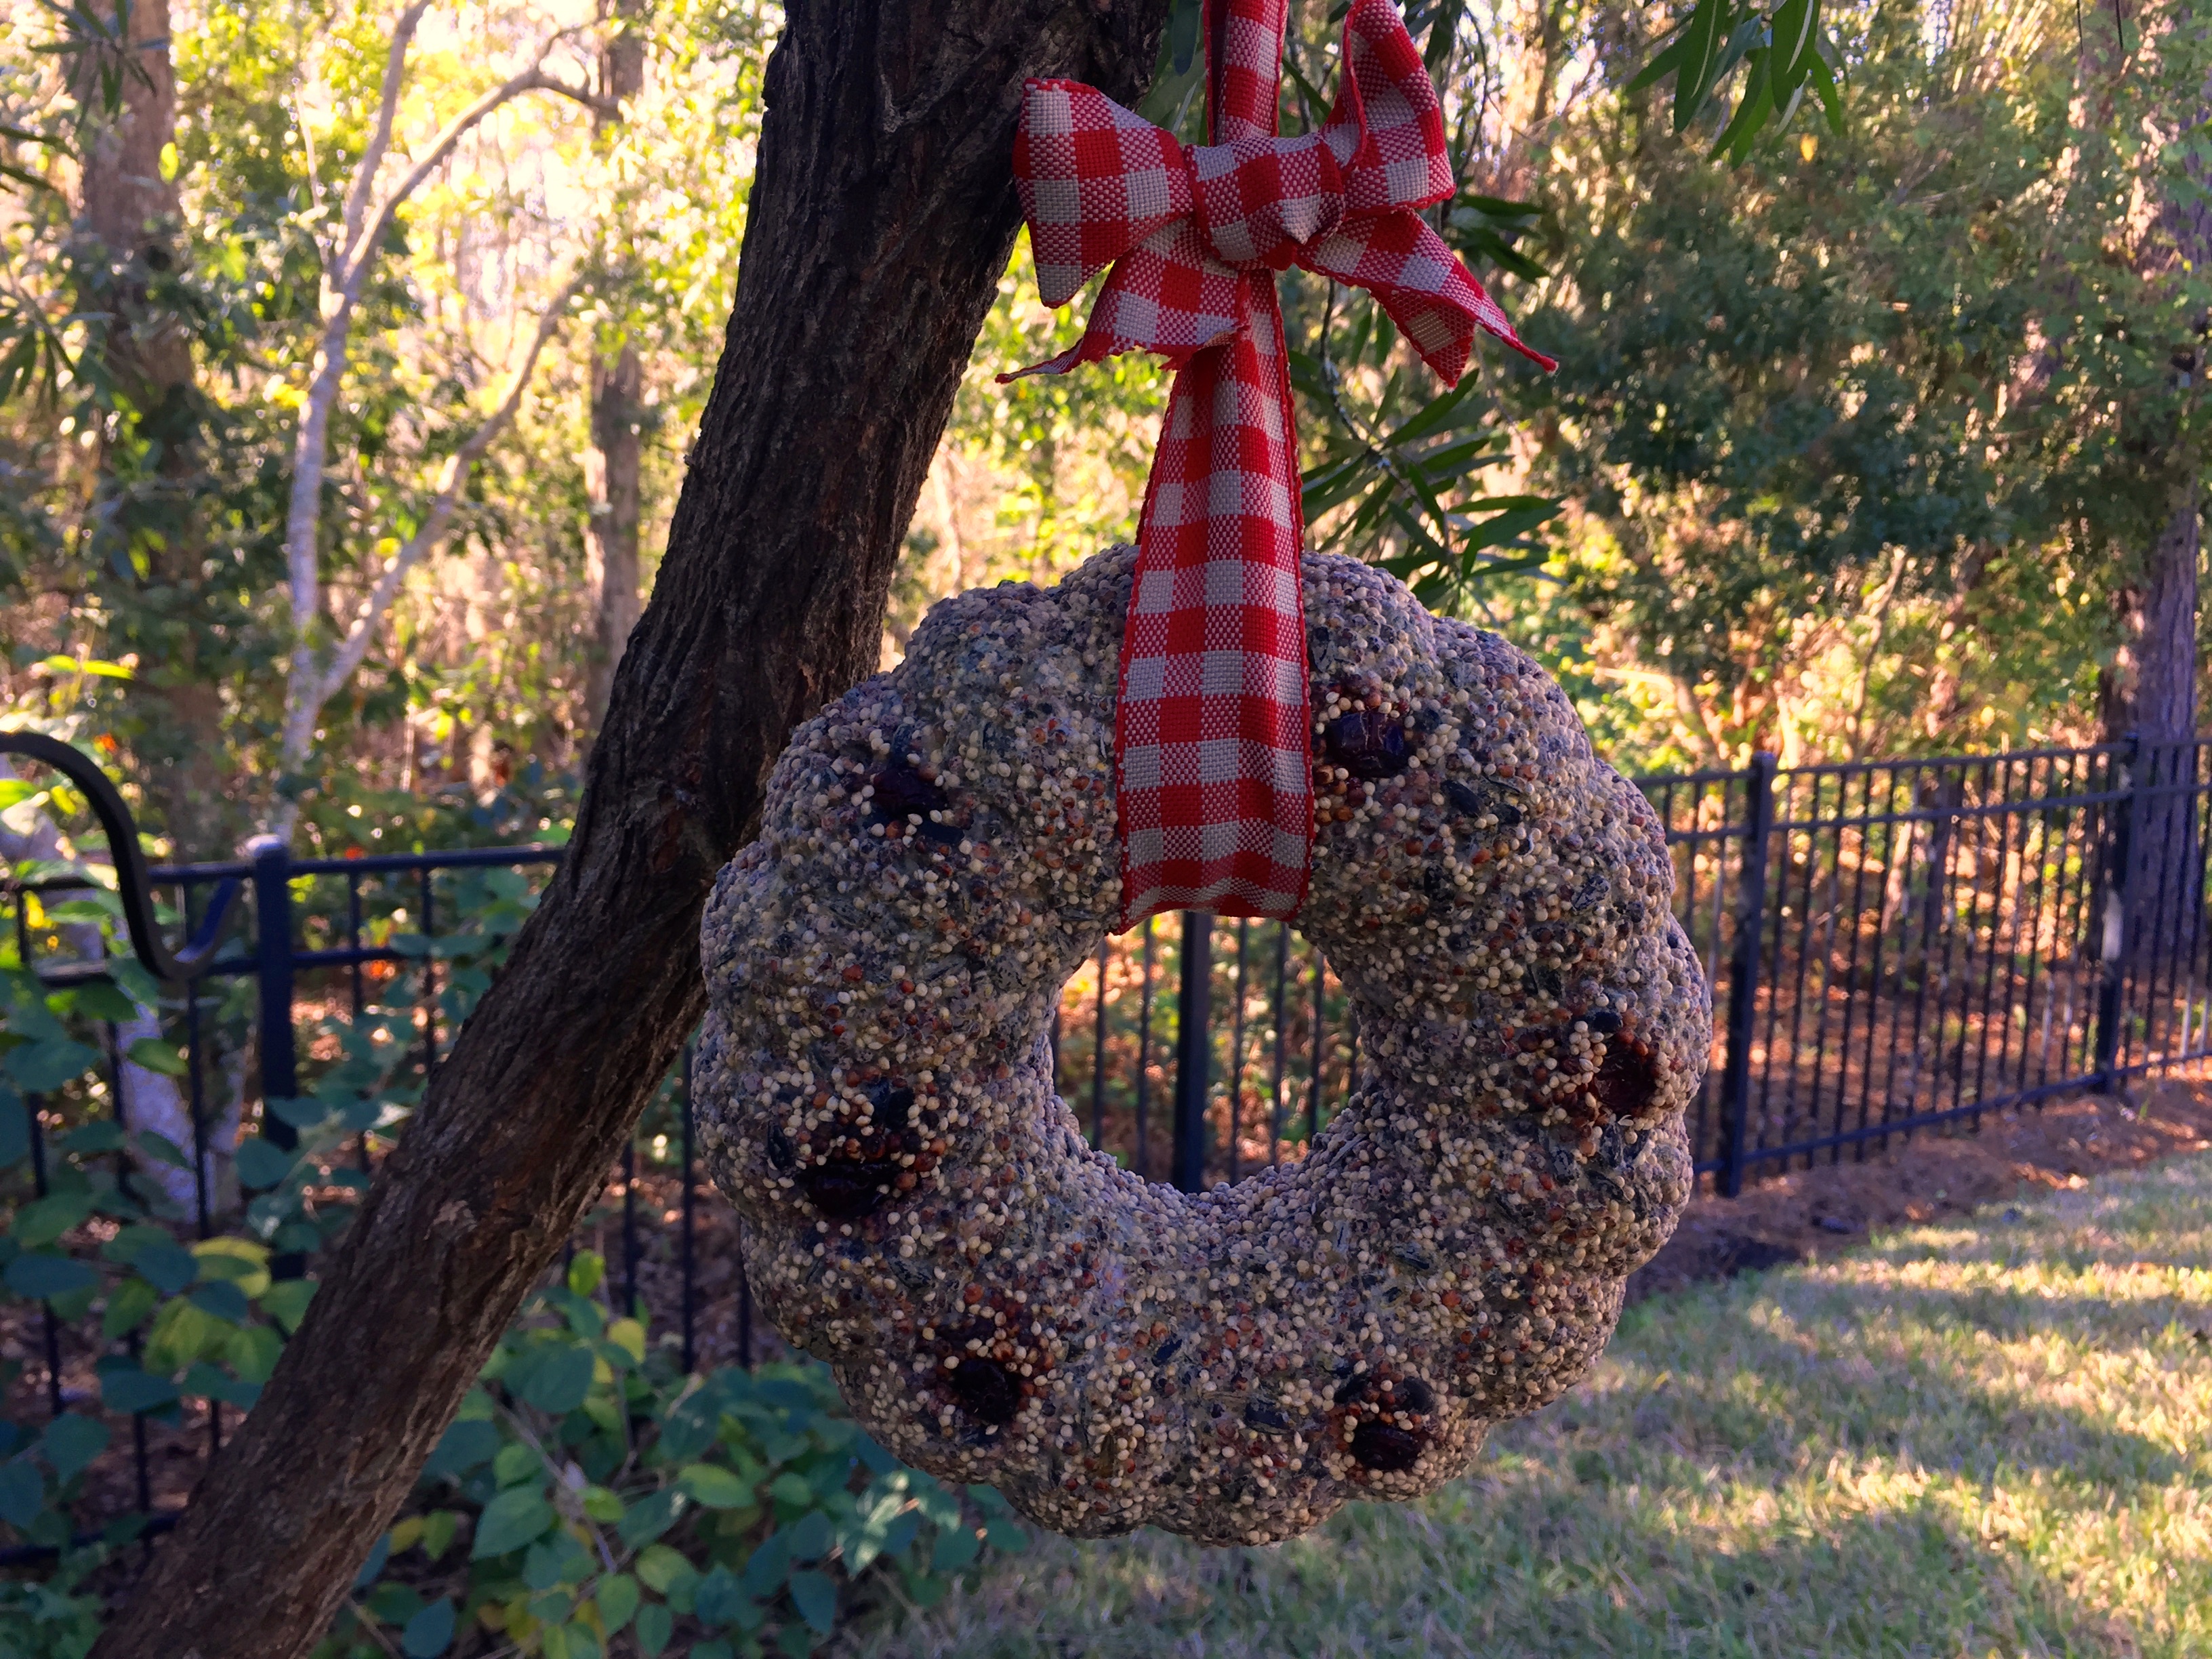
  • Christmas Wreath with wire or ribbon to hang in a doorway.
  • A Bucket
  • A kitchen timer or someone to watch the time!

Directions:

Suspend the wreath from a doorframe about chest high. Place the bucket on floor just behind the wreath. Stand about 6 feet from the wreath. Throw the “Snowball” marshmallows through the wreath and get them to land in the bucket. You have 60 seconds to get 10 in the bucket.


Christmas Charades

Have the family play a classic with a holiday twist!  Here’s a Handy Sheet you can print out and cut up to use for this classic game:

Screen Shot 2015-12-21 at 2.42.25 PM


Christmas Tree Minute To Win It!

What You Need:

  • 36 Red Plastic Cups
  • A Flat Surface For the Game (a large table or cocktail table)

Directions:

Using only one hand, you have one minute to stack all 36 cups to make a Christmas tree pyramid. 
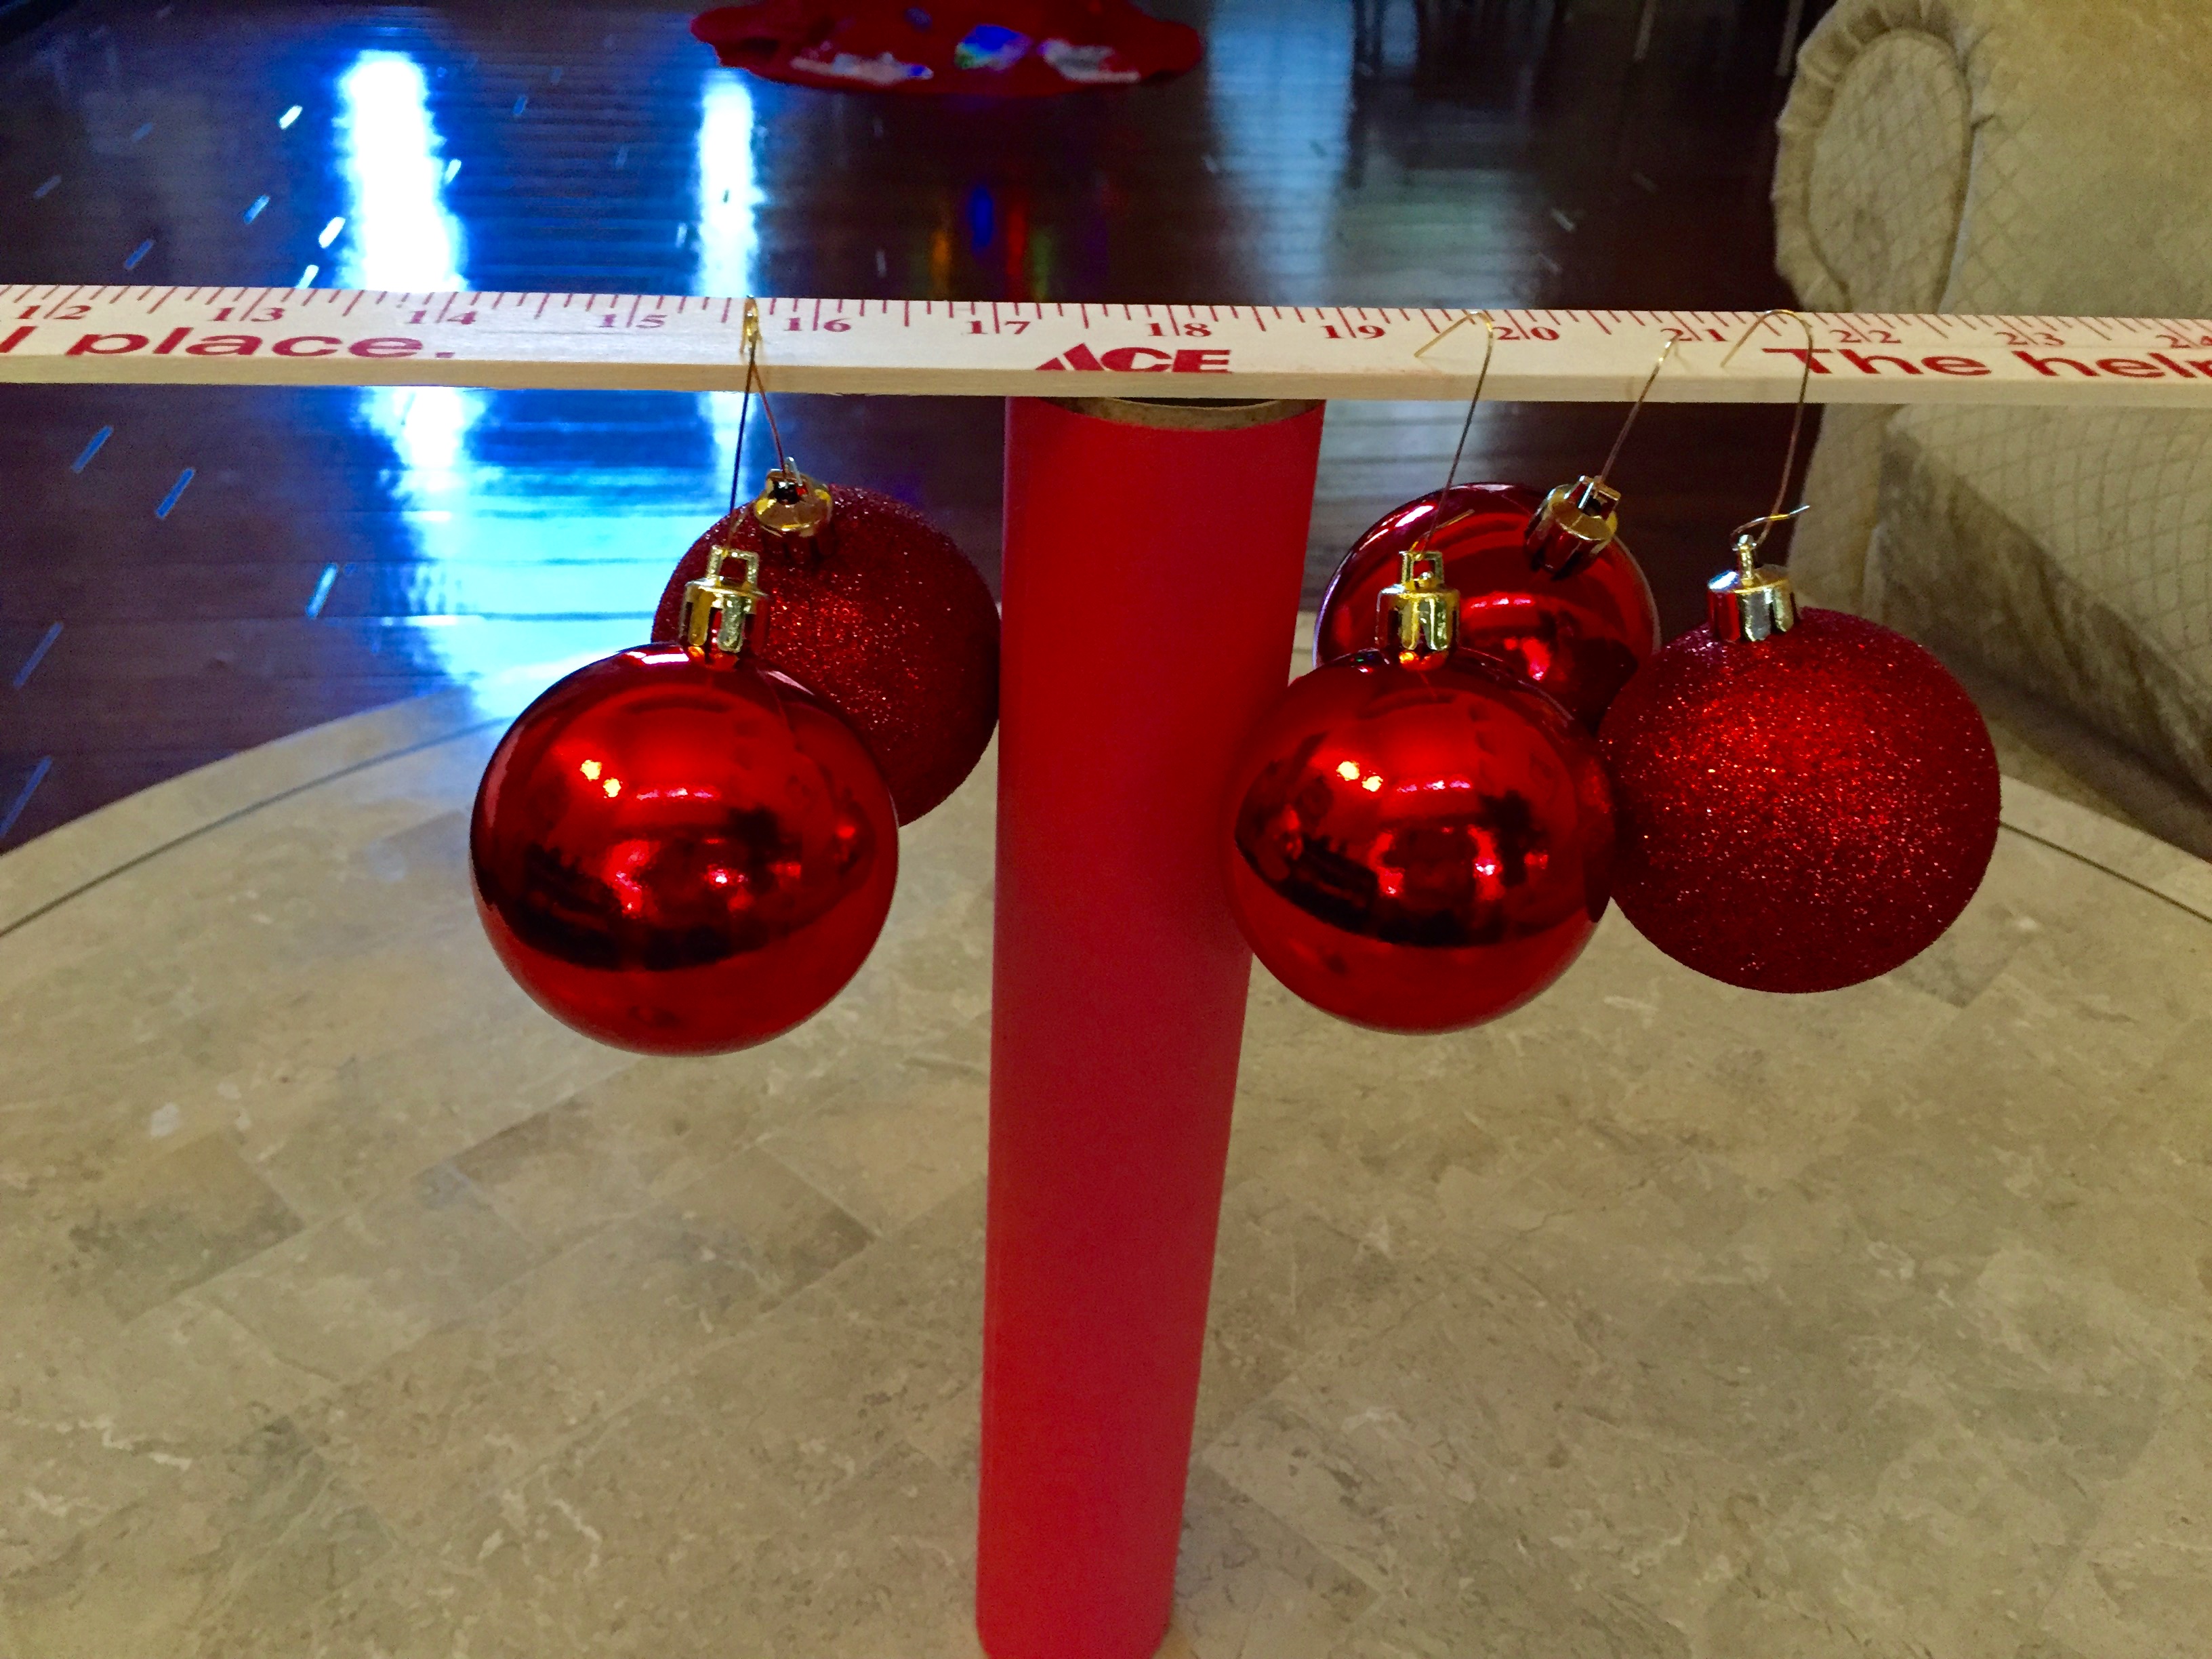
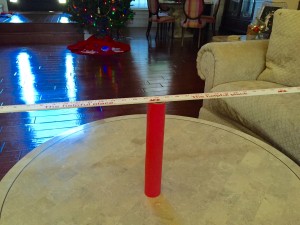
 

Ornament Balance

This is like Jenga with ornaments!

What You Need:

  • Shatterproof ornaments with wire hooks on them.
  • One Wooden Yard Stick
  • Empty Paper Towel Tube – I covered mine with red construction paper, just to be festive!

Directions:

Stand the paper towel tube on one end. Place the yard stick on top of the tube, making sure to center it as best as possible (See photo below!).

Balanace

Participants take turns placing ornament on either side of the yardstick. The game is over when the yardstick becomes unbalanced and it tumbles!

BAlanace2


Off The Top Of My Head 

A funny drawing game where even the family artist will be challenged!

What You Need:

  • Cheap Paper Plates
  • Markers

Directions:

Give every participant a plate and a marker. Each participant places the plate on their head. Next, they follow these directions (Someone needs to lead this game!):

  1. Draw a line for a floor.
  2. Draw a Christmas Tree, adding decorations if you would like.
  3. Draw a star on top of the tree.
  4. Draw a Fireplace with a mantle next to the tree.
  5. Draw Stockings hanging from the mantle on the fireplace.
  6. Draw a present below the tree.

Or you can draw this as a second round of the game:

  1. Draw a circle for the face/head.
  2. Draw two eyes.
  3. Draw antlers on top of the head.
  4. Draw a nose in the center of the face.
  5. Draw a smile.


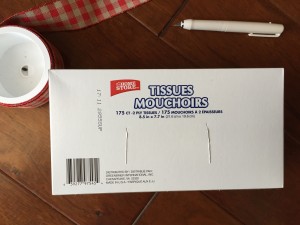
Jingle Junk In The Trunk 

This is sure to get people moving in this challenge!

What You Need:

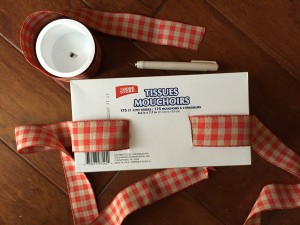
  • Two empty facial tissue boxes (the long, rectangular size are best!) – Cover them with red paper or holiday paper, if you would like!
  • Two belts (or enough ribbon to use as a belt for each box)
  • 16 jingle bells
  • Holiday Music

Directions:

Make two slices on the bottom of the tissue boxes – large enough to thread the belt or ribbon through.

Tissue

Feed the belt or ribbon through the holes.

Tissue 2

Tie or belt the boxes onto each participant so the box is on, or near, their rear end. Place 8 bells into each tissue box and “Cue The Music”! Each participant starts shaking and moving to the holiday music – first one to bounce all the jingle bells out of their box is the winner!


Candied Bacon


Candied Bacon – A decadent, indulgent snack that just happens to pair beautifully with cocktails! Plus it is great as a hostess gift, or crumble a little over a nice salad!

SSD Candied bacon

This smells divine as it is cooking in the oven – Be sure to turn the bacon when it is halfway through cooking. And remember, since ovens do vary, begin checking the bacon starting at about 40 minutes into cooking to make sure it doesn’t burn! The bacon will look dark because it will be covered in that yummy spice and brown sugar mixture!

When the candied bacon comes out, rest it on clean paper towels to pull some of the fat away.  This stores best at room temperature!

Candied Bacon
 
Prep time
Cook time
Total time
 
Candied Bacon is a decadent delight! Serve it as a cocktail snack, or crumble it on top of a salad!
Author:
Recipe type: Snack recipe
Serves: 12 servings
Ingredients
  • 12 slices thick cut bacon
  • ½ cup brown sugar
  • 1½ teaspoons chili powder (adjust all spice amounts to your preferences!)
  • ½ teaspoon cumin
  • A sprinkle or 2 of ground cayenne pepper - optional
Instructions
  1. Preheat oven to 300 degrees.
  2. Cover a cookie sheet with tin foil (so you don't ruin the cookie sheet!). place a baking rack on the cookie sheet and spray generously with non stick cooking spray.
  3. Combine the brown sugar and spices on a dinner plate.
  4. Taking one piece of bacon at a time, press the bacon into the brown sugar mixture, making sure you cover both sides.
  5. Lay the pieces on the baking rack.
  6. Bake for 40-60 minutes, turning once halfway through.
  7. NOTE: Ovens do vary, so be sure to check on the bacon regularly as it cooks!


SSD Candied Bacon 2

DIY Bird Seed Wreath

I enjoy having birds visit my back yard feeders, and I thought this DIY Bird Seed Wreath would make a great holiday gift for anyone who loves birds! And best of all, it is EASY to make!

SSD Bird Seed Wreath 2

Notice in this photo, I added to the bottom of the bundt pan (before I added the seed mixture) dried, unsweetened red cranberries — just to add to a festive look!

The wreath dries in about 24 hours. And then you can hang it on your favorite tree for the birds to enjoy!

IMG_8647

DIY Bird Seed Wreath
 
Prep time
Cook time
Total time
 
Make this simple holiday gift for the Bird Lover in your life!
Author:
Recipe type: Recipe For Birds
Serves: 0
Ingredients
  • ½ cup warm water
  • 1 packet unflavored gelatin
  • 3 Tablespoons light corn syrup
  • ¾ cup flour
  • 4 cups bird seed
  • Dried red fruits, such as dried cherries or cranberries (unsweetened)- optional
  • Holiday Ribbon
  • Bundt Pan
  • Nonstick cooking spray
Instructions
  1. Combine water and gelatin in a large bowl and mix thoroughly. Add flour and corn syrup and whisk until it is a thick paste.
  2. Add in bird seed and mix until all seeds are well coated.
  3. Spray bundt pan with cooking spray.
  4. Add selected dried fruits to the bottom of the pan.
  5. Firmly press the bird seed mixture into the bottom of pan.
  6. Set aside in a cool, dry place for 24 hours, or until dried completely.
  7. Remove from pan and add holiday ribbon. Hang on a tree outside and watch the birds enjoy!


SSD Bird Seedc Wreath


The Way To Store Silver To Reduce Tarnish


I live in Florida and was so surprised at how quickly my silver tarnished! Trust me, I am not one who likes to do much silver cleaning (Click HERE to see my tip to clean large amounts of silver without a lot of elbow grease!). At the suggestion of one of my readers, I decided to seek out a solution to the problem! So today’s Simple Holiday Survival Tip focuses on how to store your silver to prevent, or at least reduce, tarnishing!

A little prevention can go a long way!

SSD Tarnish

Apple Pie Sangria

This is a perfect cocktail to serve at Thanksgiving or any Fall event! This makes a large batch – you can cut the recipe in half and have a nice amount for 6-8 people.

SSD Apple Pie Sangria 5

Apple Pie Sangria
 
Prep time
Total time
 
A sweet sangria perfect for Fall events like Thanksgiving! Make the day ahead so all the flavors blend together.
Author:
Recipe type: Cocktail - Large Batch
Cuisine: Cocktails
Serves: 12-16
Ingredients
  • 2 bottle sweet wine, like resiling or muscato
  • 5 cups fresh apple cider
  • 2 cups ginger ale
  • 2 cups caramel flavored vodka
  • 3 honey crisp apple, cored & chopped
  • 3 pears, cored & chopped
  • 2 cinnamon sticks
Instructions
  1. In a large serving container, add the pears and apples. Add the remaining ingredients, except for the cinnamon sticks. Stir well and cover. Refrigerate overnight (or at least 6 hours).
  2. About 4 hours before serving, add the cinnamon sticks.
  3. Optional: Remove a cup or two of the apples and pears and place in bowl to add to glasses. (Keep in mind, the fruit is now soaked in alcohol, so don't give to kids or pets!)
  4. Serve over ice!


SSD Apple Pie Sangria 4SSD Apple Pie Sangria 1

Hot Fudge Pudding Cake


This recipe is a taste of my childhood. I used to make this with my mother when I was a little girl and I thought it was magic! Cake on the top; Pudding on the bottom!

I’ve made a few changes to the recipe (including a name change to reflect what my kids call it), but I still cherish the handwritten recipe from 50 years ago.


SSD hot fudge pudding cake 2


Hot Fudge Pudding Cake
 
Prep time
Cook time
Total time
 
This is a delight for chocolate lovers - rich chocolate cake on top, with chocolate pudding on the bottom!
Author:
Recipe type: Dessert
Serves: 8 servings
Ingredients
  • 1¼ cups granulated sugar, divided
  • 1 cup all-purpose flour
  • ½ cup Hershey’s Cocoa, divided
  • 2 teaspoons baking powder
  • ¼ teaspoon salt
  • ½ cup milk
  • ⅓ cup unsalted butter, melted (5⅓ tablespoons butter)
  • 1½ teaspoons vanilla extract
  • ½ cup packed brown sugar
  • 1¼ cups hot water
  • Vanilla Bean ice Cream for Serving, if desired
Instructions
  1. Preheat oven to 350 degrees. Heat a pot of water on the stove to very hot (just under a simmer).
  2. In a large bowl, combine ¾ cup of the granulated sugar, flour, ¼ cup of the cocoa, baking powder and salt. Stir in milk, melted butter and vanilla and mix until smooth.
  3. Pour the batter into an lightly greased 2-quart ceramic dish (or you can use a 9-inch square baking pan). Spread batter evenly.
  4. In a small bowl, stir together the remaining ½ cup granulated sugar, brown sugar, remaining ¼ cup cocoa and mix well. Sprinkle this mixture evenly over the batter in your dish or pan. Pour the hot water over the top – but do not stir!
  5. Bake 35-40 minutes if using a glass dish (or 30-35 minutes if using a metal pan). Remove from the oven and allow it to stand for 15 minutes.
  6. After 15 minutes, spoon the cake into individual serving bowls – making sure to spoon the fudgy sauce from the bottom of the pan over the top of the cake. Add a scoop of vanilla ice cream if desired and serve immediately.


SSD Hot Fudge Pudding Cake

1 5 6 7 8 9 42

© 2015 SIMPLESOLUTIONSDIVA.COM Designed by The Web Design Chic | ADMIN LOGIN