SimpleSolutionsDiva.com

Simple Holiday Survival

Make A “No Sew” Scarf

I’ve always fancied myself a seamstress. . .

As a kid, I used to make costumes for my cats, making them get married or go to a ball. I’d spend hours on costumes, and quite a bit of time trying to get them on the cats! Once done, I’d sit back and admire my work, as I applied Bandaids to my face and neck.

But I never really LEARNED to sew. Yes, I could sew on a button (Thanks Grandma!), but I never really learned on a sewing machine. I envied people who could! So over the years, as I tried to create Halloween costumes for myself and eventually my kids, I found I became very adept at using a hot glue gun to seal seams!

Well, with THIS project, you don’t need ANY hot glue, sewing machines, or even needle and thread! Just a yard of fleece fabric, some masking tape and sharp fabric scissors! (MY kind of sewing project!) And look how nice they are:

img_2967


This makes a great, last minute gift idea, or even better, it could become a community service project for middle school or high school students! Make a few scarves in one day and donate them to a homeless shelter!

A Few Tips:

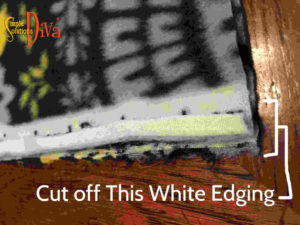
  1. Fold the yard of fleece in half, line the edges up and cut off the white edging where the print stops.
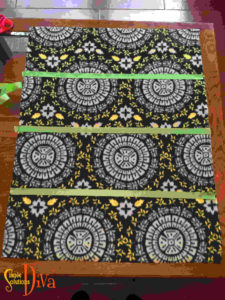
  2. ssd-scarf-3Use masking tape to mark off the four scarves and to provide a straight line to cut along. Scarves should be 8-10 inches wide – on this project I marked off 9.5 inches.

ssd-scarf-4


ssd-scarf-1


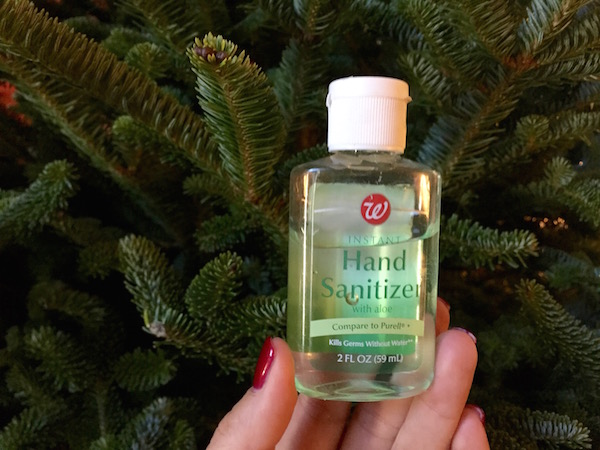
Remove Tree Sap From Hands In Seconds


I love the timeless, holiday tradition of bringing home the fresh Christmas tree! But want to guess what the most annoying, holiday tradition is? Trying to get the tree sap off your hands!

I have to thank James, the guy at the tree lot where we bought our Christmas trees for this fantastic tip — and it really does work in seconds!

tree-sap
Who knew something so simple would work so well?


ssd-tree-sap

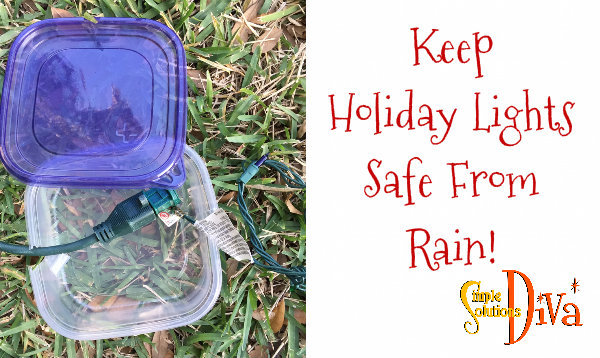
Keep Holiday Lights Safe From Rain!

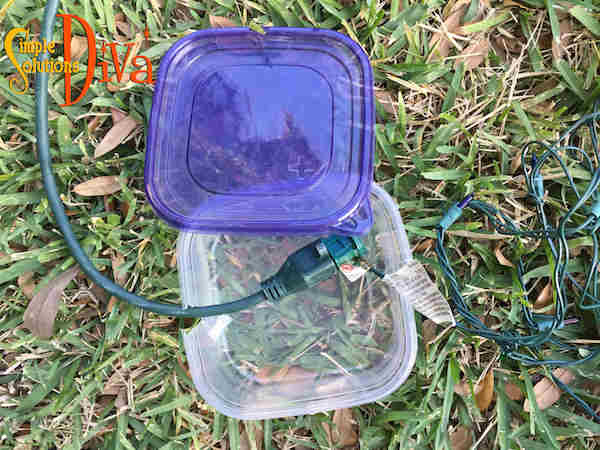
ssd-holiday-lightsDuring the holidays, have you ever come home one rainy night to see your holiday lights are out? When water gets into those electrical connections (like where extension cords connect to holiday lights), it can create a short which trips the circuit breaker – causing all your outdoor lights associated with that breaker to go out!

This Simple Holiday Survival tip is sure to help prevent that from happening!

SimpleSolutionsDiva.com's tip to keep outdoor lights from blowing out!
SimpleSolutionsDiva.com’s tip to keep outdoor lights from blowing out!

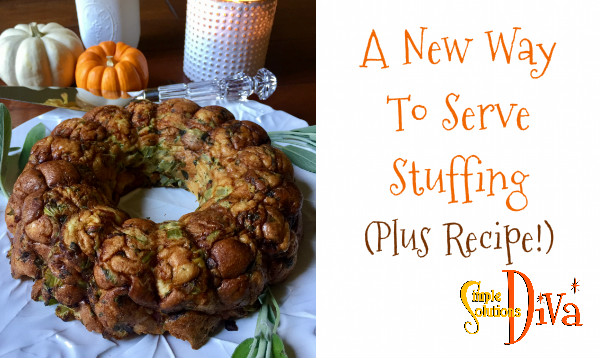
A New Way To Serve Stuffing

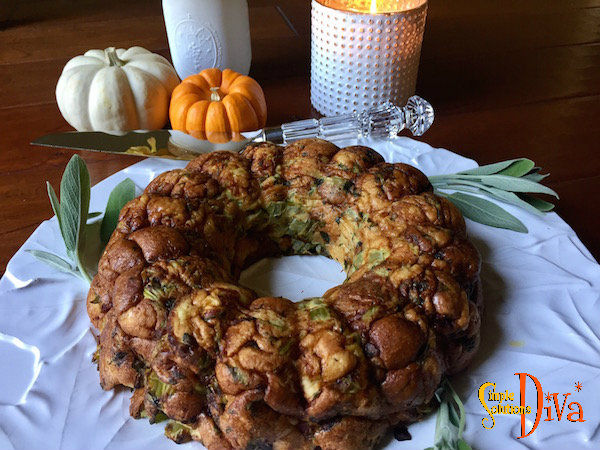
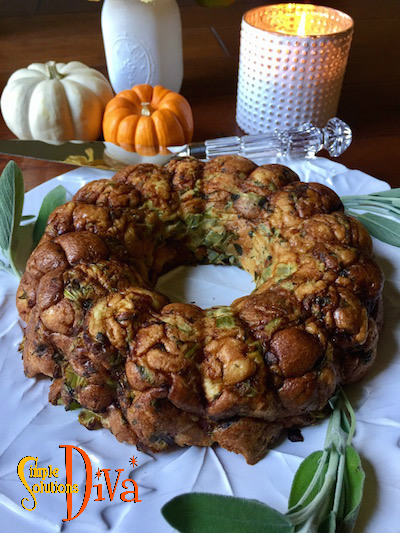
Tired of serving stuffing out of a bird’s behind? Try presenting your stuffing in a creative way (plus, you don’t have to worry about undercooking and getting salmonella!).

Make your stuffing in a bundt pan! It is not only healthy, but it presents the stuffing in a unique form! The key is to add eggs to your favorite recipe so it will hold together when you take it out of the bundt pan. Look how pretty it looks!

stuffing4


You can use your own, favorite recipe, just be sure to add 3-4 eggs to your mixture (mix it in with the chicken broth you use in your recipe). Bake at 400 degrees for 30-40 minutes, until it is lightly browned.

If you are in need of a recipe, try this one:

Bacon (or Sausage) Stuffing
 
Prep time
Cook time
Total time
 
Cook this recipe separately from your turkey and be sure to cook it in a bundt pan for a nice presentation!
Author:
Recipe type: Side Dish
Cuisine: American
Serves: 10 servings
Ingredients
  • 4 slices thick cut bacon (or ½ cup ground pork sausage), cooked, drained and copped into small pieces (keep the fat in the pan)
  • 1 Tablespoon chopped, fresh sage
  • ½ cup fresh chopped parsley
  • ½ teaspoon (or more) minced garlic
  • Salt & Pepper to taste
  • 1 loaf of french bread, cubed and dried in a 200 degree oven until lightly toasted - about 20 minutes.
  • 2-3 cups chicken broth
  • 3-4 eggs, beaten
Instructions
  1. Heat the oven to 400 degrees.
  2. Using the pan with the bacon (or pork sausage) grease, sauté the sage, garlic, parsley together for 30-40 seconds. Add the chopped bacon (or sausage) and stir.
  3. In a small bowl, mix the beaten eggs into the chicken broth.
  4. In a large bowl, place the bread cubes, the herb mixture, and mix together.
  5. Slowly add the chicken broth mixture, tossing the bread cubes to coat.
  6. Press mixture into a lightly greased bundt pan.
  7. Bake at 400 degrees for 30-40 minutes.
  8. Allow to rest for 20 minutes.
  9. Invert onto a serving platter.

Have a VERY Happy Holiday!

stuffing5

stuffing3

Sweet Potato Stackers


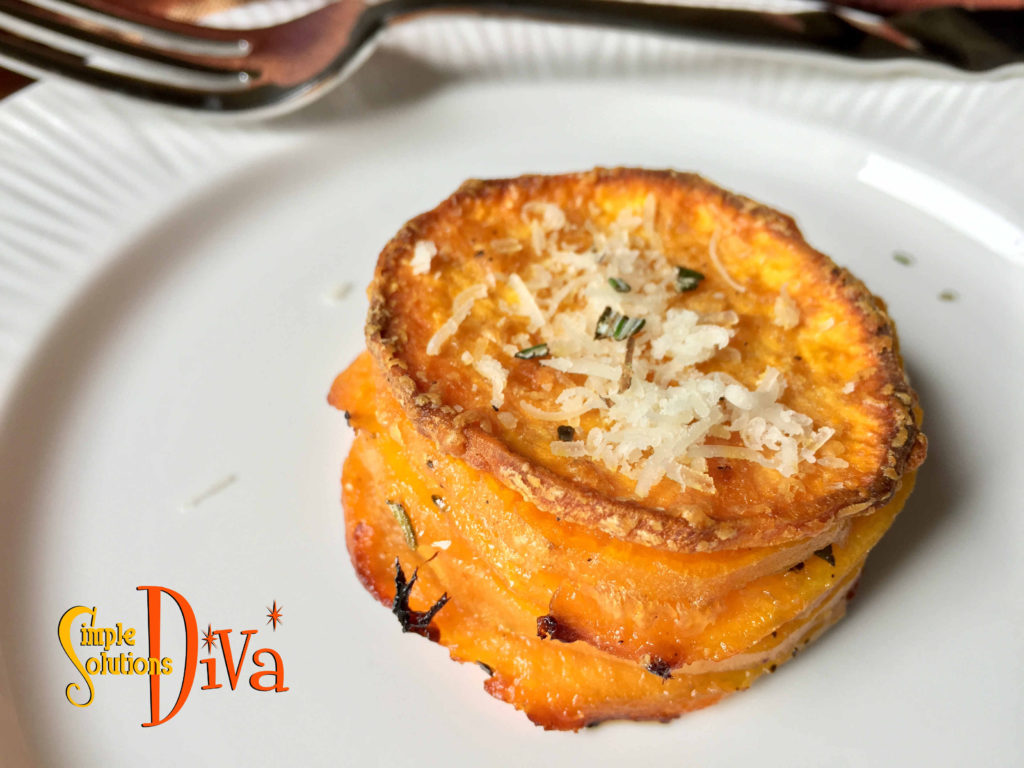
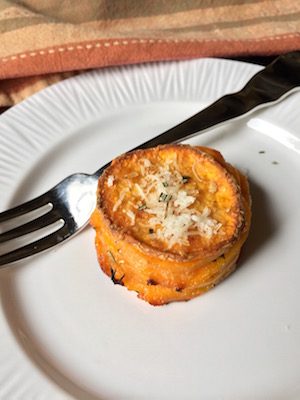
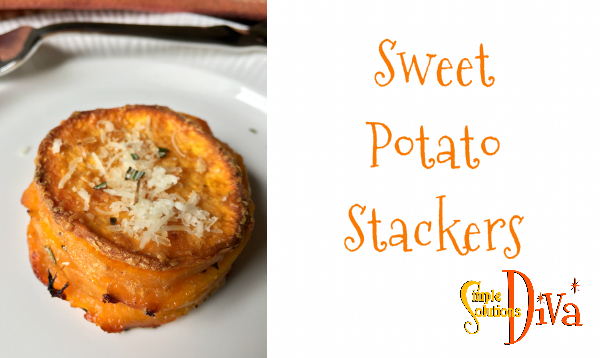
My family LOVES sweet potatoes! I served these and they were a BIG hit, so I believe I will serve them for Thanksgiving this year. Buttery layers of sweet potatoes with rosemary and garlic and fresh parmesan cheese – my mouth is watering just thinking about them!

These are a different way to serve those delectable, spuds of the South! And best part? No mini marshmallows!


ssd-sweet-potato-stackers2


Sweet Potato Stackers
 
Prep time
Cook time
Total time
 
Buttery layers of sweet potatoes, paired with rosemary, garlic and fresh parmesan - these Sweet Potato Stackers are sure to be a hit at the next family gathering!
Author:
Recipe type: Side Dish
Cuisine: American
Serves: 12
Ingredients
  • 4-5 sweet potatoes, washed, peeled and sliced into thin slices.
  • 2 Tablespoons melted butter
  • 2 Tablespoons olive oil
  • 1 teaspoon freshly chopped rosemary (plus another teaspoon for topping at end)
  • ½ teaspoon garlic powder
  • ¼ teaspoon onion powder
  • 2-4 Tablespoons fresh grated parmesan cheese (plus 2 TBS for topping at end)
  • salt & pepper to taste
Instructions
  1. Preheat the oven to 375 degrees.
  2. Combine in a large bowl the melted butter, olive oil, rosemary, garlic powder, onion powder, salt and pepper and whisk until they ingredients are blended.
  3. Add freshly grated parmesan cheese and lightly wish.
  4. Add sliced sweet potatoes to the bowl and mix until all slices are coated in the oil mixture.
  5. In a light greased muffing tin, layer the sweet potatoes until each tin is filled to the top. These will shrink down while they cook.
  6. Cook for 45-55 minutes, or until the potatoes are lightly browned and are tender.
  7. Place on a plate and top with more parmesan cheese and fresh chopped rosemary. Serve immediately.

Sweet Potato Stacker – So Simple & So GOOD!


ssd-sweet-potato-stackers

Keep The Family Entertained & Interacting This Holiday!

SSD Family Fun.jpg

The holidays mean lots of family time! But with people of different ages coming together, how do you keep everyone entertained and interacting? Try a few, fun holiday games to bring the family together to laugh and be silly – something all ages can get into!

Snowball Toss

What You Need:

  • Jumbo marshmallows (or you can use regular marshmallows) in a big bowl
  • Christmas Wreath with wire or ribbon to hang in a doorway.
  • A Bucket
  • A kitchen timer or someone to watch the time!

Directions:

Suspend the wreath from a doorframe about chest high. Place the bucket on floor just behind the wreath. Stand about 6 feet from the wreath. Throw the “Snowball” marshmallows through the wreath and get them to land in the bucket. You have 60 seconds to get 10 in the bucket.


Christmas Charades

Have the family play a classic with a holiday twist!  Here’s a Handy Sheet you can print out and cut up to use for this classic game:

Screen Shot 2015-12-21 at 2.42.25 PM


Christmas Tree Minute To Win It!

What You Need:

  • 36 Red Plastic Cups
  • A Flat Surface For the Game (a large table or cocktail table)

Directions:

Using only one hand, you have one minute to stack all 36 cups to make a Christmas tree pyramid. 


Ornament Balance

This is like Jenga with ornaments!

What You Need:

  • Shatterproof ornaments with wire hooks on them.
  • One Wooden Yard Stick
  • Empty Paper Towel Tube – I covered mine with red construction paper, just to be festive!

Directions:

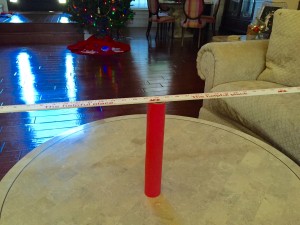
Stand the paper towel tube on one end. Place the yard stick on top of the tube, making sure to center it as best as possible (See photo below!).
Balanace

Participants take turns placing ornament on either side of the yardstick. The game is over when the yardstick becomes unbalanced and it tumbles!

BAlanace2


Off The Top Of My Head 

A funny drawing game where even the family artist will be challenged!

What You Need:

  • Cheap Paper Plates
  • Markers

Directions:

Give every participant a plate and a marker. Each participant places the plate on their head. Next, they follow these directions (Someone needs to lead this game!):

  1. Draw a line for a floor.
  2. Draw a Christmas Tree, adding decorations if you would like.
  3. Draw a star on top of the tree.
  4. Draw a Fireplace with a mantle next to the tree.
  5. Draw Stockings hanging from the mantle on the fireplace.
  6. Draw a present below the tree.

Or you can draw this as a second round of the game:

  1. Draw a circle for the face/head.
  2. Draw two eyes.
  3. Draw antlers on top of the head.
  4. Draw a nose in the center of the face.
  5. Draw a smile.


Jingle Junk In The Trunk 

This is sure to get people moving in this challenge!

What You Need:

  • Two empty facial tissue boxes (the long, rectangular size are best!) – Cover them with red paper or holiday paper, if you would like!
  • Two belts (or enough ribbon to use as a belt for each box)
  • 16 jingle bells
  • Holiday Music

Directions:

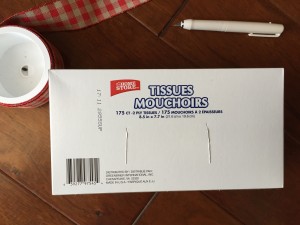
Make two slices on the bottom of the tissue boxes – large enough to thread the belt or ribbon through.
Tissue

Feed the belt or ribbon through the holes.

Tissue 2

Tie or belt the boxes onto each participant so the box is on, or near, their rear end. Place 8 bells into each tissue box and “Cue The Music”! Each participant starts shaking and moving to the holiday music – first one to bounce all the jingle bells out of their box is the winner!
 

Candied Bacon


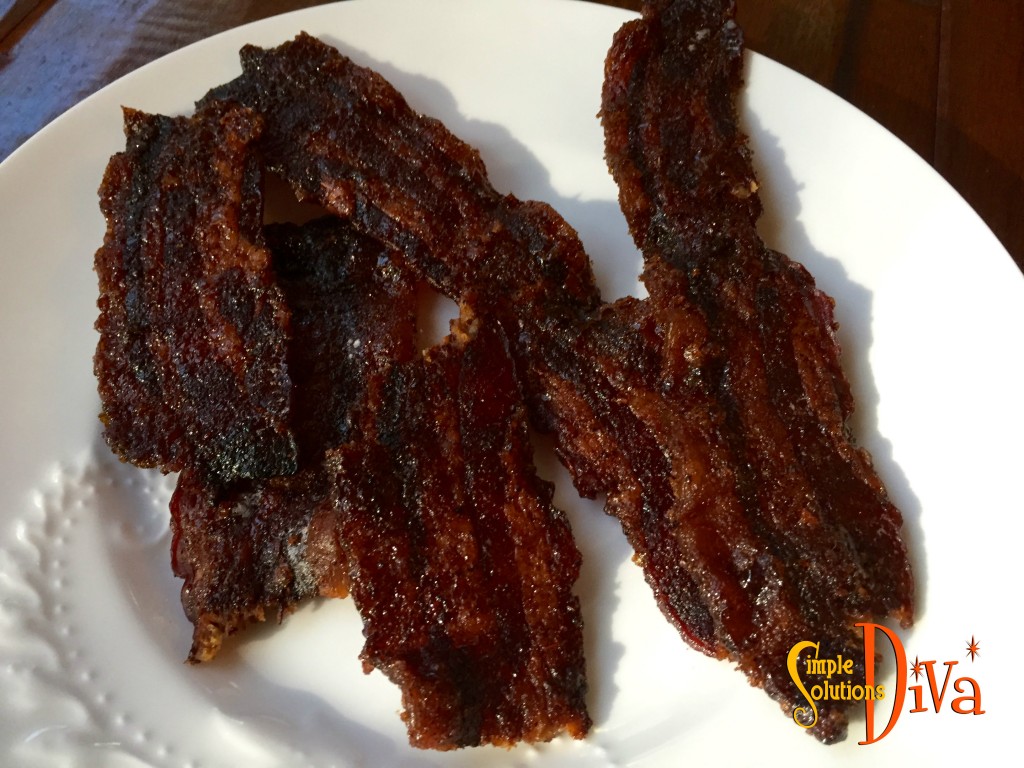
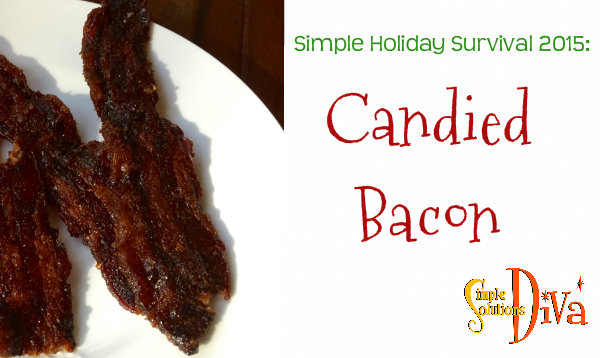
Candied Bacon – A decadent, indulgent snack that just happens to pair beautifully with cocktails! Plus it is great as a hostess gift, or crumble a little over a nice salad!

SSD Candied bacon

This smells divine as it is cooking in the oven – Be sure to turn the bacon when it is halfway through cooking. And remember, since ovens do vary, begin checking the bacon starting at about 40 minutes into cooking to make sure it doesn’t burn! The bacon will look dark because it will be covered in that yummy spice and brown sugar mixture!

When the candied bacon comes out, rest it on clean paper towels to pull some of the fat away.  This stores best at room temperature!

Candied Bacon
 
Prep time
Cook time
Total time
 
Candied Bacon is a decadent delight! Serve it as a cocktail snack, or crumble it on top of a salad!
Author:
Recipe type: Snack recipe
Serves: 12 servings
Ingredients
  • 12 slices thick cut bacon
  • ½ cup brown sugar
  • 1½ teaspoons chili powder (adjust all spice amounts to your preferences!)
  • ½ teaspoon cumin
  • A sprinkle or 2 of ground cayenne pepper - optional
Instructions
  1. Preheat oven to 300 degrees.
  2. Cover a cookie sheet with tin foil (so you don't ruin the cookie sheet!). place a baking rack on the cookie sheet and spray generously with non stick cooking spray.
  3. Combine the brown sugar and spices on a dinner plate.
  4. Taking one piece of bacon at a time, press the bacon into the brown sugar mixture, making sure you cover both sides.
  5. Lay the pieces on the baking rack.
  6. Bake for 40-60 minutes, turning once halfway through.
  7. NOTE: Ovens do vary, so be sure to check on the bacon regularly as it cooks!


SSD Candied Bacon 2

DIY Bird Seed Wreath

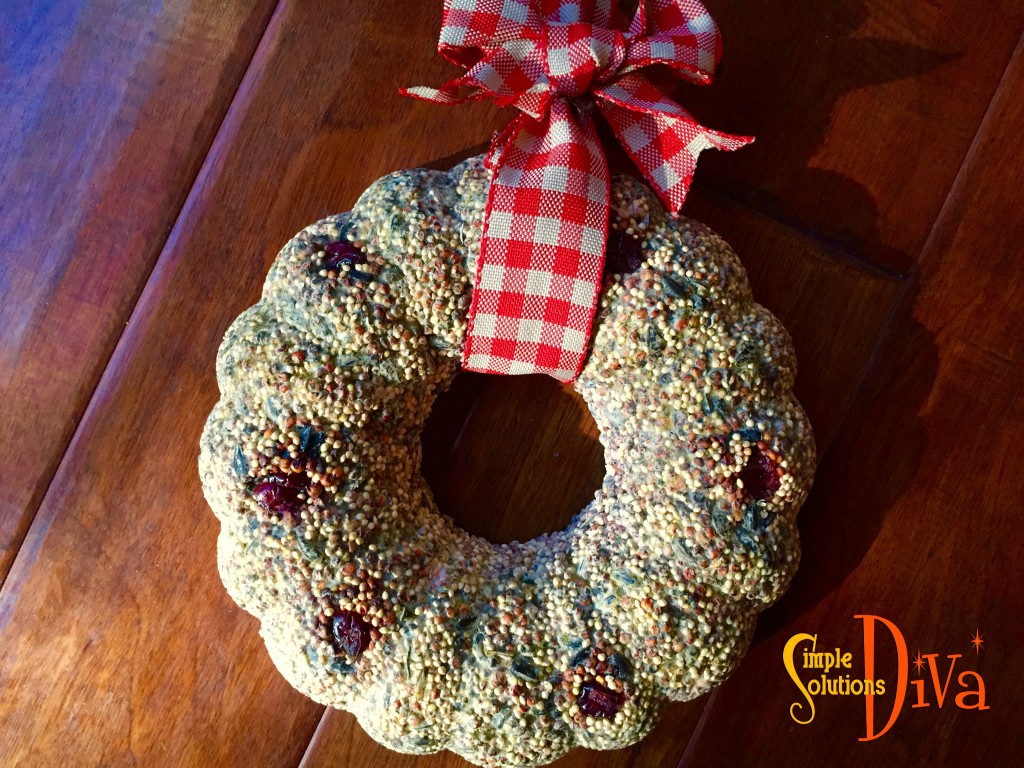
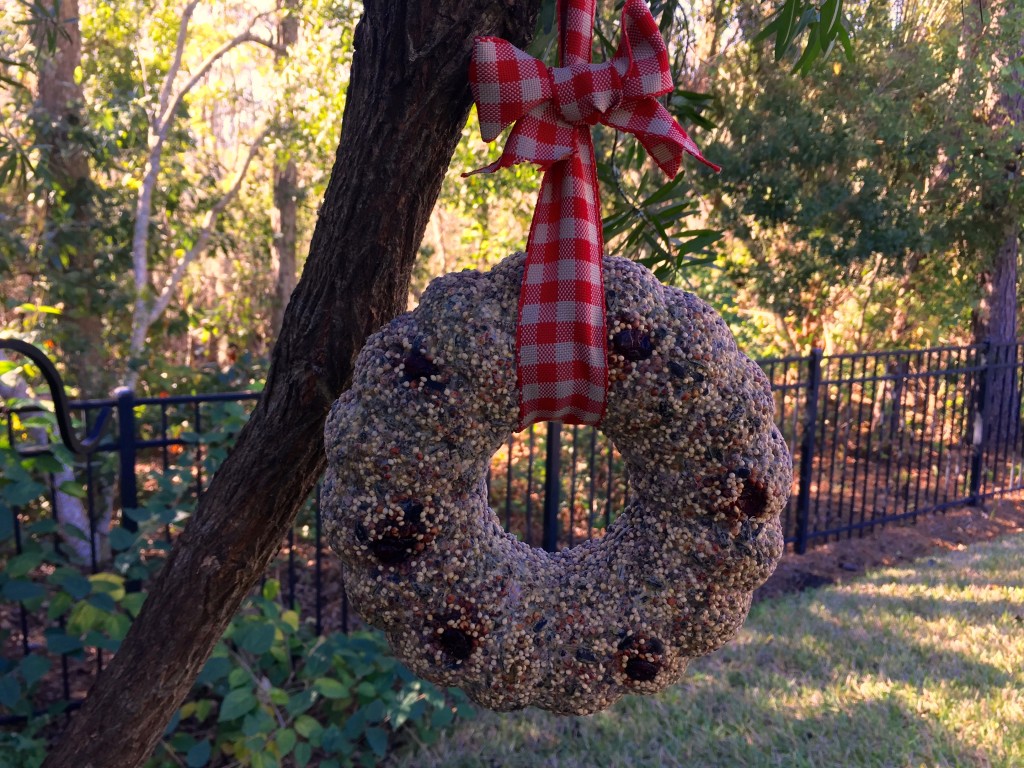
I enjoy having birds visit my back yard feeders, and I thought this DIY Bird Seed Wreath would make a great holiday gift for anyone who loves birds! And best of all, it is EASY to make!

SSD Bird Seed Wreath 2

Notice in this photo, I added to the bottom of the bundt pan (before I added the seed mixture) dried, unsweetened red cranberries — just to add to a festive look!

The wreath dries in about 24 hours. And then you can hang it on your favorite tree for the birds to enjoy!

IMG_8647

DIY Bird Seed Wreath
 
Prep time
Cook time
Total time
 
Make this simple holiday gift for the Bird Lover in your life!
Author:
Recipe type: Recipe For Birds
Serves: 0
Ingredients
  • ½ cup warm water
  • 1 packet unflavored gelatin
  • 3 Tablespoons light corn syrup
  • ¾ cup flour
  • 4 cups bird seed
  • Dried red fruits, such as dried cherries or cranberries (unsweetened)- optional
  • Holiday Ribbon
  • Bundt Pan
  • Nonstick cooking spray
Instructions
  1. Combine water and gelatin in a large bowl and mix thoroughly. Add flour and corn syrup and whisk until it is a thick paste.
  2. Add in bird seed and mix until all seeds are well coated.
  3. Spray bundt pan with cooking spray.
  4. Add selected dried fruits to the bottom of the pan.
  5. Firmly press the bird seed mixture into the bottom of pan.
  6. Set aside in a cool, dry place for 24 hours, or until dried completely.
  7. Remove from pan and add holiday ribbon. Hang on a tree outside and watch the birds enjoy!


SSD Bird Seedc Wreath


1 2 3 6

© 2015 SIMPLESOLUTIONSDIVA.COM Designed by The Web Design Chic | ADMIN LOGIN