SimpleSolutionsDiva.com

Simple Decor

Simple Fall Decor For Your Home

ssd-fall-decor-2016

Happy Fall Y’all! I LOVE the cooler weather! Now is the perfect time to start decorating for the season, so I thought I would share some simple ways to bring a little fall into your décor!

Decorate With Mason Jars! You can buy mason jars in bulk at Publix, Walmart or other stores. They are very plentiful now because people are canning their summer produce.

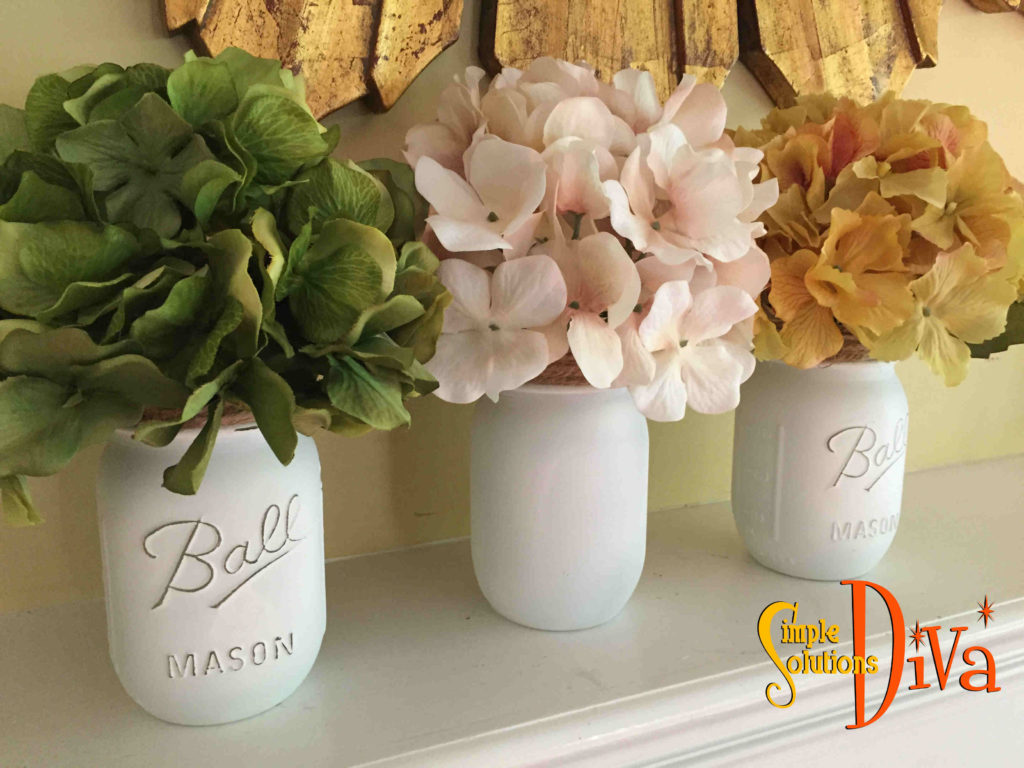
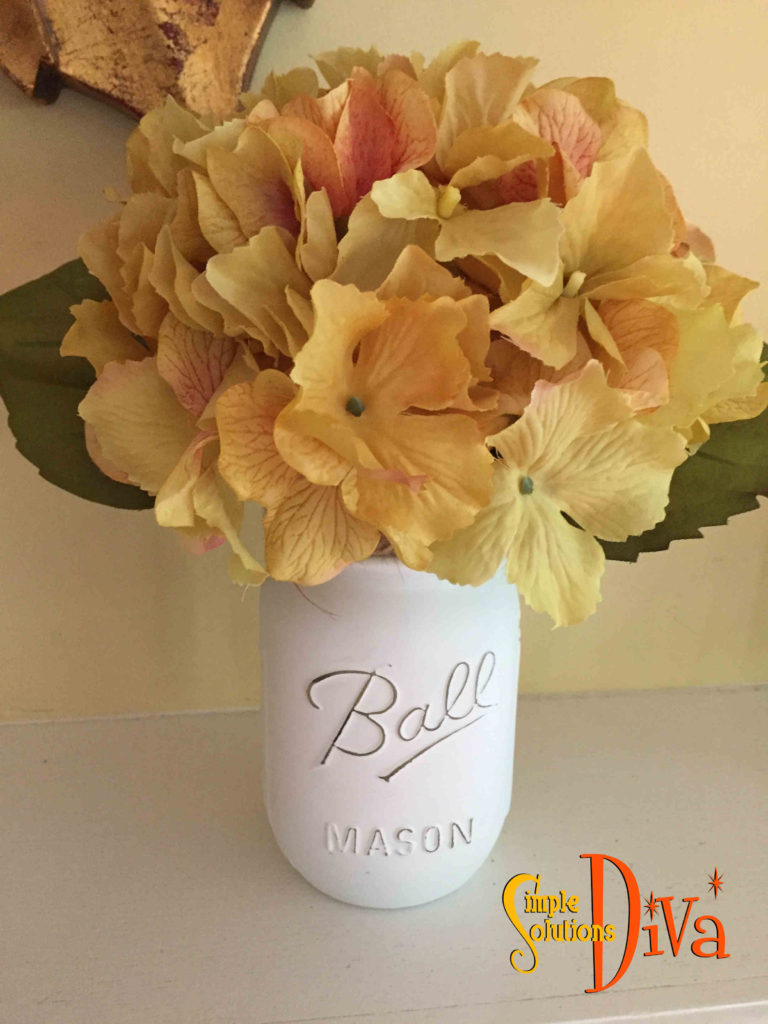
Distressed Can Be Good! Check out these cute, painted & distressed mason jars! I used Krylon Flat White Spray paint from Michael’s, sprayed the clean mason jars, then, when they were dry, I used a fine sandpaper to lightly distress the jars. I finished them off by wrapping natural twine around the top and added fall hydrangea! So simple!

fall-decor-3

fall-decor4


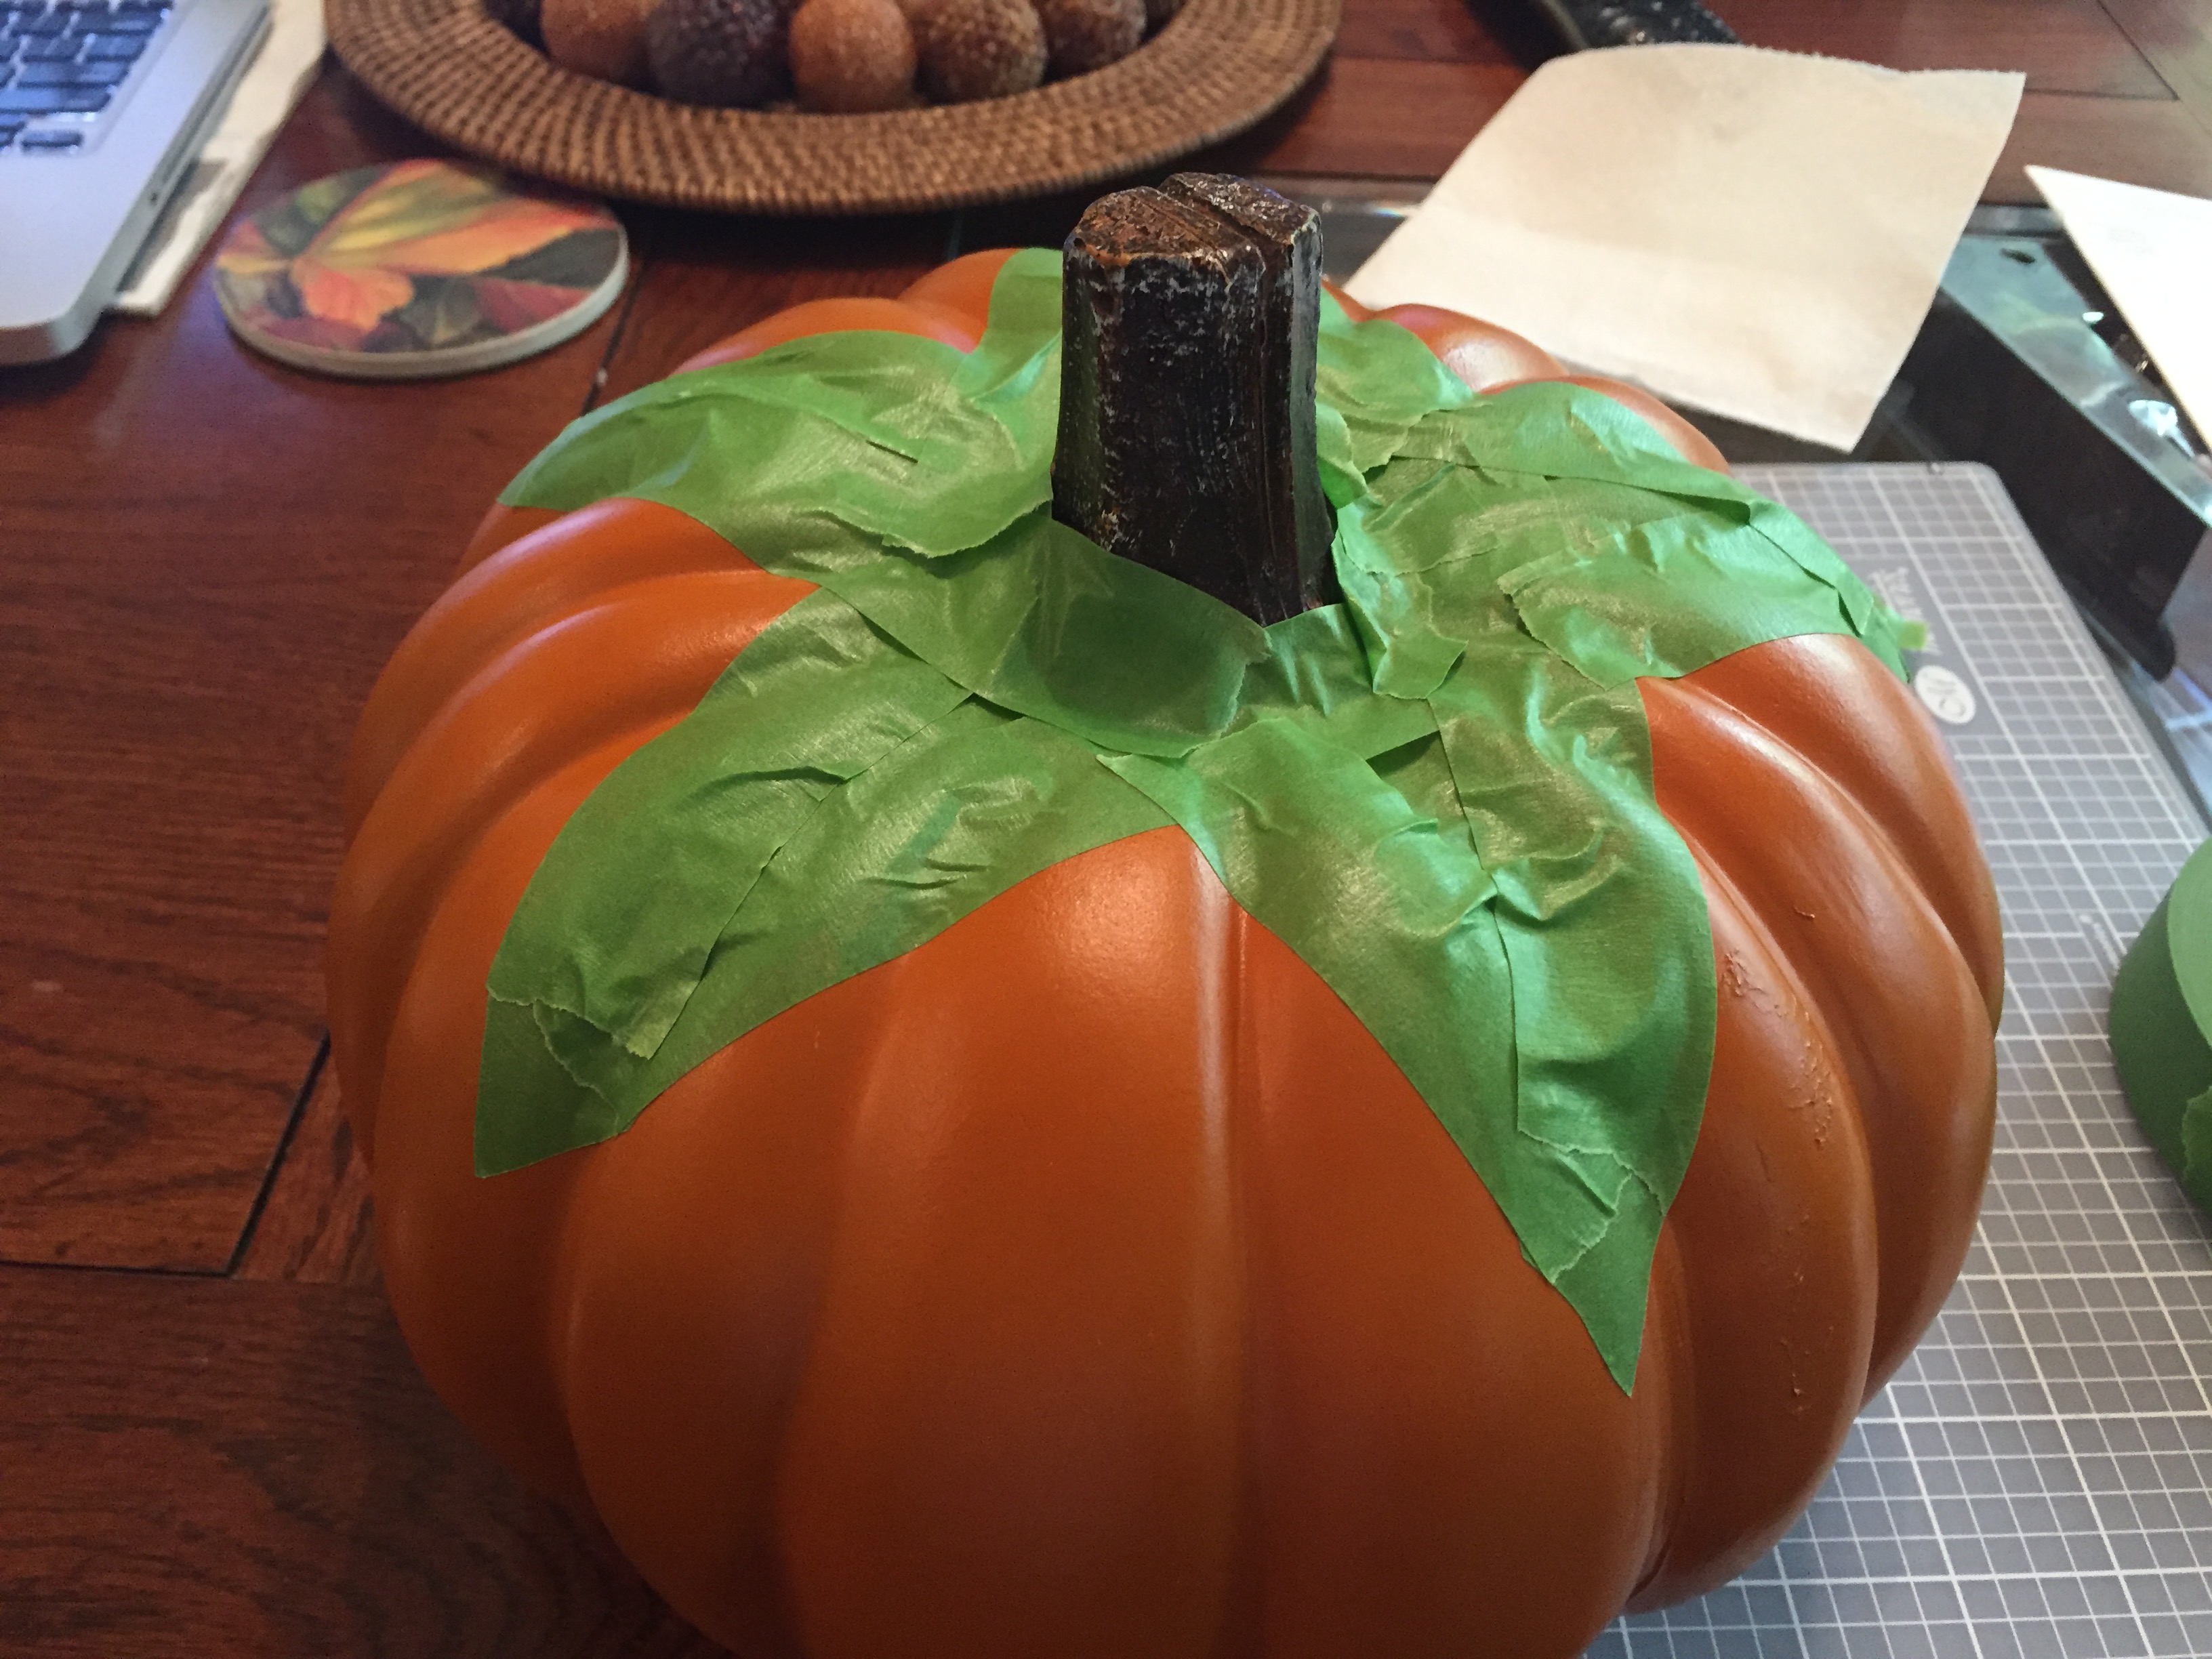
Get Leafy With It! If you like the look of fall leaves, grab a few, use glossy Modge Podge to affix the fall leaves to the mason jars – I use silk leaves when I do this project!

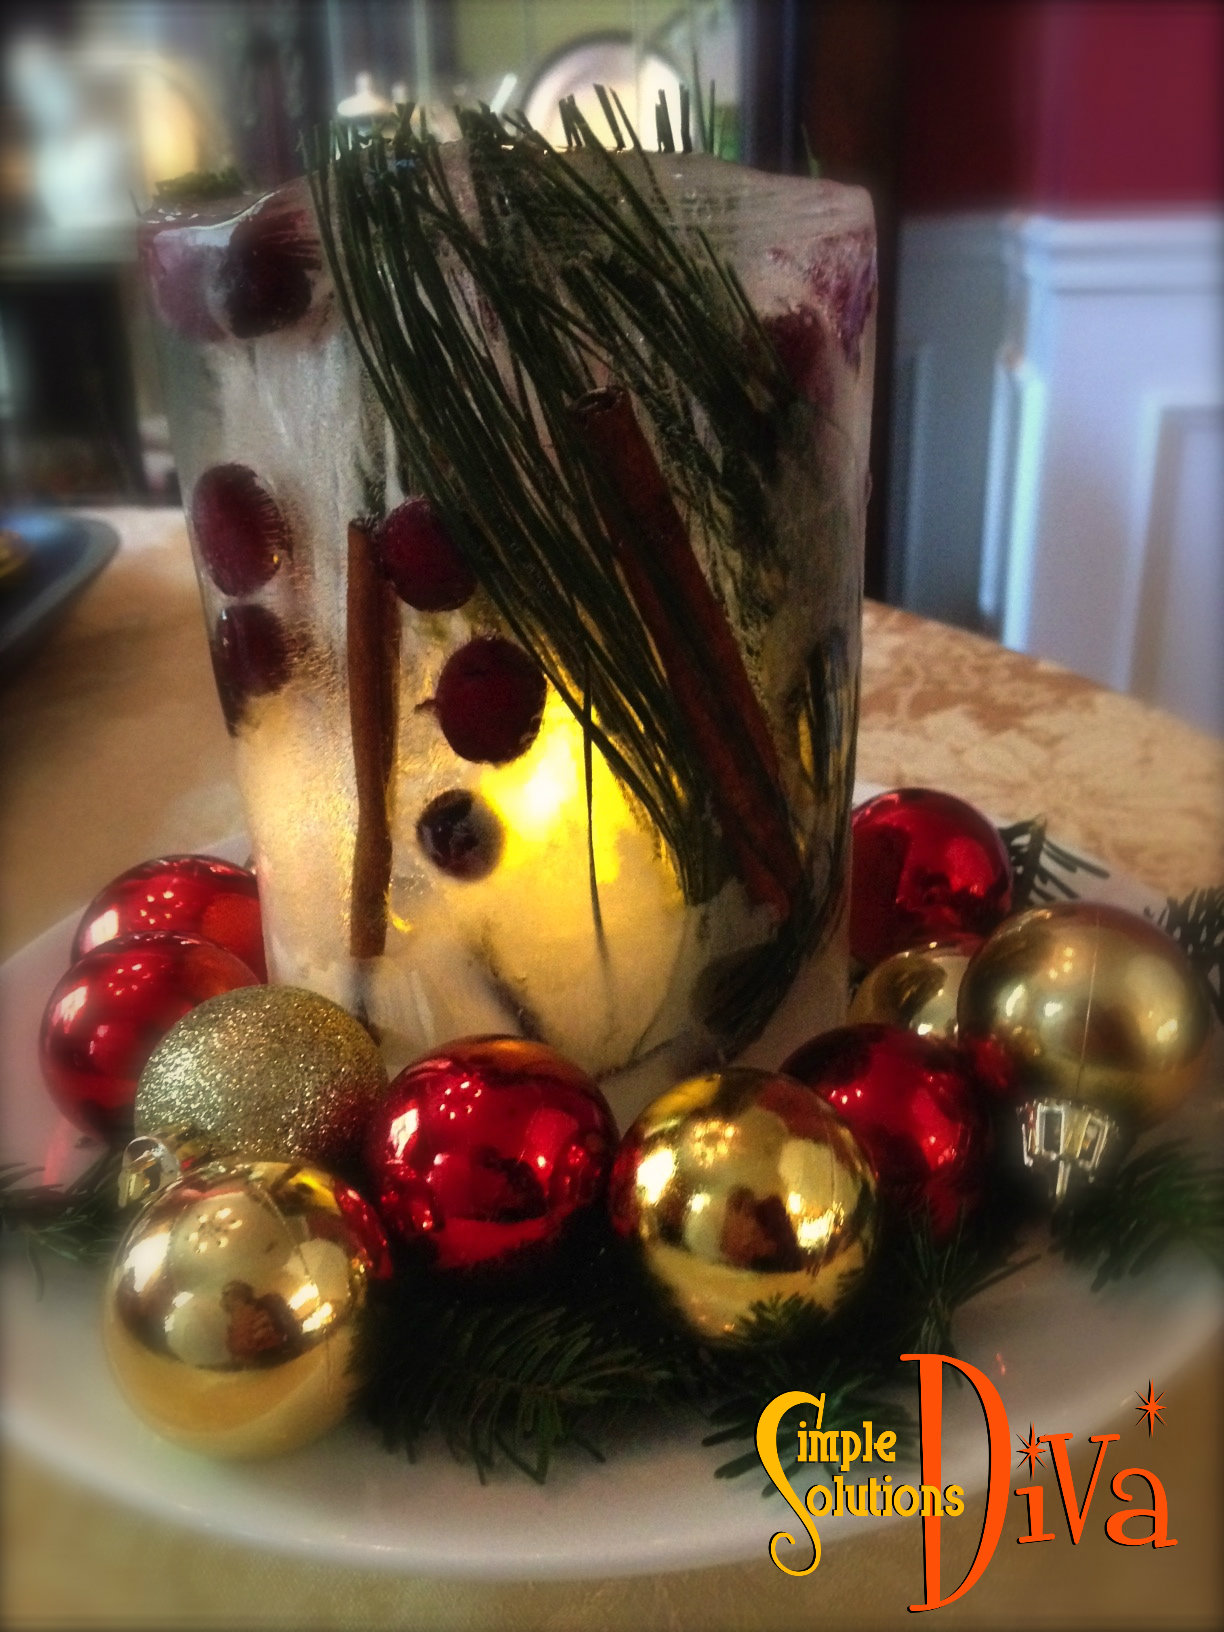
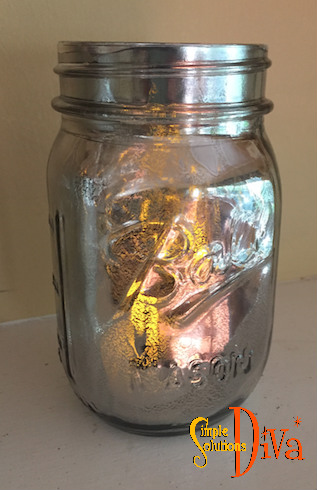
Love the Mercury Glass look? Grab a can of Krylon “Looking Glass” spray paint (I found it at a Michael’s Store) and spray the INSIDE of your mason jars. Add an LED candle inside and you have a cute candle! (Another Great Idea: You can also use the paint on the inside of one of those glass vases that come with flowers! I always have a few around the house! Or buy a simple glass vase from the Dollar Store!)

fall-decor-5

Bring A Little Nature Into The Home: Grab some pine cones from outside and use them in your decor! (But first be sure to dry & “debug” them with this simple tip from TwoitYourself.com)

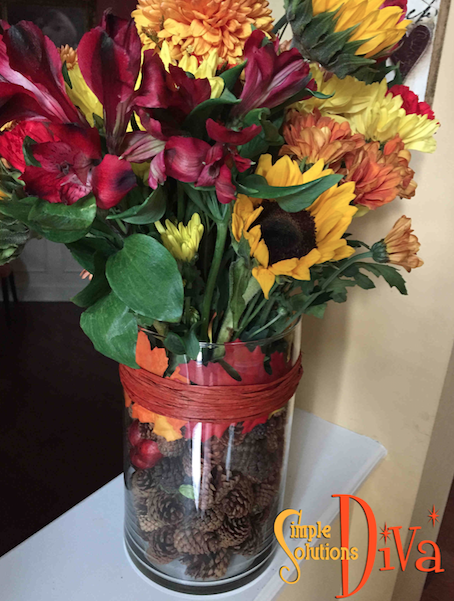
Pine cones & Flowers – Now check out this cute Flower display – it looks like the flowers are sitting in a jar of pine cones! (the Trick is, you have 2 vases – one small, one large. Put small inside the large, then add pinecones in between the two! Flower stems go inside the smaller vase!)

screen-shot-2016-09-23-at-6-26-06-am

Shop Your Home! Using pine cones and items around your home, you can create a Fall Tablescape that can take you from early Fall, Halloween on through to Thanksgiving! The tray is one that has been sitting in my bedroom. I had the three glass jars. I got the pine cones from outside, and then I just added items appropriate for the season – orange berry sprays for Fall, glitter pumpkins for Halloween, and I can add small gourds & mini pumpkins for Thanksgiving! The only thing I bought were the candles!

fall-decor2

Dollar Store Deals – If you want to decorate for the fall, you’ve got to check out dollar stores NOW! They have all their products out for fall and Halloween! (And even a little Christmas now, too!) I found cute little mini pumpkins, felt placemats in the shape of fall leaves, and forms for wreaths!

Special Giveaway! I will be cooking things up on the Jacksonville Magazine Cooking Stage Sunday, October 2, 11:30 a.m. at the Jacksonville Home + Patio Show. I have 4 pairs of tickets to the Jacksonville Home + Patio Show, September 29-October 2. The first four people to email me at info@simplesolutionsdiva.com will win the tickets.

If you don’t win, don’t be upset because I have a coupon code you can use to get discounted tickets at the Home & Patio Show – Use the code DIVA!

Thank you to WTLV-TV’s First Coast Living for inviting me on to share these simple tips!


Tips To Create A Photo Wall!


I LOVE photos of my family (If you doubt it, check out this #ClearTheClutter video I did with professional organizer Chris Stone of NeatlyDesigned.com on how to reduce the number of photos you have!)!  So it was a natural progression for me to create a photo wall in my home!

The Diva’s Simple Tips To Create A Photo Wall:

  1. Create A Photo Wall That Appeals To You!
  2. Choose A Unifying Theme (For My Wall, I Chose Black Frames)
  3. Give Yourself Time!
  4. Display More Than Photos – This Provides Visual Interest!
  5. Use Different Types Of Photo Formats
  6. Arrange Photos On Wall First – Keeps You From Making A Million Holes In Your Wall!
  7. Have Fun!!
Here is the photo wall in my home! What is yours going to look like?


Close-Up: Here is a close-up of my favorite frame, which has the photos “floating” between two difference panes of glass – giving depth to the photo collage!

photo wall 5


photo wall

Home Decor Trend: Succulents

Succulents add a touch of greenery and texture to any room, whether indoors or outside! While In California on a recent trip, I was inspired by these cute, textured pots that held little succulents, so I took a photo:

succulent 4


I used this photo to find inspiration to recreate the look, but more tailored to my home style.

I was lucky enough to stumble upon some adorable, textured mercury glass candleholders at West Elm. (If you aren’t familiar with the store, you can check them out here: West Elm Mercury Glass Candleholders) So, I used them as pots!

succulent 3

So these little guys are perfect indoors:

succulent 2


Or outdoors!

succulent 1

Home Decor Succulents


Worth Noting: West Elm deserves a little recognition for support of local, small businesses and entrepreneurs! They sponsor something called West Elm Local, where they invite selected, local creators of handmade items into their stores to sell their products! (For More Info – West Elm LOCAL).

IMG_0425

When I went into their Jacksonville, FL store, they had 6 different merchants there, selling handmade items like soaps, baked goods, essential oils and more. They also happened to have someone selling handmade cement planters that were formed by using recycled materials! Of course, I bought one! Check Out Green Crete’s most recent work on Instagram.

IMG_0424


Make A Pumpkin Tower Three Ways For Fall!


This is a great project if you have found a good deal on artificial pumpkins! (Mid-October is when they tend to go on sale, so keep your eyes out for them!)

Pumpkin Tower 3

I like to have decor I don’t have to change up much to carry me from Fall to Thanksgiving, especially since I will go crazy with Christmas decorations! This was the perfect project for me – with just a few simple changes, I have three different looks!

Pumpkin Tower 2


What You Need:

  • Three artificial pumpkins, three different sizes and colors.
  • Hot Glue Gun
  • Knife to remove stem from 2 pumpkins (if needed)
  • Decorative items to change the look of the Pumpkin Tower. (I used two different bouquets of flowers from the grocery store, fall leaves, plus some Halloween decorations and some burlap fabric I had handy.)

Instructions on how to assemble the Pumpkin Tower are in the video at the top of this post!

Another use for the Pumpkin Tower, besides as a centerpiece: Have it on display in a planter on the front porch. Place some fall leaves and branches under it and it would be adorable!


Pumpkin Tower 1

DIY Chevron Pumpkin

Everyone loves the chevron pattern! Here is a simple craft perfect for Halloween through Thanksgiving! It takes your regular pumpkin from Drab to Fab!

Pumpkin Collage

Supplies Needed:

  • Artificial Pumpkin
  • White Spray Paint  or White Latex Paint (also need a brush if you are not using spray paint)
  • Frog Tape Multipurpose tape (green color is the multipurpose tape)
  • Old Newspapers to protect your work surface

Here are some tips to make taping off your pumpkin easier:

I like to use an exact knife to cut the points in the pattern, because i like clean lines. In the photo below, I’m FINALLY using my Creative Memories cutting pad! Once I’ve cut the points I apply them to the pumpkin, building up the design from the points.

IMG_8323

I start by taping off the top of the pumpkin, then repeating the pattern down the rest of the pumpkin (as seen below):

IMG_8324


Chevron Pumpkin

How Easy Is It To Make Your Own Artwork?

Today’s video is part of the “Putting Pinterest To The Test” Video Series! The Diva tests a pin that says it is easy to make your own, beautiful wall art – as easy as having some acrylic paints, a canvas and some masking tape. How easy is it? Do you need an art degree, or at least a little creativity?

Additionally, the Diva was a little wary that the masking tape might not create a good seal on the canvas, so she tested masking tape versus Frogtape Multi-surface painting tape.


SSD DIY Art


To make your own wall art, you need will the following:

Check the video for directions and helpful tips!

What do you think of our artwork?

Artwork created by the Diva's daughter!
Artwork created by the Diva’s daughter!
Artwork created by the Diva!


Simple Holiday Survival: How To Create A Beautiful Ice Lantern

An Ice Lantern – Such a pretty centerpiece, or use multiple ones to line a sidewalk leading to a holiday party!

Supplies You Need:

  • Distilled Water (or water that has been boiled and cooled off)
  • An empty and cleaned 2 liter soda bottle, with top cut off
  • A hard plastic water bottle (smaller than the 2 liter bottle)
  • Various items to freeze in the ice – flowers, cranberries, cinnamon sticks, pine needles, etc.
  • Duct tape to hold the smaller bottle in the larger bottle without floating.

See the video for the full instructions!


SSD ice lantern 2

1 2 3

© 2015 SIMPLESOLUTIONSDIVA.COM Designed by The Web Design Chic | ADMIN LOGIN