HGTV and other shows make DIY look so easy! The reality is, it isn’t always so simple. So what do you do when DIY goes wrong? Check out the video above for the Diva’s recommendations!
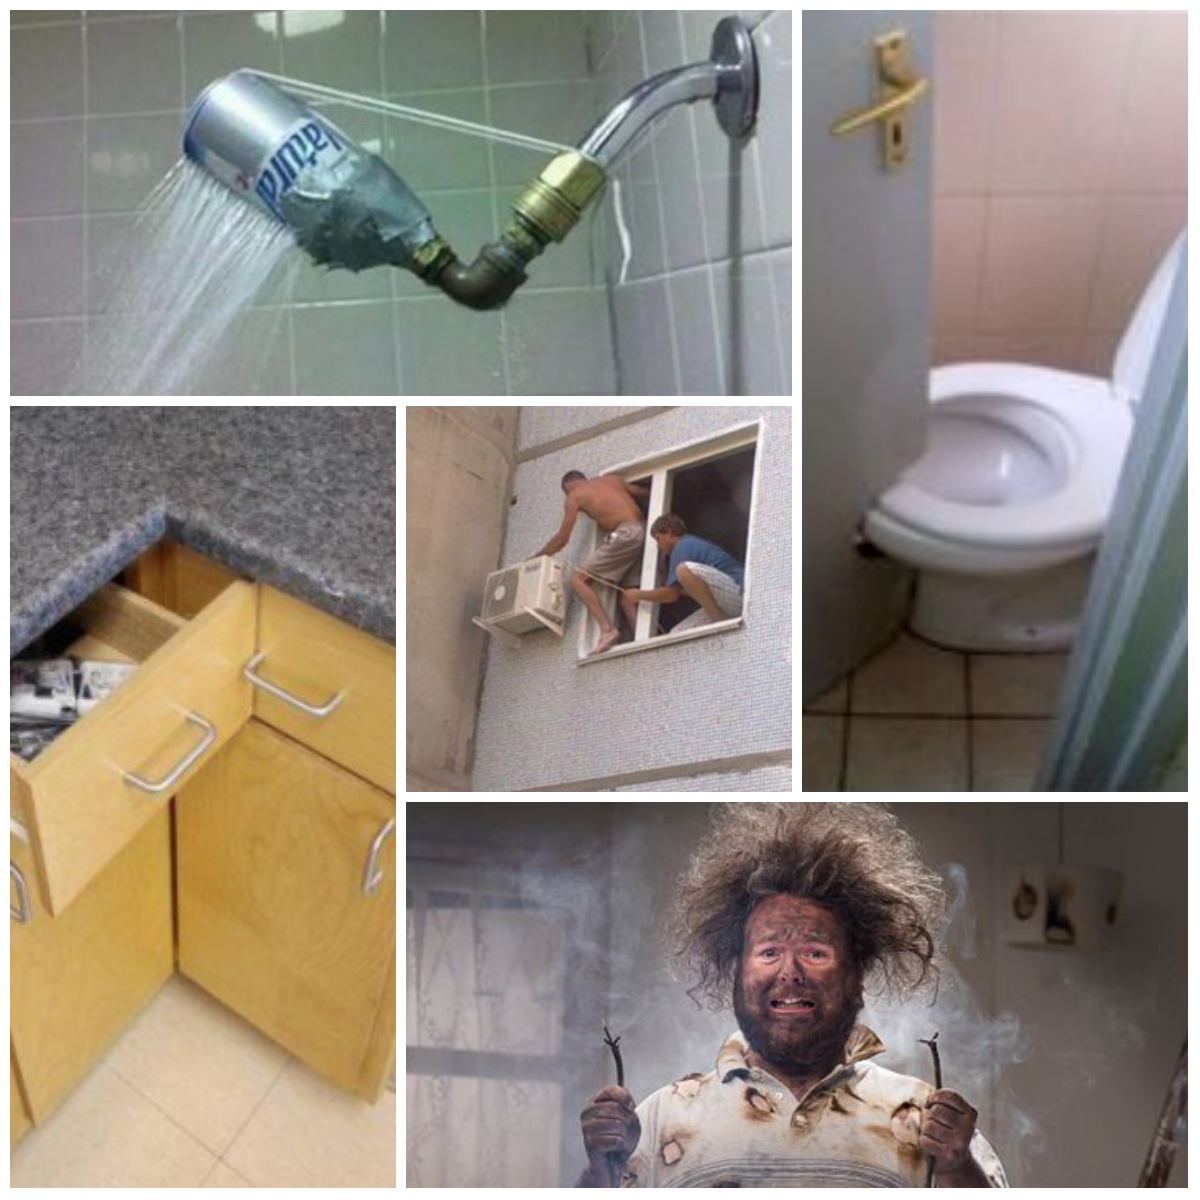
Because we all want to avoid DIY fails like these:

HGTV and other shows make DIY look so easy! The reality is, it isn’t always so simple. So what do you do when DIY goes wrong? Check out the video above for the Diva’s recommendations!
Because we all want to avoid DIY fails like these:
Let’s face it, clogged drains are gross. No one really wants to deal with them, but deal with it we must! Do you want to start with chemicals and toxins? Nope! The Diva has some “green” tips on how to clear that clog and prevent them!
Note: I have two daughters with very long hair, and you can imagine how often their bathtub (and bathroom sink) get clogged. I have tried chemicals to unclog them, but I really wanted to find more “green” ways of unclogging and KEEPING the drain clear.
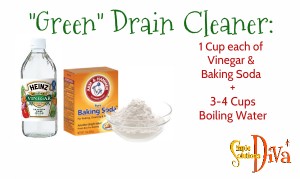
Step 1: “Green” Drain Cleaner (A Natural Clog Clearing Solution) – Remove all water as best as possible. Boil 3- 4 cups water. Pour down the drain 1 cup each of baking soda and white vinegar. Let that sit in the drain for 10 minutes, then follow it up with the hot water. Try it a couple of times if it doesn’t work.
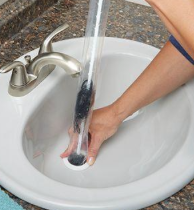
Step 2: Remove the Clog –You’ve heard people say they are going to “snake” the drain? This is an easy way to do it and costs a LOT less than the plumber (less than that grande, fancy coffee drink you might order!). Try using a product called Pypthon Drain Tool (picked it up at Home Depot).Kind of gross but cool! You feed this plastic tool down the drain, and twist it around a bit, making sure you have the built-in cover/protector set over the drain. Then you slowly pull the tool out — yes, it is covered with gunk! But the cover/protector (see photo below) keeps the gunk from touching your hands! FYI – You shouldn’t do this after you have used a chemical drain cleaner. Here is a link to the product if you are interested: Python Drain Tool
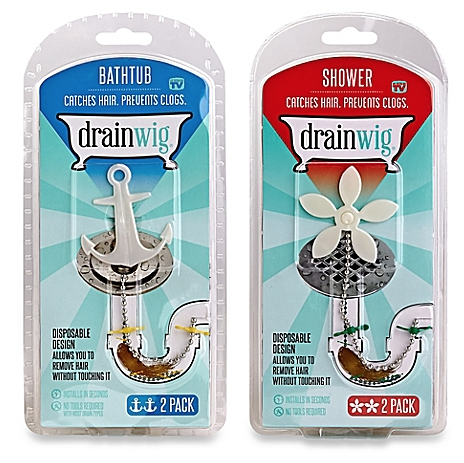
Step 3: Prevent The Clog – Try the Drain Wig (perfect for the tub!). After you’ve cleared the clog in the drain, place this in the tub and it will catch hair and debris that might clog your drain. Pull it out, throw away and replace every 2-4 months. You can find it at Bed Bath & Beyond – here is the link: Drain Wig
Thank you to WTLV-TV’s First Coast Living for inviting me on to share these tips!
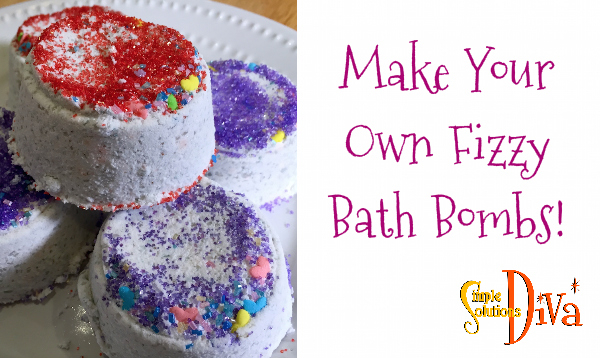
A hot, warm bath and a fizzy bath bomb, along with a wonderful glass of wine, make a perfect evening in! Here is a recipe to make those fizzy bath bombs, using whatever essential oils you like! These make the perfect little hostess gift, or a gift to friends or family, or even just for yourself!
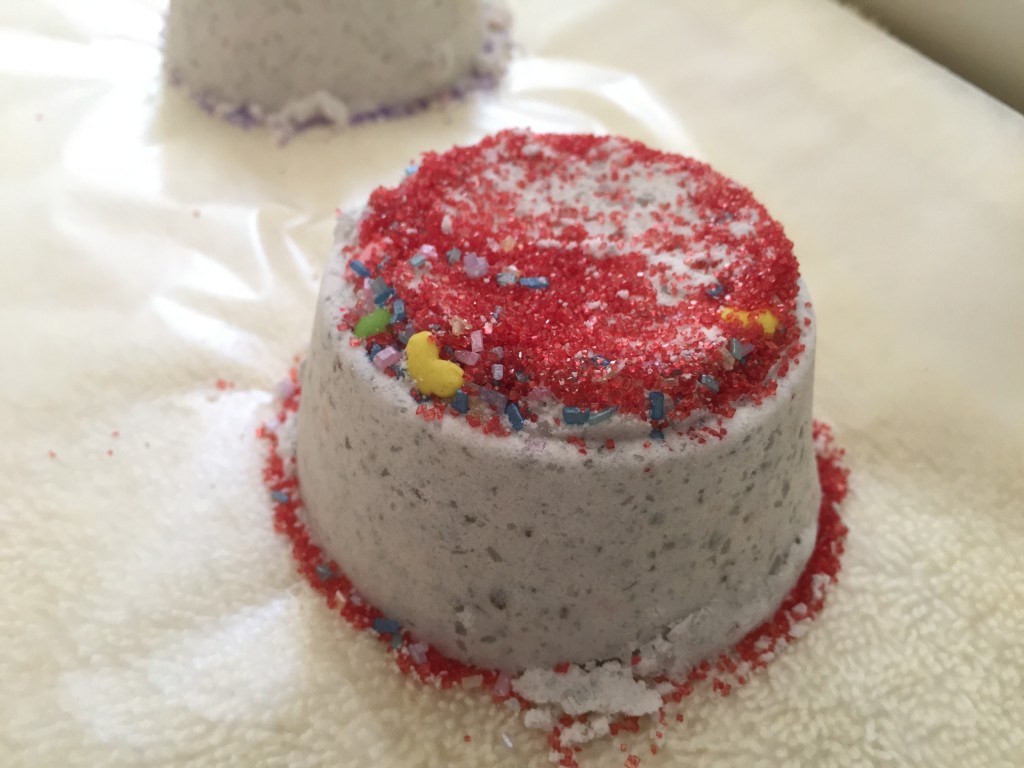
Now, will someone please pour me a glass of wine? I’m going to go use one these right now!
![]()
This is a great project if you have found a good deal on artificial pumpkins! (Mid-October is when they tend to go on sale, so keep your eyes out for them!)
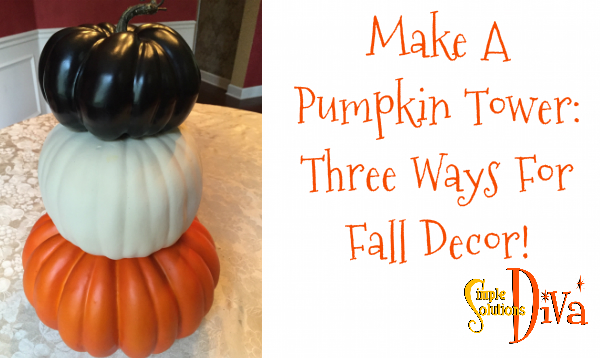
I like to have decor I don’t have to change up much to carry me from Fall to Thanksgiving, especially since I will go crazy with Christmas decorations! This was the perfect project for me – with just a few simple changes, I have three different looks!
What You Need:
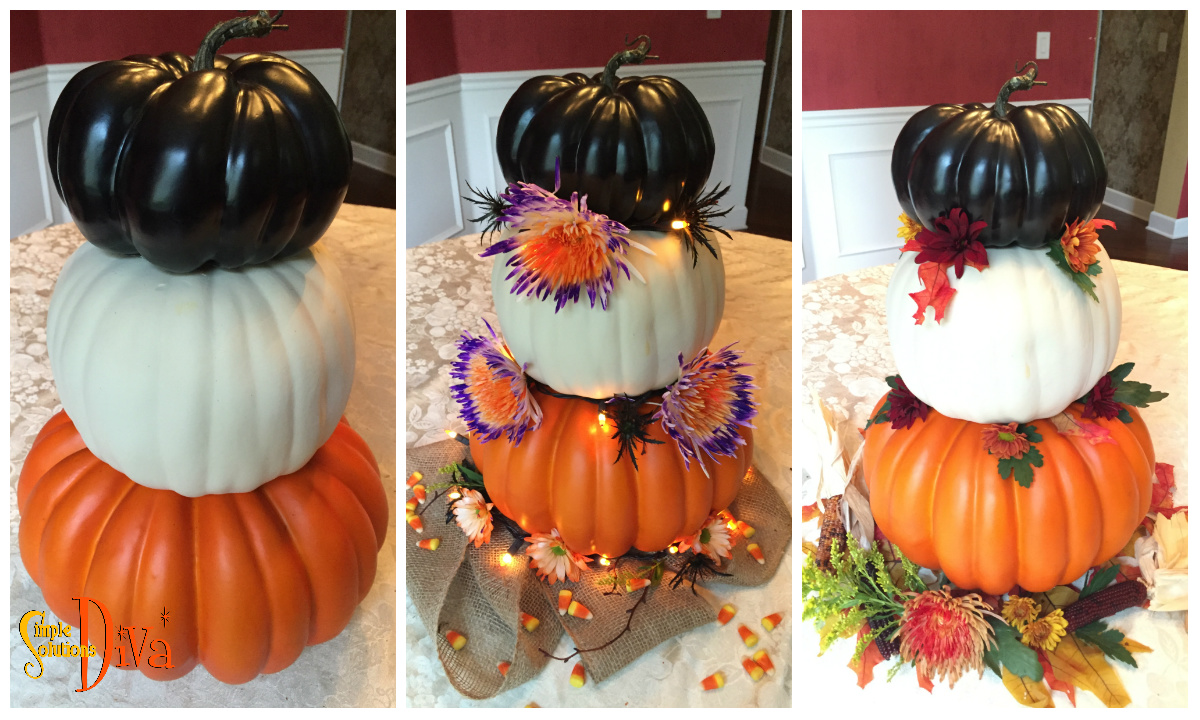
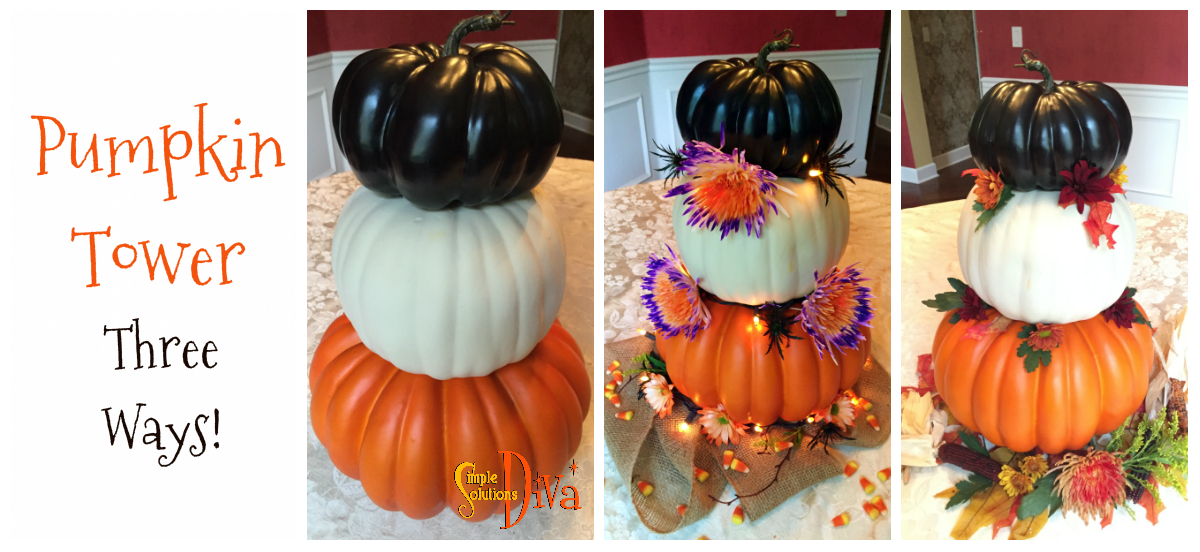
Instructions on how to assemble the Pumpkin Tower are in the video at the top of this post!
Another use for the Pumpkin Tower, besides as a centerpiece: Have it on display in a planter on the front porch. Place some fall leaves and branches under it and it would be adorable!
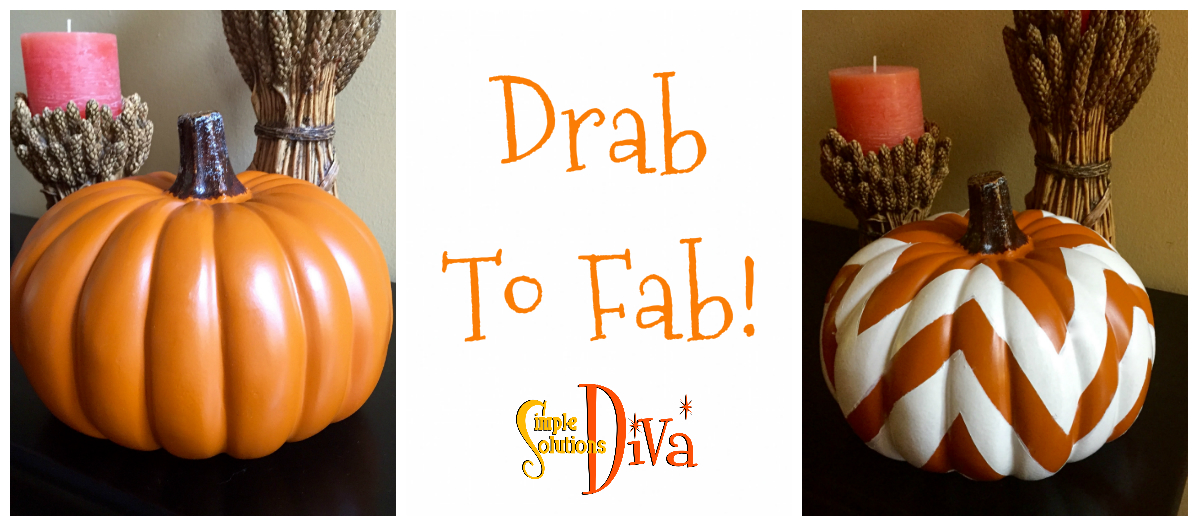
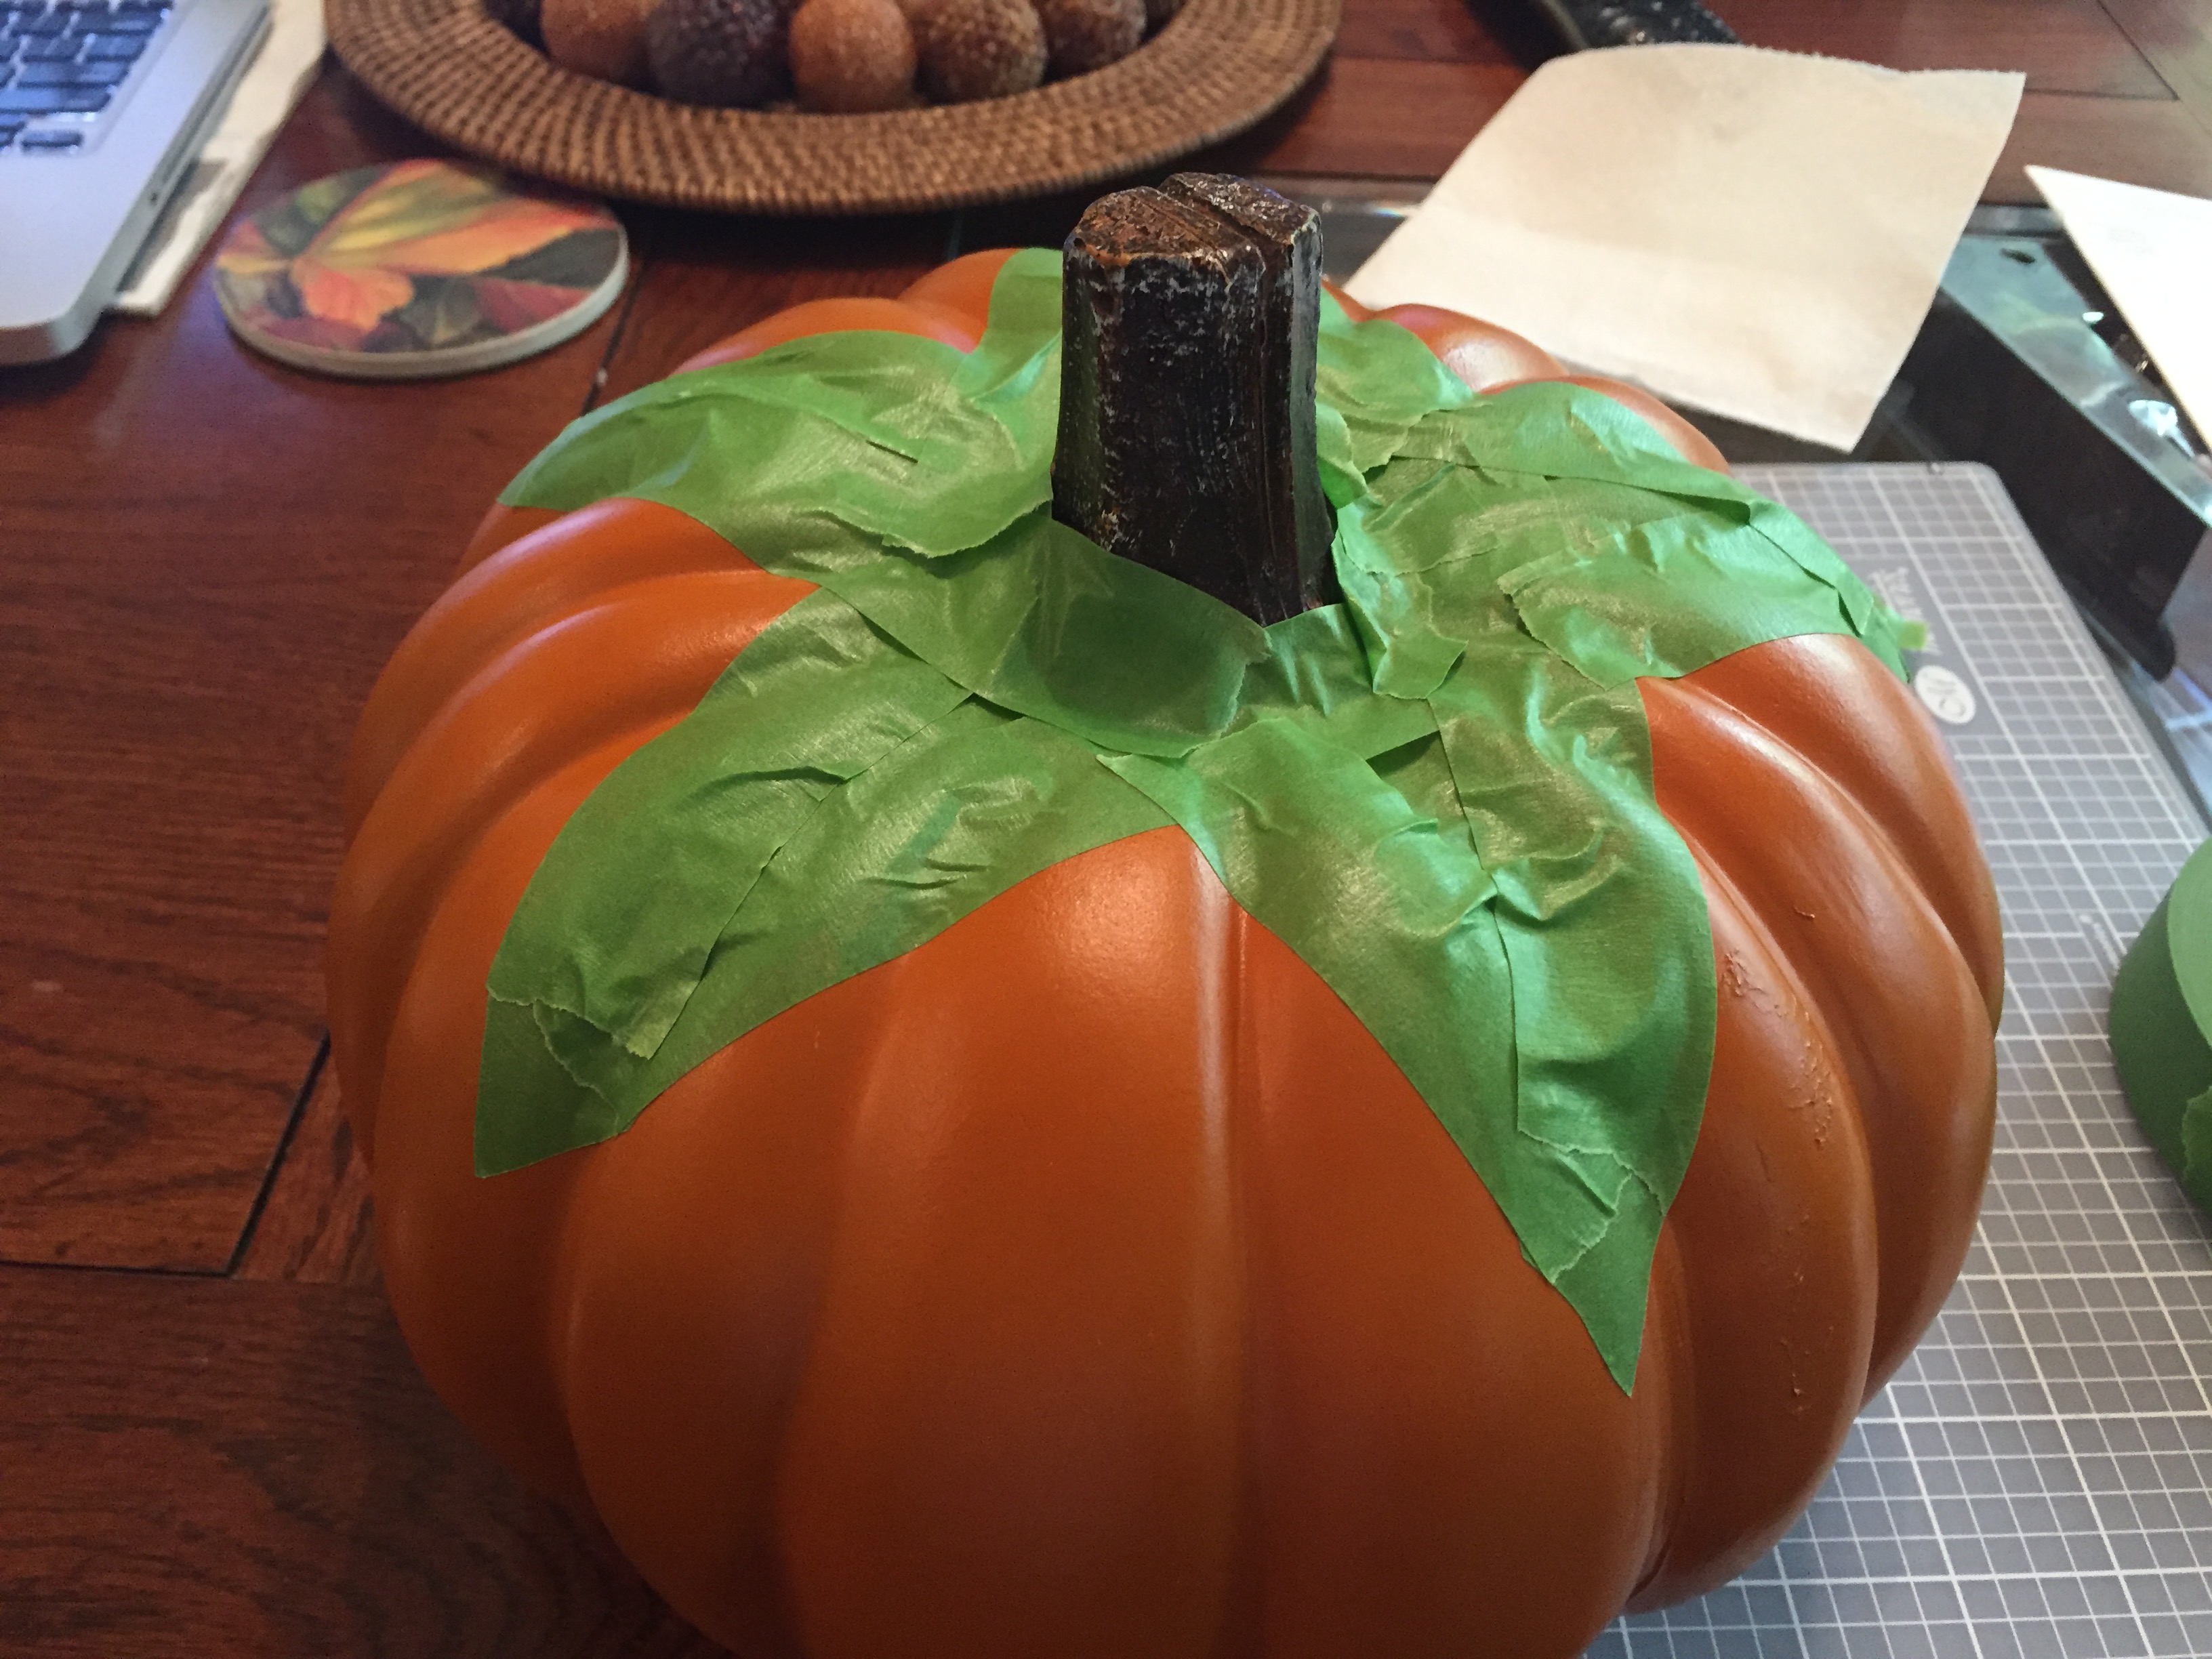
Everyone loves the chevron pattern! Here is a simple craft perfect for Halloween through Thanksgiving! It takes your regular pumpkin from Drab to Fab!
Supplies Needed:
Here are some tips to make taping off your pumpkin easier:
I like to use an exact knife to cut the points in the pattern, because i like clean lines. In the photo below, I’m FINALLY using my Creative Memories cutting pad! Once I’ve cut the points I apply them to the pumpkin, building up the design from the points.

I start by taping off the top of the pumpkin, then repeating the pattern down the rest of the pumpkin (as seen below):
![]()
With the decluttering finally finished, the next step in my journey from cluttered to clean had arrived! Prepping the storage area & measuring for the storage boxes!
Here’s where I begin to see the fruits of my labor!
Chris Stone of NeatlyDesigned.com has shepherded me through this process, gently (plus a dash of humor & firmness!) helping me clear out this mess!
So here are the steps for this decluttering process so far:
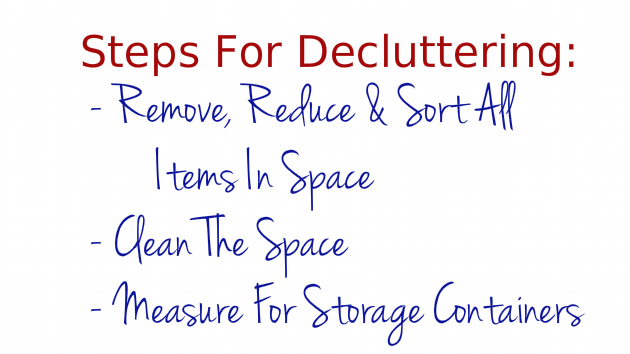
A clean space to organize is a treat! You know you don’t want to put all your nicely organized items back into a dirty area! You also want to make sure you have the right sized storage bins, so you can actually close the doors! So follow along! And next week, you can see how we put it all back together!

So when I decided to do this video series with Chris Stone of NeatlyDesigned.com, I thought to myself,
This will be great! I will get organized and someone will actually HELP me do it! Easy Peasy! . . . Well, I was in for a shocker!
What I didn’t expect was to feel a combination of anxiety, embarrassment and attachment to silly things like fuzzy balls and googly eyes (watch the video and you will understand)!
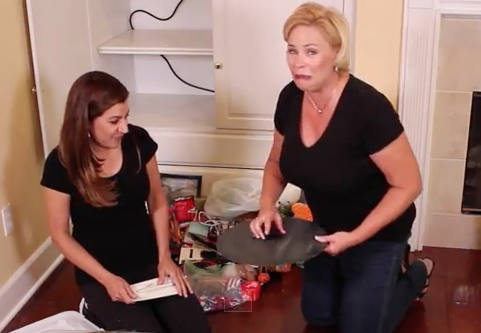
When you have clutter, there is a reason you are keeping it around, whether you know why or not. When you start to get rid of it, you start to see patterns. This video is meant to really illustrate the sometimes difficult process of letting go of the clutter! These are my true and honest reactions; I’m not acting. And the funny thing is, Chris knew it was going to happen! She’s a pro, she’s seen this before with all of her clients, and knows how to help people get through it to a nice, clean, organized space!
So sit back and enjoy! And realize, if I can do it, so can you!
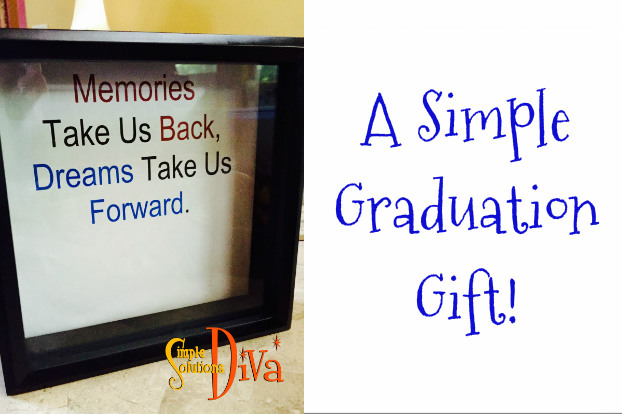
As high school seniors graduate, they get to look forward to many new adventures; on those adventures, memories are made! Give the new graduate in your life a simple gift: A Memory Box to save all those new memories!
The Memory Box is for saving things like ticket stubs from concerts, events, and movies that have meaning to your new graduate.
This is a VERY simple project – the hardest part is finding the right shadow box – a top-loading shadow box that will allow the owner to just drop in their ticket stubs into the box. (I’ve made it easy for you by providing a link at the end of this post to where I found my box.)
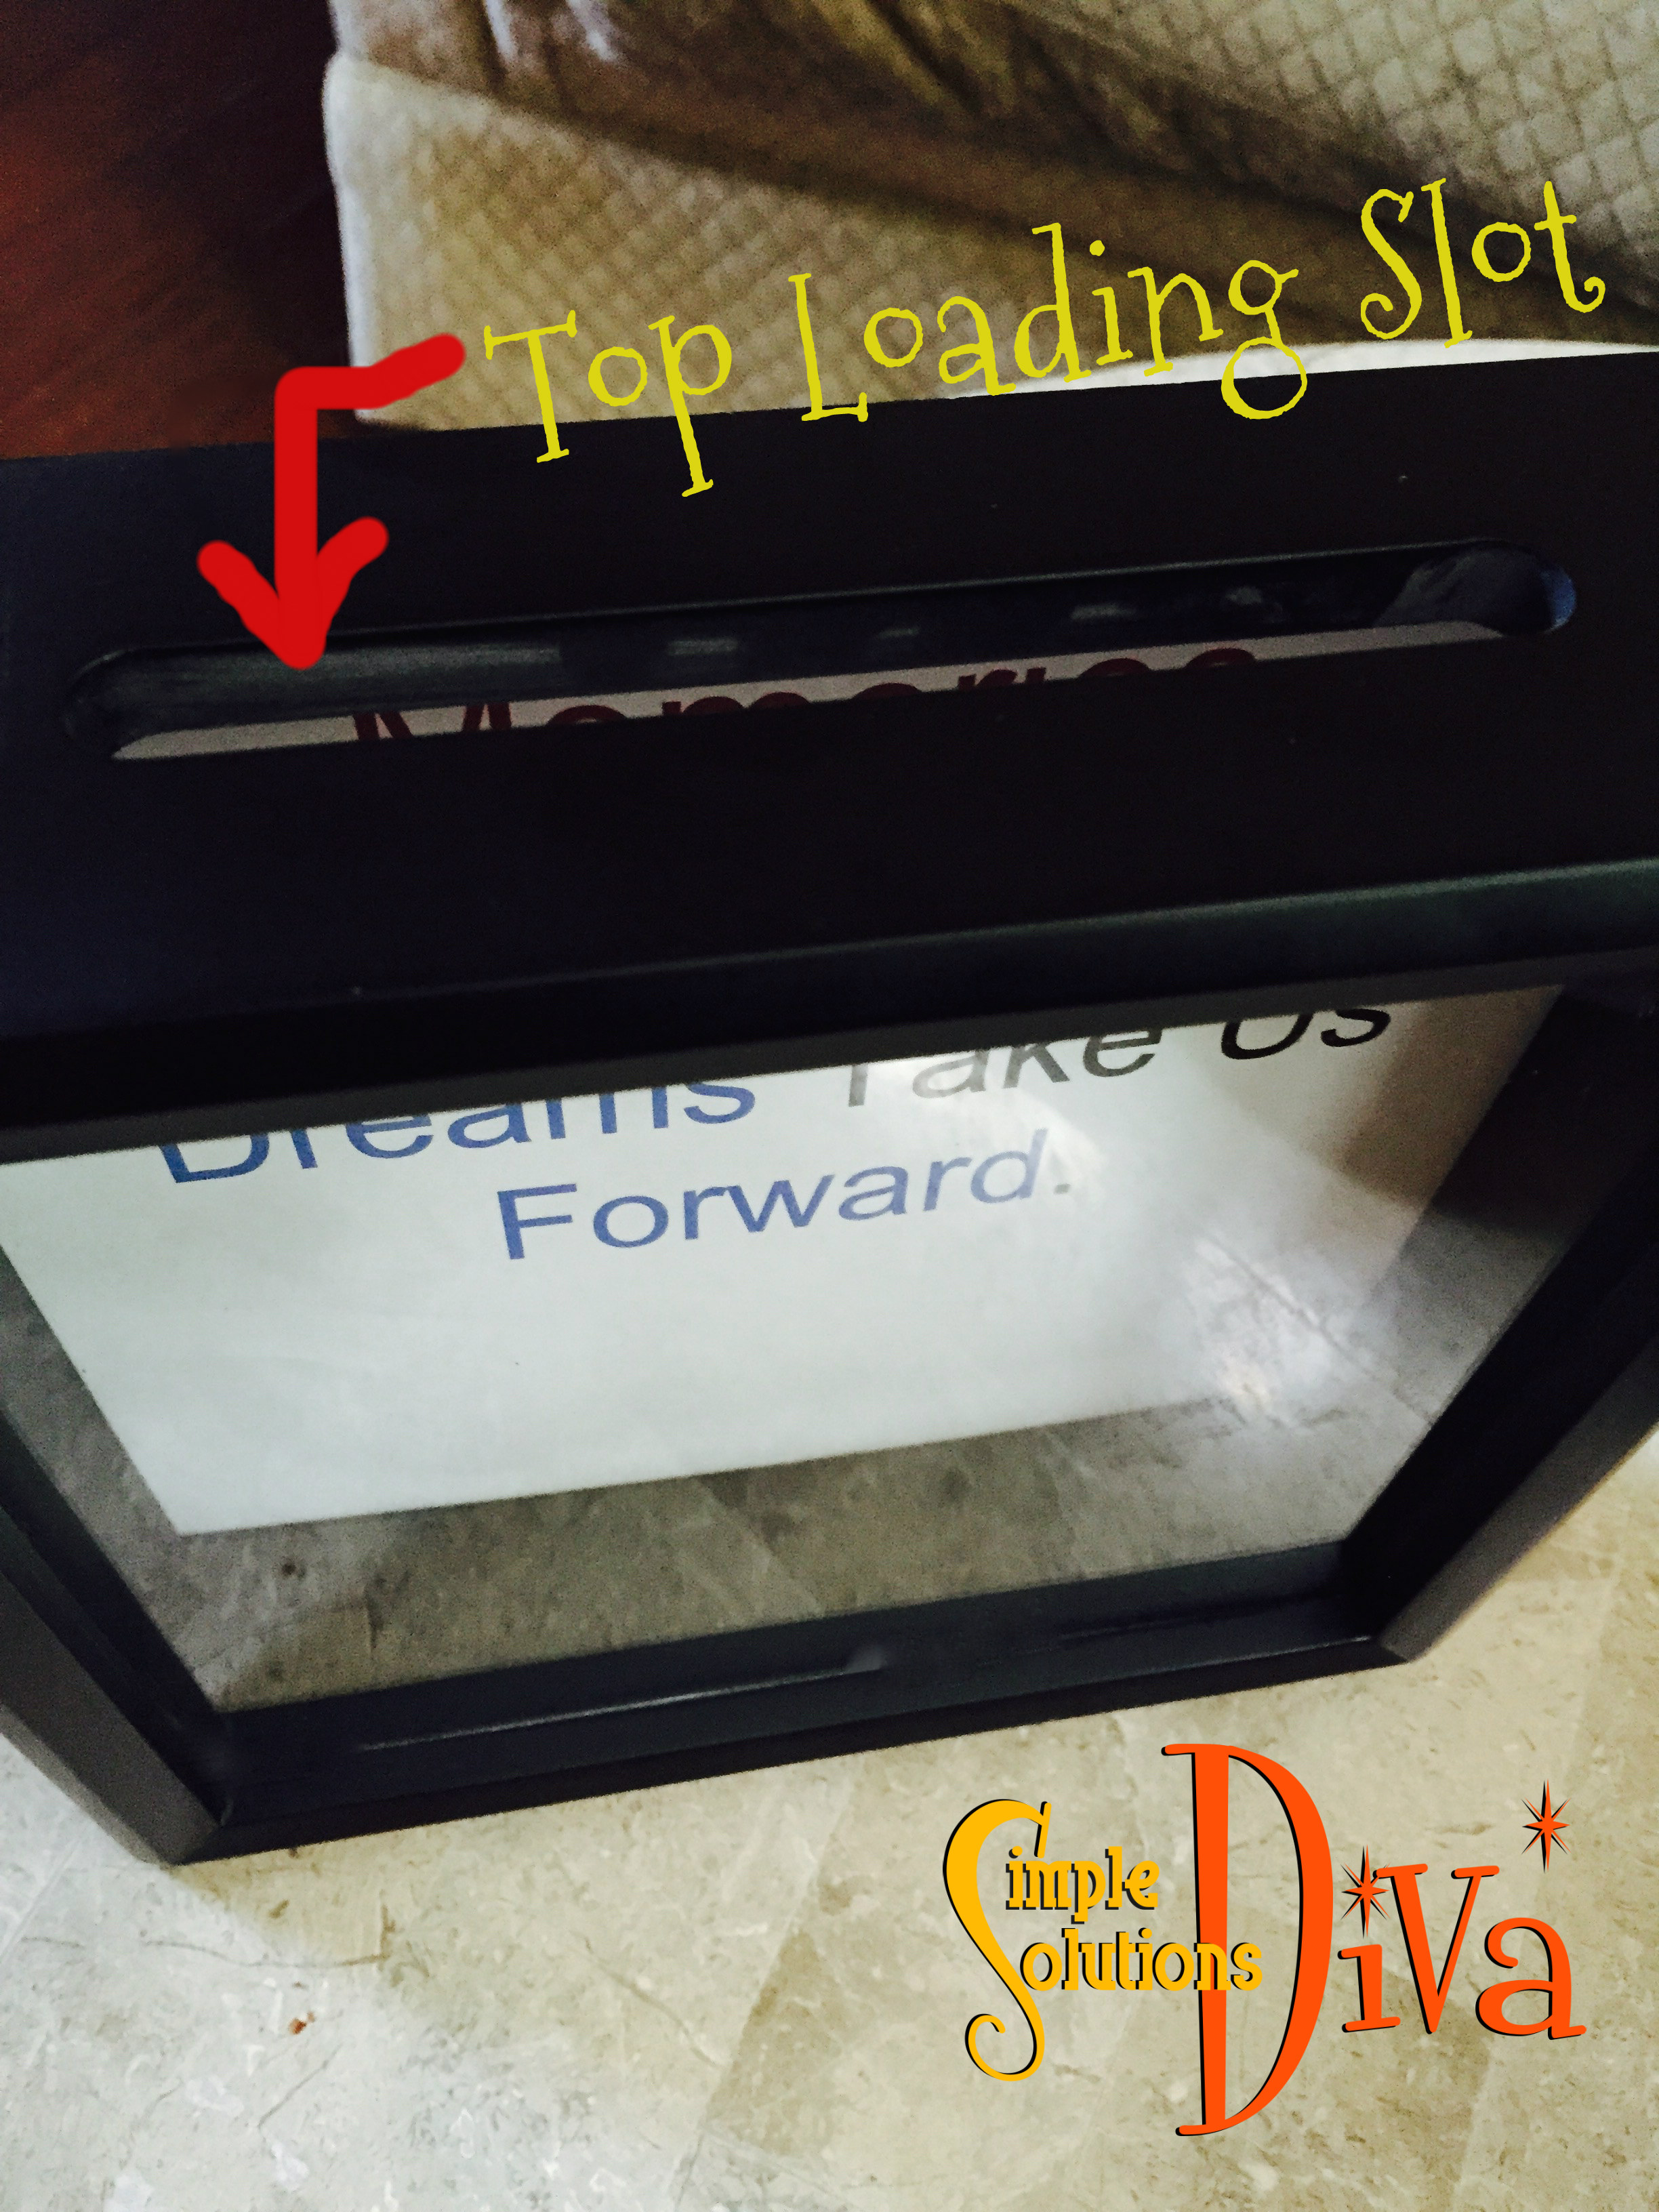
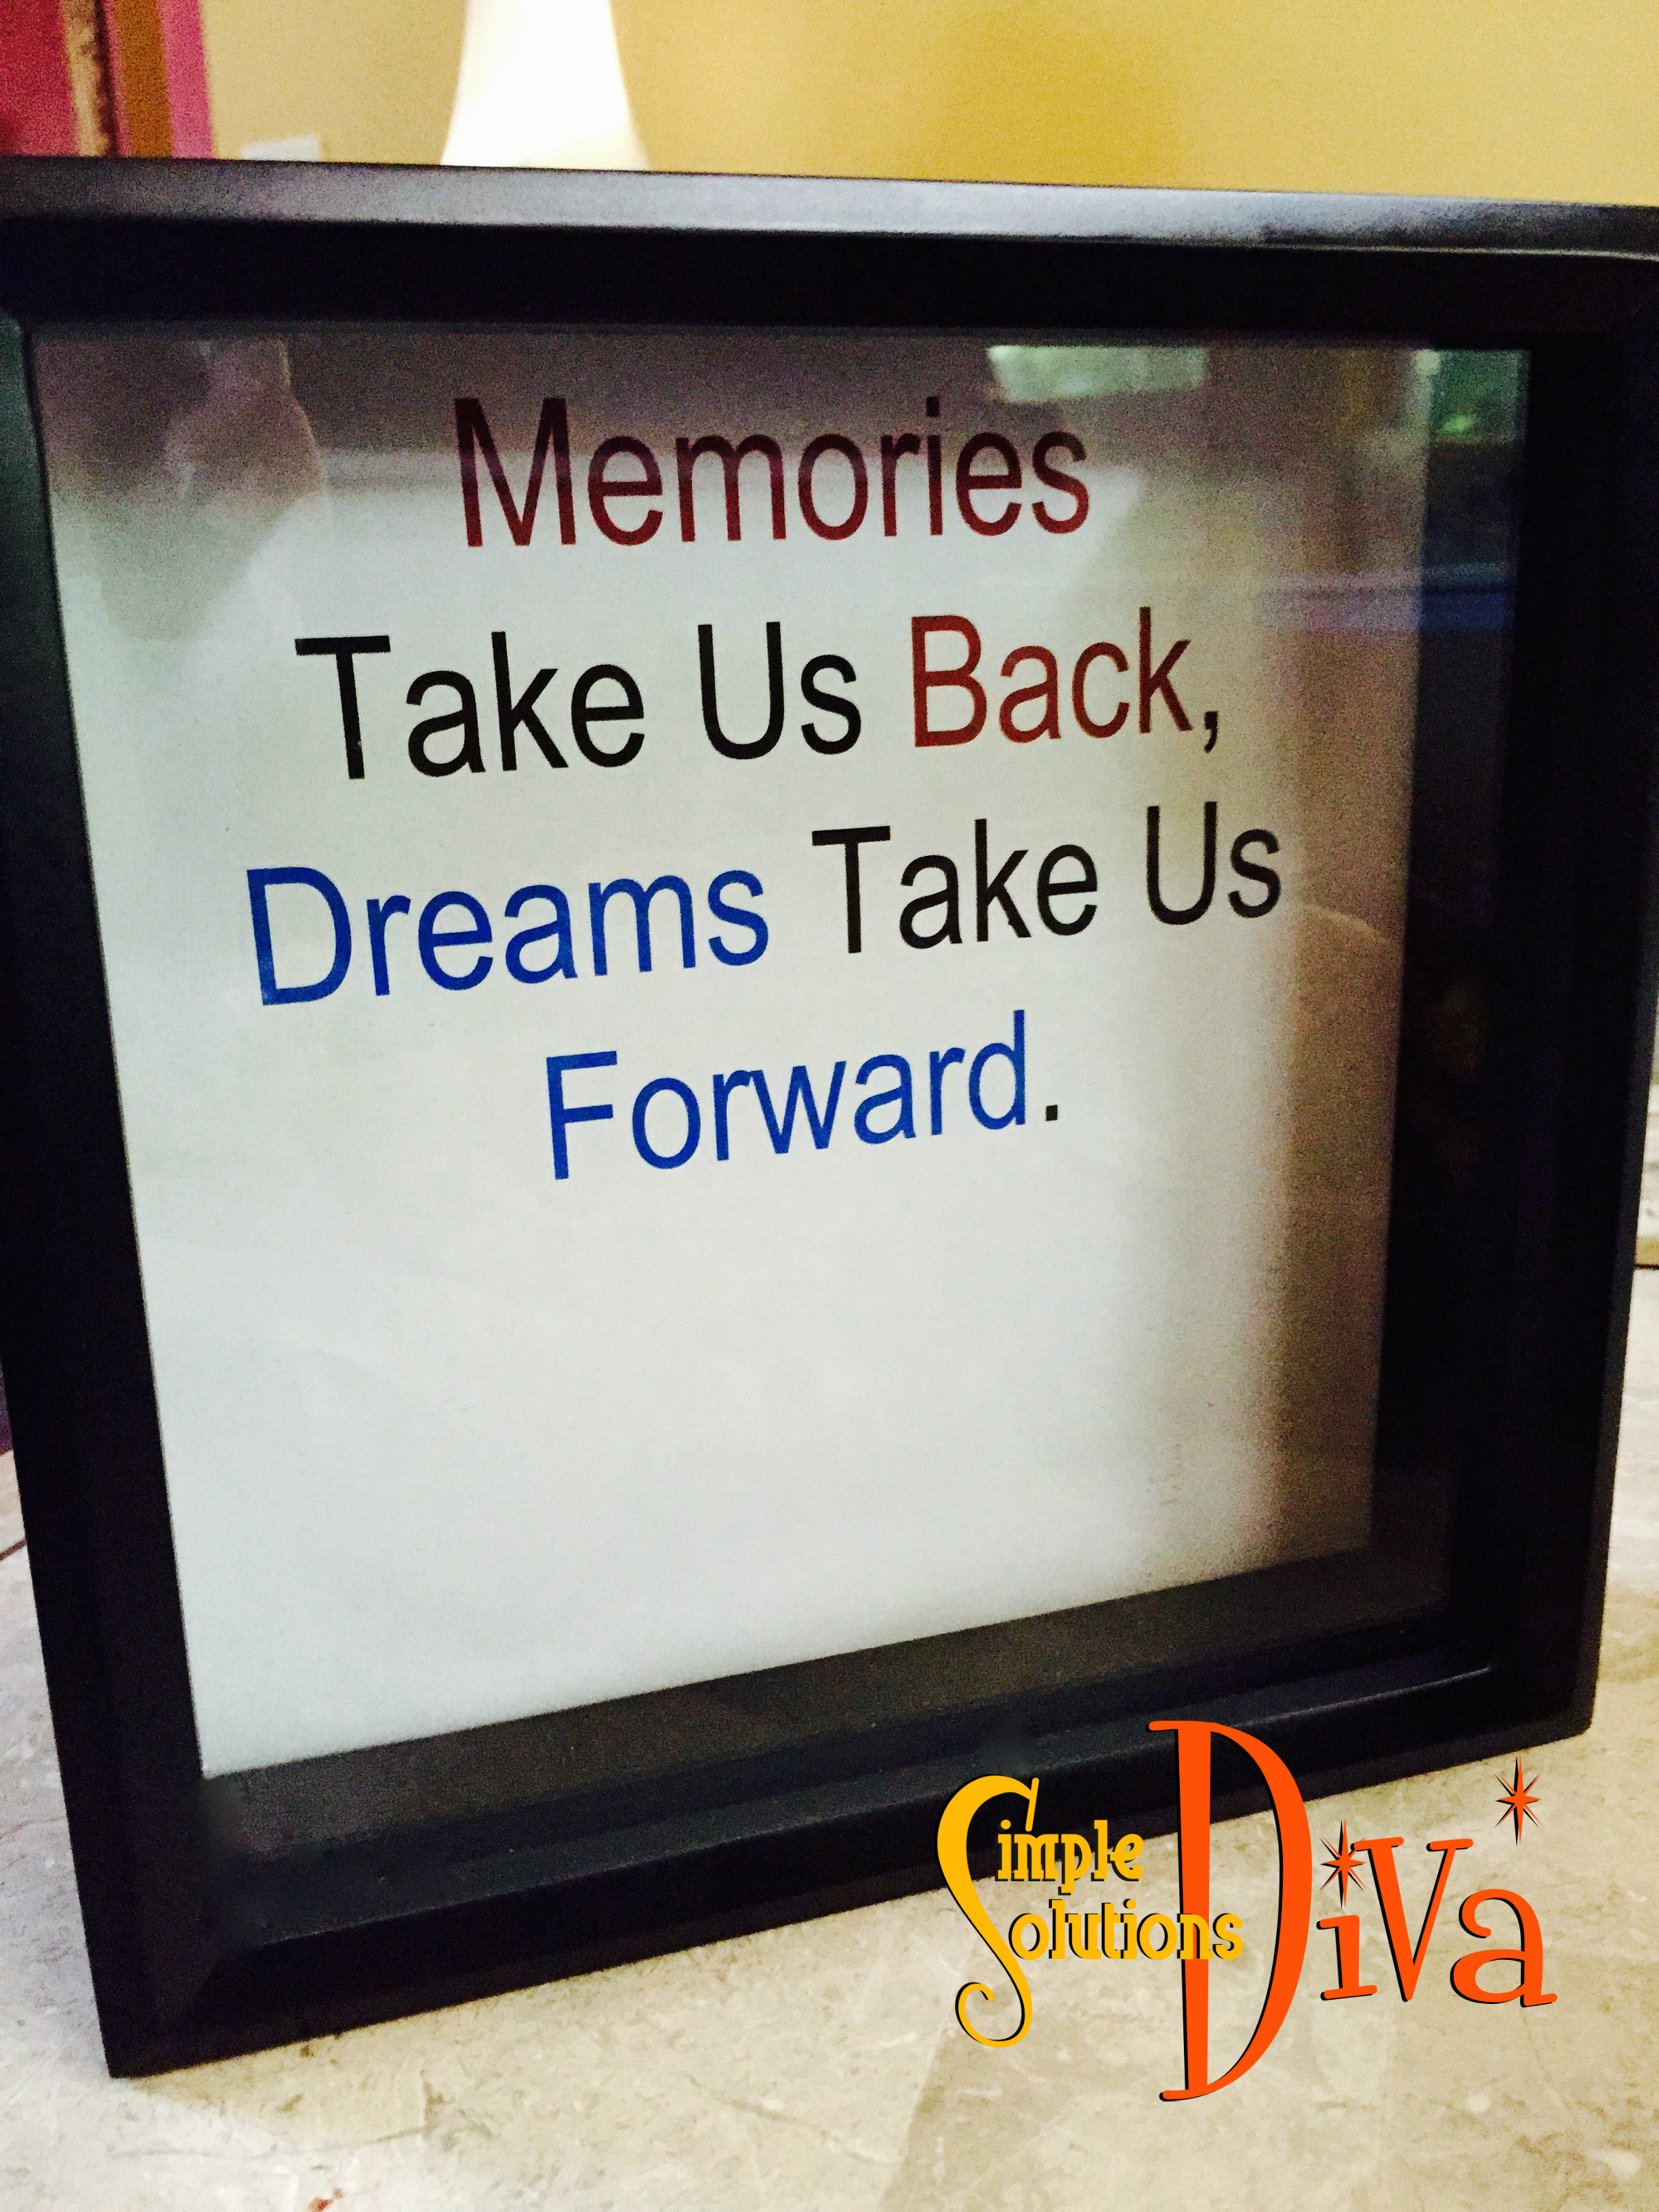
I found a great quote on memories and dreams that I thought would work well, and printed it on paper. Cutting the paper to fit the inside/back of the shadow box, I glued the quote on the inside, then replaced the back on the shadow box. Simple as that!
Here is a link to one of the shadow boxes on Michaels.com/ShadowBox.
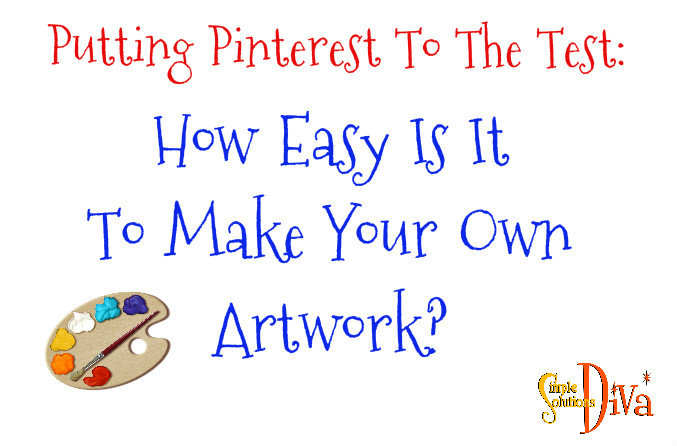
Today’s video is part of the “Putting Pinterest To The Test” Video Series! The Diva tests a pin that says it is easy to make your own, beautiful wall art – as easy as having some acrylic paints, a canvas and some masking tape. How easy is it? Do you need an art degree, or at least a little creativity?
Additionally, the Diva was a little wary that the masking tape might not create a good seal on the canvas, so she tested masking tape versus Frogtape Multi-surface painting tape.
To make your own wall art, you need will the following:
Check the video for directions and helpful tips!
What do you think of our artwork?


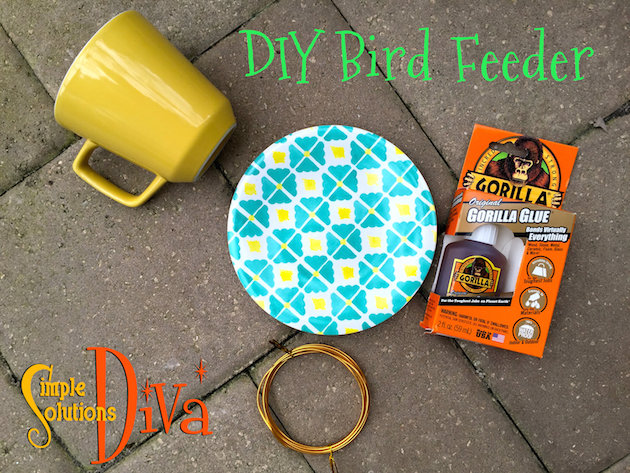
Spring is here and the birds are all aflutter! How about trying a few small DIY projects that are for the birds, literally! With a little creativity and a little elbow grease, you can make some adorable (AND Simple!) projects that will have all the birds tweeting! Best of all, these projects are perfect for the kids to make – with a little adult help!
 This simple feeder can be made with any teacup and saucer!
What You Need:
Directions:
Clean and remove all stickers from the teacup and saucer. Dry thoroughly.
With a spray bottle or damp cloth, moisten the saucer. Using the Gorilla Glue, draw a thin line of glue on the side of the teacup opposite of the handle. Place the teacup, glue side down, on the saucer. Hold in place for two hours. (I used a small hand weight to keep constant pressure and to keep teacup in place.) NOTE: These instructions are specific to using Gorilla Glue as your adhesive. If using something other than Gorilla Glue, follow the directions for that product.
You can use the handle of the cup as a hook, or you can create an extended hanger by using copper floral wire (optional). Use the Gorilla Glue to secure the wire in place on the cup handle.
Add birdseed and hang in location where you can enjoy watching the birds visit!
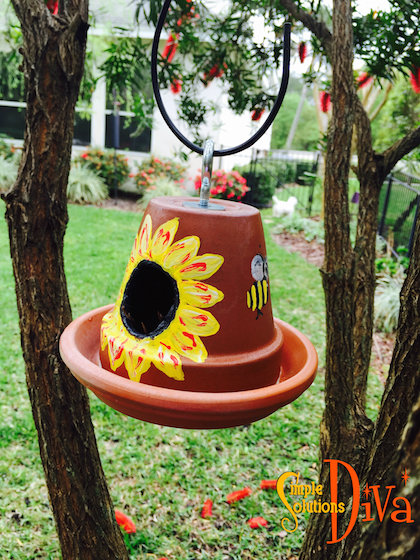 A little clay pot, a clay saucer, a hole cutter drill bit and you’ve got one cute Birdhouse! This project requires the use of power tools (a drill), so gather your materials before beginning the project!
What You Need:

Directions:
Remove all labels from pots and saucers. Soak the pots in water for approximately 5-10 minutes. This will soften the clay and will lessen the likelihood of the pot breaking into shards. (Keep a bucket of water handy while drilling – you may need to dunk the pot in the water occasionally to keep things damp.)
On a safe, flat work surface, using something to secure the pot in place on the work surface, use the drill and hole cutter drill bit to cut the hole in the pot. Be sure to use protective eyewear! Size of hole will depend on the size of the pot. I cut a hole about 1.5 inches in diameter. I also used sand paper to smooth out the edges of the hole.
Turn the pot upside down on a clean, flat work surface. Feed one washer onto the eyebolt, then feed eyebolt through bottom of the pot. Turn pot right side up, feed second washer onto eyebolt. Add the nut and secure the eyebolt to the pot.
Using the Gorilla Glue, and following the directions on the label, glue the saucer to the top of the pot. Allow 2 hours to affix completely.
If desired, paint the birdhouse with acrylic paints. Spray clear, protective coasting spray over entire birdhouse. Hang in a tree and enjoy the new visitors!