Halloween is all about the Tricks or Treats – Well, I love the treats! I have some simple recipes here for Halloween that will put a smile on your goblin’s face!
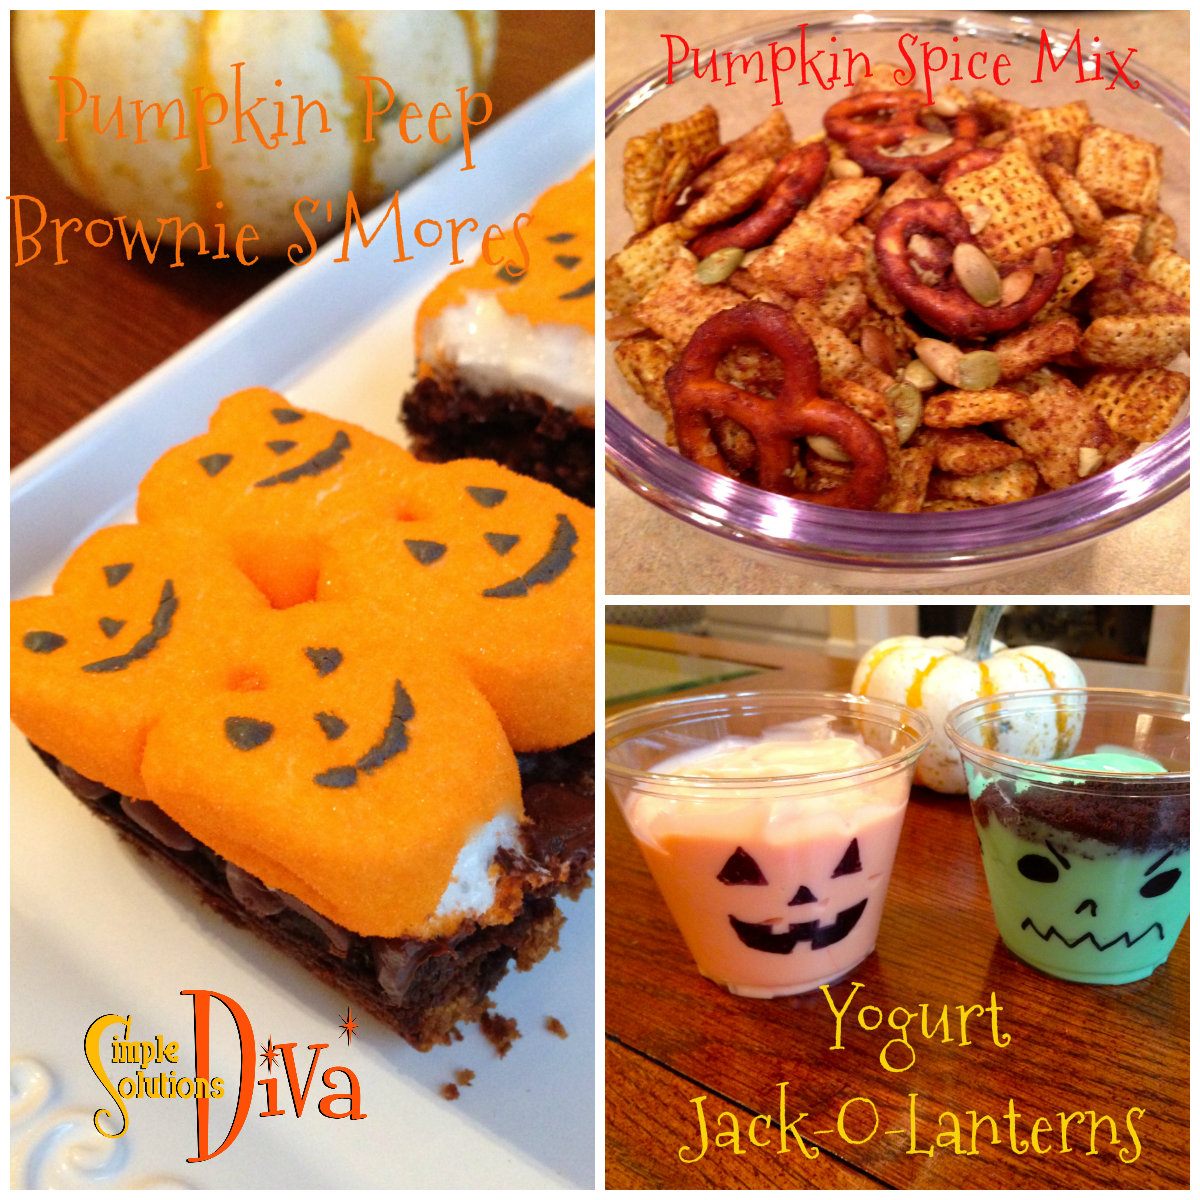
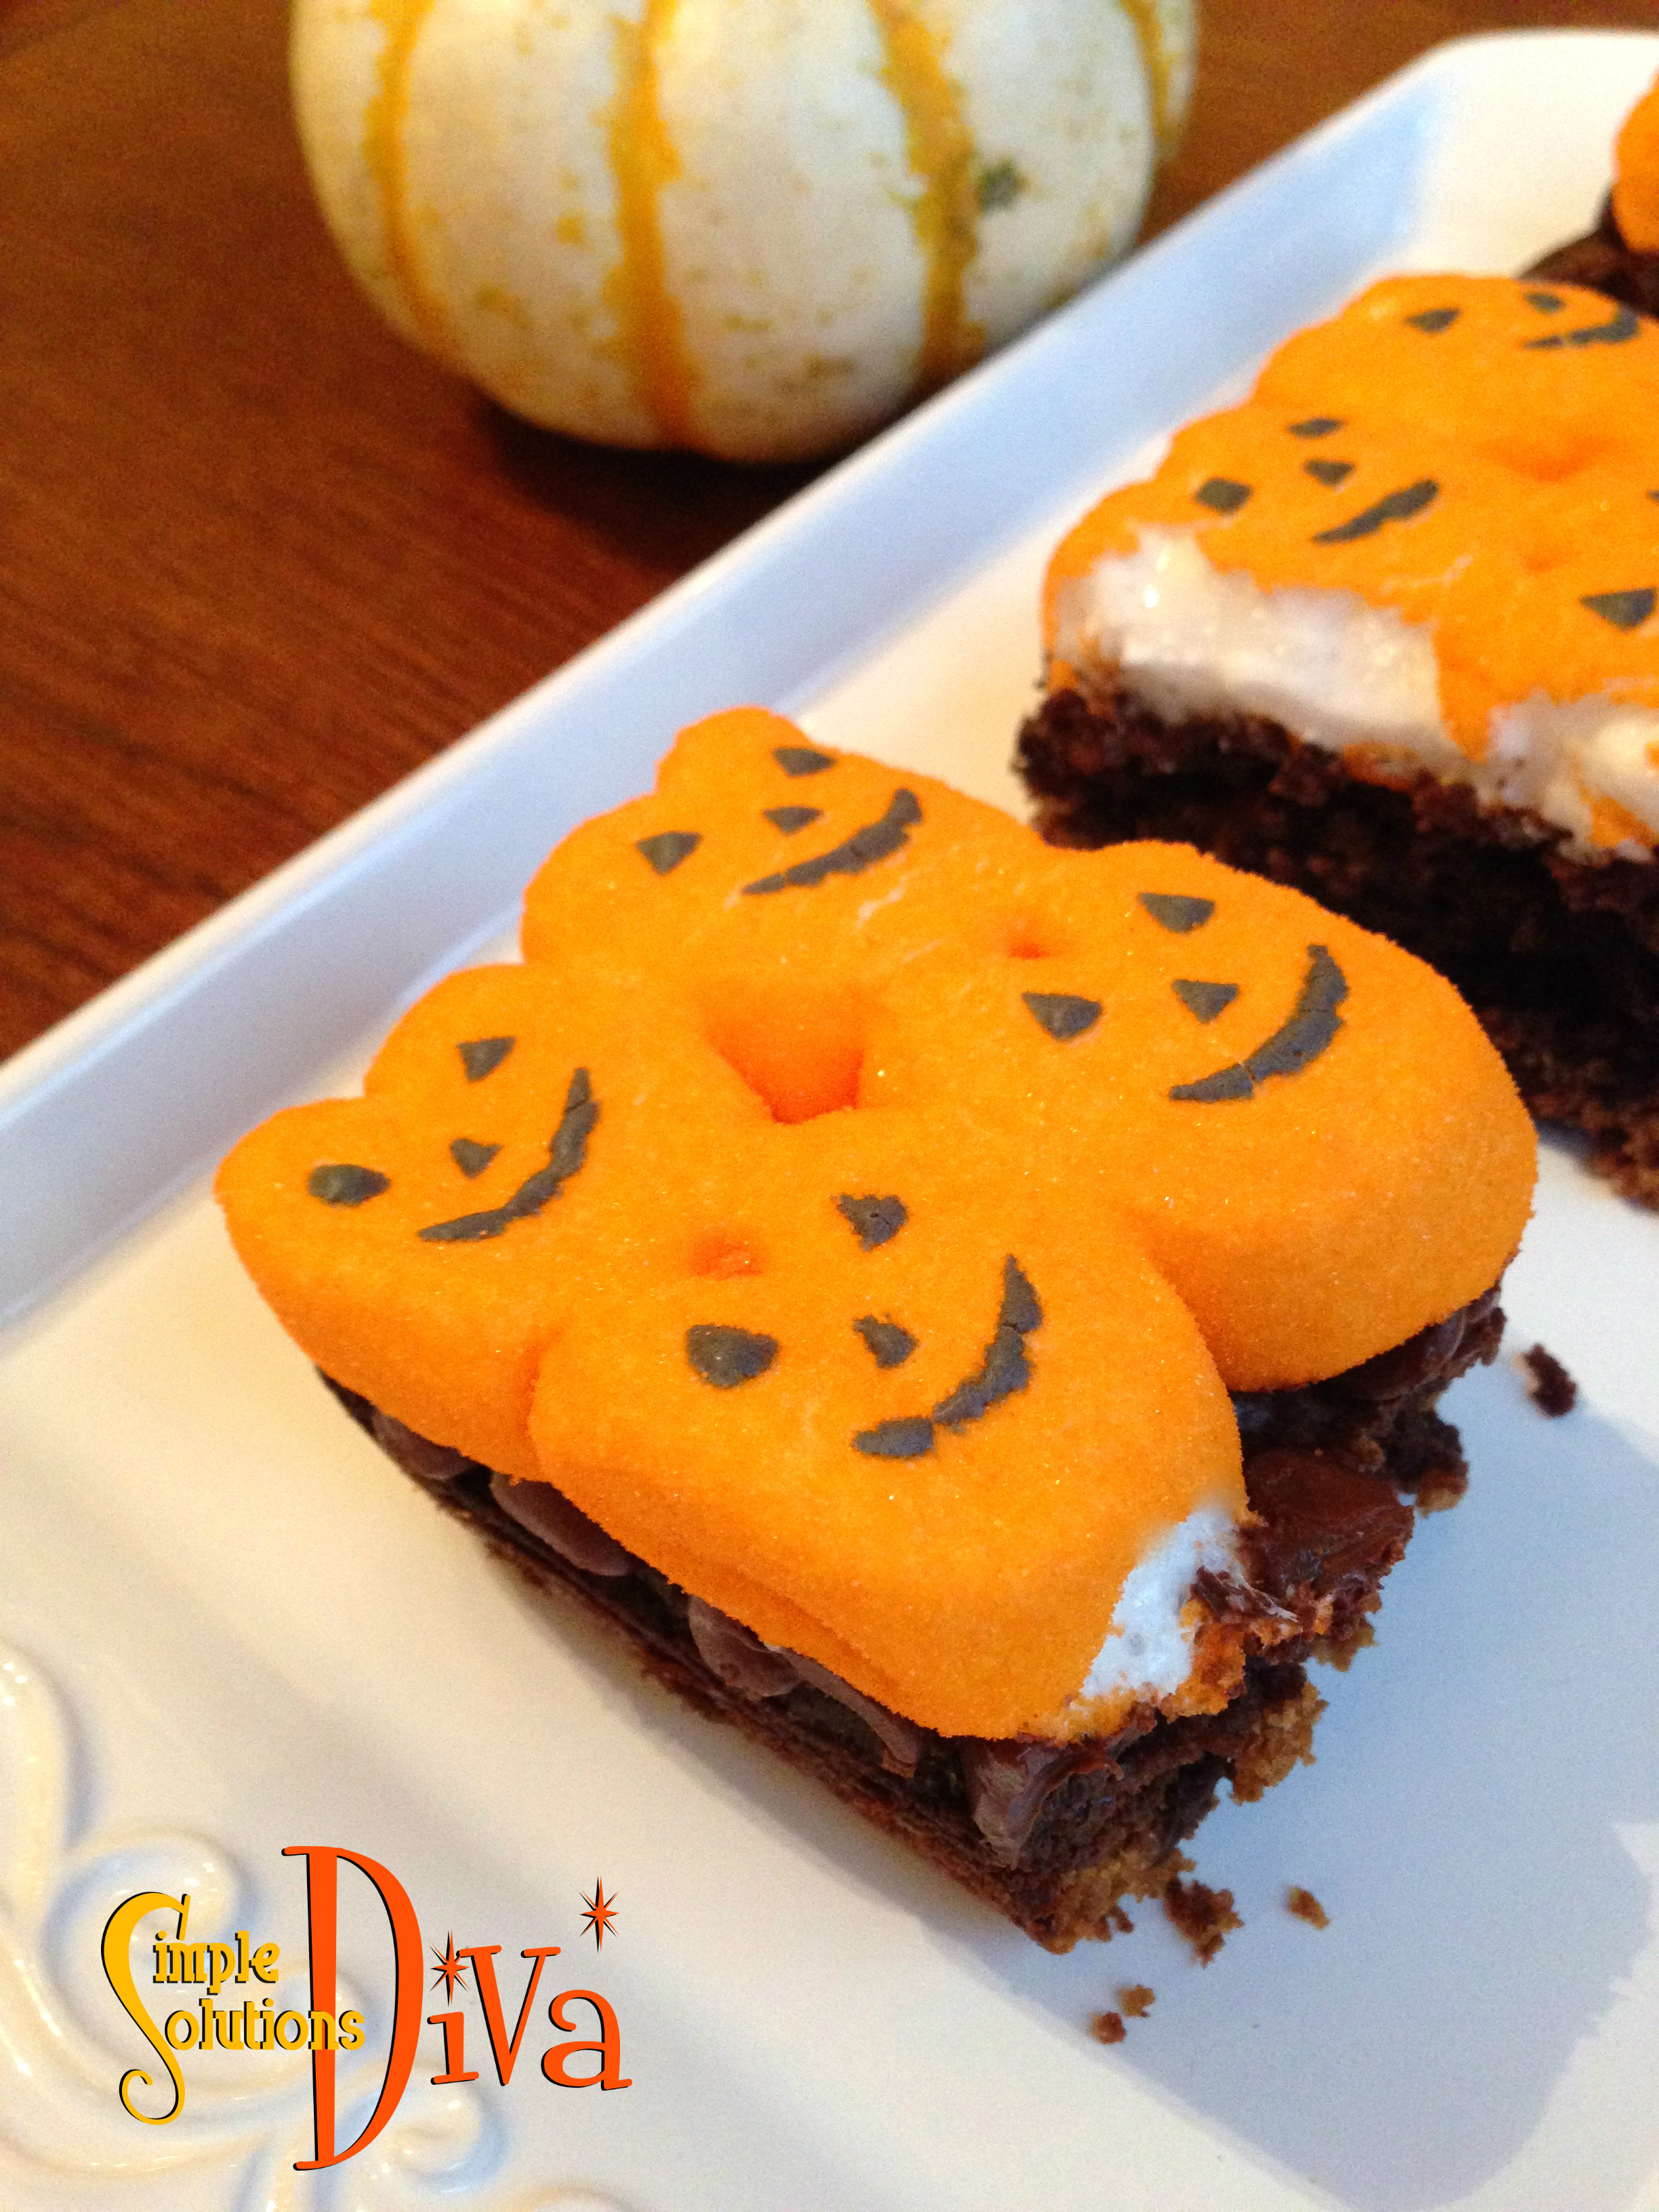
Pumpkin Peeps Brownie S’mores
There’s no pumpkin or pumpkin flavoring in these – just adorable Pumpkin Peeps!
Ingredients:
- 1 ½ Cup Graham Cracker Crumbs
- 1 stick butter – melted
- 2 teaspoons sugar
- 1 box favorite brownie mix (plus ingredients instructed on box!)
- ¾ cup chocolate chips
- 2 boxes marshmallow Pumpkin Peeps
Directions:
Set oven to 350 degrees. Grease the bottom of an 8×8 square baking dish.
In a microwave safe bowl, melt the butter. Add to the melted butter the sugar and graham crackers. Mix thoroughly and press into bottom of pan. Bake for 10 minutes and remove from oven.
Prepare brownie mix as directed on box. Pour batter over graham crackers, and bake according to directions on box.
In last five minutes of baking, cover top of brownie with chocolate chips. Add pumpkin peeps to top of brownie and bake for another 5 minutes, until the peeps get puffy. Remove from oven and cool. Cut carefully and serve!
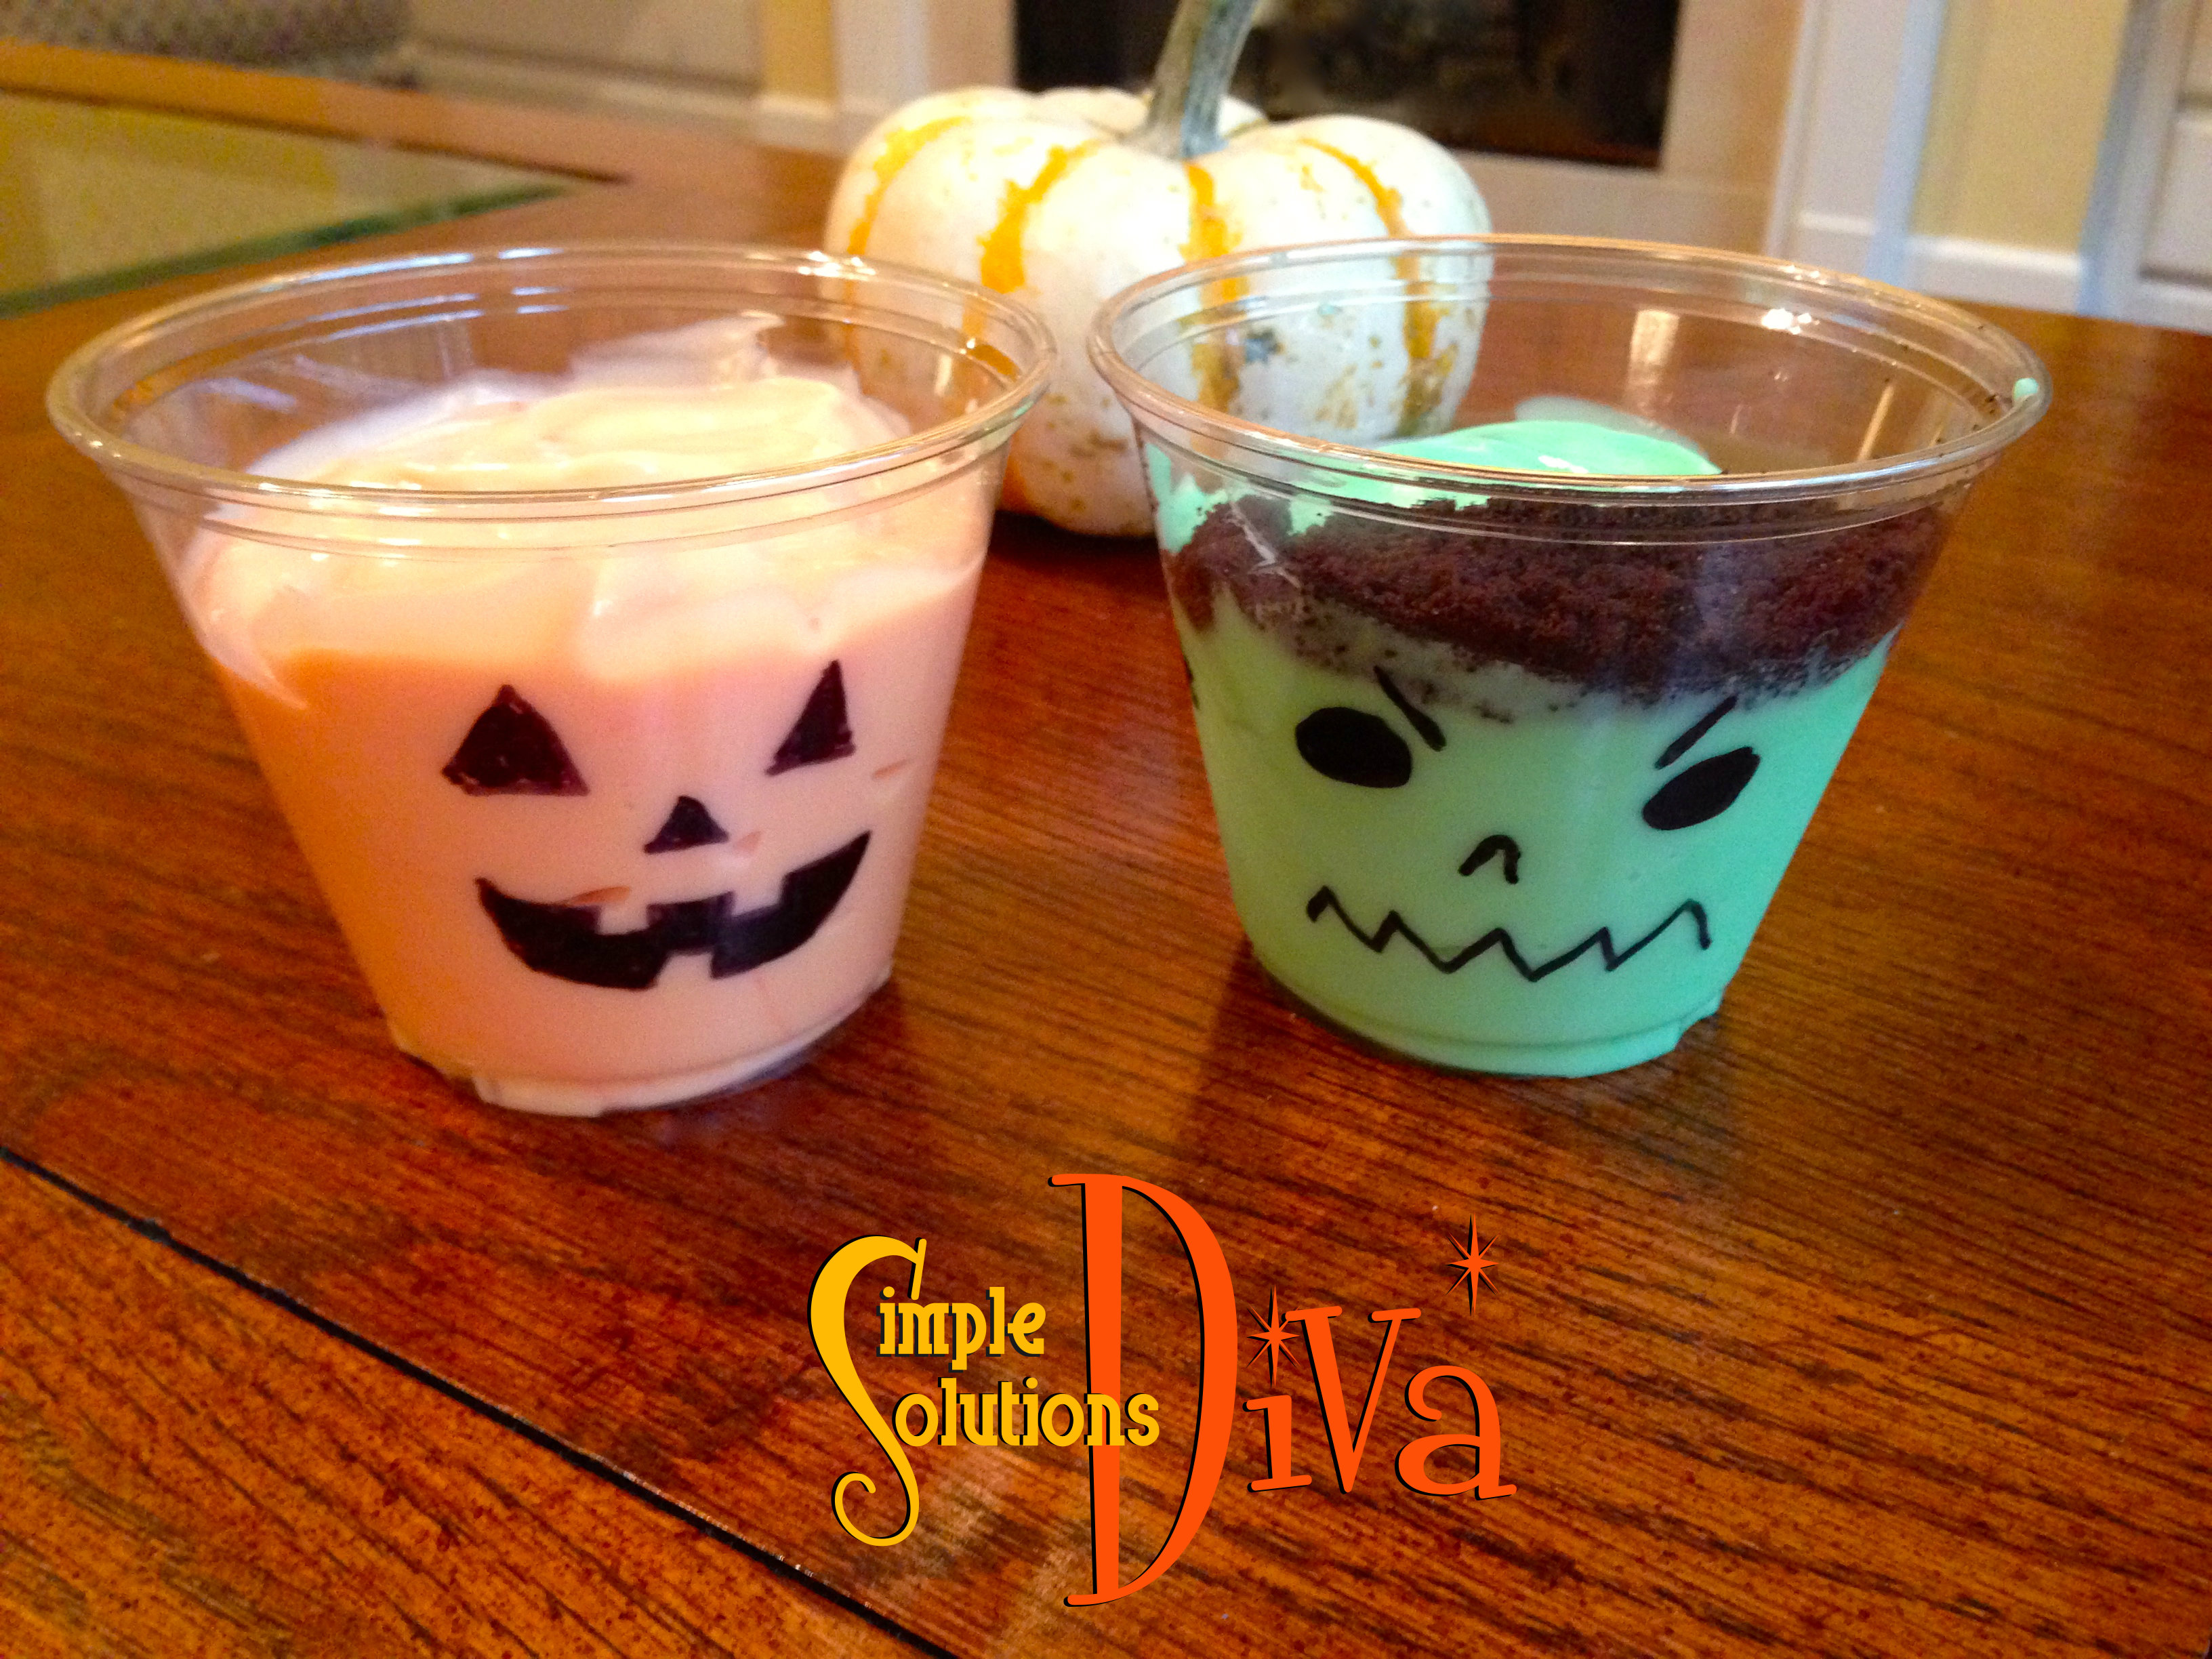
Yogurt Jack-O-Lanterns/Monsters
So easy!! Almost feel guilty about this one!! 😉
What You Need:
- 2 large (24 oz) containers favorite vanilla yogurt
- Green and Orange food coloring
- Chocolate cookie wafers, smashed into crumbs (my favorite part!)
- Clear 9 oz. plastic cups
- Black permanent marker
Directions:
Using the back permanent marker, draw a jack-o-lantern face or Frankenstein face on the outside of the plastic cup. Divide the yogurt into two bowls. Add food coloring to each bowl (green for Frankenstein; orange for pumpkin). Fill the cups with the appropriate color yogurt. Top the Frankenstein cup with crushed chocolate wafers (his hair!). You can use the chocolate wafer crumbs to draw lines on the top of the pumpkin.
Oh so cute and easy!
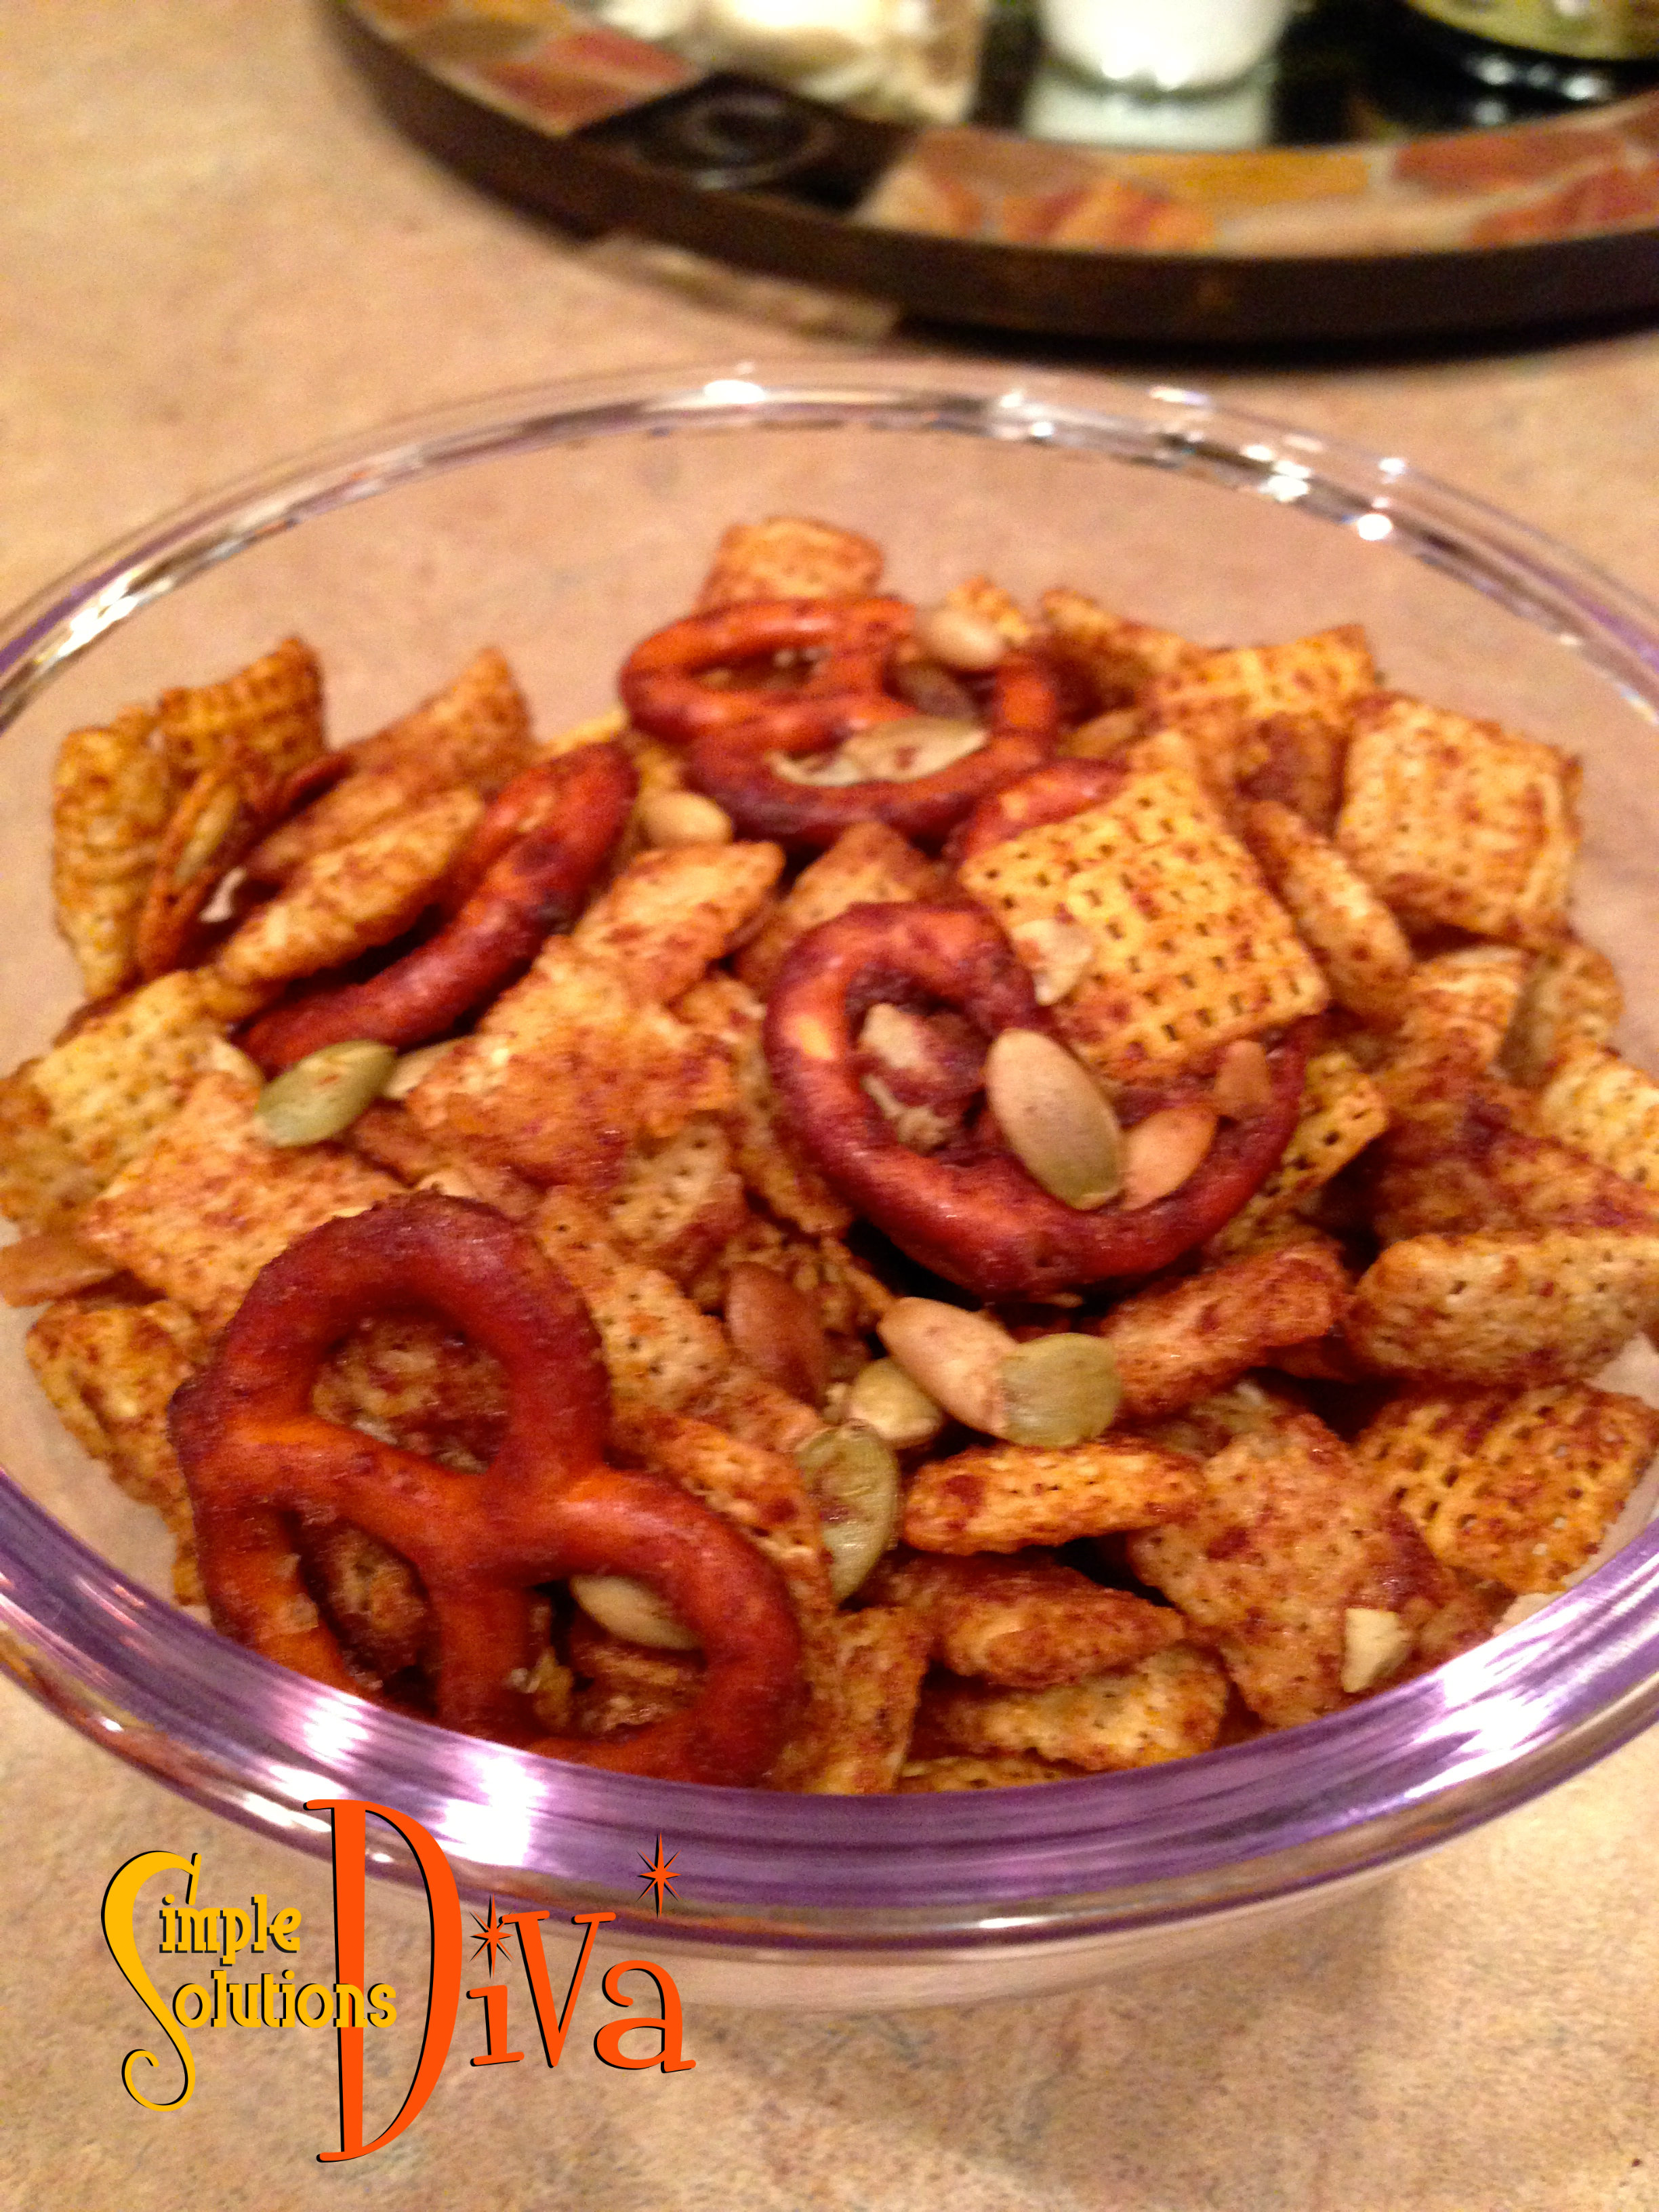
Pumpkin Spice Snack Mix
Chex Mix with a pumpkin spice twist!
Ingredients:
- 2 Cups Rice Chex
- 2 Cups Corn Chex
- 2 Cups Cinnamon Chex
- 1 Cup Pretzel Twists
- ½ Cup Pumpkin Seeds (also called “pepitas”)
- 1/4 Cup butter
- 1/4 Cup Canned Pumpkin
- 1/4 Cup Packed Brown Sugar
- 1 Tablespoon Pumpkin Pie Spice
- 2 teaspoons Vanilla Extract
Directions:
Line a cookie sheet with wax paper. Set aside.
Combine in a large, microwave-safe bowl the Chex, pretzels, and pumpkin seeds.
In a separate microwave-safe bowl, melt butter (approx. 30-60 seconds). Add to the melted butter the pumpkin, sugar, spice and microwave another minute or so until bubbly. Add vanilla and stir.
Drizzle the butter mixture over the Chex mixture, stirring gently. Microwave on high for 5 minutes, stirring every minute. Spread out on wax paper lined pan, breaking up large pieces. Allow to cool for 10 minutes. Store in air tight container. Enjoy!
Thank you to WTLV-TV’s First Coast Living for inviting me on to share these simple recipes!