My family loves a good smoothie for breakfast, but sometimes the morning rush leaves us without enough time to assemble the smoothie! Check out the simple video tip above for a simple solution to that time problem!
My smoothie packets all assembled and ready to use in the morning!
Frozen Smoothie Packet Recipes:
Smoothie Flavor Combos – You are only limited by your imagination!
Our current favorite recipe includes banana, mango, pineapple, spinach, and coconut greek yogurt (mixed with apple juice)! My oldest says, “It is better than ice cream, and healthier, too!”
Other favorites include:
The Superfood Smoothie – strawberry, blueberry, chia seeds and apple juice or almond milk.
The Tropical– Mango, Pineapple, Coconut Yogurt mixed with organic acai juice.
Strawberry & Banana – mixed with vanilla yogurt and almond milk.
Another great tip when preparing your frozen smoothie packets:If you want to include yogurt in your smoothie, use an ice cube tray and make yogurt ice cubes. They make it easier to assemble your smoothie packets!
This super-simple potato casserole will become your go-to favorite. Probably the easiest recipe, besides buying pre-made potatoes! I’m whipping this up for Easter Dinner this year. How will YOU use them? At a party? A family meal?
A big thank you to my sister-in-law, Lisa, who shared this recipe with me!
Party Potatoes
Ingredients:
1 30 oz. Bag Frozen Shredded Potatoes (I used Oreida Frozen Hash Brown Potatoes)
1 Can Cream of Chicken Soup
1 Pint Sour Cream (NOTE: I used 1 cup of sour cream by accident in the video, and they still tasted good! )
4 cups shredded cheddar cheese
1/4-1/2 chopped, sauteed onions (optional)
Directions:
Using cooking spray, grease the bottom of a 13×9 inch pan. Line the bottom of the pan with the frozen, shredded potatoes.
In a large bowl, mix together the cream of chicken soup, sour cream, and shredded cheese (add the onions, too, if using them!)
Bake, uncovered, at 350 degrees for 45 minutes – 1 hr. It will bubble all along the sides!
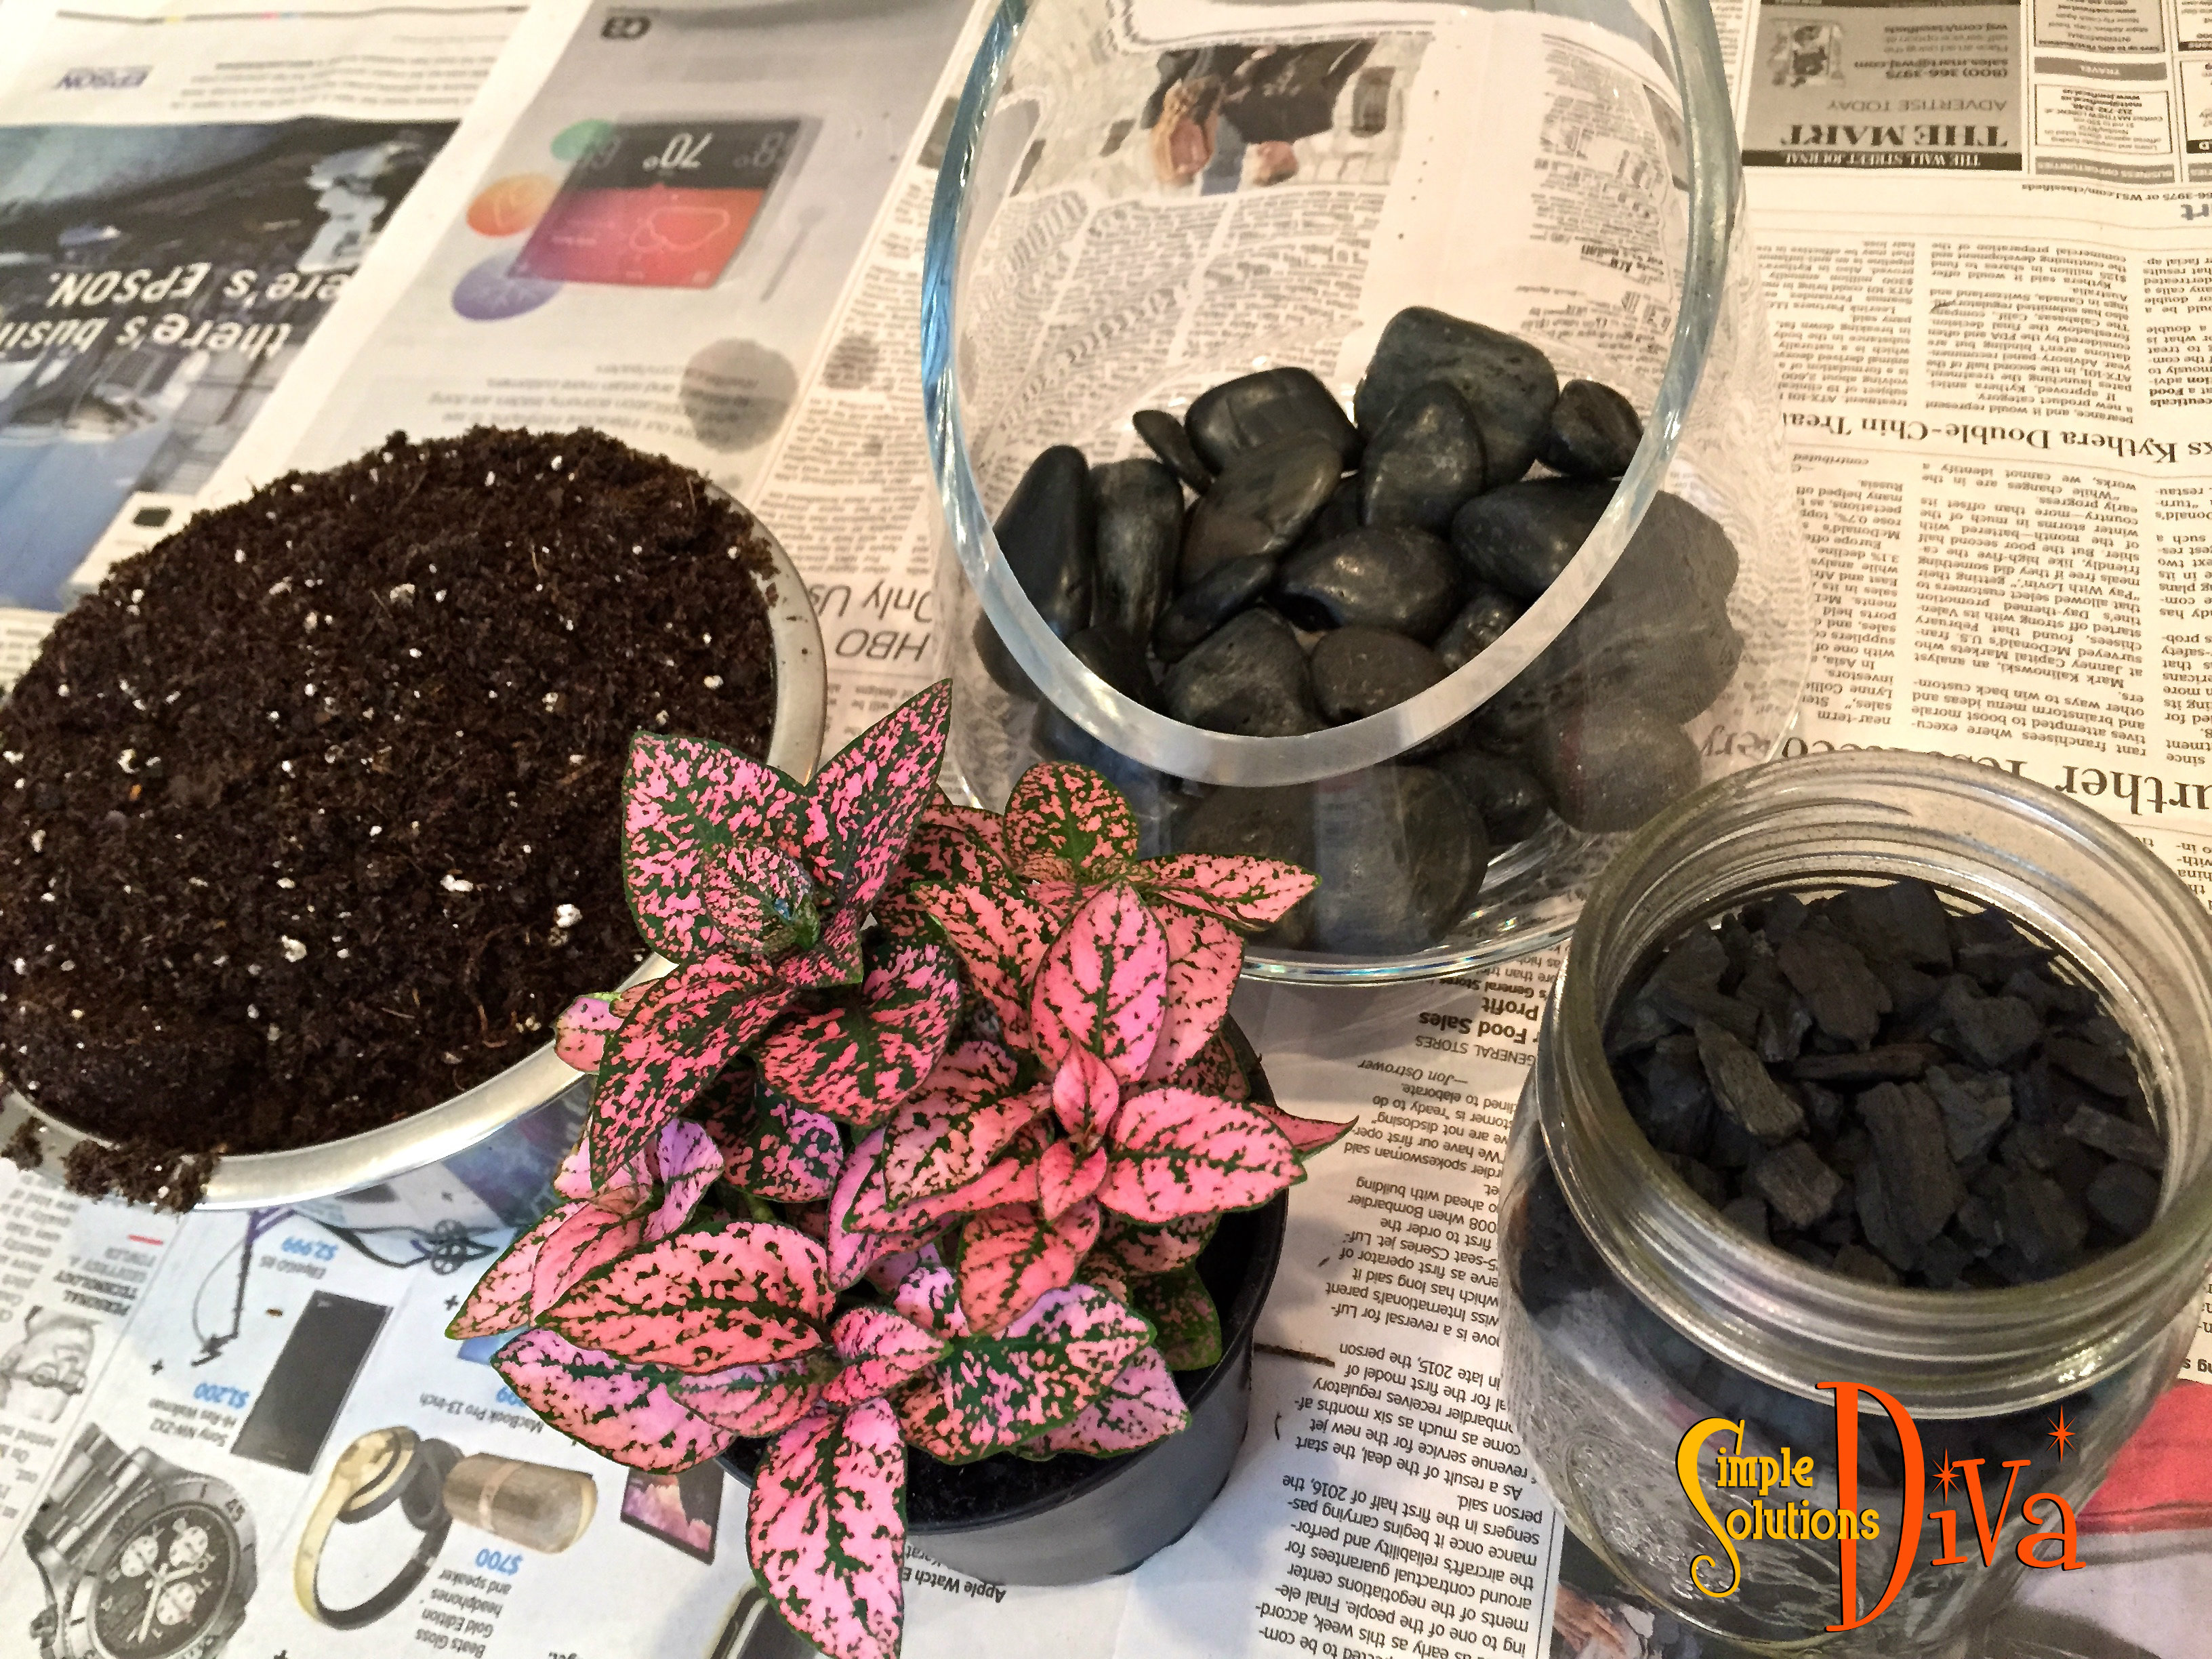
All You Need For A Terrarium: Charcoal, rocks for drainage, a beautiful bowl, soil, and a plant perfect for your lighting conditions!
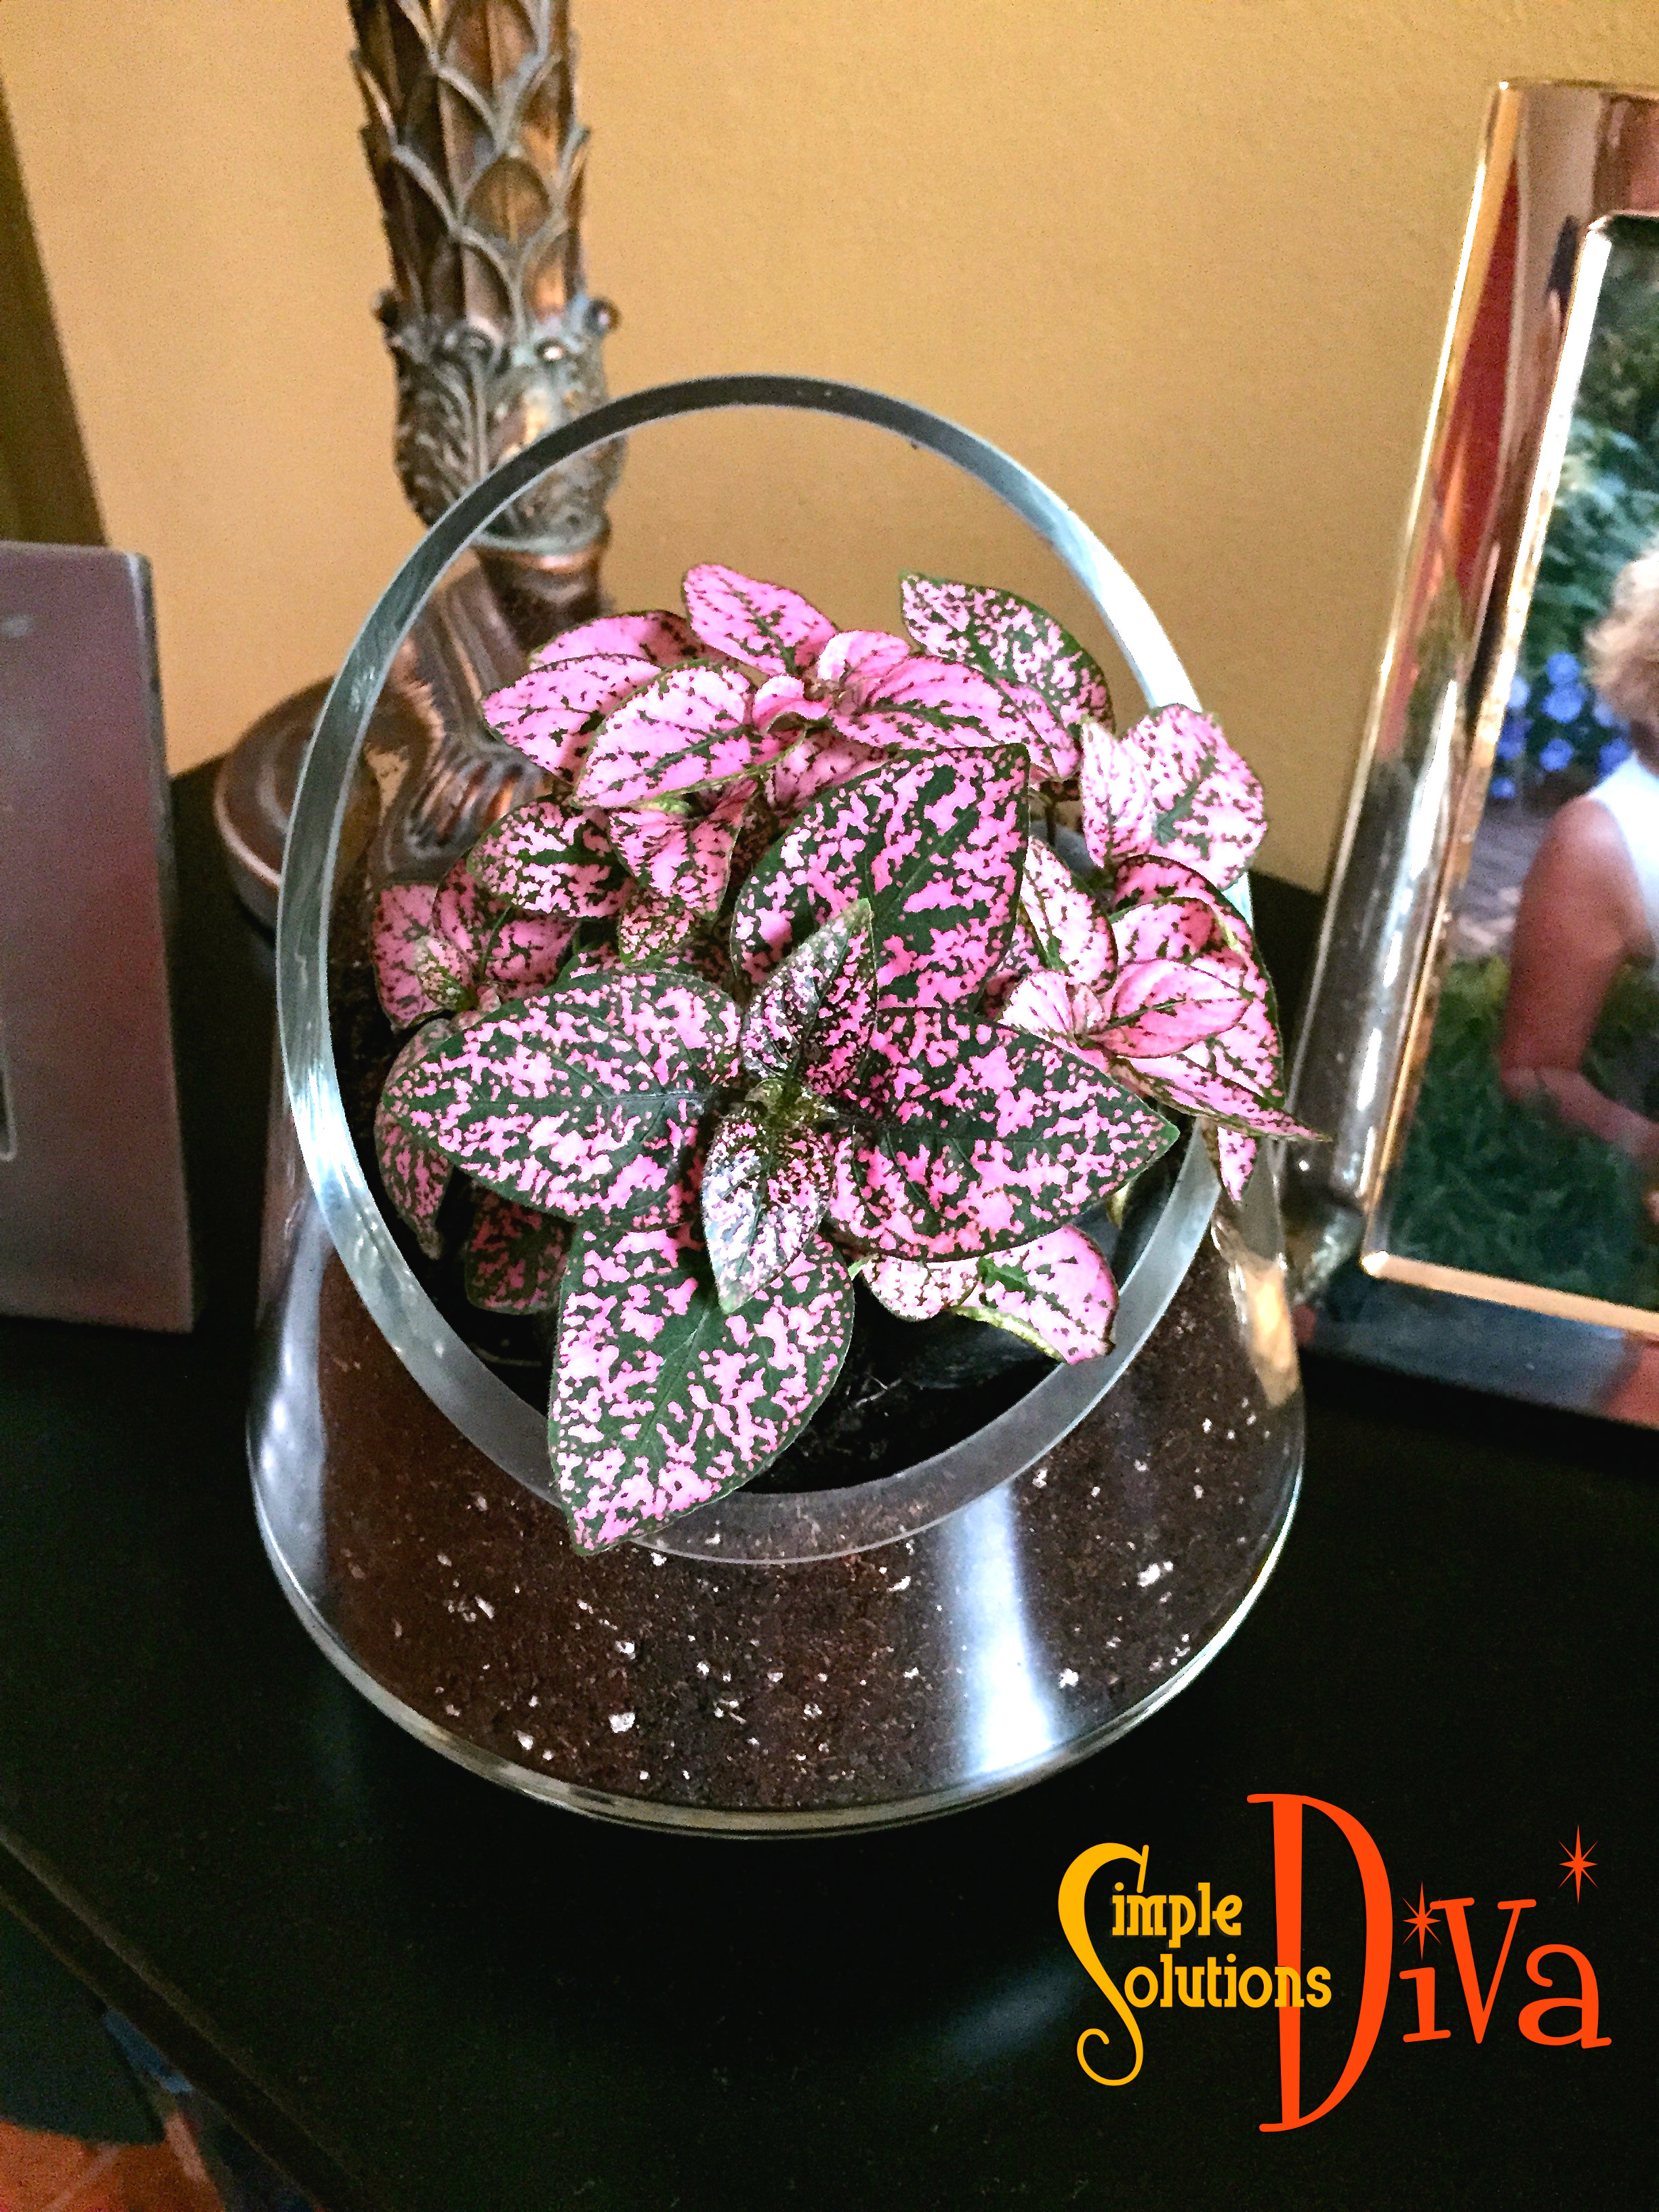
An indoor garden? Why YES! A terrarium IS an indoor garden! The Diva shows you a few simple tips to create a beautiful display that will remain lovely for years to come!
Here are a few basic tips from About.com on how to care for your terrarium:
Caring for your terrarium is easy. Check every couple of weeks to see if your terrarium needs water. Feel the soil to see if it is dry and add water if it is.
If your terrarium is closed, take off the top at least once a month to air it out. If you see lots of condensation or have added too much water, leave the top off until it has had a chance to dry out.
Pull off any leaves that show signs of yellowing or damage and prune plants if they grow too large.
Don’t fertilize your terrarium because you don’t want to encourage growth.
It is always important to know the steps to stop a small kitchen fire before it gets out of control! These tips are for informational purposes only, and are not to replace calling 911 in an emergency situation. Do not hesitate to call 911 when a fire is out of control!
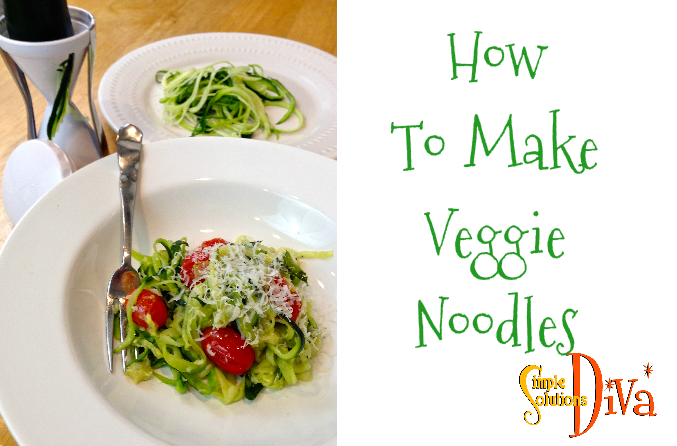
Vegetable Noodles are all the rage right now! Search “Vegetable Noodle Recipes” on Pinterest and you will find hundreds of recipes! (And click here to see them all!) But is there a simple way to MAKE them? YES!
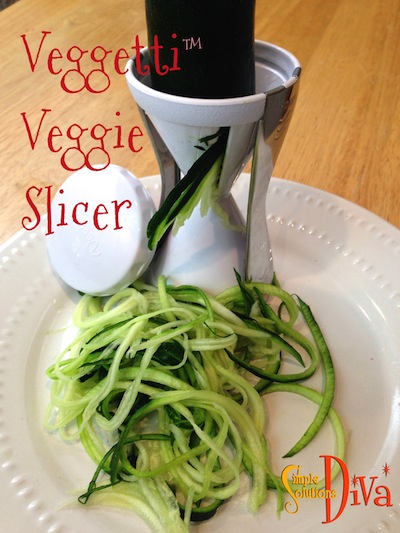
By using a specific product made to create those lovely noodles! There are many out there, some expensive, some inexpensive. I am using the Veggetti™ (I got mine at Bed, Bath & Beyond). You can find it here if you are having trouble finding one –Veggetti Spiral Vegetable Slicer, Makes Veggie Pasta
Now that you have these noodles, what do you do with them? Make all kinds of wonderful dishes! I found one recipe I loved on WhatsGabyCooking.com. Be sure to check out her website!
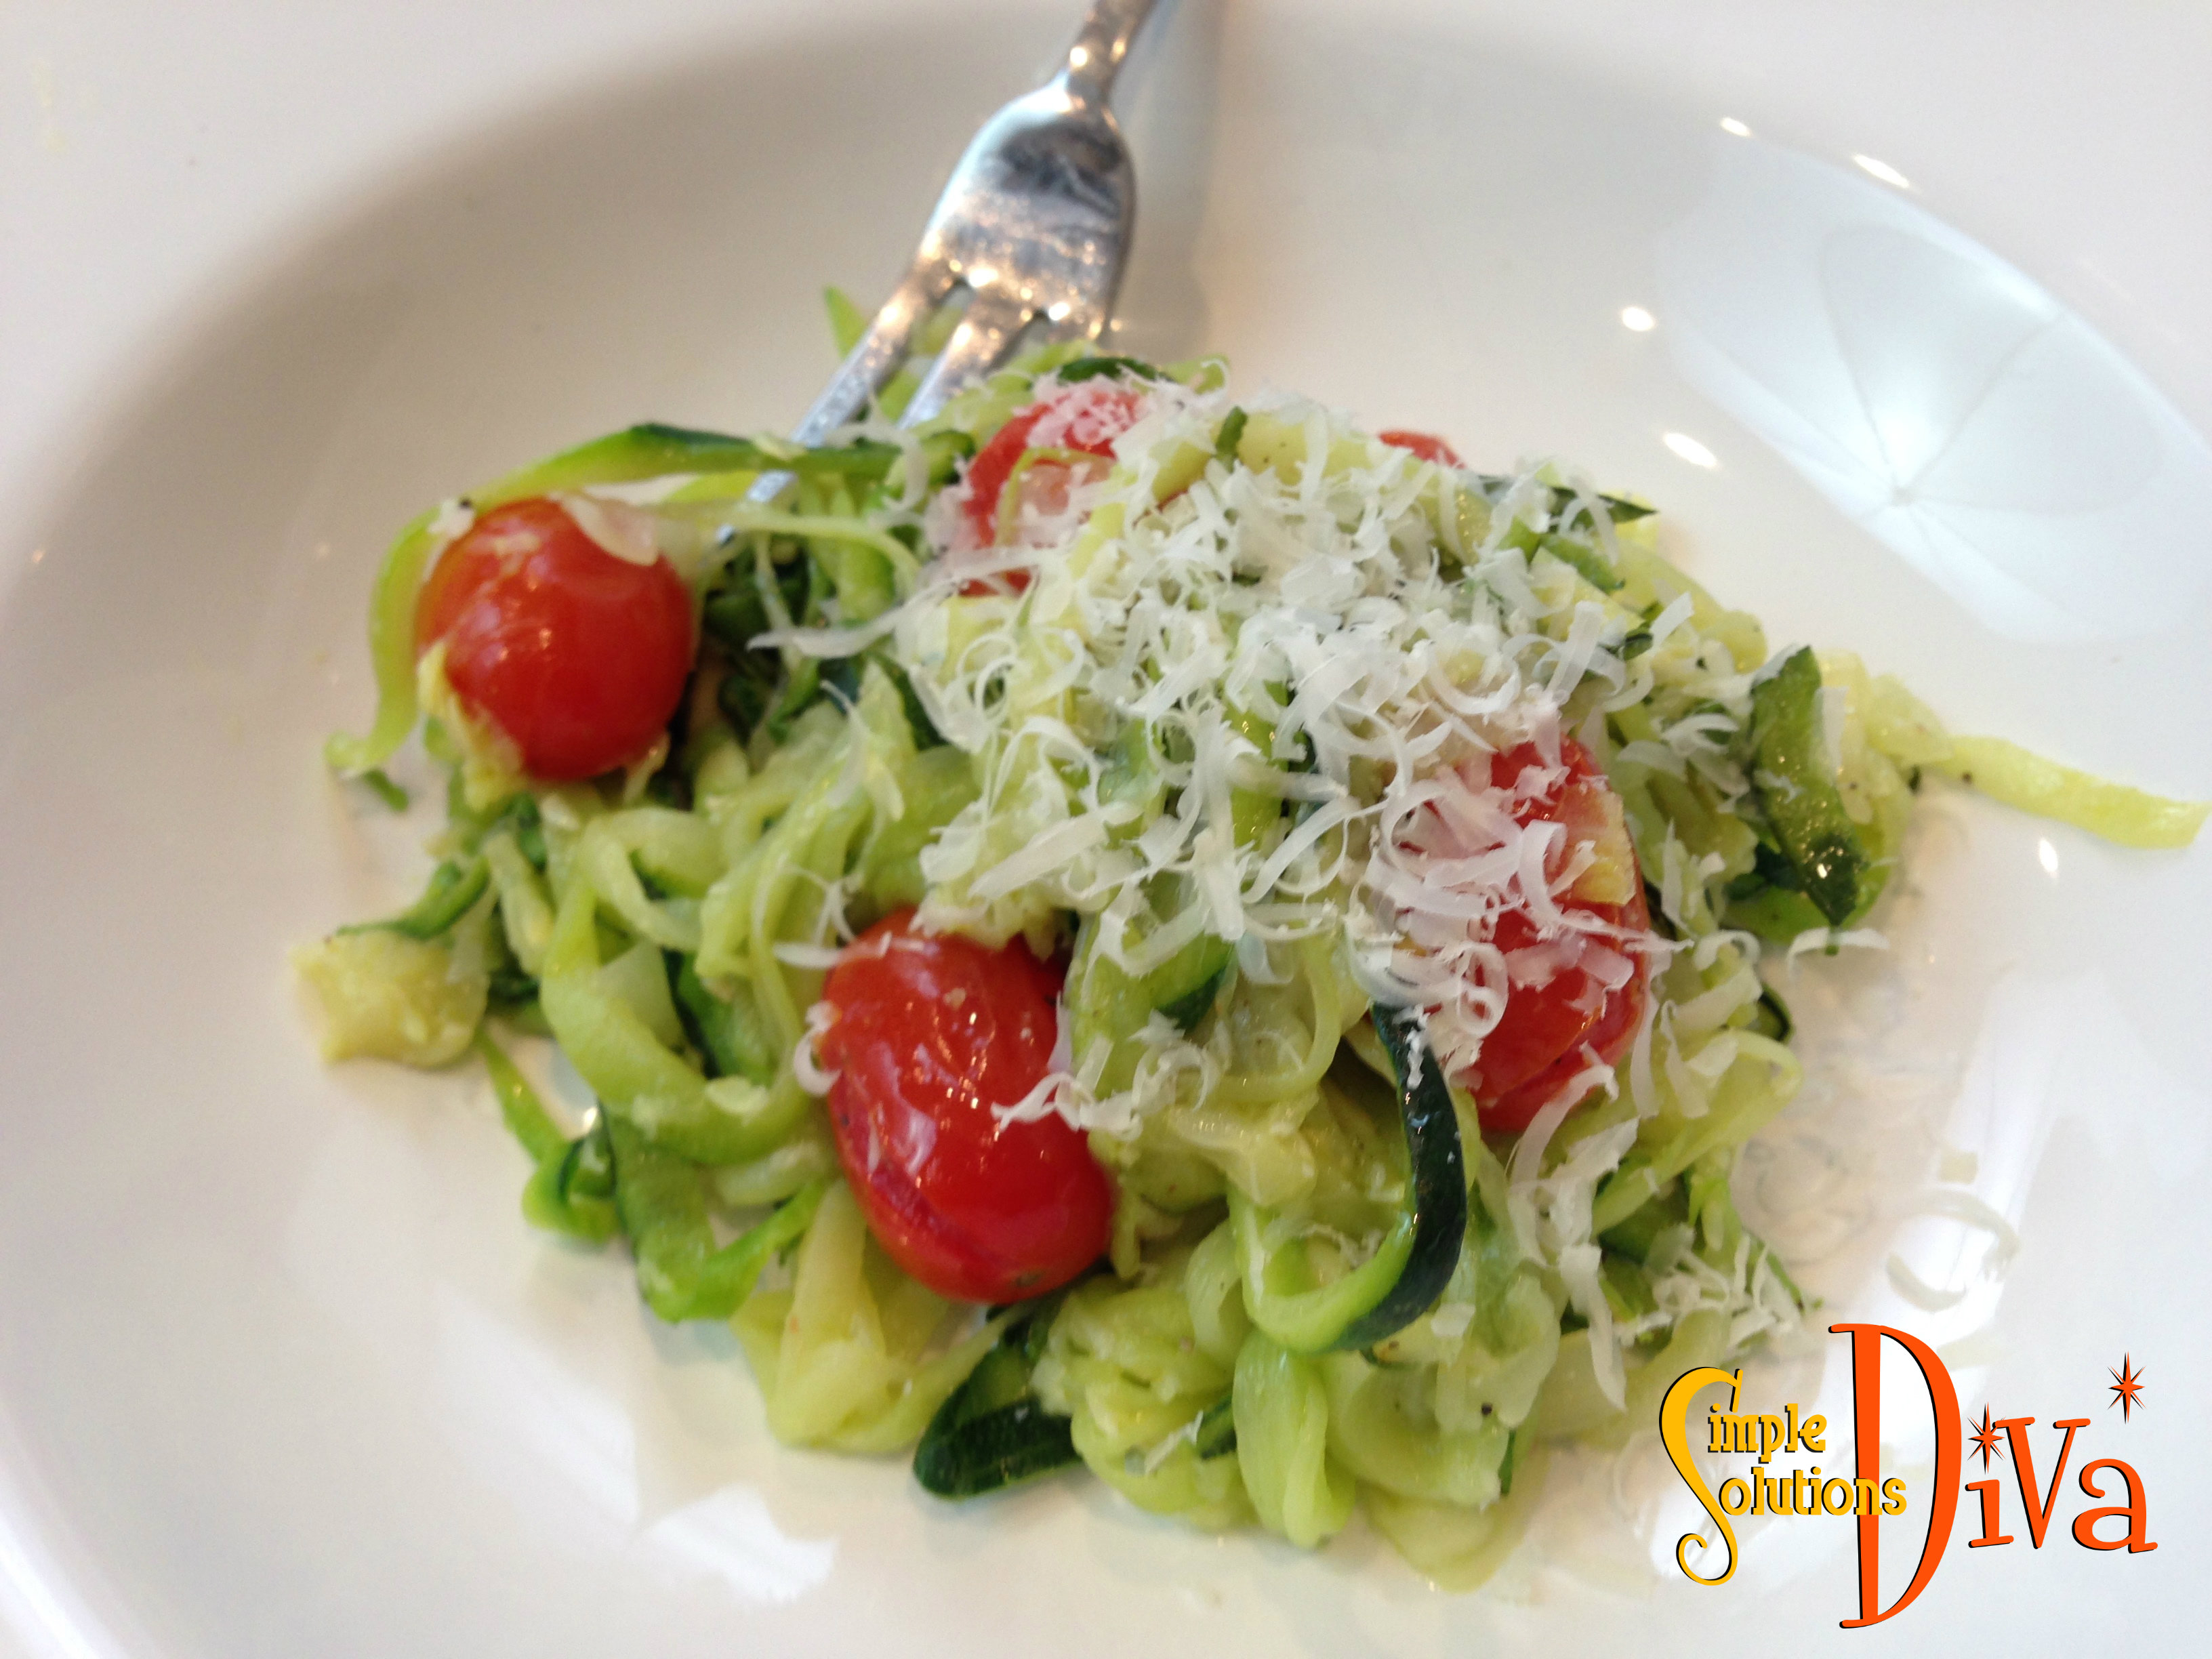
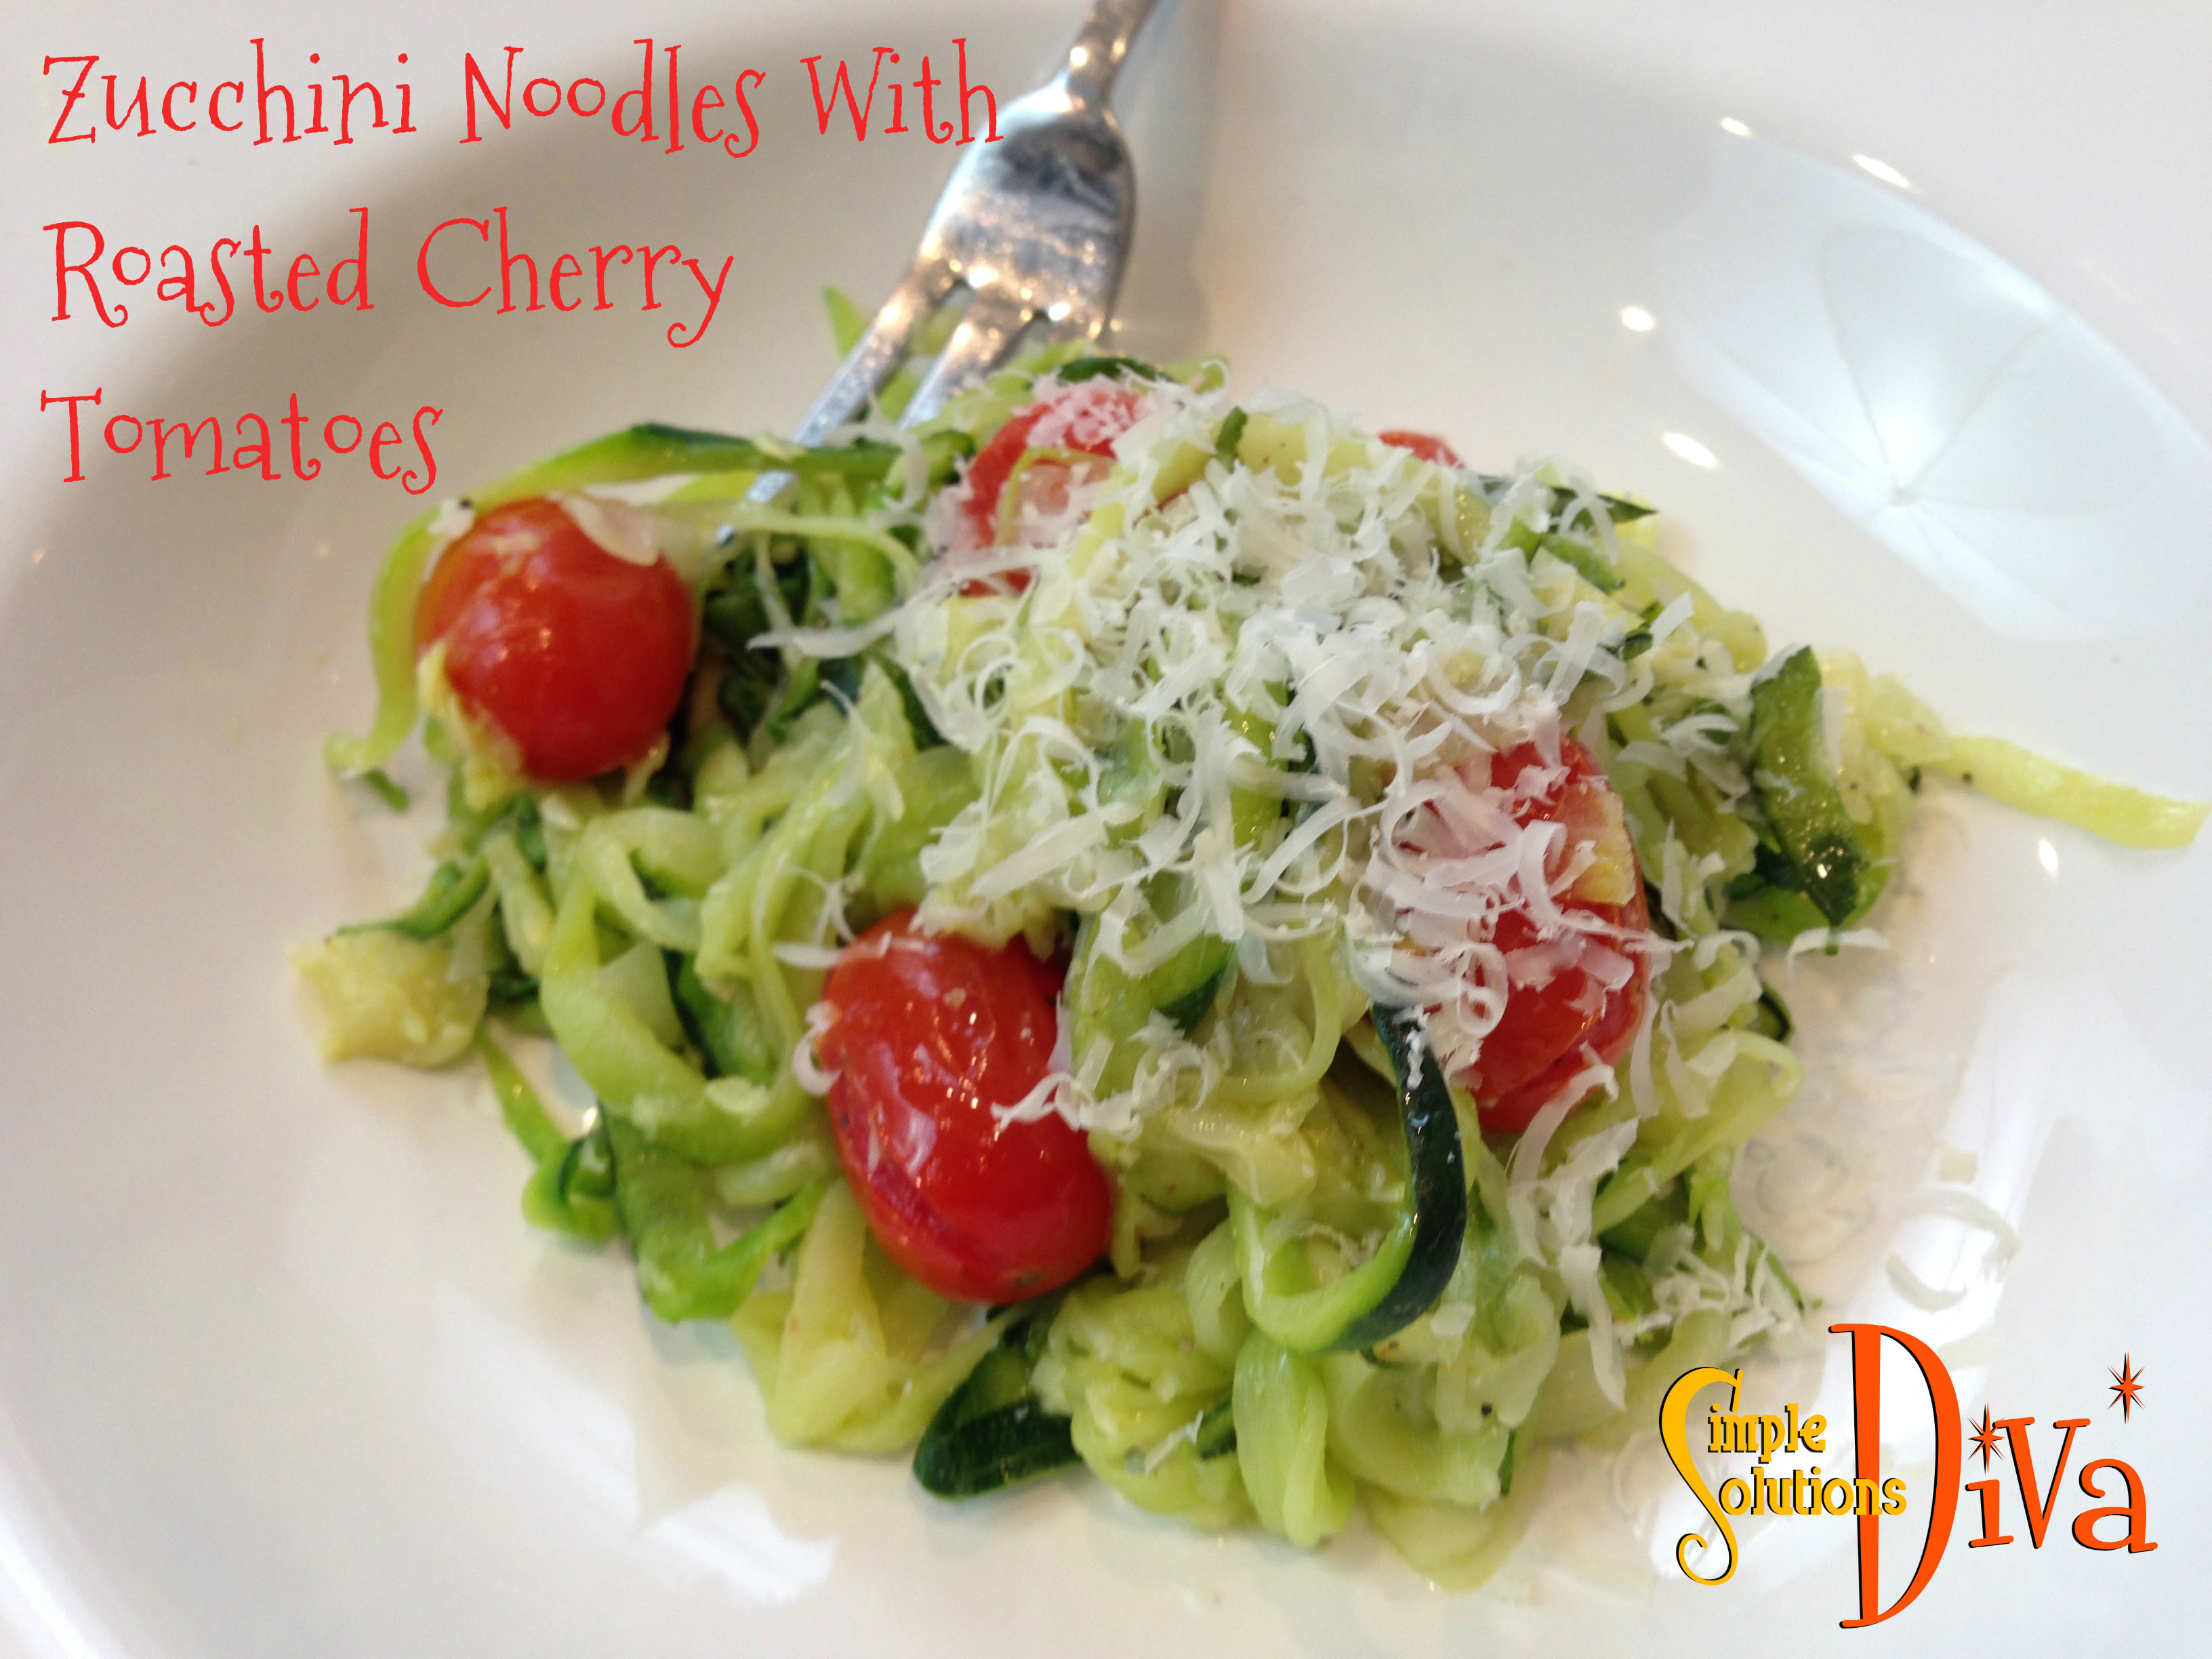
Zucchini Noodles With Roasted Tomatoes
Ingredients:
1 cup cherry tomatoes
4 tablespoons olive oil, divided
4 large zucchini
1 yellow onion, thinly sliced
4 cloves garlic, roughly chopped
kosher salt and freshly cracked black pepper to taste
grated pecorino cheese to serve (I used fresh parmesan!)
Directions:
Preheat the oven to 400 degrees F.
Distribute the cherry tomatoes evenly on a baking sheet. Drizzle with 2 tablespoons of olive oil and season with salt and pepper. Transfer the baking sheet into the oven and roast for 10-15 minutes until the cherry tomatoes just start to burst. Remove the baking sheet and set aside. (PS – I could eat these like they are candy!)
Using a mandolin or spiralizer (I used the Veggetti™), cut the zucchini into thin strips.
Heat a large nonstick skillet over medium heat. When hot add 2 tablespoons of the olive oil, onions and garlic and cook until fragrant, about 1 to 2 minutes.
Add the zucchini noodles to the onion and garlic mixture and sauté for 1-2 minutes. Add the cherry tomatoes to the zucchini noodles and season with salt and pepper. Toss to combine.
Dust the top of the noodles with pecorino cheese and serve.
These will be a big hit at your big game day party! You can assemble this ahead of time, then pop in the oven just before guests arrive! So no missing a big play because you were in the kitchen!
Simple Roast Beef and Swiss Sliders
Makes 24 individual sliders!
Ingredients:
24 slices of roast beef
24 Hawaiian Rolls
24 slices of swiss cheese
4 Tablespoons of butter, melted
4 teaspoons of dijon mustard (I used Grey Poupon Country Dijon – love the grains of mustard!)
1 teaspoon of garlic powder
1 teaspoon of onion powder
4 generous splashes of Worcestershire Sauce
Thinly sliced, sautéed onions (optional)
Directions:
Preheat the oven to 350 degrees.
Cut the Hawaiian rolls in half, and place bottom half of rolls into a baking dish. Place a folded slice of roast beef on the bottom half of roll. Place a slice of swiss cheese on top of that (if using the sautéed onions-add them here), then finish with the top half of roll. Repeat with the remaining rolls, roast beef and swiss.
Combine the melted butter and remaining ingredients, and brush the tops of the rolls with the mixture. Cover with tin foil. If assembling ahead of time, you can place sandwiches in fridge until ready to heat.
To Heat: Place in 350 degree oven for 10-15 minutes, removing the tin foil at about 8 minutes along. Keep in oven until the cheese has melted.
You can sit back and enjoy the game with this great recipe! Assemble several of them ahead of time, keep them in the fridge, and bake them when your guests arrive!
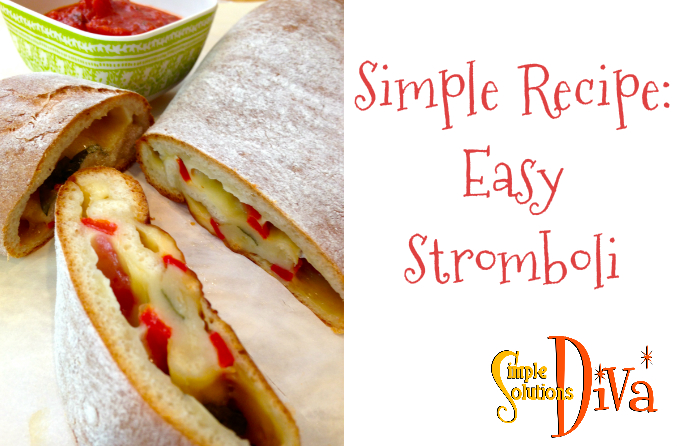
Easy Stromboli
Makes one Stromboli that feeds 4 people.
Ingredients:
1 10 oz. can of refrigerated pizza dough (or you can use dough pre-made from your grocery store).
2/3 cup shredded mozzarella
2-3 slices of provolone cheese
6 oz. of your favorite italian meat – you can use pepperoni, sausage, prosciutto, salami, or a combination of both! I used pre-sliced italian selection of meats available at Publix.**
2 Roasted red peppers, cut into long strips. I used jarred roasted red peppers.
Marinara Sauce for dipping
** Note:You can easily make this without meat by substituting your favorite veggies, chopped small. Use broccoli, basil, olives, banana peppers, onions, green peppers, mushrooms, and so much more! (My favorite combo-Basil, Mozzarella, Provolone, Red Peppers) Anything you’d want on a pizza can be thrown into a stromboli! If you are adding other meats, like chicken, just make sure they are fully cooked before using them in this recipe.
The Veggie & Cheese Stromboli with 2 types of cheese, roasted red peppers and fresh basil.
Directions:
Preheat oven to 375 degrees. Place pizza stone in oven to preheat. (or use a baking pan, sprayed with cooking spray)
On a lightly floured work surface, press out pizza dough into a rectangle (approximately 9″x12″).
Layer the provolone and mozzarella cheeses on the dough, leaving a clean border of 1/2″ to 1″ all around. Top with the meats and red pepper.
Roll the dough (lengthwise) like a jelly roll, and seal the edges of it all around.*** Place on the pizza stone (or pan), seam-side down.
Bake at 375 degrees for about 25 minutes until golden brown.
Slice and serve with warm marinara sauce on the side for dipping.
*** To seal the ends of the stromboli, moisten with water, fold over, and press (on my second attempt, I used a fork to put a crimp like a pie crust and it stayed sealed!). If you don’t seal it well, you could have a blowout! See photo below. Another great way to prevent blow outs is to add a few vent holes/slits on top of the stromboli to allow the steam to vent!
This is an example of a blowout – when you don’t seal the stromboli well!
We all know labels are sometimes tricky to get off of new dishes, glassware and more! You may get the paper part off, but the sticky stuff stays behind! UGH! This tip really helps remove those pesky labels without a lot of effort. Easy Peasy!