This is what they look like completed:

This is what they look like completed:
Looking to keep the kids busy and entertained this summer? Have them make their own sidewalk chalk! This project only uses 3 ingredients and will provide hours of fun once the chalk has set! Turn those artists loose on the driveway or sidewalk and they will have a ball!
What You Need:
Instructions:
Place 3/4 cup water in the disposable cup. Add 1/4 cup tempura paint. Mix well using the plastic spoon or popsicle stick. Add 1 cup Plaster Of Paris. Mix thoroughly until most of the lumps are dissolved. SHould look like the consistency of really thick pancake batter.
Repeat the process with each color of paint you plan to use.
Pour the colored mixture into the molds. You can use one color per mold section OR you can add multiple colors to each section (just don’t stir the colors – you will get a muddy-looking chalk piece.
Allow to dry in molds for 24 hours; gently pop chalk out of molds and allow to dry another 24 hours.
Now go have a ball drawing on your driveway with your kids!
I found this recipe on PrincessPinkyGirl.com – check them out because they have some great ideas PLUS they featured some GREAT sidewalk chalk art!
What is more fun than blowing bubbles? Making GIANT bubbles! Get the kids involved in making this bubble solution and then watch them spend hours playing with them!
What You Need:
Directions:
Outside, mix together the water and corn syrup in the bucket. Gently add the dishwashing liquid, being careful not to create bubbles (the bubbles will inhibit creating the large bubbles!).
Once thoroughly mixed, dip your bubble wands into the mixture. Now start making bubbles!
Many thanks to my favorite Bubble Experts: Nichole, Sadie and Josie! They were awesome assistants and were so much fun!
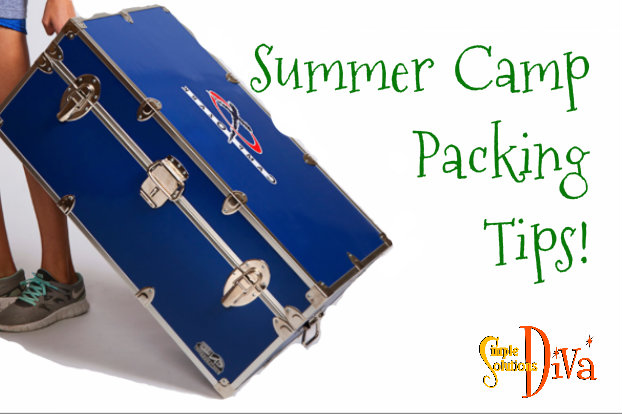
Keep your child happy and you relaxed when preparing for summer camp! This video contains many helpful hints for the first time summer camp packer!
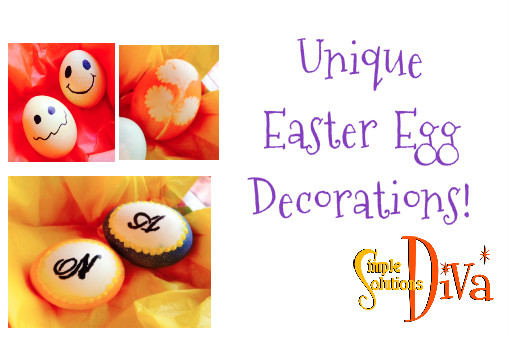
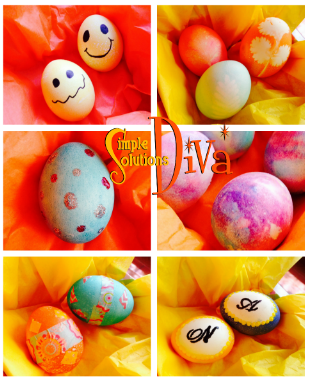
I was so excited when First Coast Living gave me a challenge – find some unique ways to decorate Easter Eggs! Well, after searching high and low, I found some favorites and tested them just for you!

This is a cool technique and great fun to do with the kids! And it yields a beautiful egg coloring. The best part about this technique? It looks like a volcano bubbling a rainbow! I found this technique on the website ToddlerApproved.com. Check out the website for great ideas!
What You Need:
Technique:
Make the “Paint” – Combine in a color- safe cup, one tablespoon baking soda, a teaspoon or two of water and food coloring of choice. Mix until it is a consistency of mustard – kind of grainy but with some heft to it.
Repeat that process with the other colors you choose to use.
Take a paintbrush and start to paint your eggs with the different “paint” colors – there is no perfect way to do this, just have fun and be creative. Make sure to leave a “blob” or two of the paint on the egg.
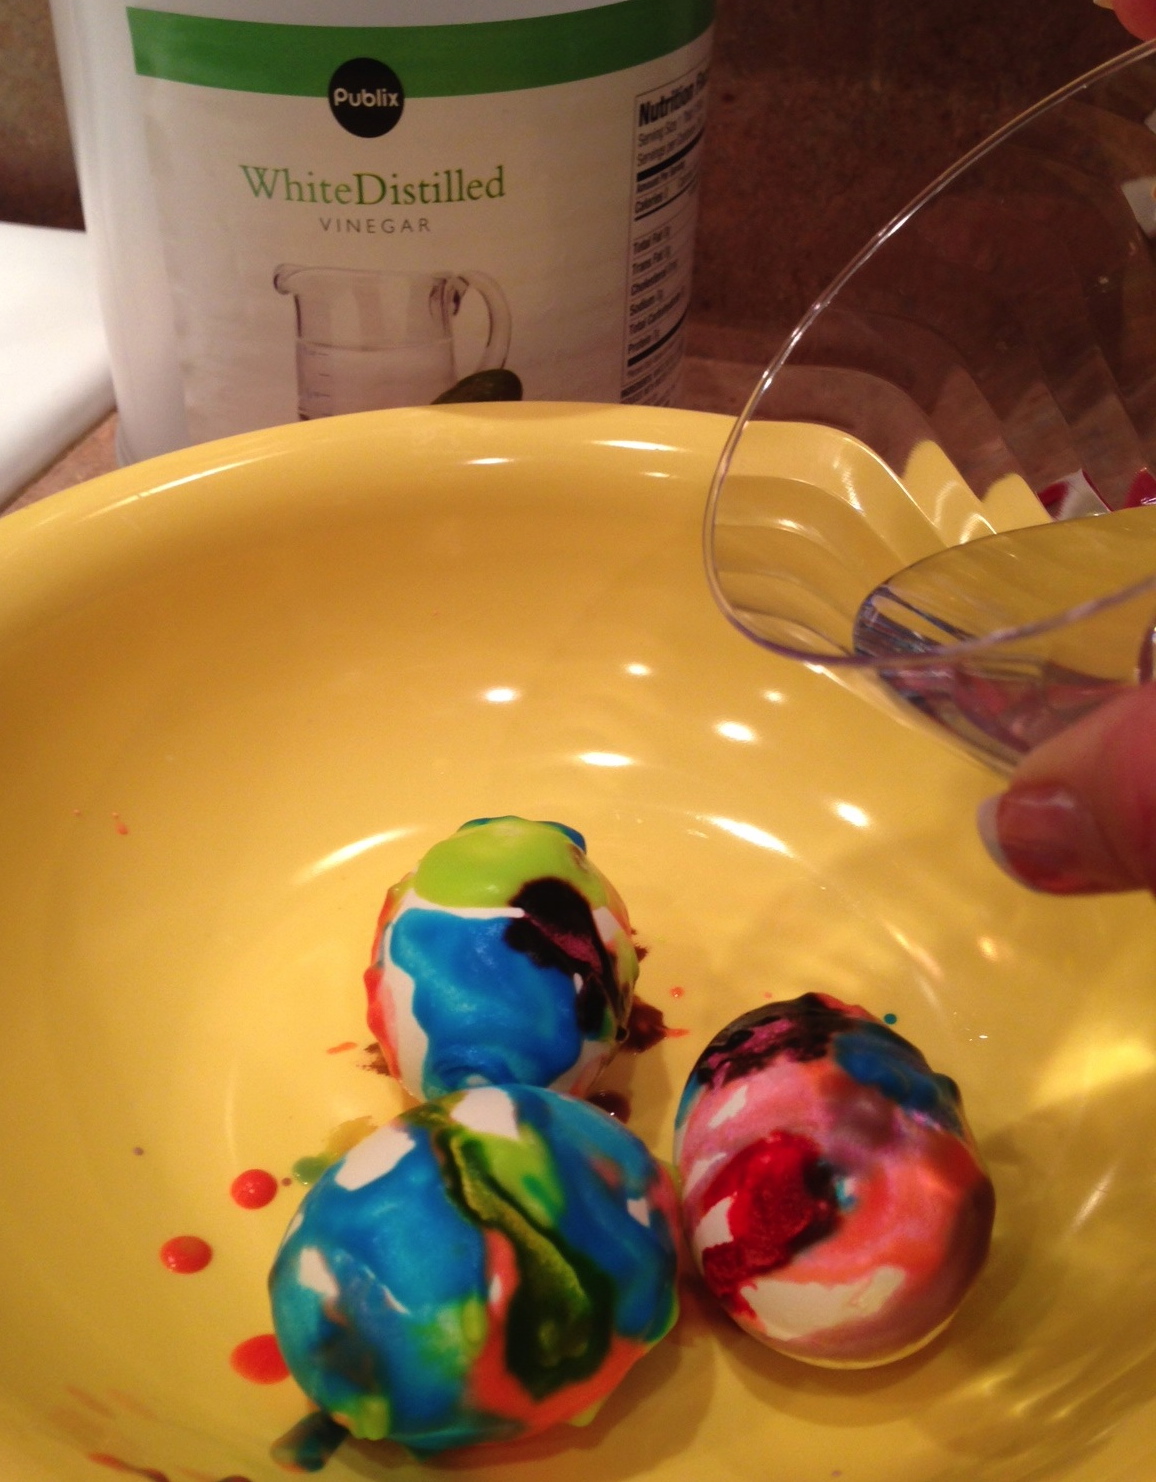
Place the painted eggs into the wide-lipped plate or bowl. Take your food coloring and drip a drop or two on your eggs.
Now comes the volcano part: Drizzle vinegar over your eggs and watch the colors start to bubble! Let the mixture sit on the eggs for awhile, then wipe off with paper towel!
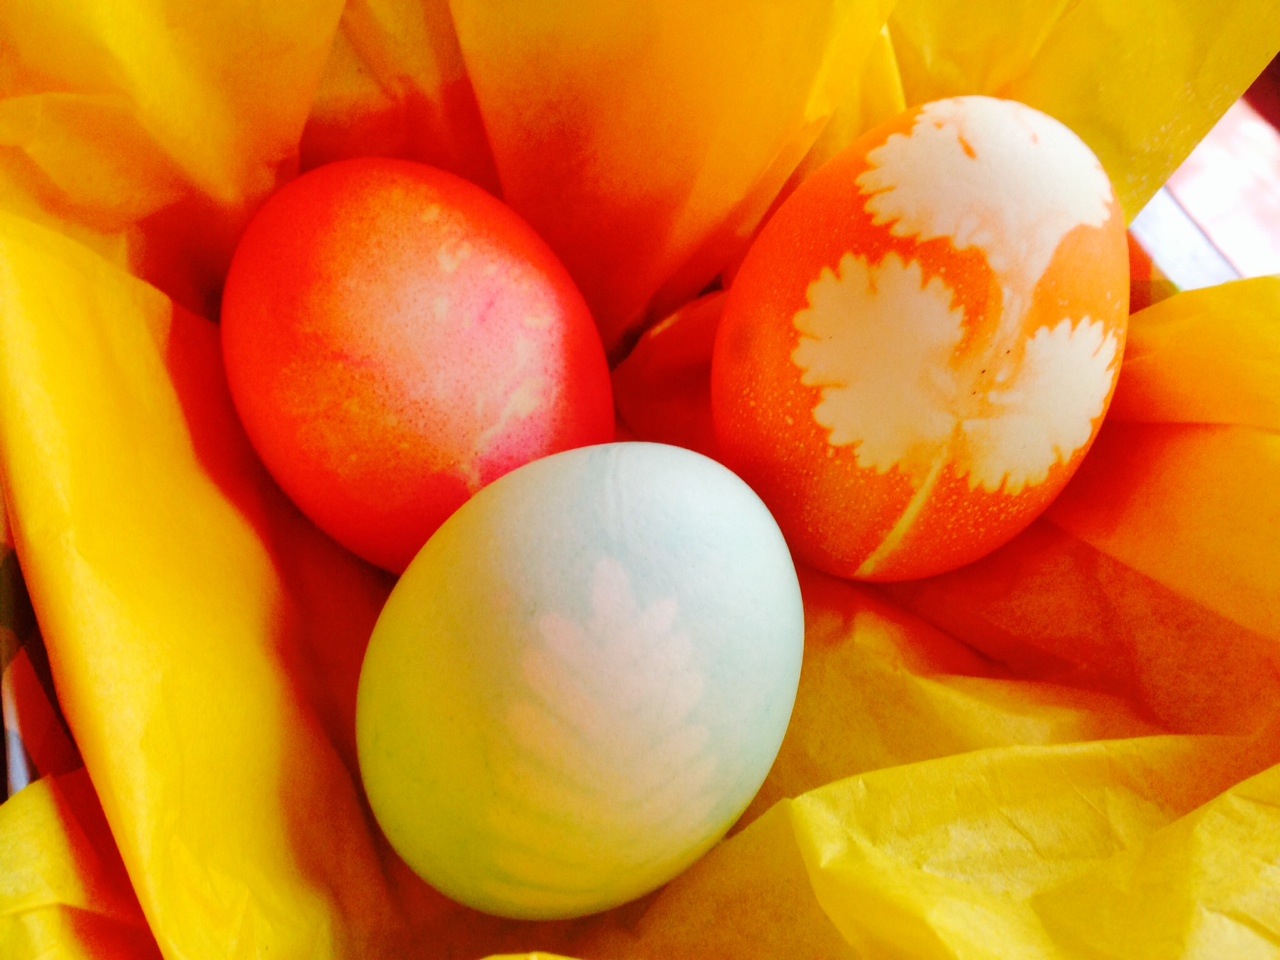
I love incorporating natural elements into projects if I can. I found this beautiful idea, Leaf Print Eggs, on Spoonful.com and thought I’d give it a try! Since I AM the Simple Solutions Diva, I wanted to simplify the process, so I just used the PAAS Egg Decorating Kit to dye the eggs, rather than mix up my own dyes as listed on Spoonful (click on the link above to see their full instructions!).
What You Need:
Instructions:
Mix up your dyes according to the PAAS package, using the instructions for more vivid colors (using vinegar).
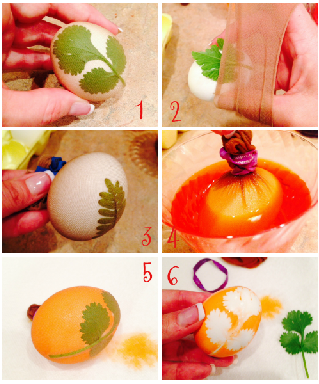
1.) Take the egg and position your leaf on your egg. 2.) Using the piece of knee high, wrap your egg so the leaf is secure and tight against the egg. 3.) Pull the excess nylon tight on the opposite side of the egg, securing with a rubber band.
4.) Place the egg in the dye and allow to sit until the egg has reached the color intensity you want.
5.) Remove the egg from the dye and place on color safe surface. 6.) Remove rubber band and nylon and gently remove the leaf from the egg. Allow to dry.

These make for cute placeholders for the Easter table, or for limiting how many each child gets during the Easter Egg Hunt (They look for their name or initial!). This cute idea is from Reader’s Digest!
What You Need:
Instructions:
Mix up your egg dyes according to package, using the vivid instructions (includes using vinegar).
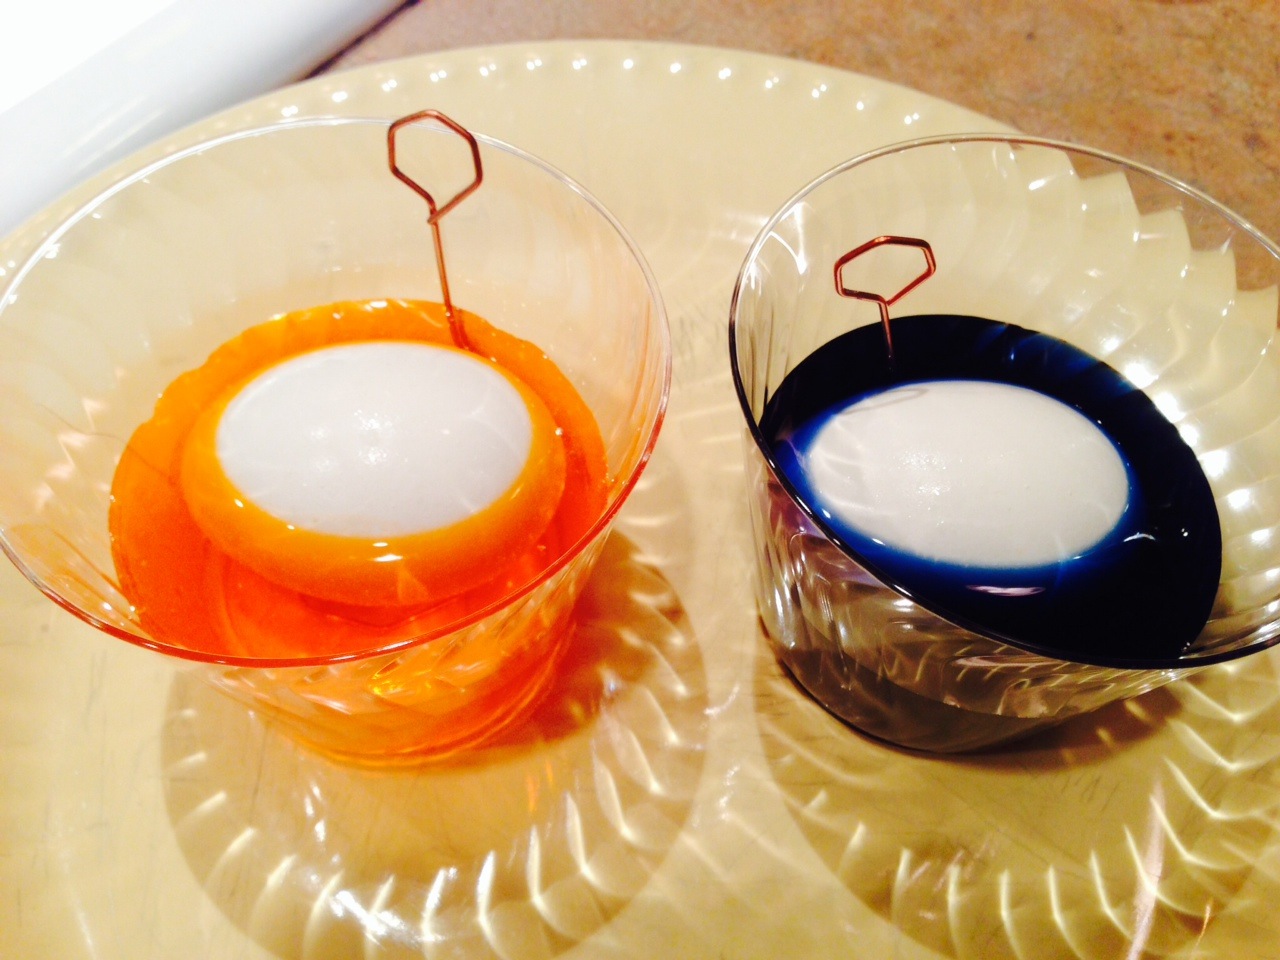
Place an egg sideways in a cup and gently pour the dye of choice until you have an oval of white showing (don’t cover the entire egg with dye-See photo below). Let egg sit, without disturbing, in dye until it reaches the desired color. Remove egg from dye and allow to dry.
Once dry, take acrylic paint and, using paintbrush, draw dots around the edge of the oval. Allow to dry.
Once dry, draw an initial or a name in center of oval, using the black sharpie. Allow to completely dry.
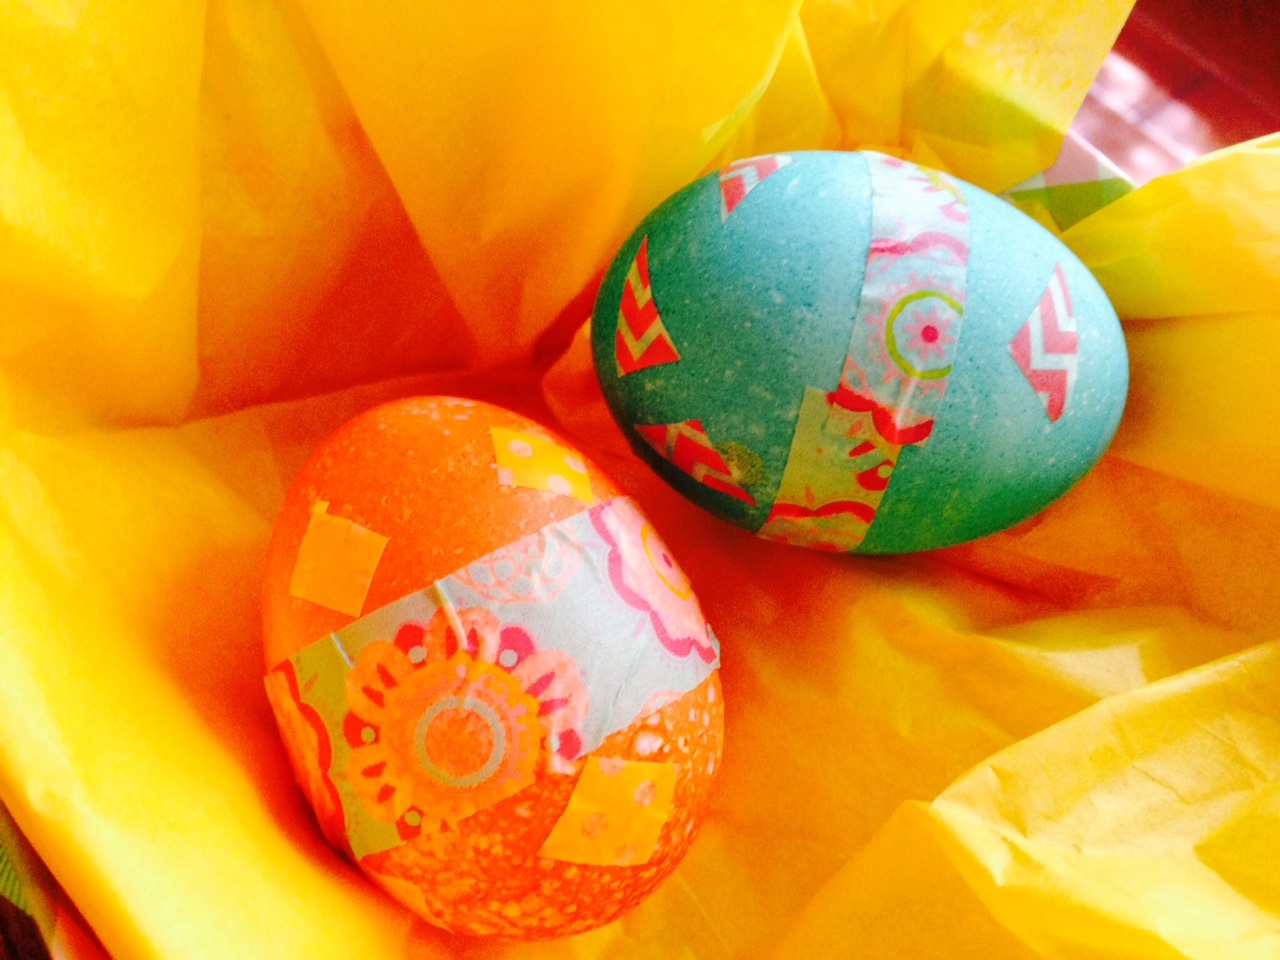
Washi tape is like a very pretty, decorative masking tape. And projects using it are all over Pinterest! It comes in a variety of colors and sizes. It works perfectly on dyed, hard boiled eggs or just plain, white hard boiled eggs! This is a simple way to get little kids involved with the egg decorating.
What You Need:
Instructions:
Just “go to town” and start decorating!
For small children – Cut small pieces of washi tape and put them out for little hands to decorate with!
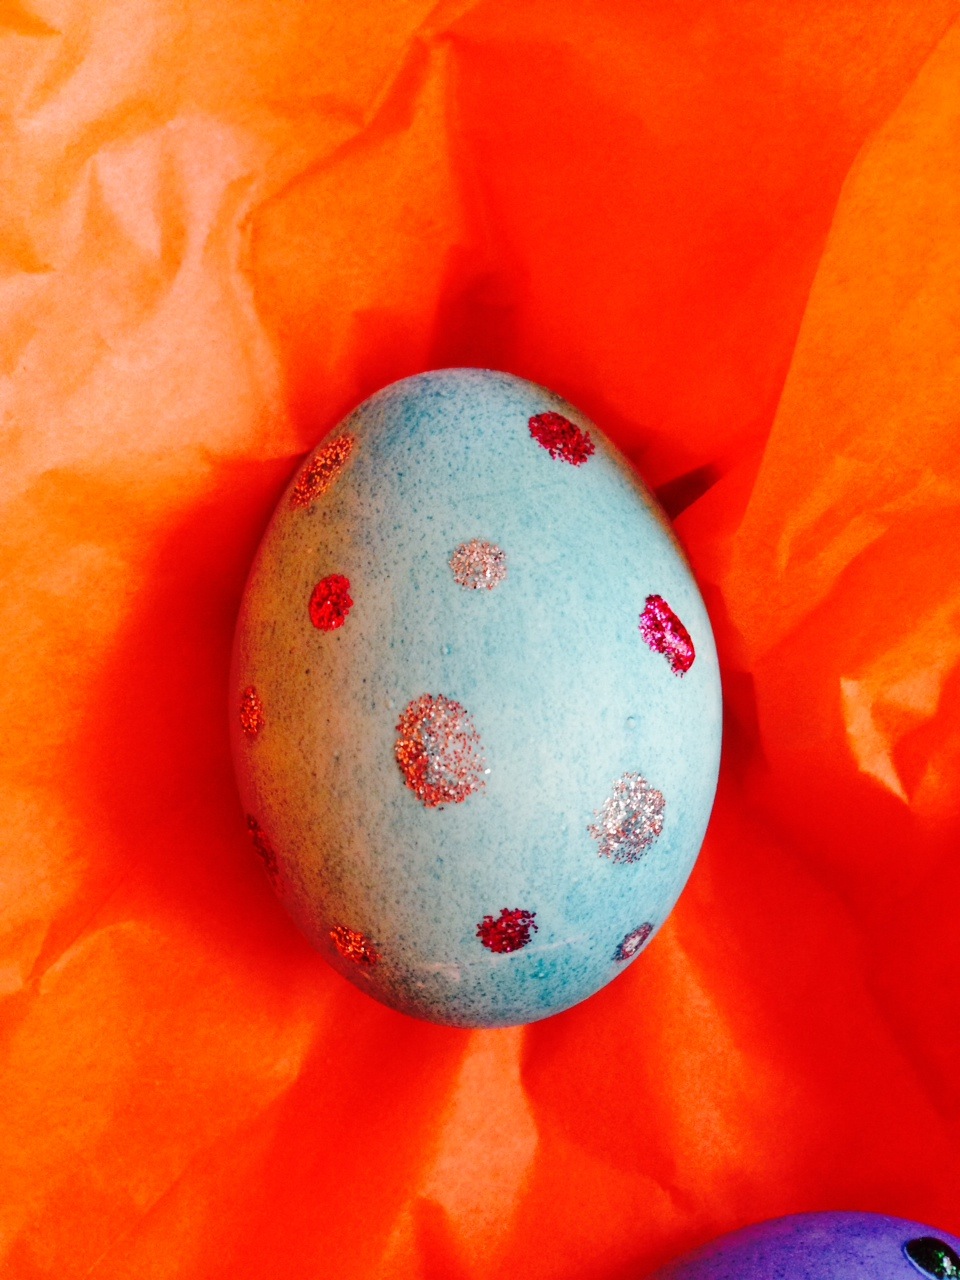
Another simple way to decorate the eggs with little kids!
What You Need:
Instructions:
Using the glitter pens, make dots of glitter all over the eggs. I did one side first, allowed to dry, then did the other side!

This is my personal favorite because my mom and I love smiley faces, PLUS it is super simple to do!
What You Need:
Instructions:
Use the black sharpie to create whatever type of face YOU want! Tip –When drawing the eyes, make sure the eyes are on the narrow end of the egg, mouth near the lower half of egg.
Thanks WTLV-TV’s First Coast Living for this fun challenge!
With Easter and Passover fast approaching, we will have lots of family time – what can you do that’s fun with the kids and adults to keep everyone busy? Try some springtime crafts!
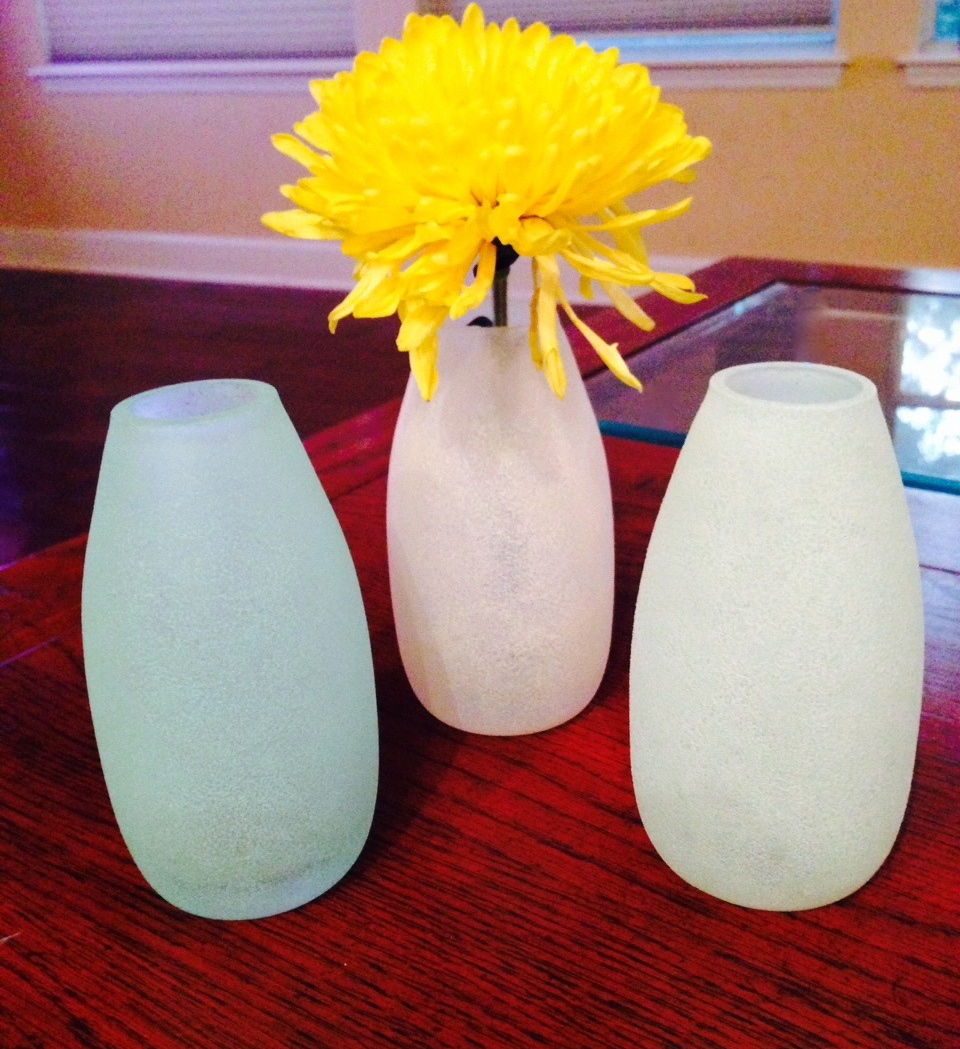
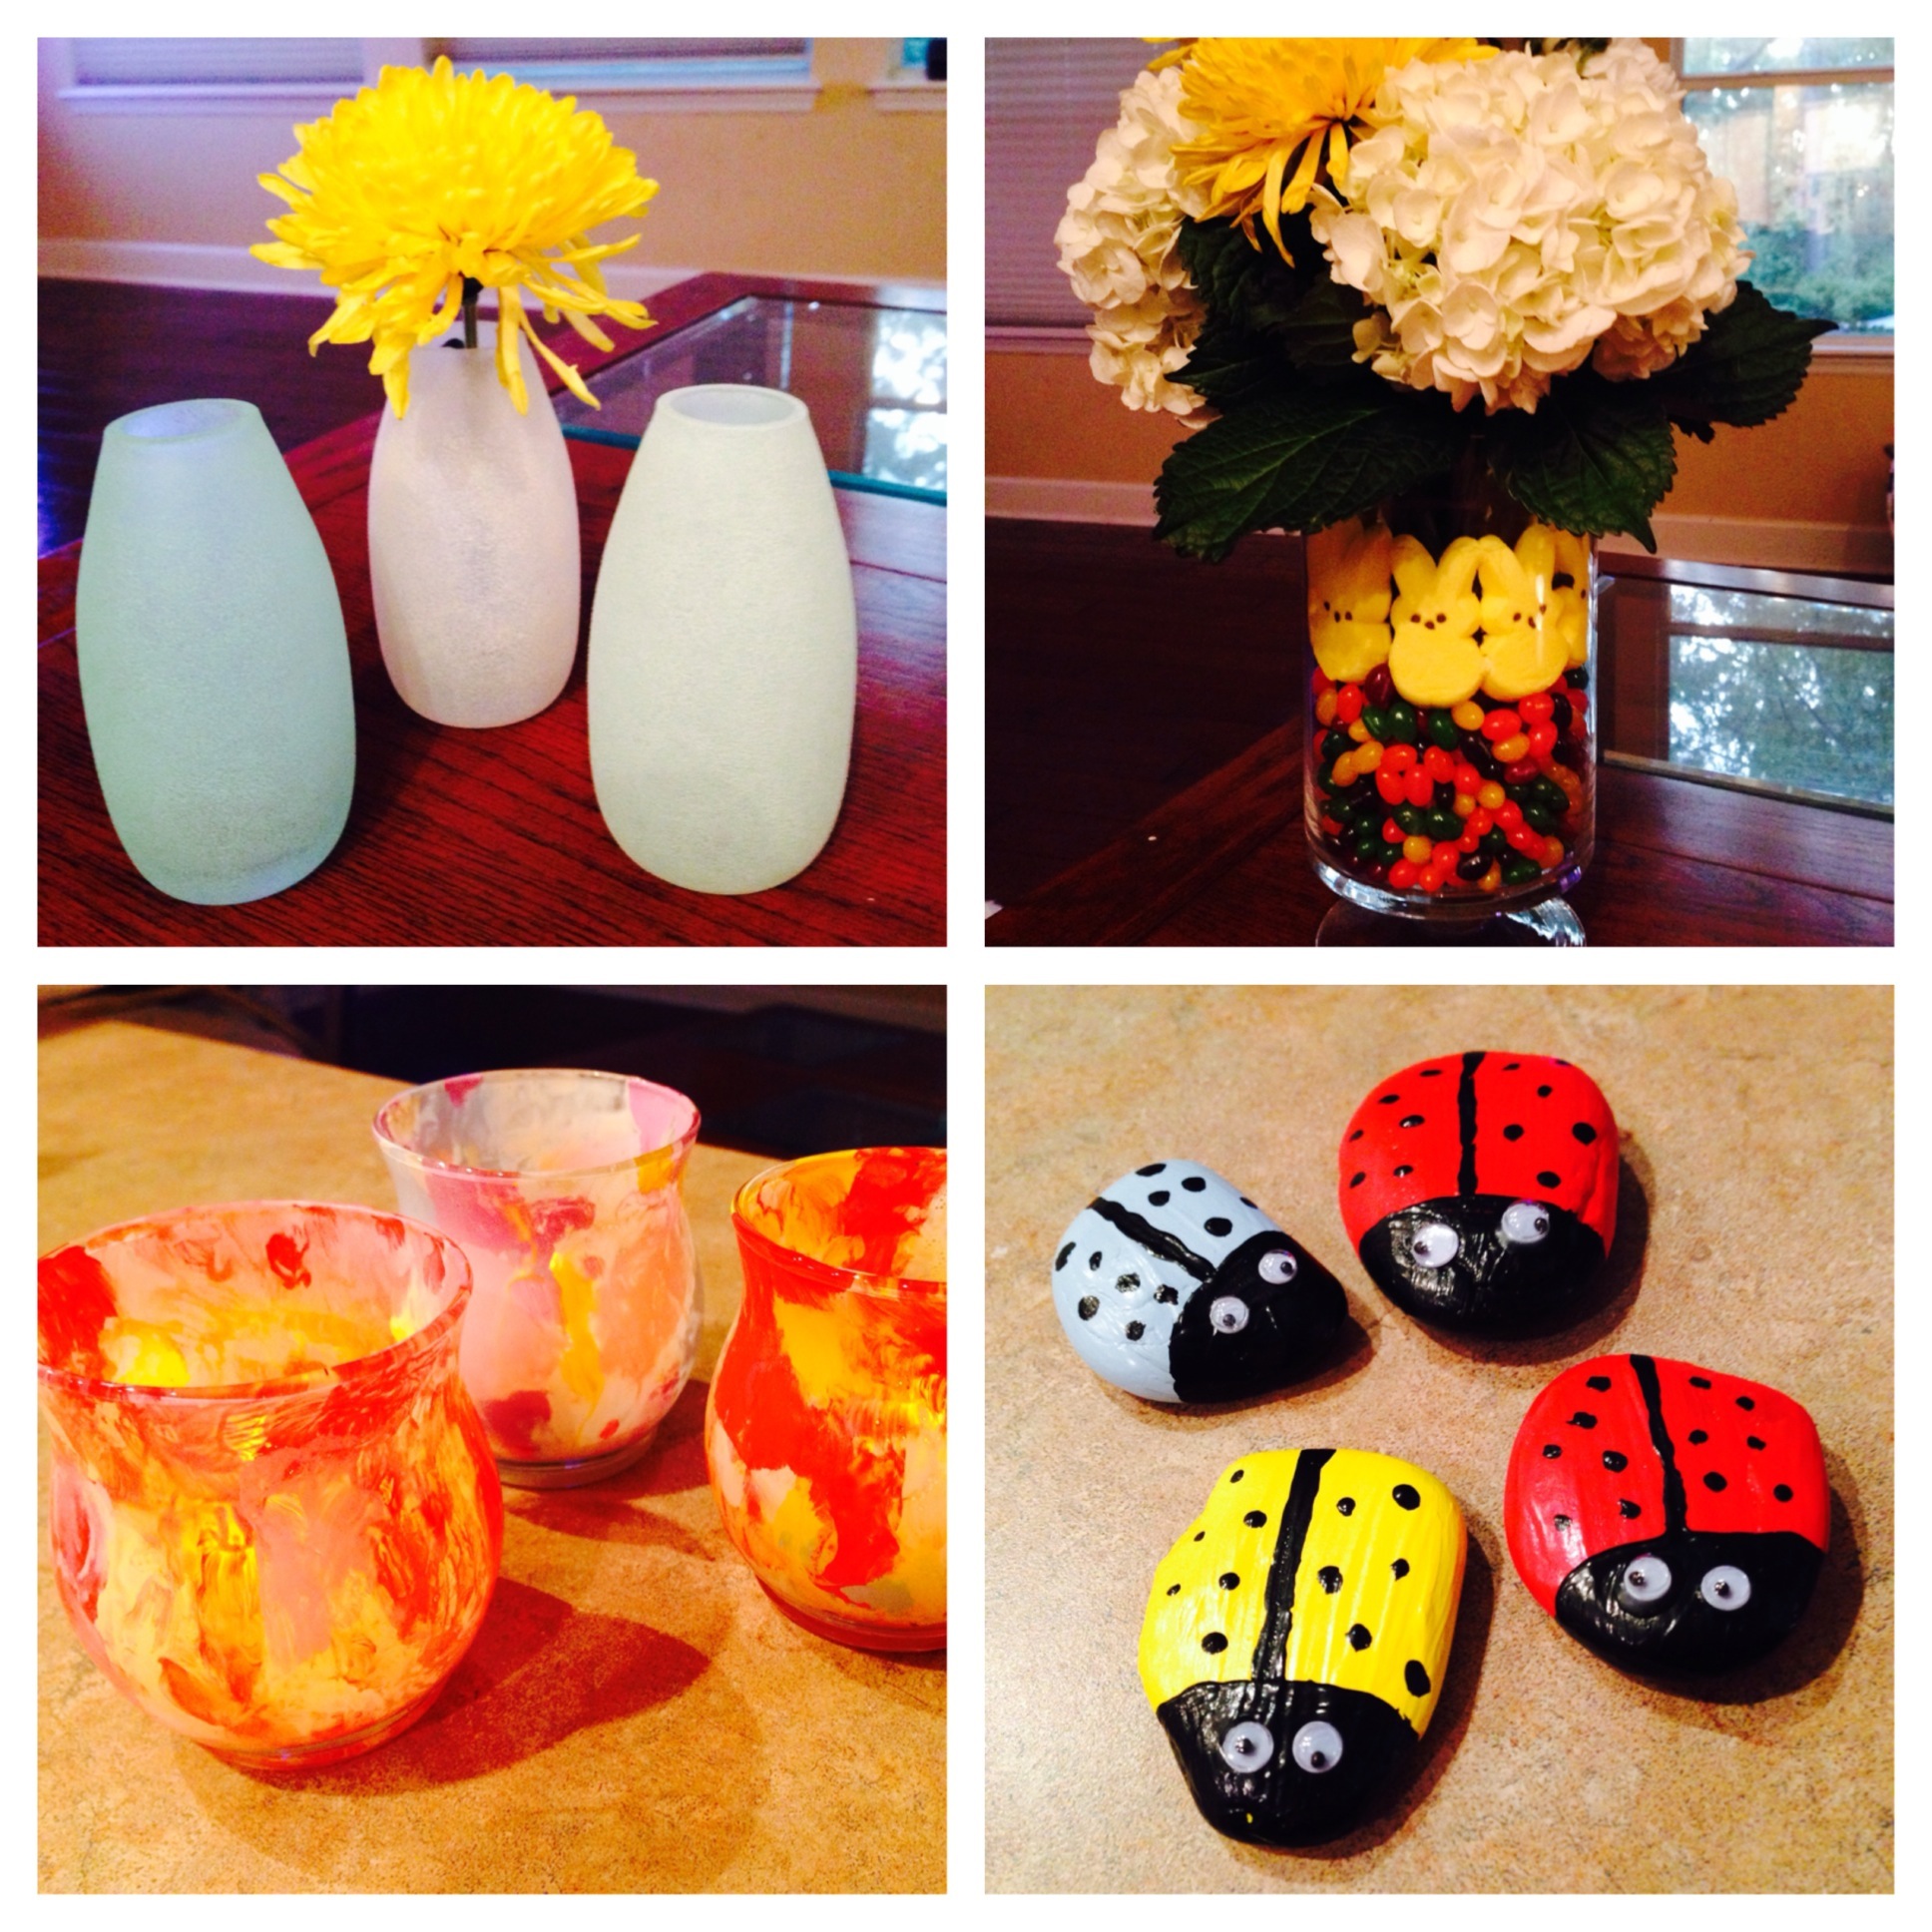
I love the look of beach glass. Muted hues of blues, greens and whites. You can make any glass item look like a piece of beach glass by just using special glass paint. I used Martha Stewart Crafts Frost Translucent Glass Paint — The effect is translucent, frost-like with a slight pebbly texture that resembles sea glass. Beautiful and easy!
What You Need:
Directions:
Find a clean, flat work surface and cover with old newspapers. Wipe down the glass vase surface to be painted with rubbing alcohol and allow it to dry.
Squeeze out a dab of glass paint onto paper plate. Using the sponge applicator, dip the applicator in the glass paint and dab the paint onto the glass surface. Cover the entire surface. Allow to dry for one hour.
The paint is permanent after it has dried for 21 days. You can speed the process along by curing the paint by baking it. Here are the instructions from Martha Stewart Crafts: Let project air dry 1 hour, place in cool oven. Set temperature to 350 degrees. Once oven reaches 350 degrees, bake for 30 minutes (glass must heat gradually). After 30 minutes, turn oven off. Let glass cool completely in oven. Wait 72 hours before using. **
**NOTE: If you use the white frosted paint, baking the project might slightly darken the paint. Mine turned from a pretty white to a creamy, slightly toasted color.

Spring brings beautiful colors and softness to our landscape. I always think of Monet paintings when I think of Spring. I love the slightly unfocused visual and blended soft colors. THis little project makes me think of Impressionist paintings. And best of all, with this project, you don’t have to be perfect! Just keep it simple!
What You Need:
Directions:
Clean the inside of glass votive with rubbing alcohol and cotton balls. Alow them to dry.
There is no one method for this – just listen your inner artist!! The first one I did I was not thrilled with, but once I limited my colors to 2 colors plus white, I found the ideal combination for me!
My technique for 3 colors: Take your paintbrush and dip in the cup of water. Swirl brush into your 1st paint of choice and apply dabs to inside of the votive. Clean the brush and repeat the “swirl and dab” process above with second color. Using the same process, finish with the white, using it to blend and swirl the other colors inside the votive. You will be really surprised when you are done how nice it looks! Just don’t use too many colors or it will start to get “muddied”.
Allow to dry 21 days or cure the glass using the same instructions under the Beach Glass Vases above.
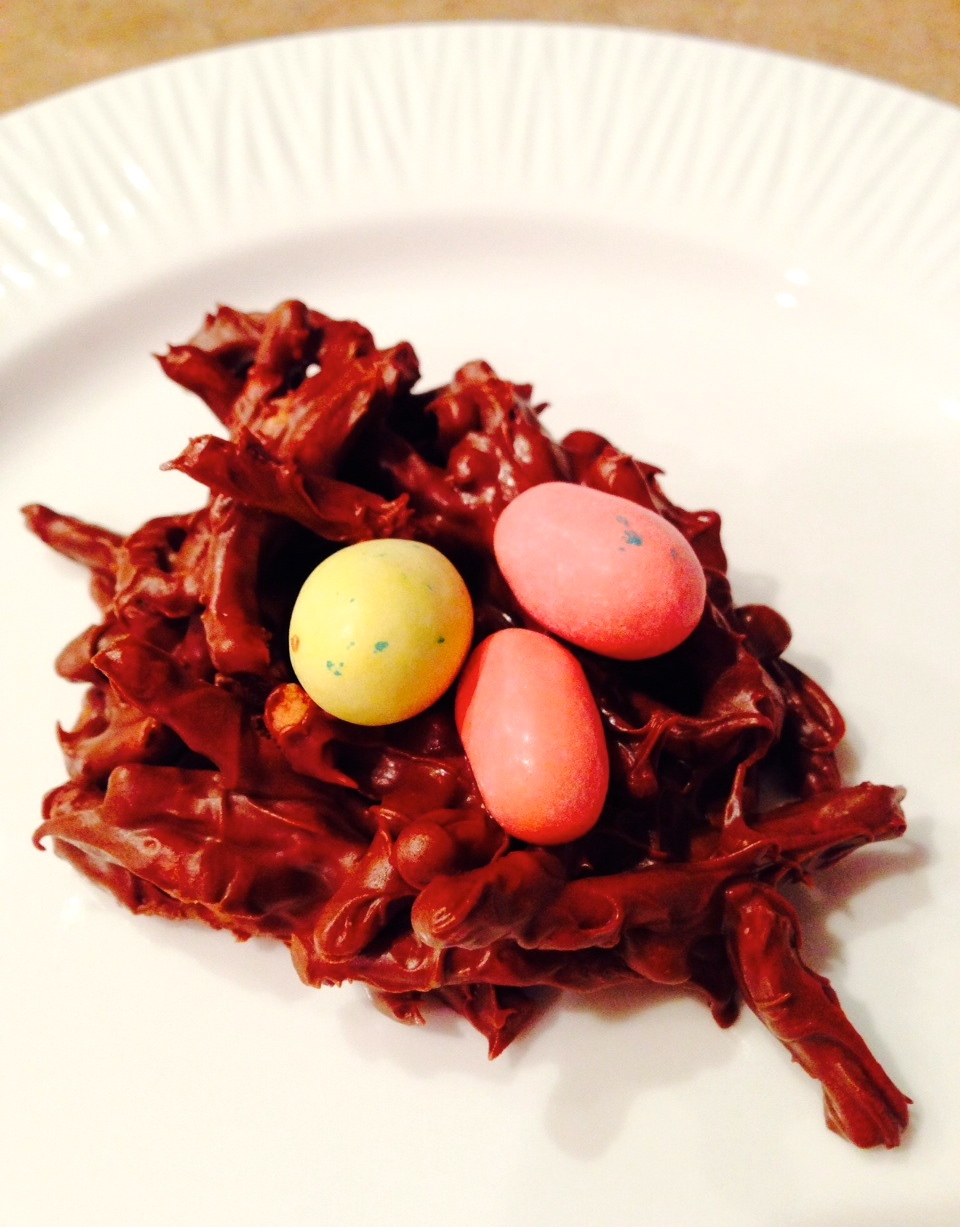
I love making food related crafts with the kids! They love getting messy and they enjoy “cleaning” (read licking) their fingers when done. These little bird nests are adorable and pretty yummy. They are a twist on an old favorite I remember eating as a kid.
Ingredients:
Directions:
Combine and melt both bags of chips in a microwave safe bowl, on 50% power for 60 seconds. Stir. Repeat the process until all chips are melted. Gently stir in the chow mein noodles until well coated.
On a flat work surface, spread out parchment paper/wax paper. Using clean hands, take a small handful of the chocolate/chow mein mixture and put it in a shape of a small nest on the parchment paper. Repeat the process until you have used all the mixture. Take 3 “eggs” (egg-shaped candies) and arrange on each nest. Let harden or place in fridge to speed up the hardening process.
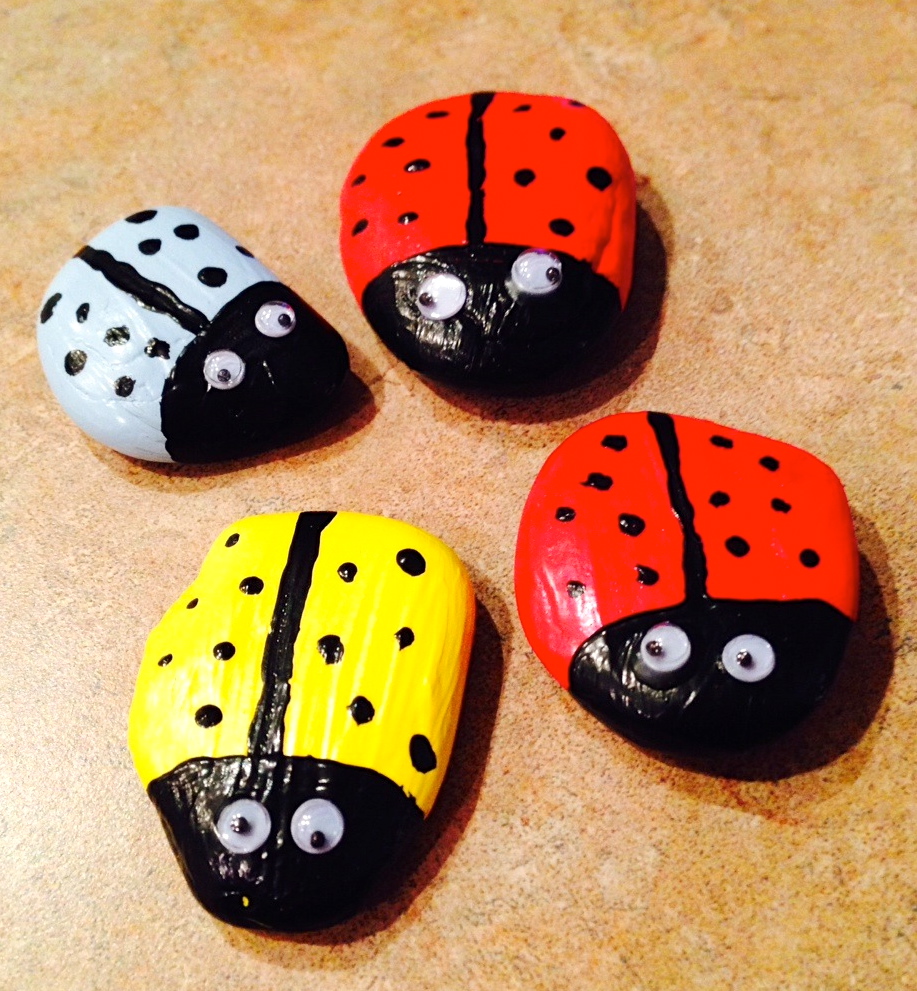
This is a cute little project kids of all ages will enjoy and it is very simple & inexpensive to do!!
What You Need:
Directions:
Wash and dry the rocks to be used.
On a flat, protected work surface, lay your rocks out and paint them the overall colors you want. Allow to dry for about ½ hour.
Now for the details! Taking the black color paint, paint the head of the ladybug. Draw a lie down the back of the lady bug using the black paint and the thin, small tipped brush. Add dots to the ladybug’s back. Allow to dry. Apply Clear Acrylic Sealing paint to the ladybugs and allow to dry.
Add 2 small dots of glue to the ladybug head. Place a wiggly eye on each dot and allow to dry.
Place in the garden, indoor planters, display on desk or table. They also make adorable paperweights!
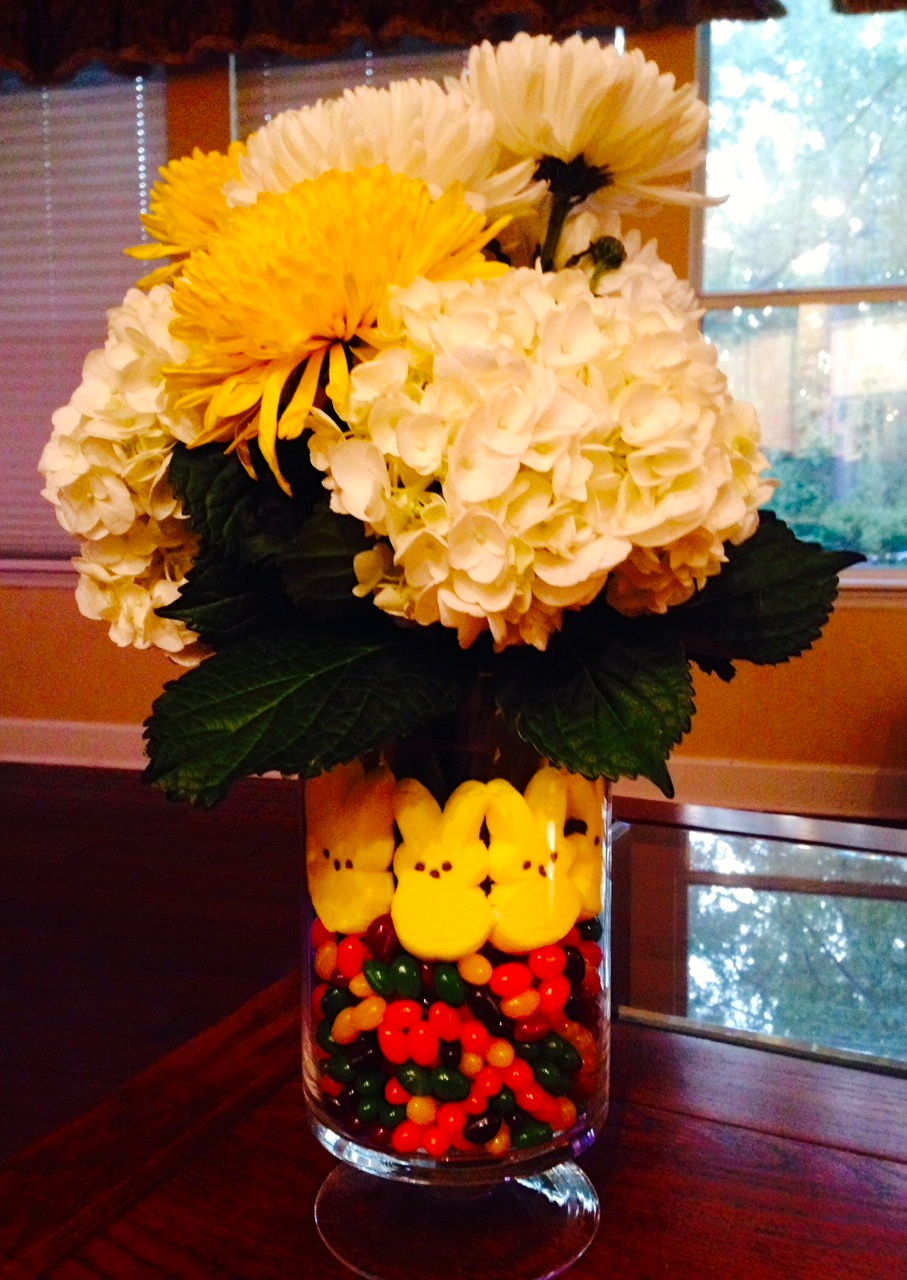
This is a fun way to bring Easter to the table and let the kids get involved! I have seen it all over Pinterest and thought I needed to try making it – SUPER simple!
What You Need:
Instructions:
Place smaller vase inside larger vase, making sure it is centered. Pour jelly beans into space between the two vases, making sure you make it as level as possible around the vase. Take Peep bunnies out of package and slide a row of them into the space between the two vases, letting them rest on the jellybeans. Repeat the process until the bunnies go all the way around the vase.
Trim your flowers to fit the inside vase. Pour water into the inside vase and arrange flowers. Voila! You have a beautiful centerpiece the kids helped with!
Thank you to WTLV-TV’s First Coast Living for inviting me on to talk about these fun craft projects!
Thursday, March 20 is the First Day Of Spring! I always get itchy to clean up my home around this time of year (yes, just slightly crazy, but true!). Here are some simple tips for tackling those spring cleaning projects in your home:
Do you choose to clean a room or do a project? It really is a personal choice, because it comes down to your personal preferences. I love to attack projects, one at a time. When I step back and look at what I’ve done, I feel accomplished.
Think 360 Degrees

Pick a spot in the room and move left to right around (in a 360 degree circle) the room to clean. You know you’re finished when you reach the start location.
Turn To Professionals: Hire professionals to clean your carpet and most used upholstered chairs/couches. The professionals know what they are doing and the drying times are faster because they have the equipment that can really get the water out of carpets better than those rental units you can rent. Tip: Turn your air down in your home until carpets dry out; it creates lower humidity, making drying time faster.
Use the 3 Box Rule:
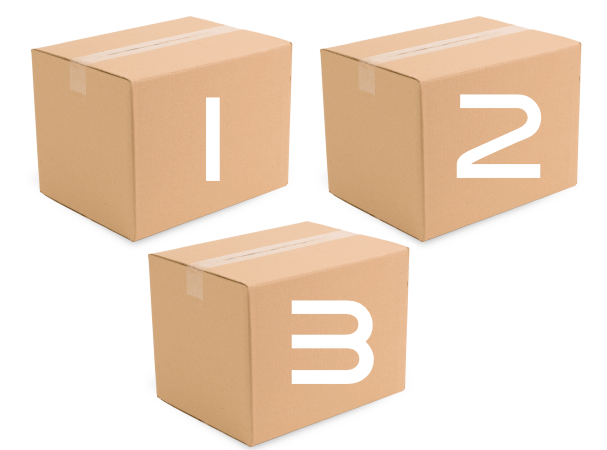
Declutter, one room at a time, using three boxes. If you don’t use an item, place it into the “toss it” bin, “donate it”, or if it is sentimental, place it into the “ sentimental bin”, where items in this box can be displayed on a rotation schedule. Rotating sentimental items for display quarterly or every six months lets you appreciate the items more.
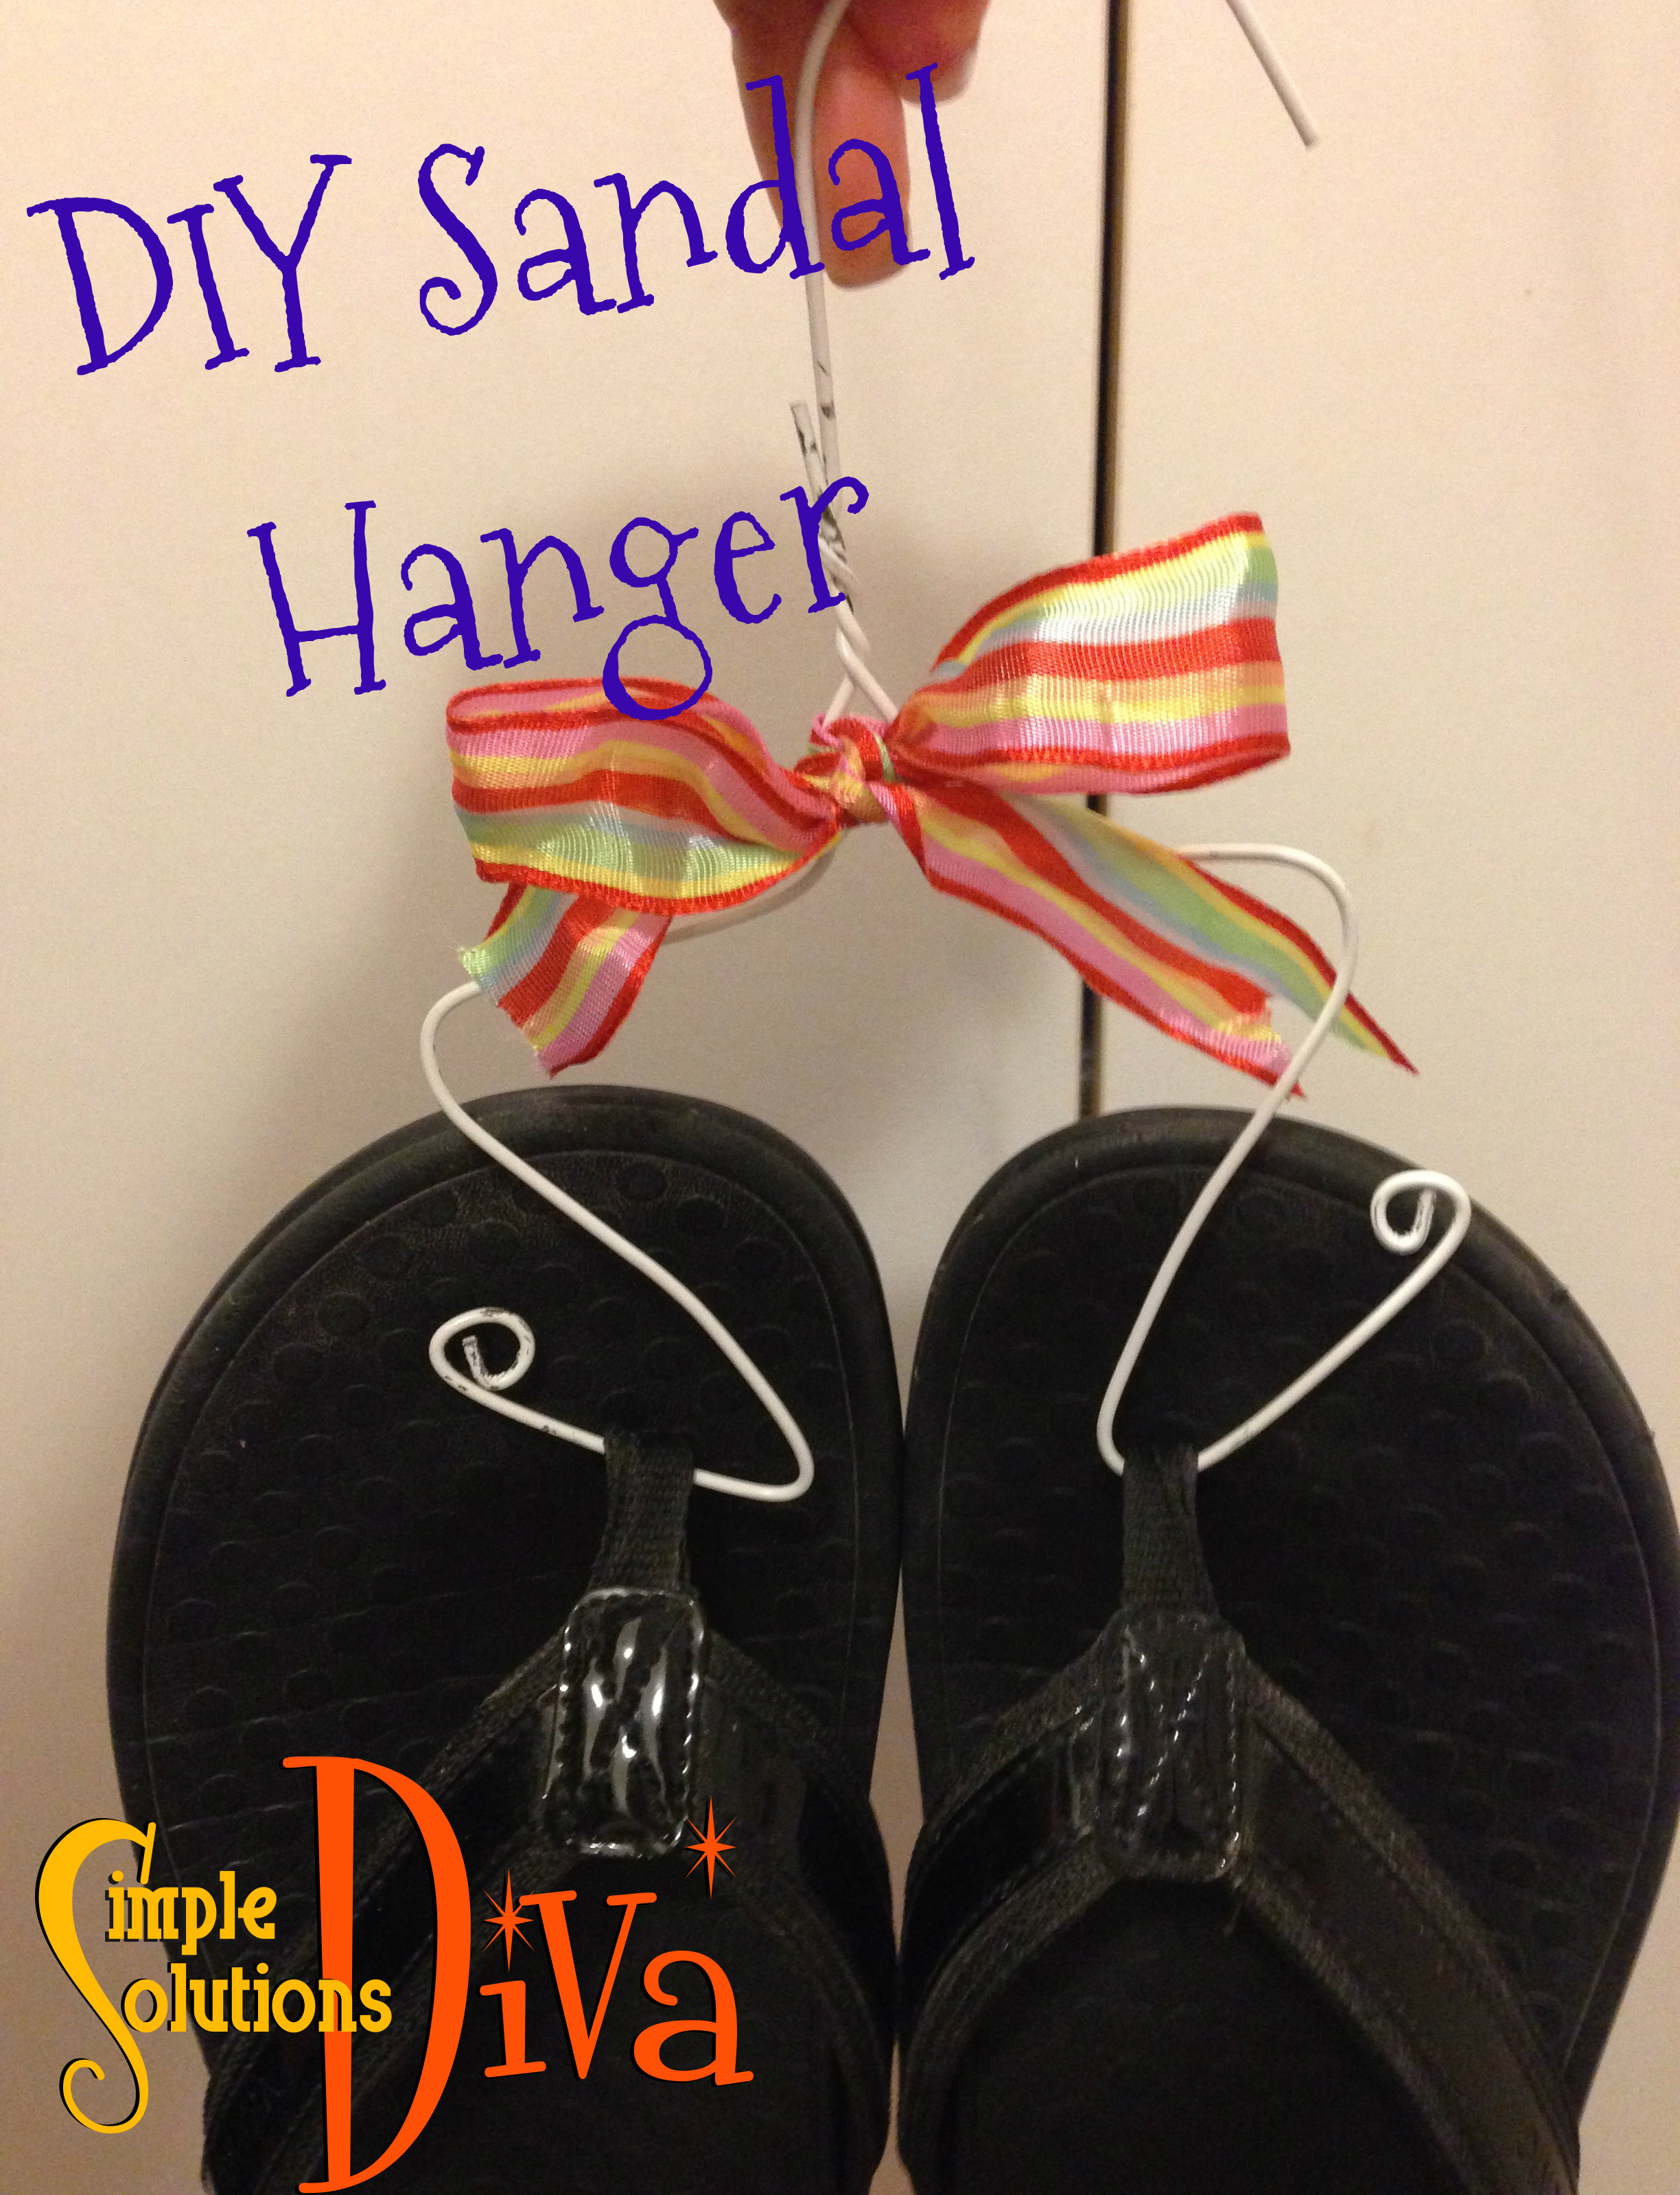
Clean Out Your Closet: Having a clean closet sets the tone for everything else in your house. It makes you feel good. Tip: If you are a shoe lover, try using clear plastic shoe boxes to organize your shoes. They allow you to easily see the shoes, keep them neat and dust free. The Container Store offers a kit of 20 clear shoe boxes on sale for $33.80 (usually $37.80).

Organize Your Pantry: We all have items in the pantry we bought because we were going to use it for a recipe that never happened. It is time to clean those out! Look for items that have sat in pantry too long. Check expiration dates and toss; have too many of one thing that you will never use before expiration date? Donate it. One great way to manage your smaller pantry items so you can see them is by using an over the door shoe bag. Clear pockets allow you to see the little items that may get lost on your pantry shelves.
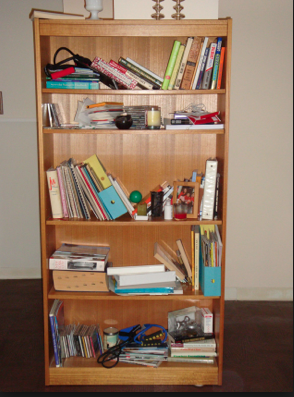
Reorganize Your Bookshelves:
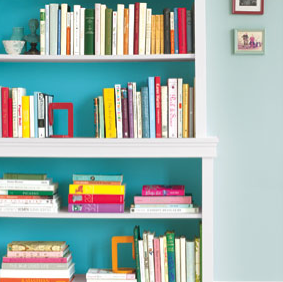
A surefire way to make an impact in a room is to reorganize the bookshelves. Donate books you are not interested in anymore. Dust all remaining books, then sort by size and subject. Line books, some vertically, some horizontally to give some visual interest. Add some of those sentimental items, but not too many. For some great ideas on how to arrange your shelves, check out this wonderful pictorial from Real Simple Magazine.
Just to illustrate how great a bookshelf can look, check out these before and after shots of one bookshelf (photos from GothamOrganizers.com):