 Independence Day is a favorite holiday in my house! It happens to be the day AFTER my birthday, so I always looked at it as a celebration of MY birthday as well as our country’s! My neighbor and I both love it so much, we started our neighborhood’s Fourth Of July Bike Parade 15 years ago and it is STILL going strong!
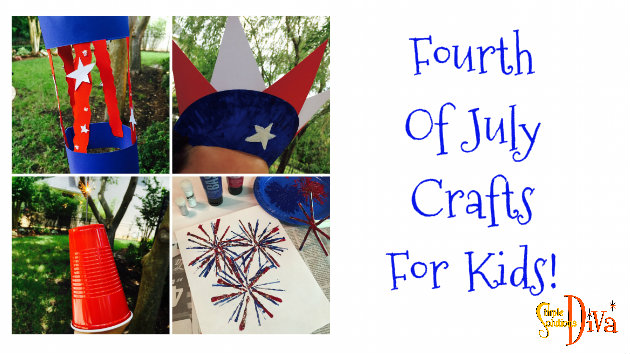
Here are a few simple crafts you can do with the kids this year, plus a few decorating & celebrating ideas I found that were just too good not to include!
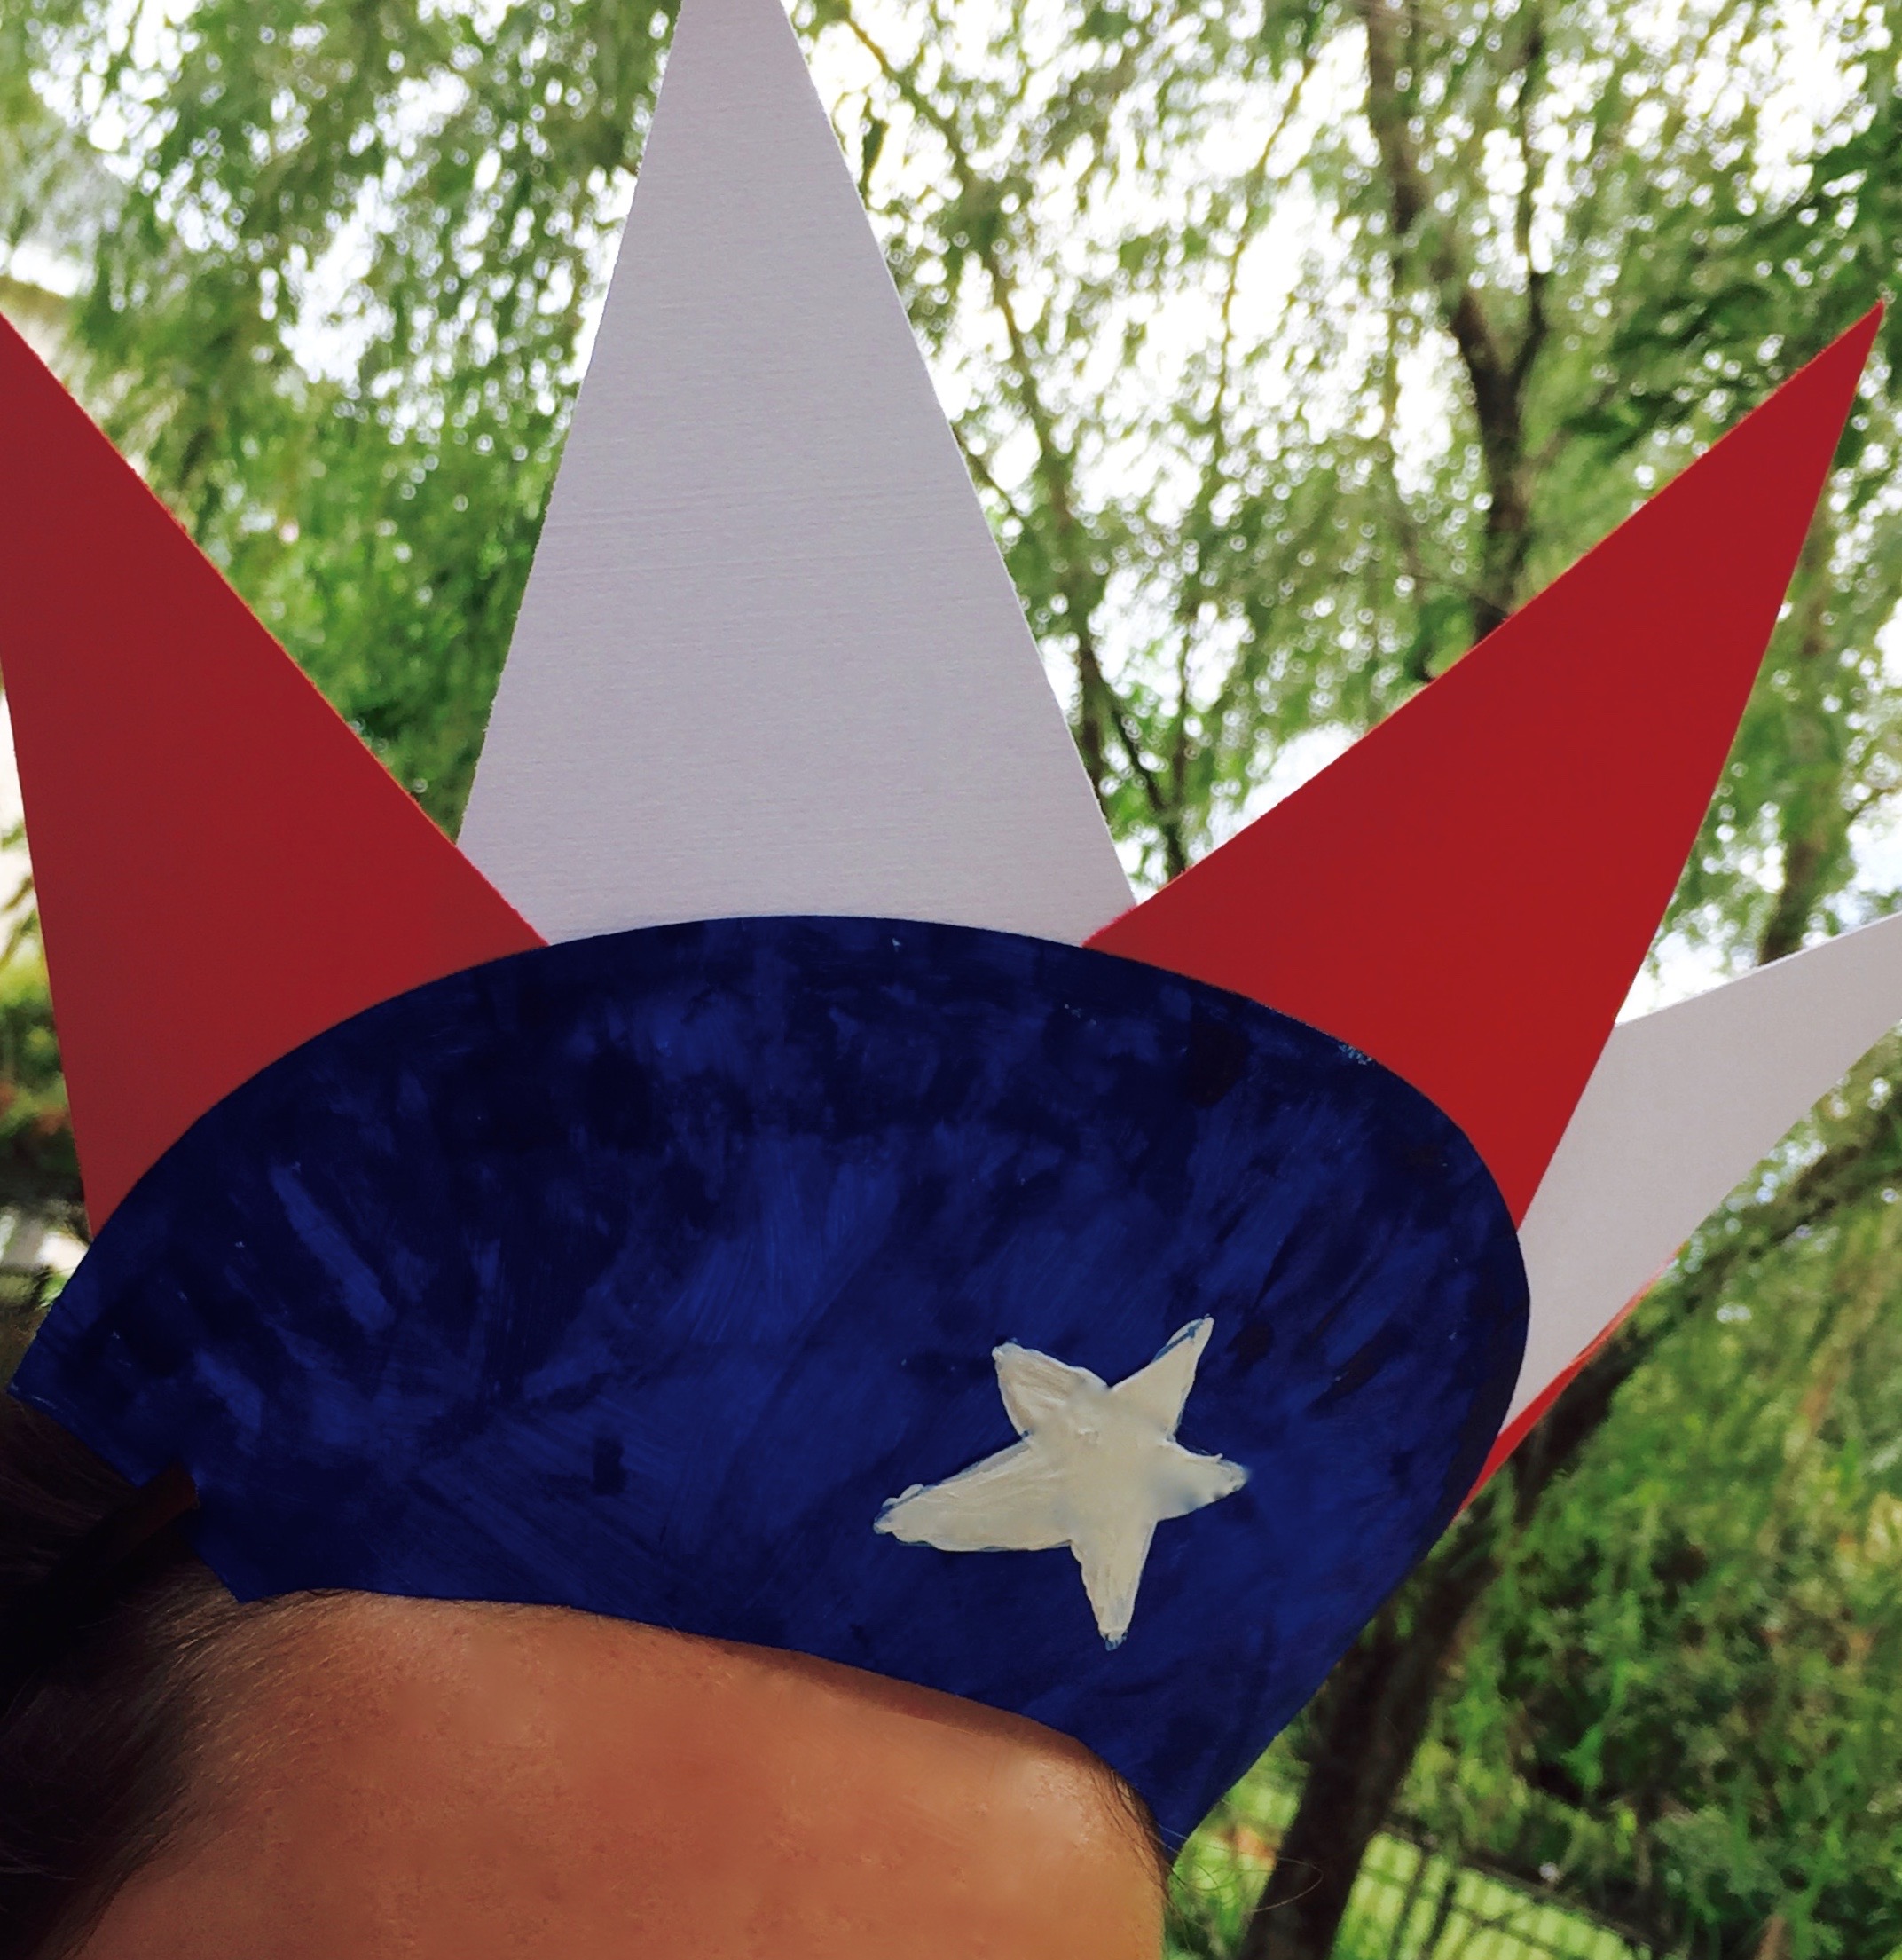
Liberty Paper Plate Hat
This is a simple project that requires just a few items!
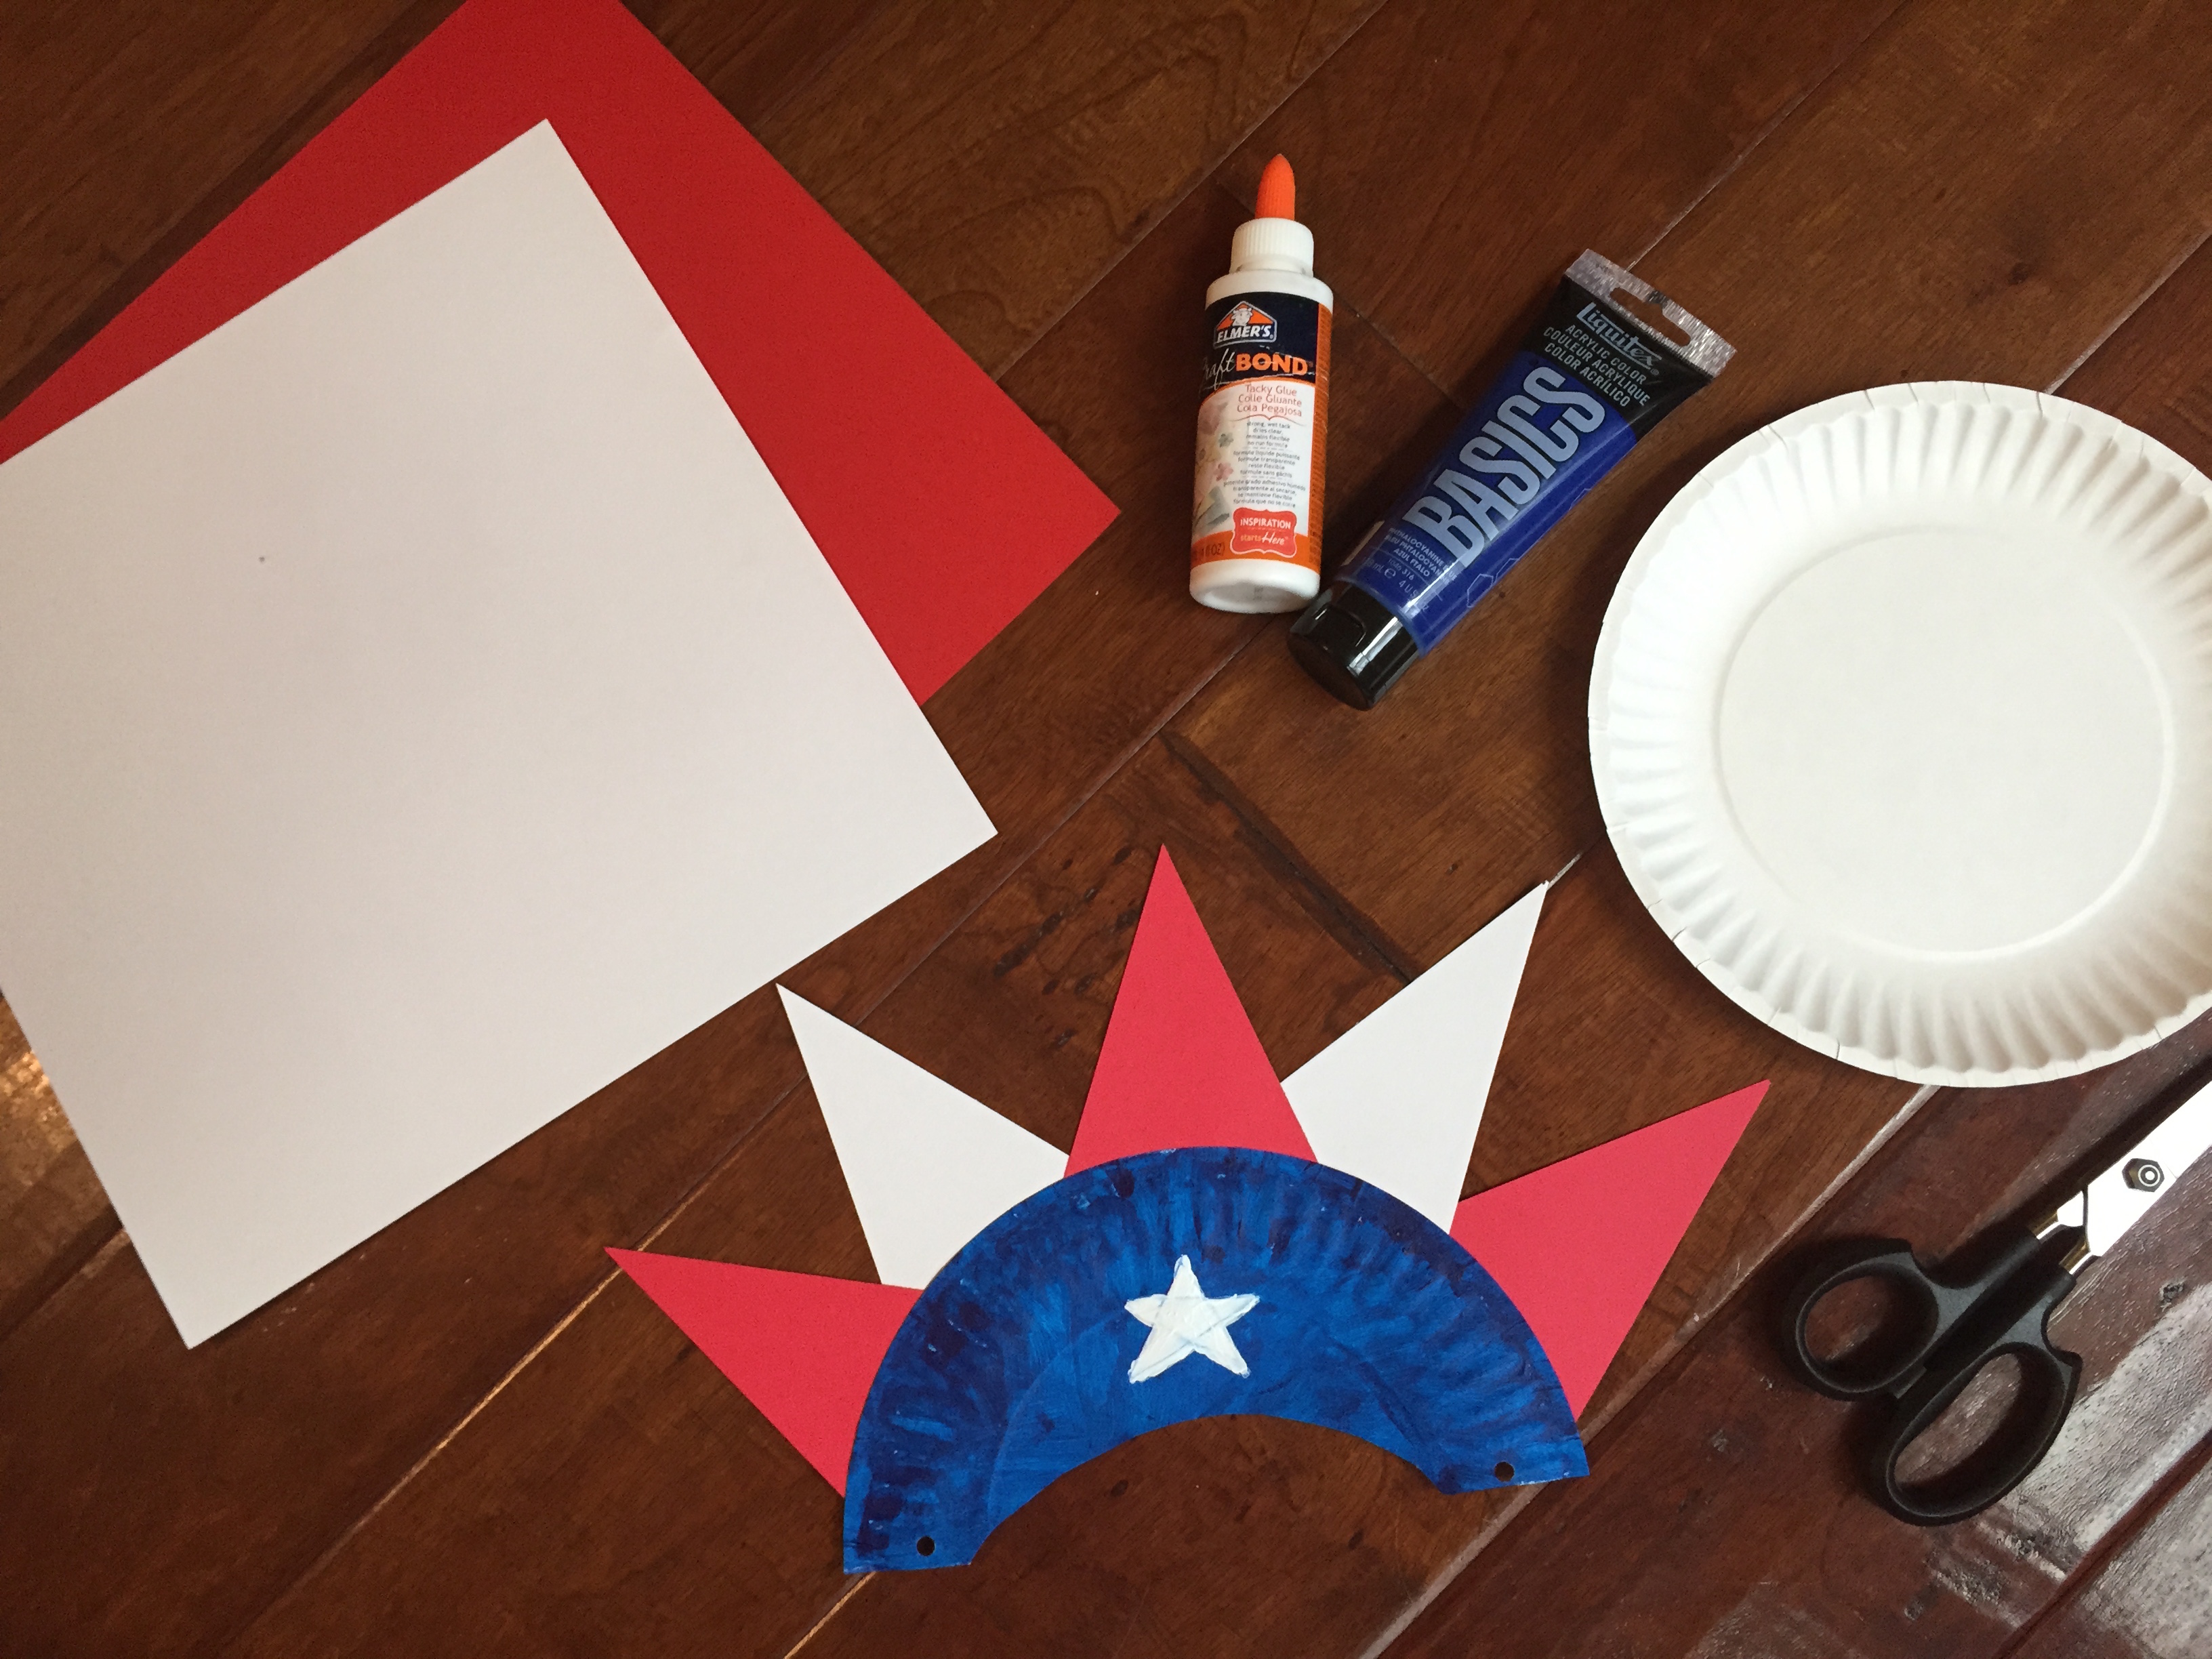
What You Need:
- White paper plates
- Blue acrylic paint & paint brushes
- White and red construction paper
- Hole punch
- Glue or glue dots to eliminate dry time
- Elastic
Directions:
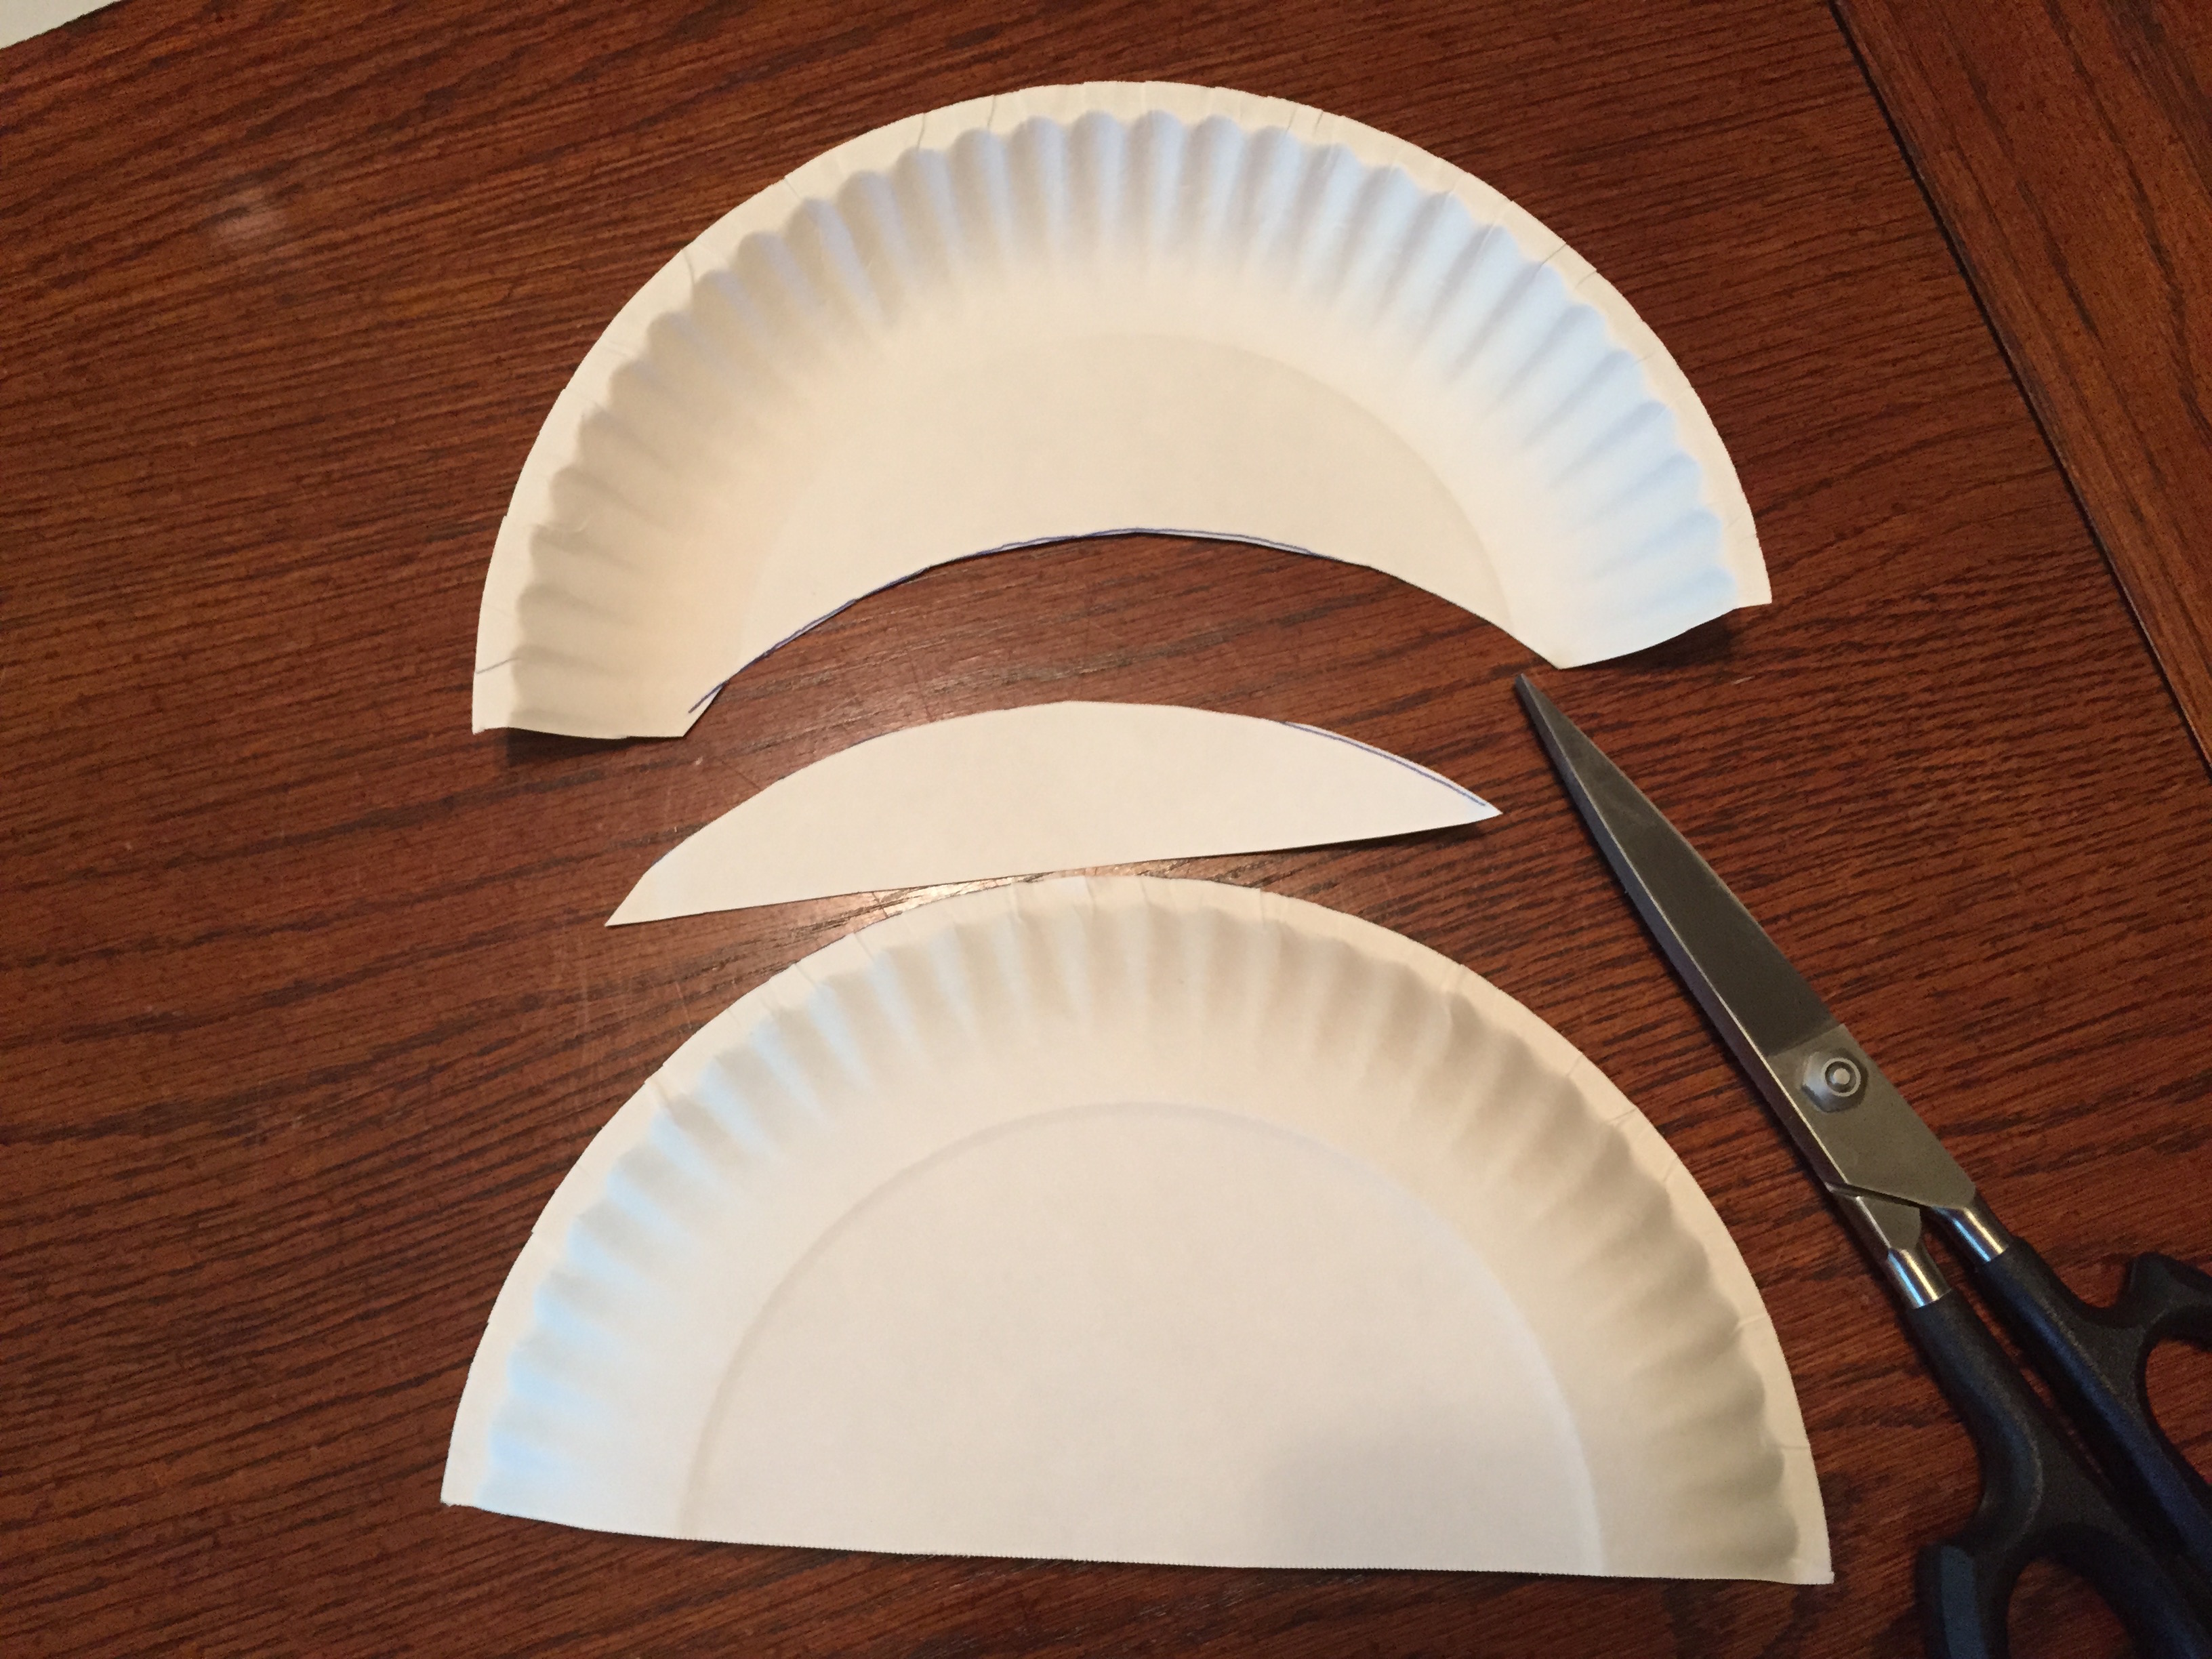
Cut the paper plate in half, then on the cut side, cut a half moon out of the bottom using the other half of the paper plate as a guide (sounds complicated, but see photo below!). Paint one side of the plate blue. Set aside to dry.
Cut elongated triangles out of the red and white paper.
Flip the dried plate over and glue the paper triangles to the back of the paper plate (along the top-curved part), alternating red and white-points pointed up. Allow to dry.
Using hole punch, punch a hole on either side of the bottom of the plate. Thread elastic through each hole and tie off (estimate amount of elastic needed based on the child’s head size). You can also use a hard headband and put the headband ends through the holes on either end!
Fireworks Art
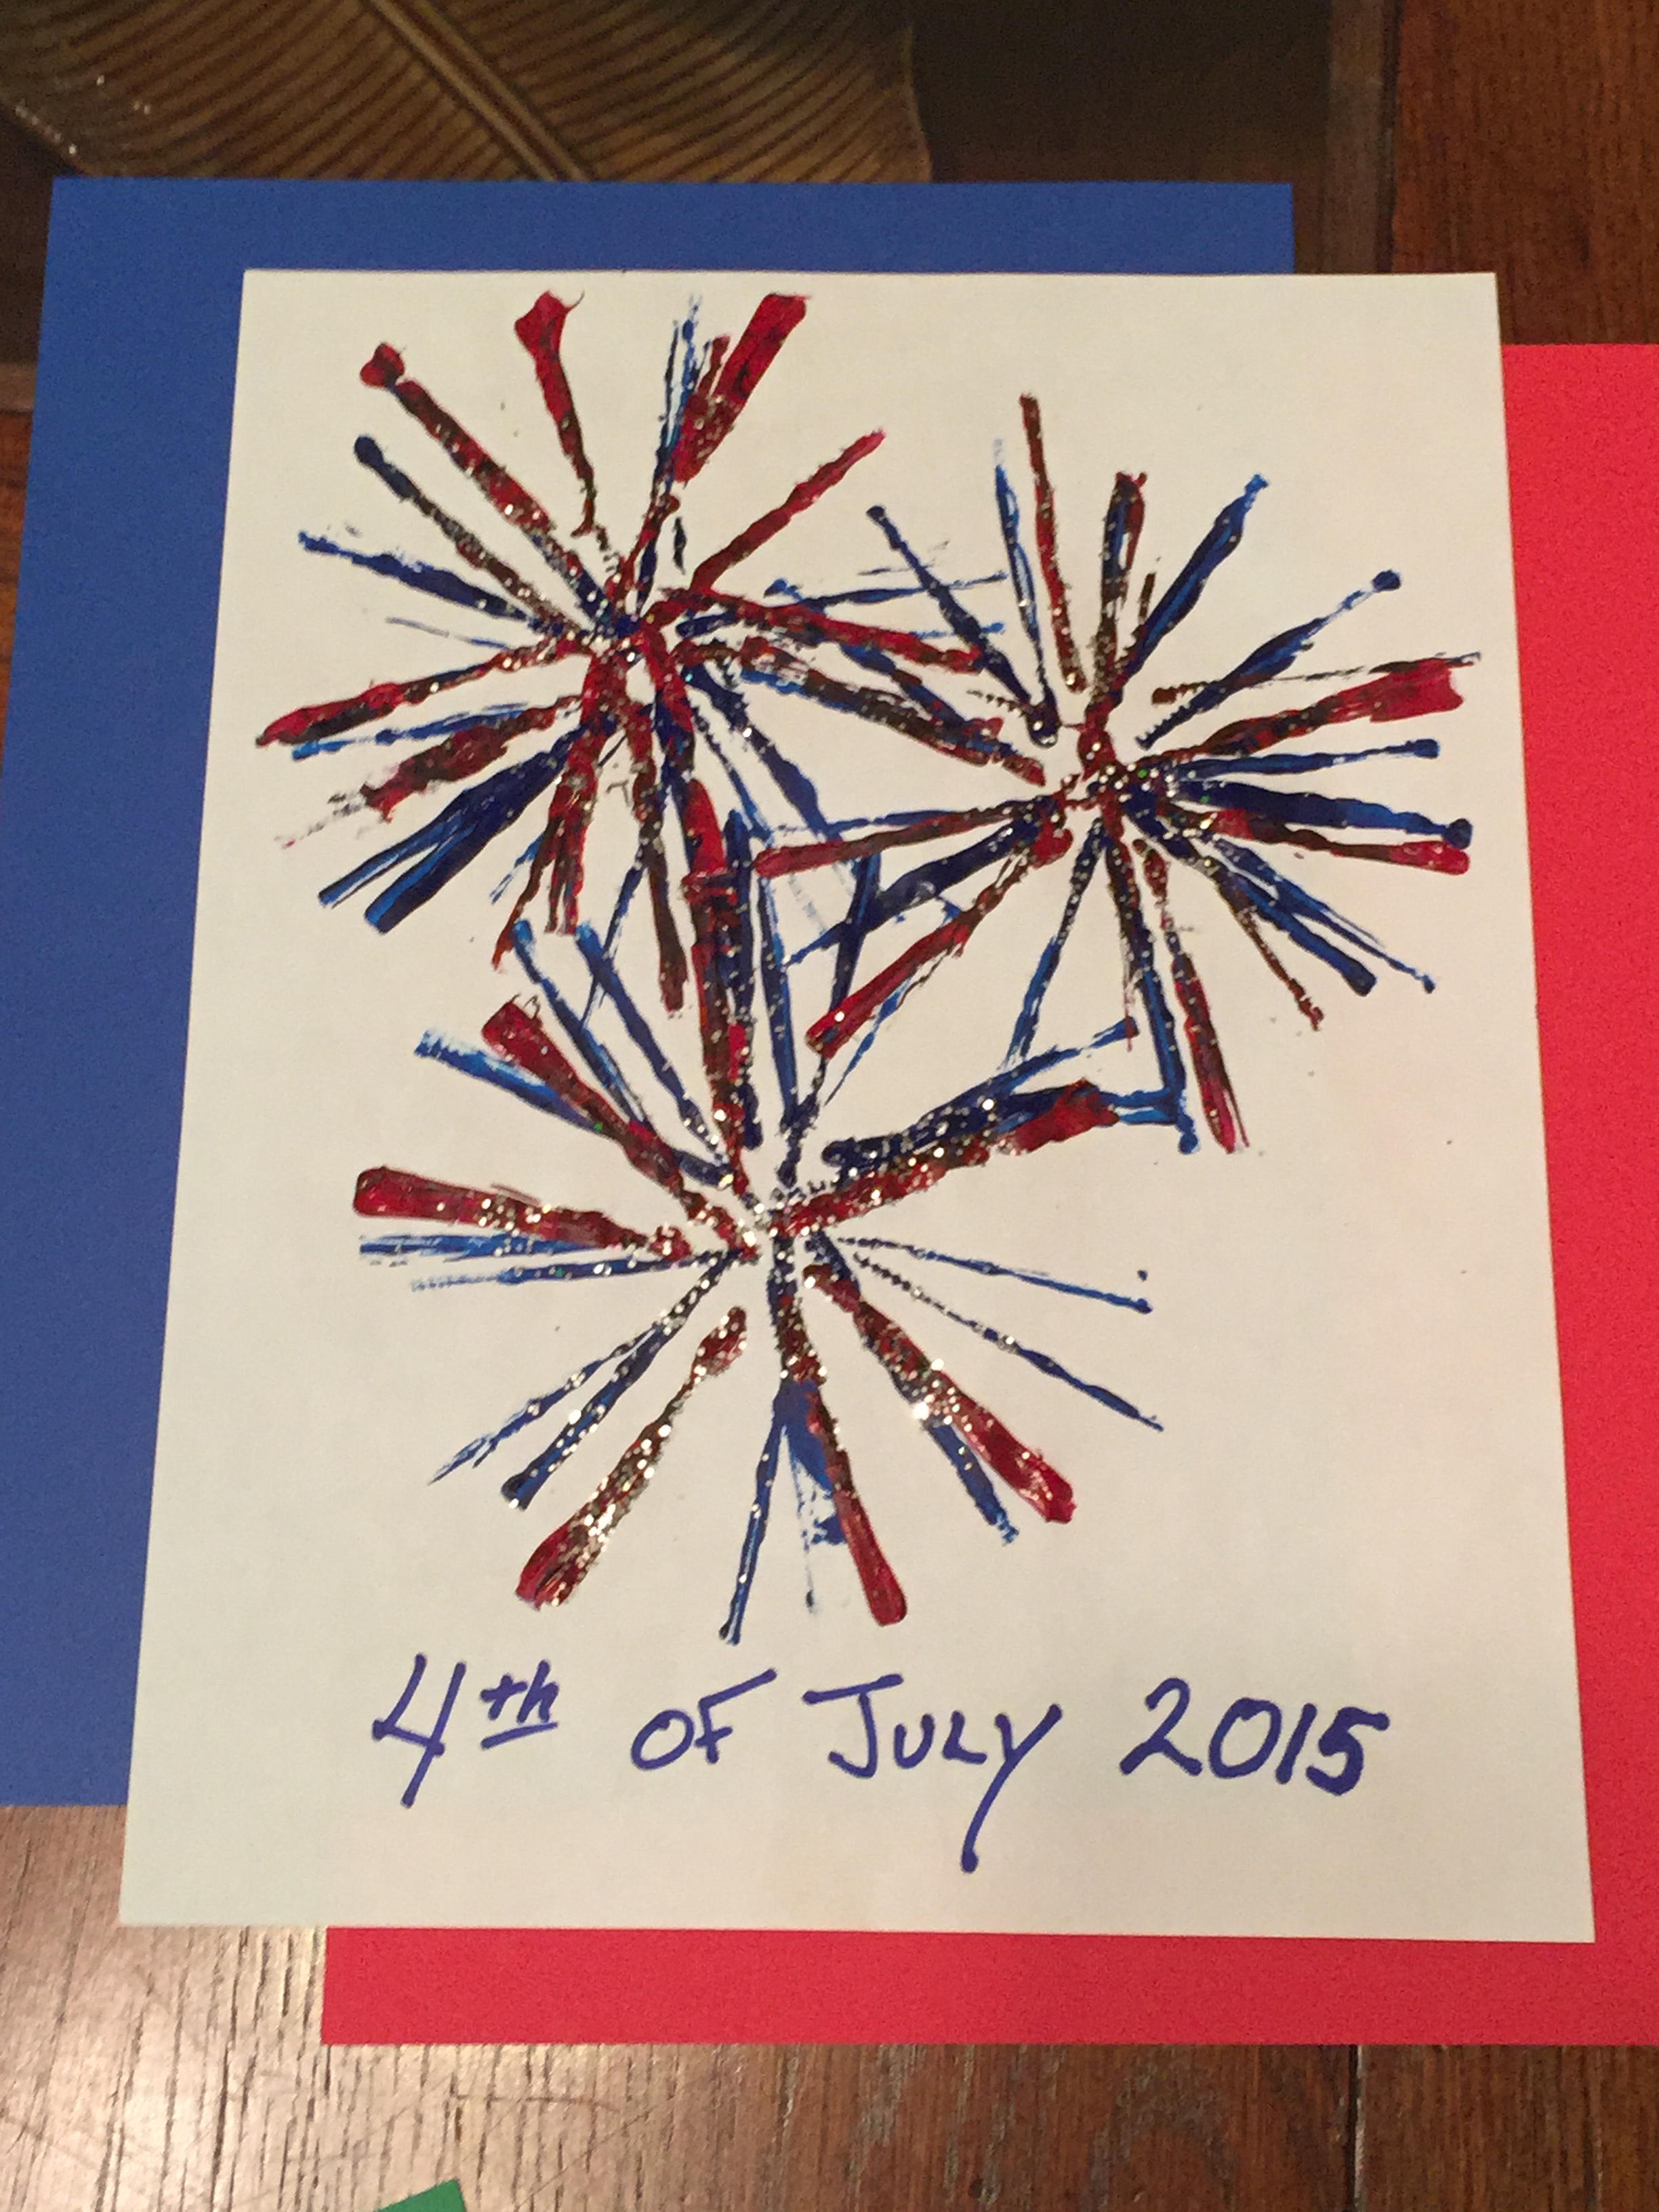
Bendy straws make this simple craft fun AND pretty!
What You Need:
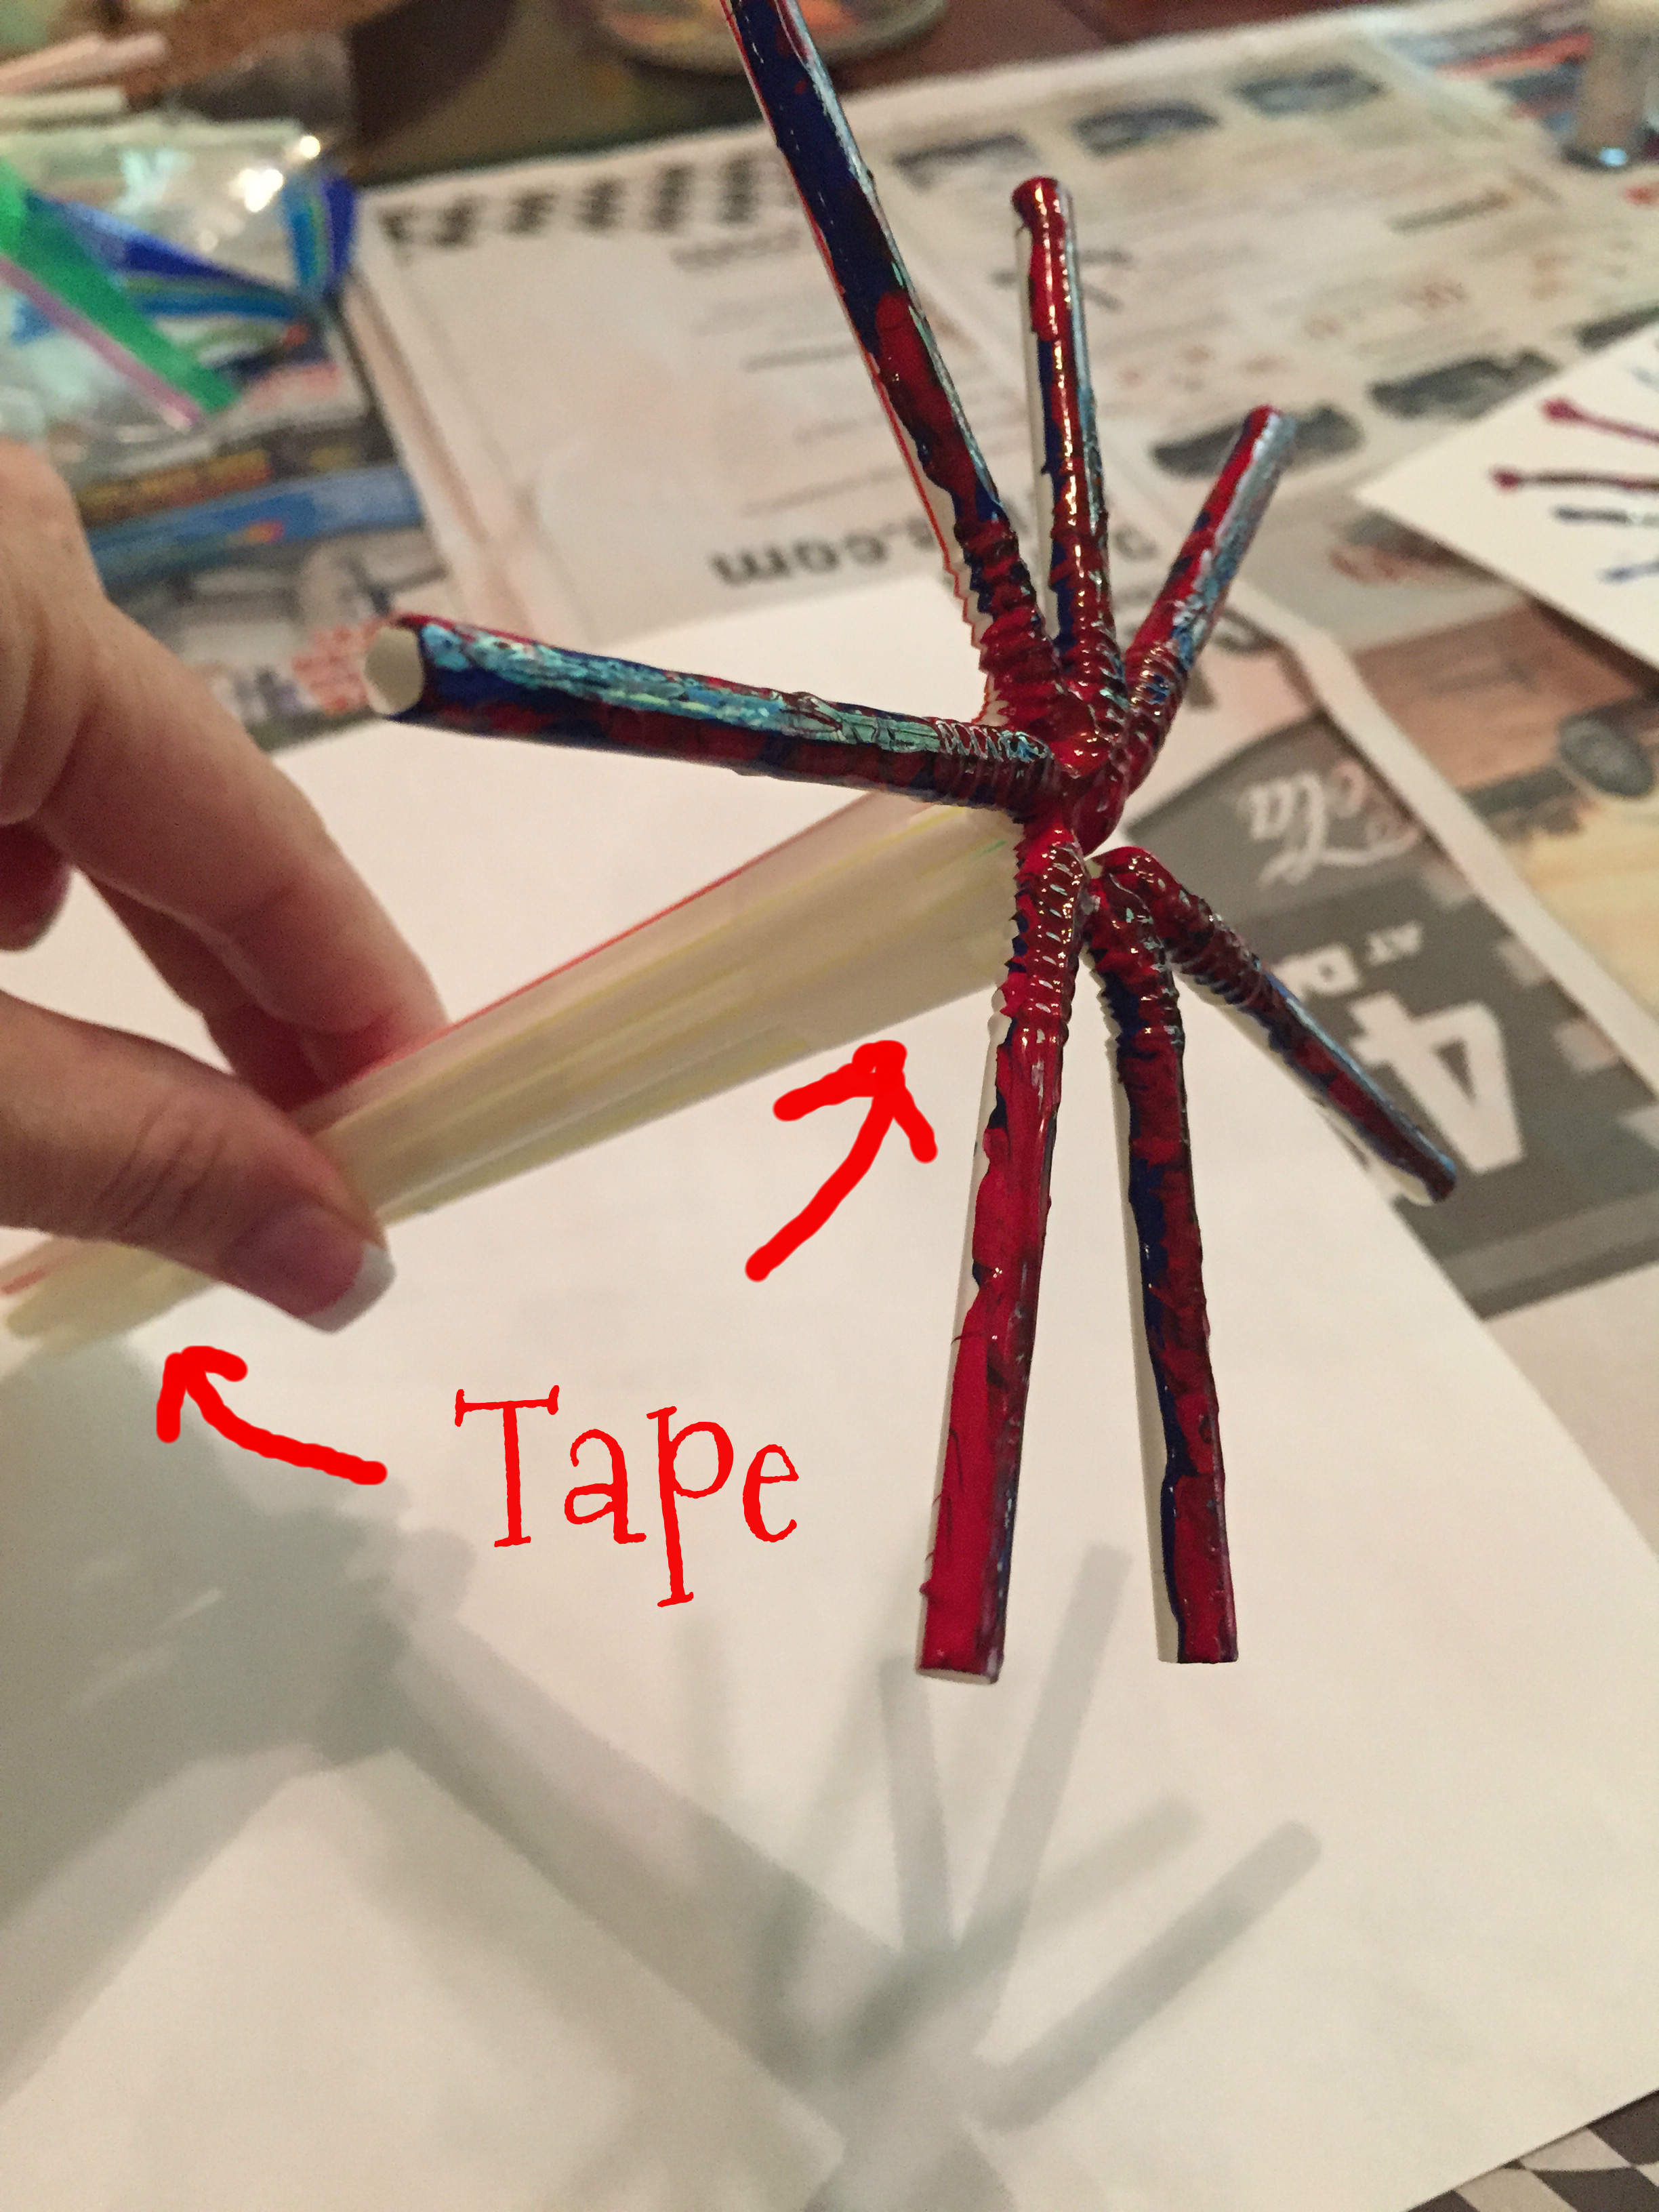
- 7 bendy straws per person
- Tape
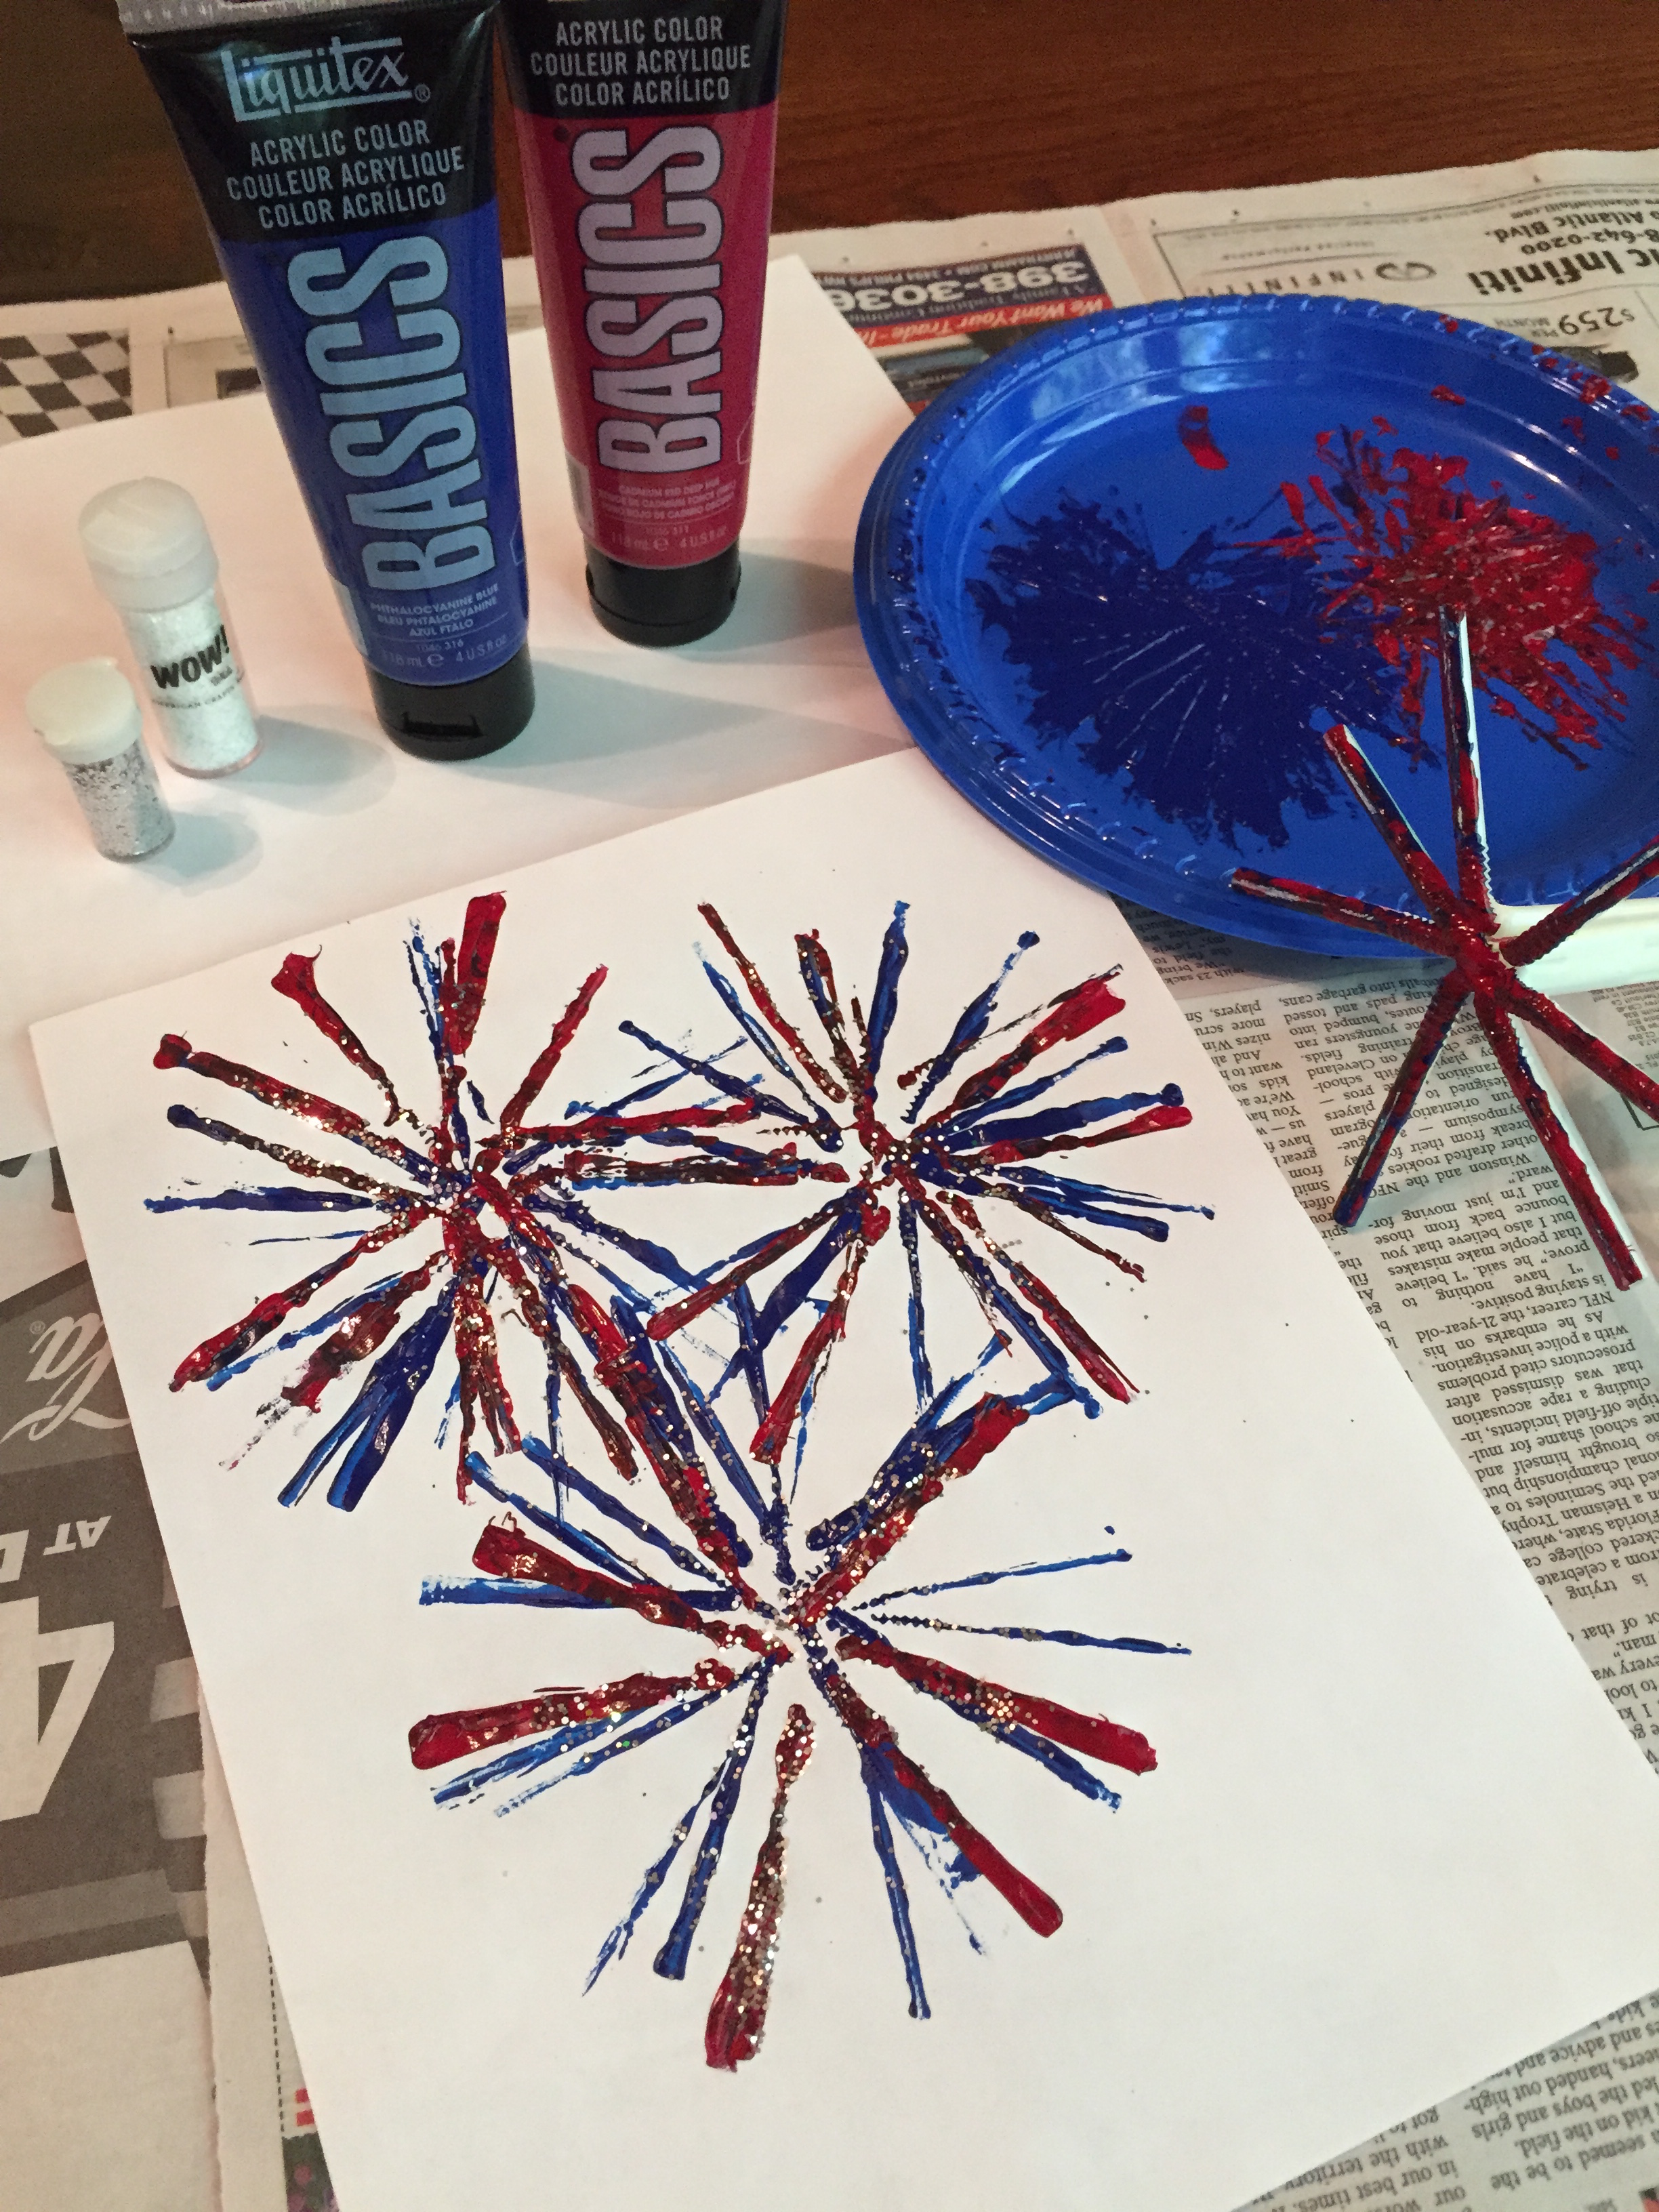
- Blue and Red acrylic paint
- Paper plate
- White paper
- Red, white or blue glitter (optional)
Directions:
Pull each of the bendy straws so they are fully extended. Holding the 7 straws in a bundle in your hand (making sure the ends are aligned), wrap tape around the bottom and then right under where the straws bend. Once secured, bend and spread out the bendy end of the straws to create a pinwheel shape. (See photo below!)
Pour blue paint onto a paper plate and have the kids dip the pinwheeled end of the straws in the paint. Have them stamp the pinwheel all over the white paper; repeat with red paint. (You may need to press the straws to the paper so they make full contact with the paper.) If desired, while paint is wet, sprinkle sparkles on the artwork.
Flag Handiwork!
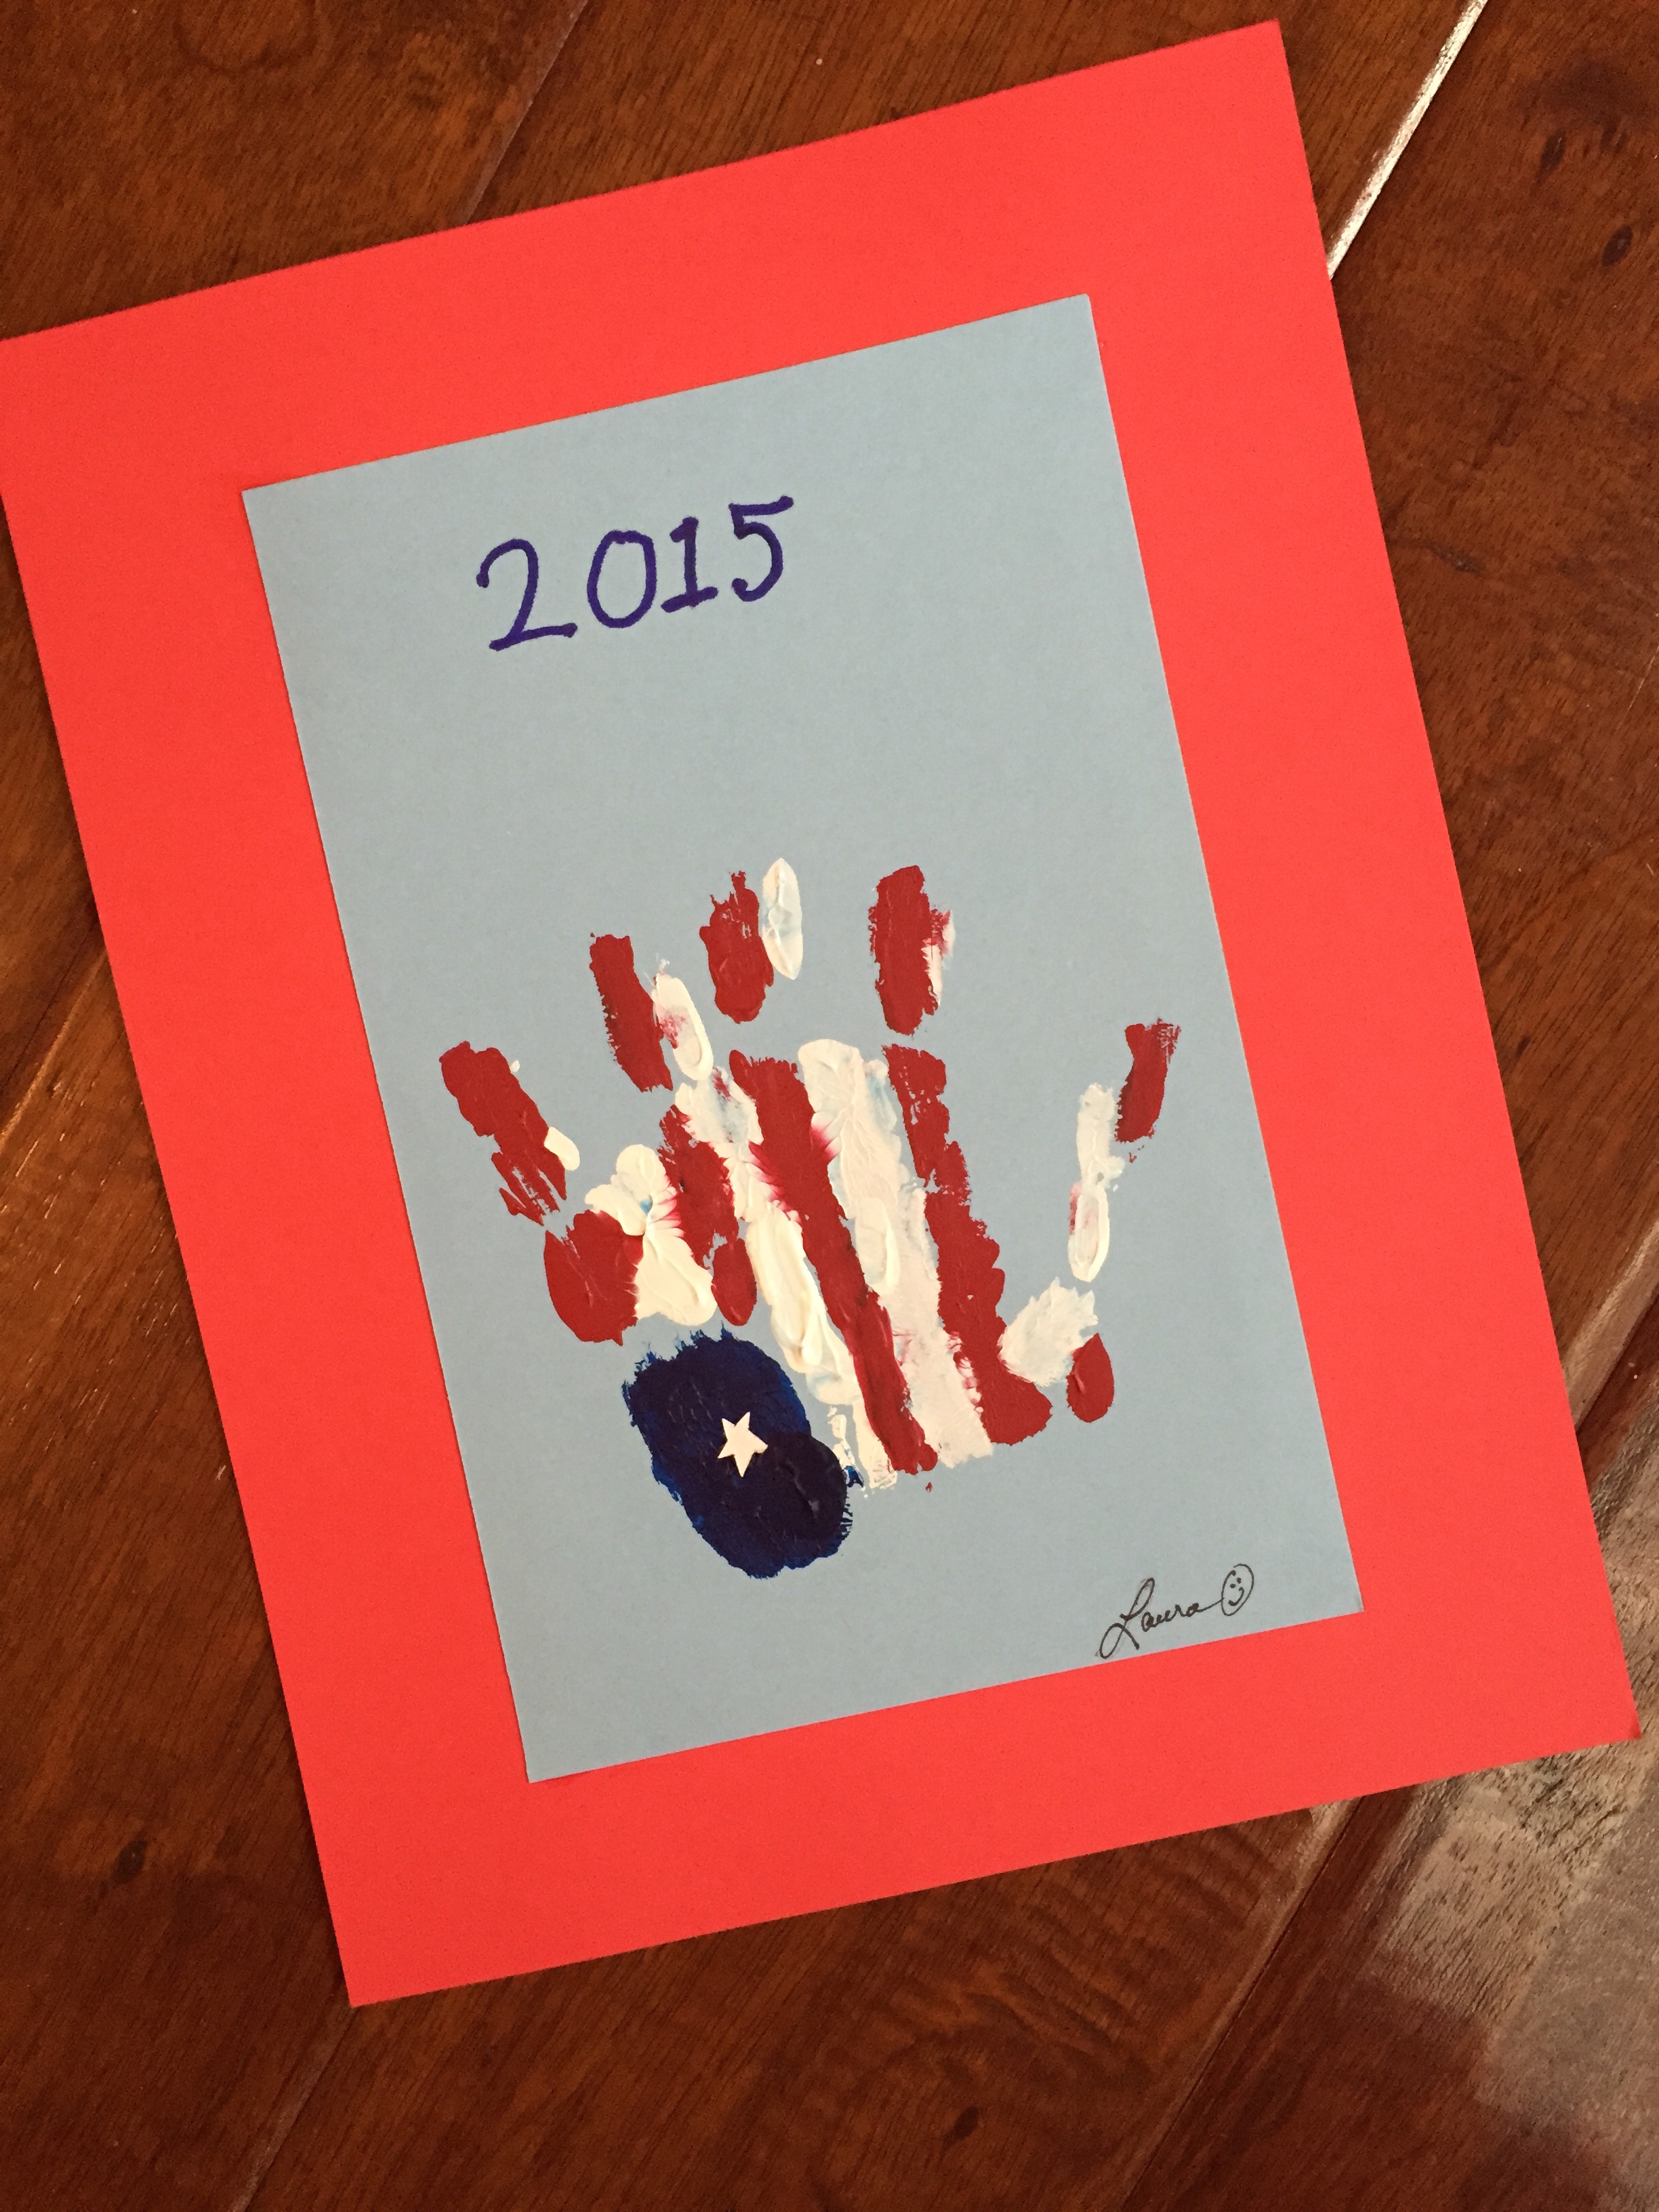
Give the flag a hand! Use your child’s hand to re-create the flag! (Don’t laugh, but since I have teens, not toddlers, at home I used my own hand for demo purposes!)
What You Need:
- Red, White and Blue Acrylic Paint
- Paintbrushes
- Light Blue Paper for the print
- Red Paper for Mounting
- White Paint or Paint Marker
Directions:
Assemble your paints, brushes, and light blue paper. Have your child hold out their hand (I used left hand) and gently paint a blue square on their palm, followed by alternating red and white stripes leading out onto their fingers. (See photo) NOTE: Plan to work quickly so the paint doesn’t dry on their hand!!
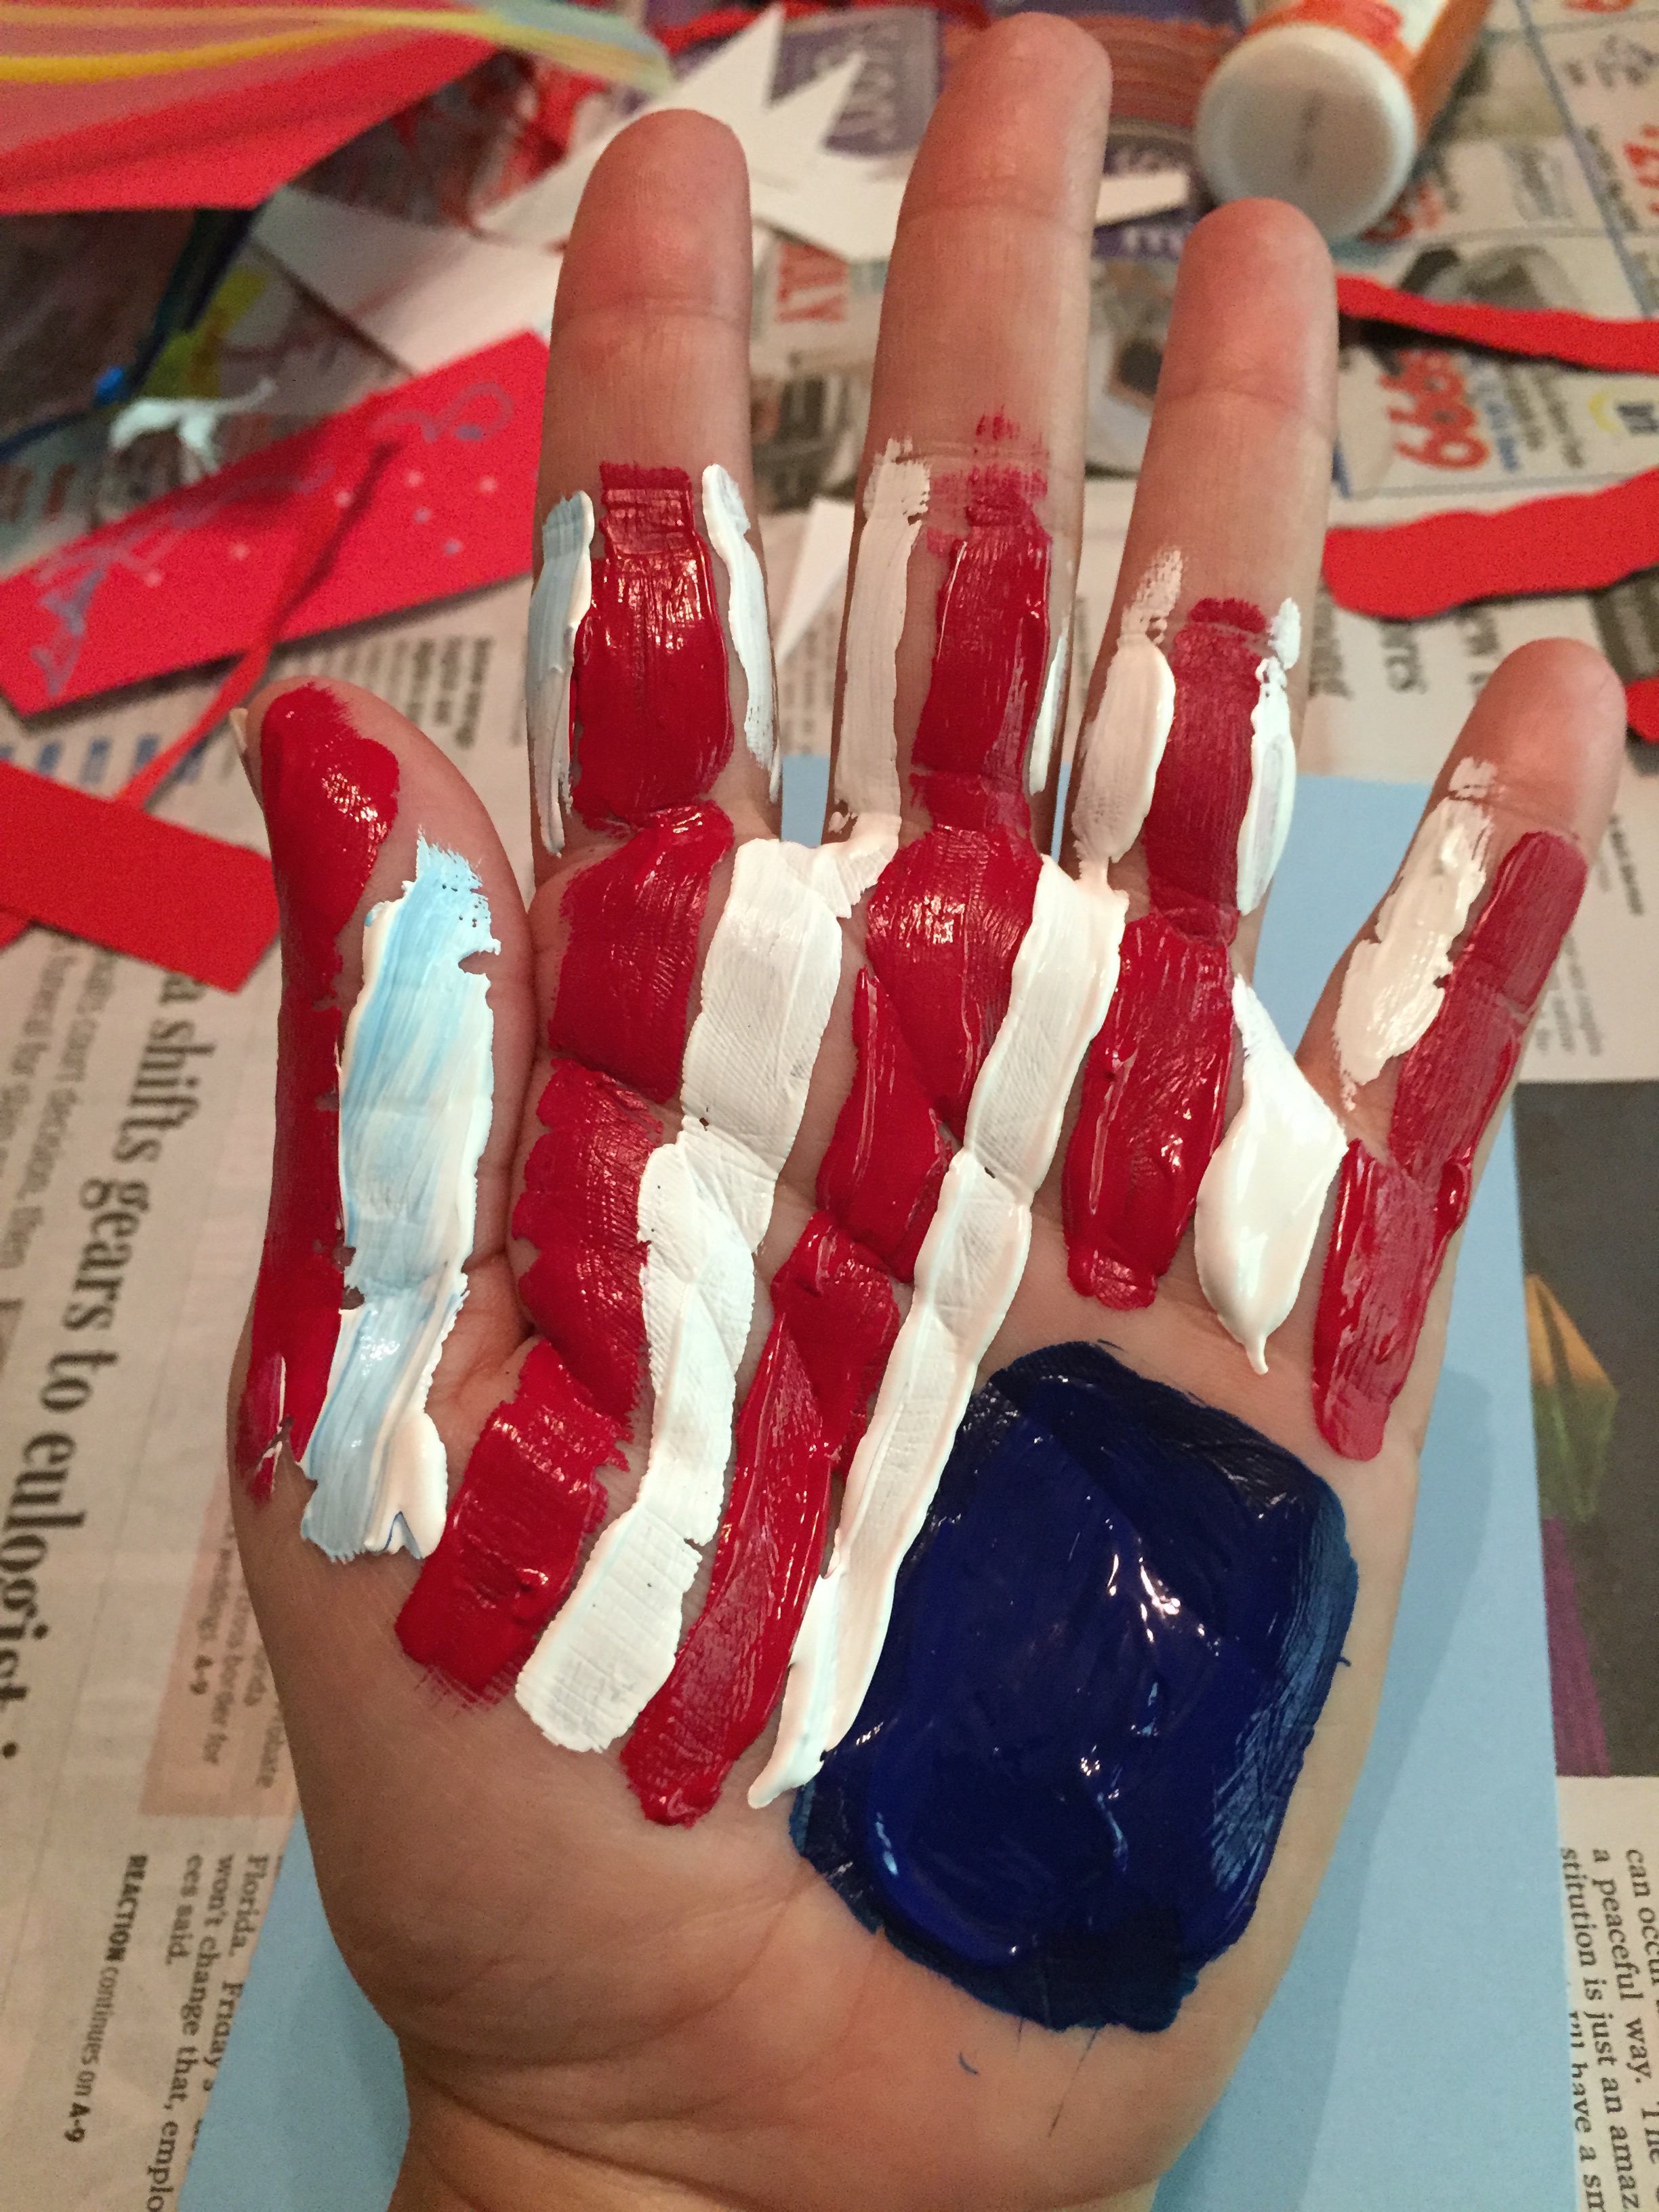
Press the painted hand onto the light blue paper. Once dried, paint a white star on the blue square. Mount the artwork onto slightly larger red paper.
Patriotic “Lantern”
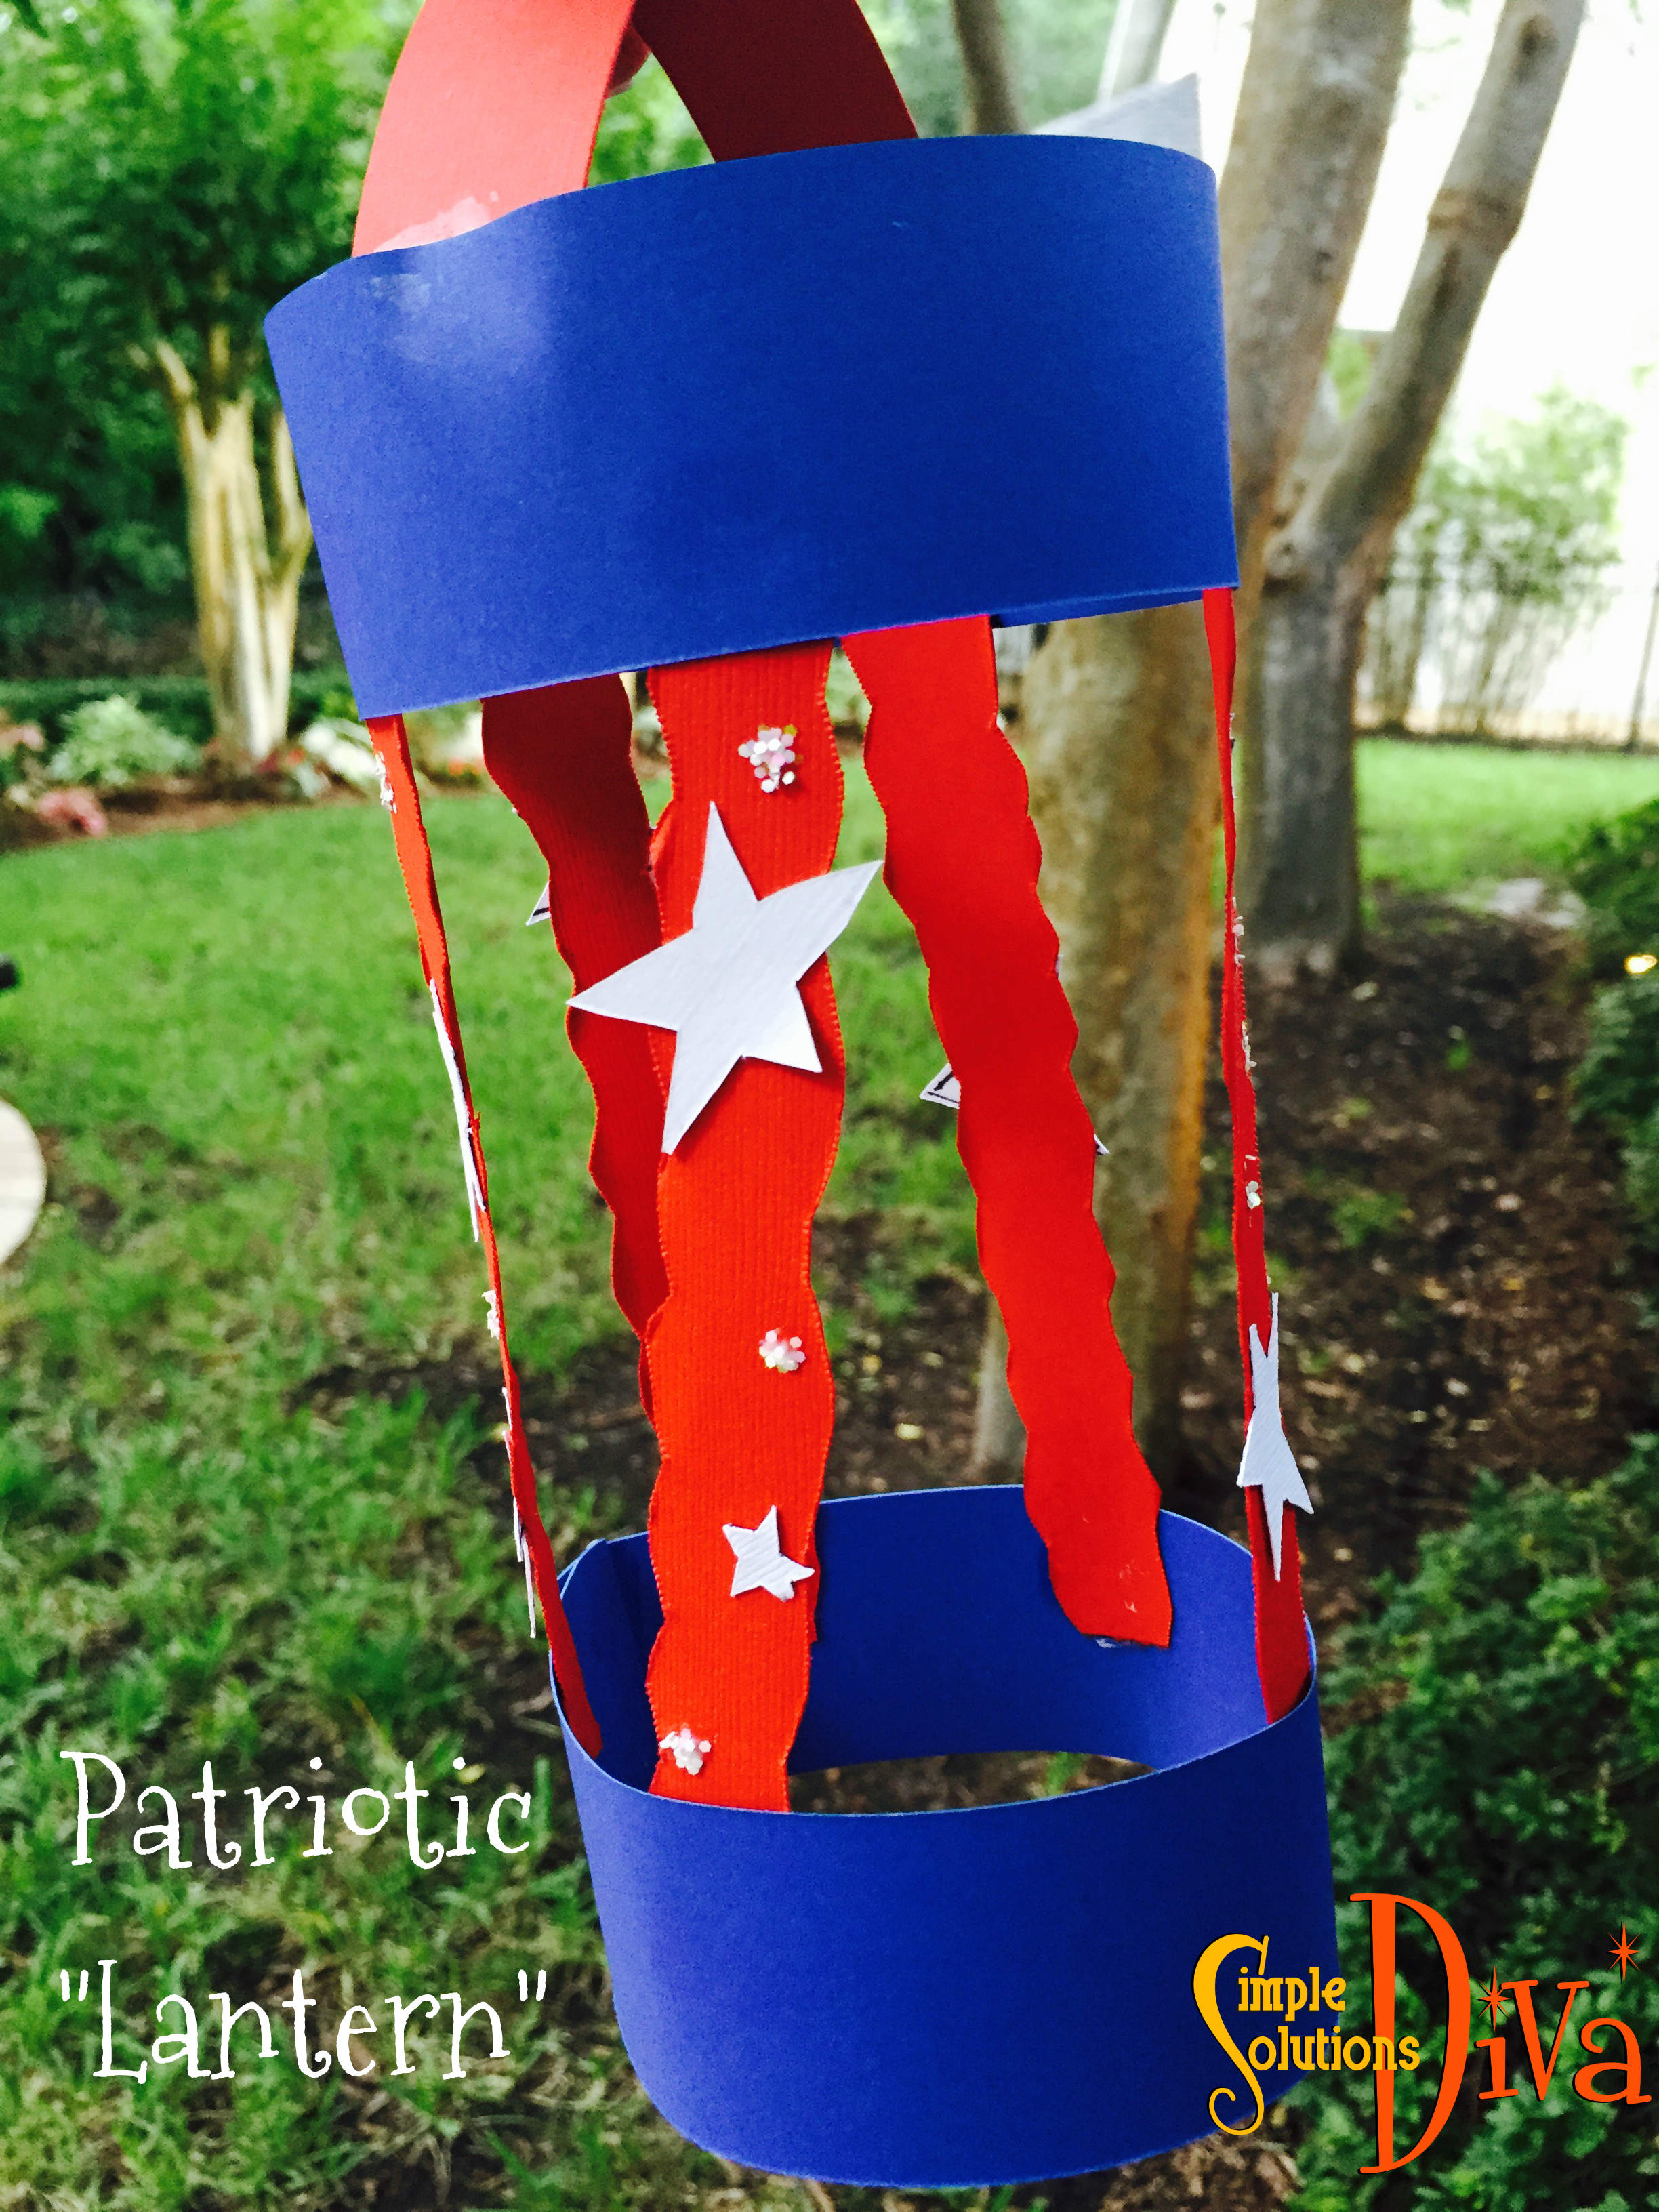
This is always fun for kids to make and they are perfect to display on the porch, in the bedroom or even attached to a stick to carry in the neighborhood bike parade!
What You Need:
- Blue & Red Construction Paper, cut into long, inch wide strips (I used heavier paper that I had on hand)
- White Paper, cut into free-formed stars, various sizes
- Craft Glue
- Glitter (optional)
Directions:
Lay two blue strips vertically with a few inches between them. Lay your red strips between the blue strips horizontally and glue (see photo below).
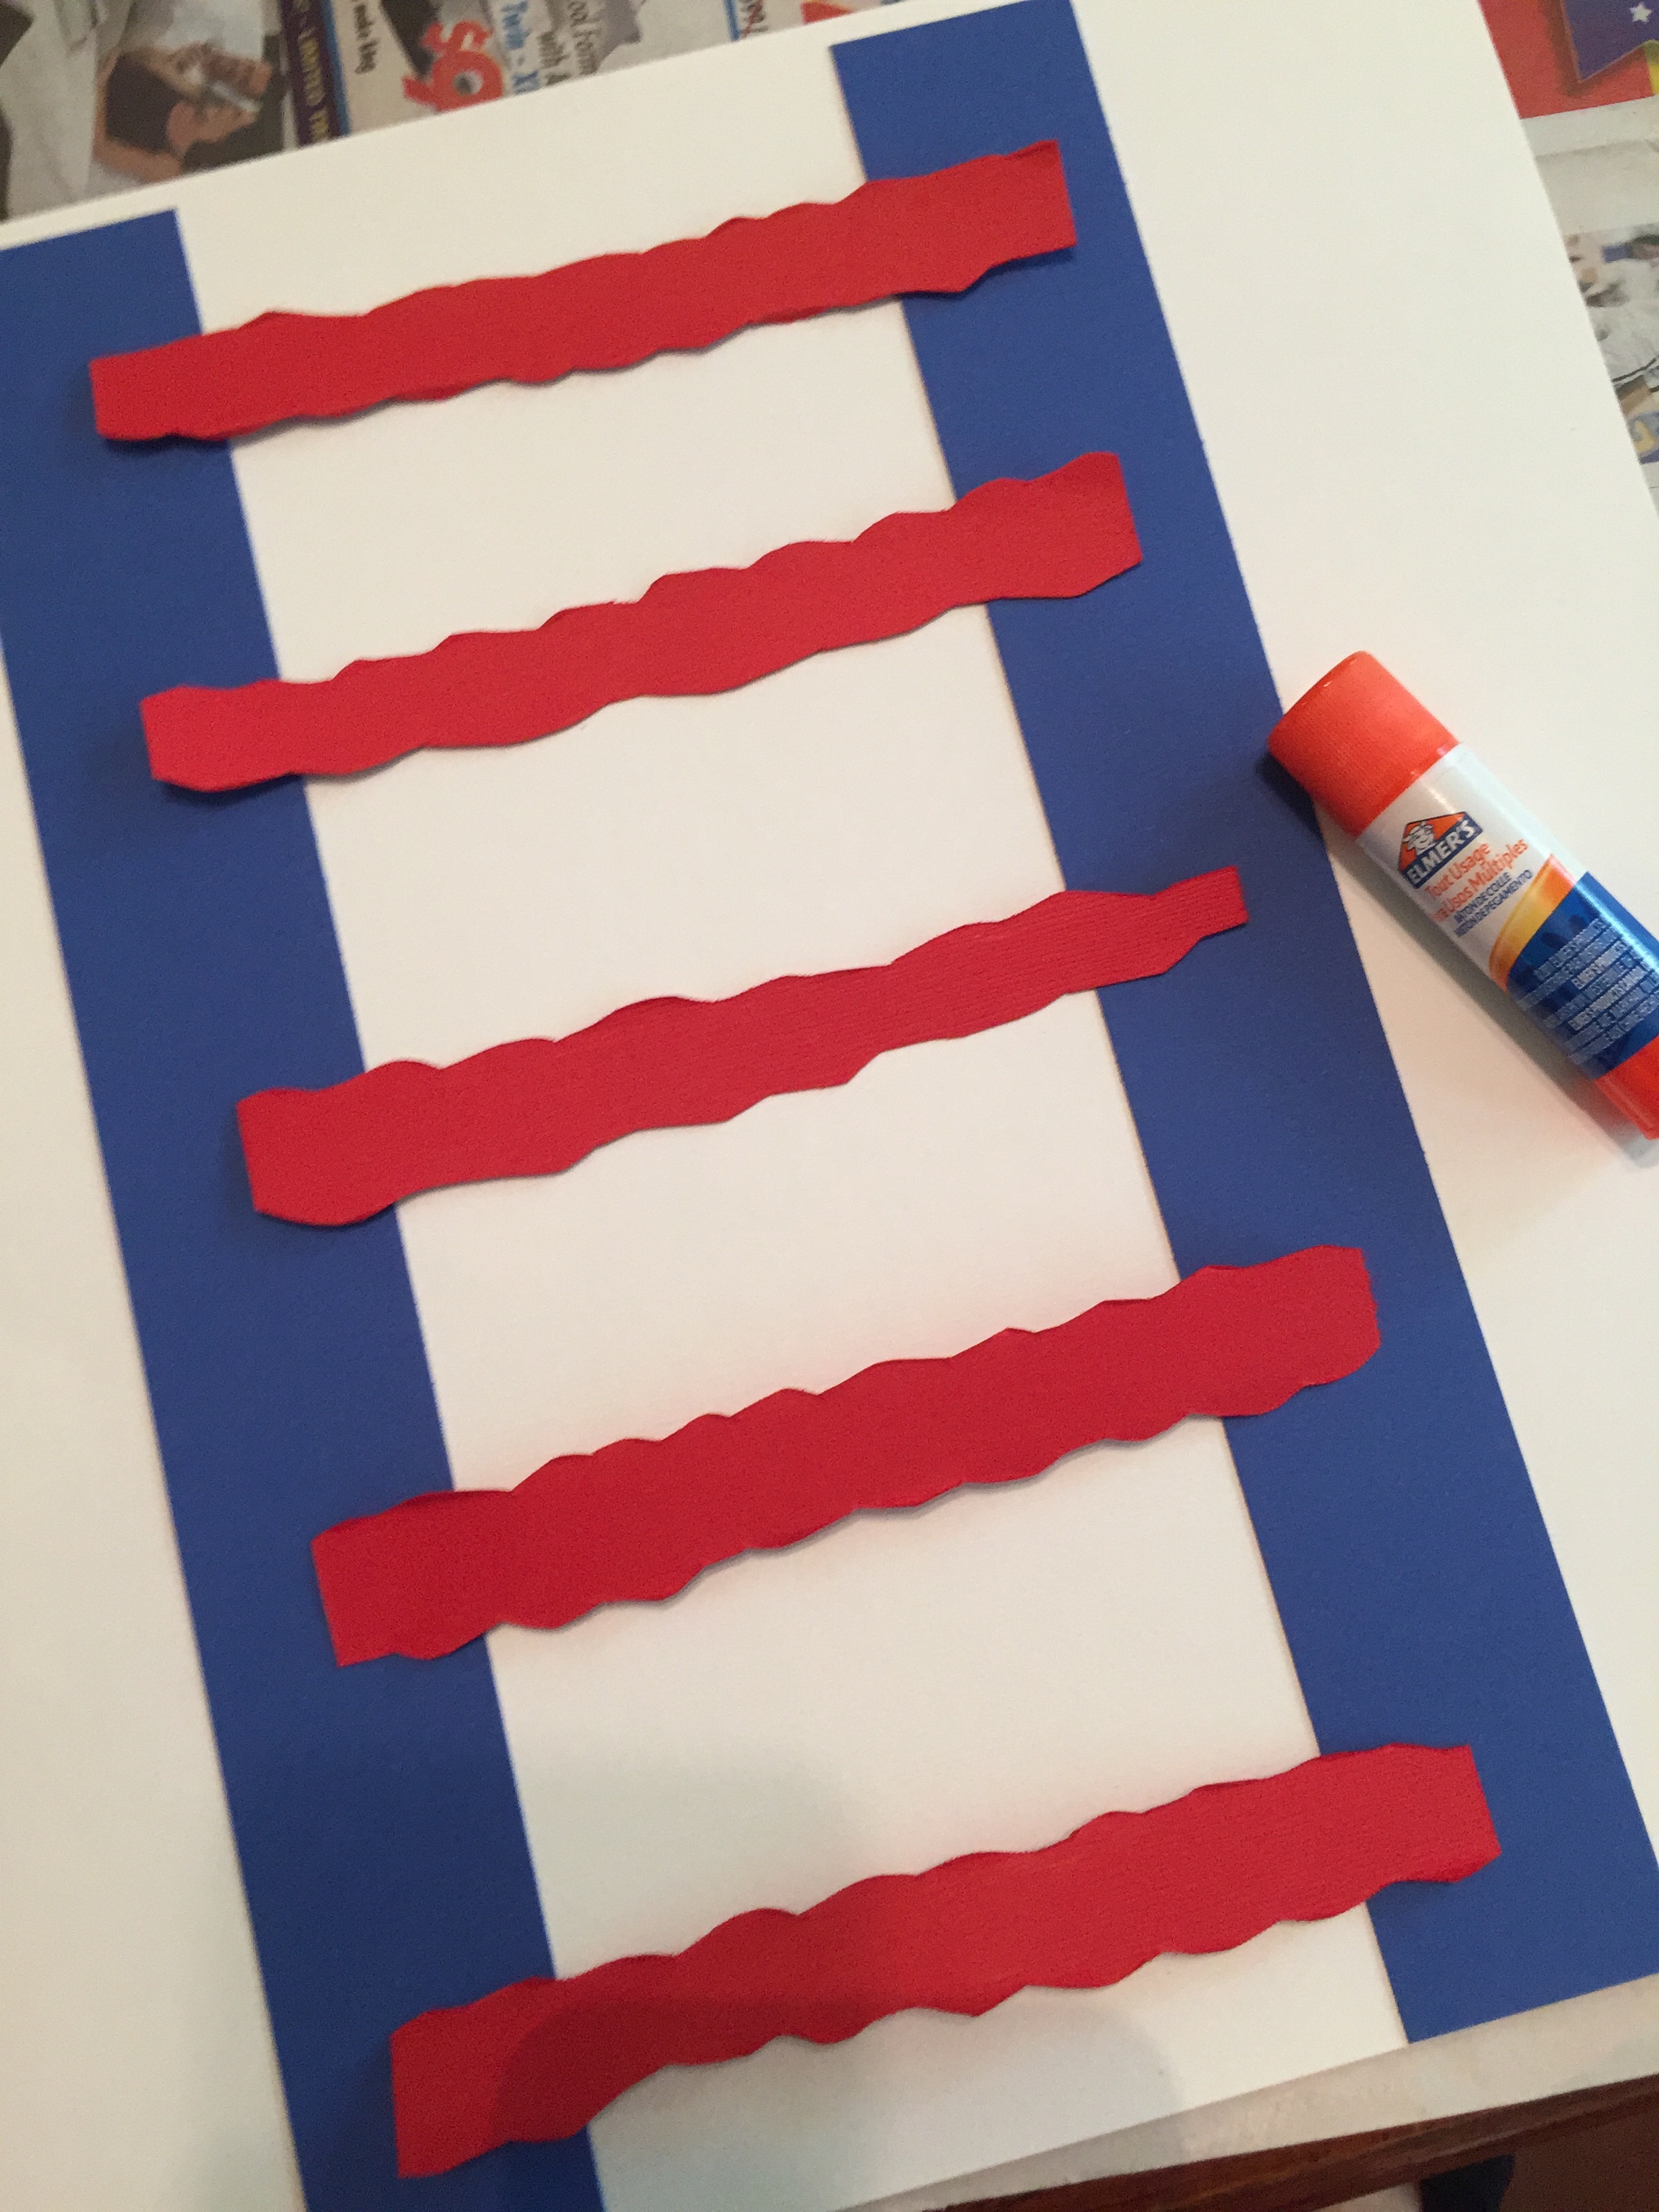 Once dry, join the each end of the two blue strips together and glue.
Add the white stars as desired, and put a few dots of glue here and there, then sprinkle with glitter if you want to add a little more pizzazz! (You could add streamers off the bottom if you want to turn this into a windsock!)
Glue a red strip to the top as a handle and you are ready for the parade!
Sparkler Guard
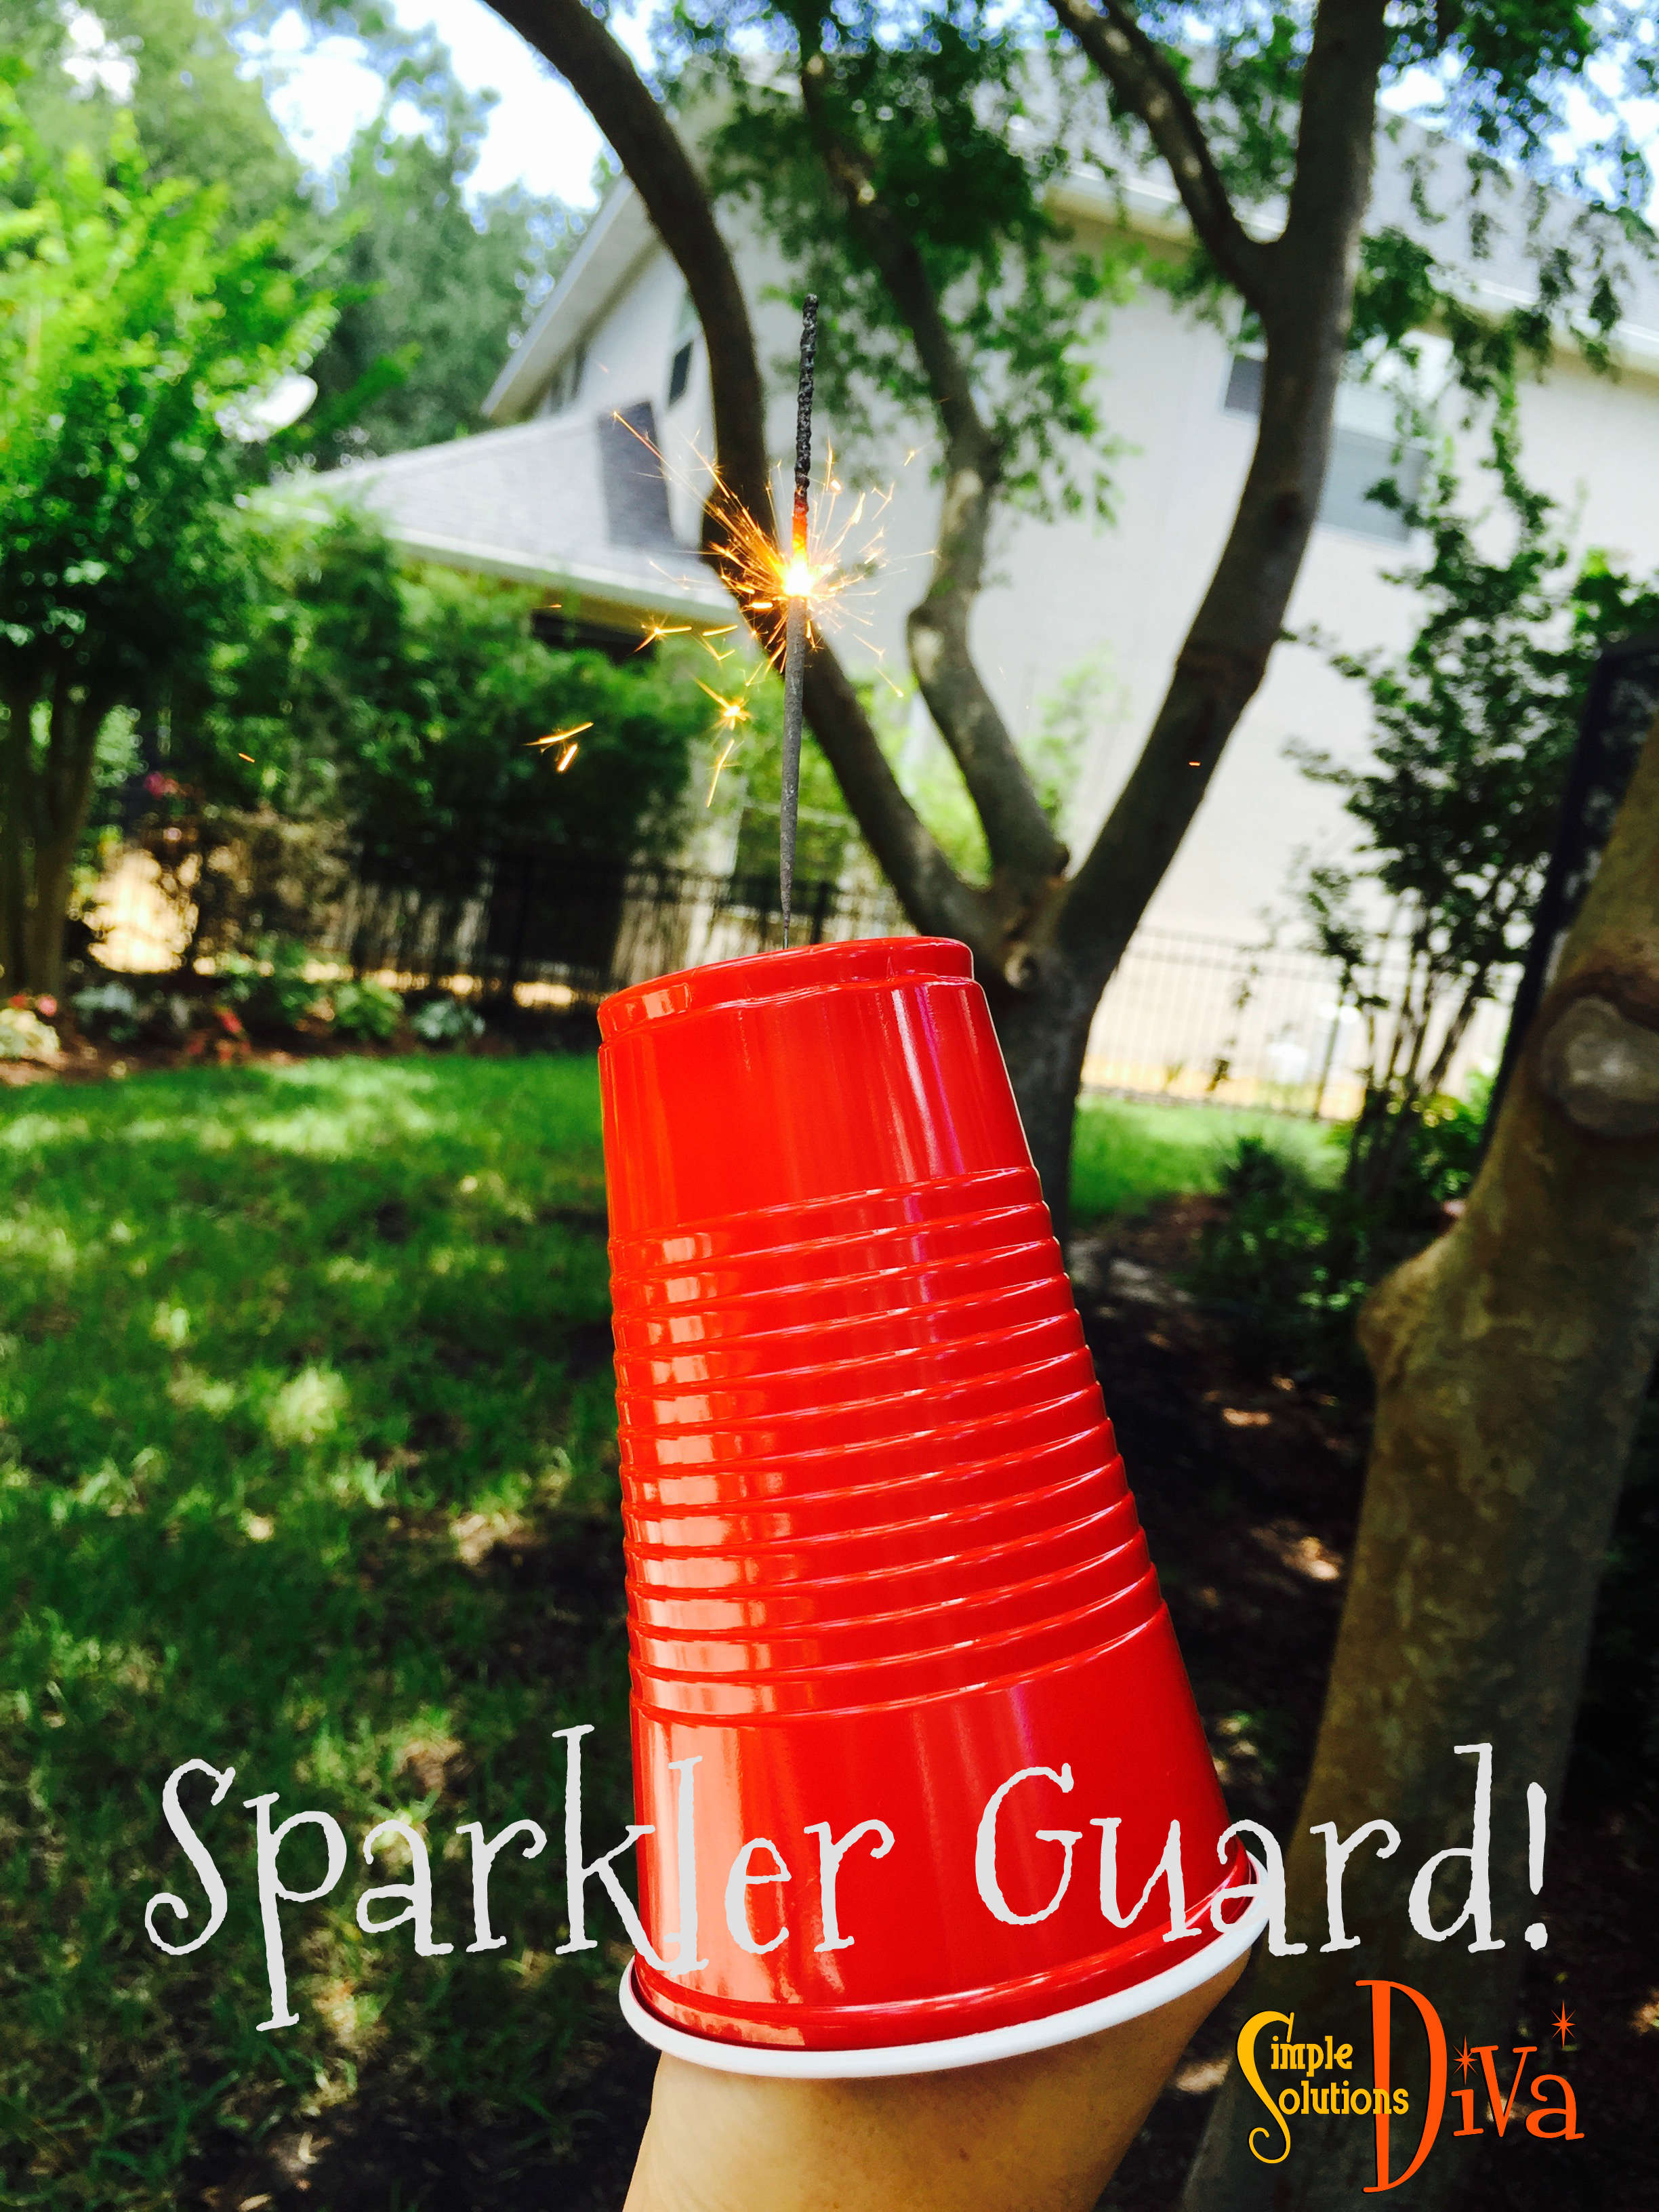
You might see a red cup, I see a Sparkler Guard! I saw this on Pinterest and thought it was brilliant! I love sparklers, but when I was little I was always afraid that I would get burned. This solves that problem!
Just cut a small hole in the bottom of the cup and stick the sparkler handle into the cup. That’s it! But now, a few notes and disclaimers on this one:
- Never leave a child alone with matches, sparklers, fire or anything else flammable!
- Always supervise your children during this activity – This is not meant to be a “Light It & Leave” activity!
- Always have a container of water on hand to place the used sparklers in to douse any heat or flame.
- Make sure the entire “business end” of the sparkler is sticking out, so the only part on the inside of the cup is the handle and your hand. You don’t want it to burn down INTO the cup!
Other Great Ideas From Around The Web:
There are so many fun 4th Of July activities & crafts out there, I couldn’t cover them all! I’ve selected a few of my favorites below. Be sure to click on each link to visit the sites for directions!
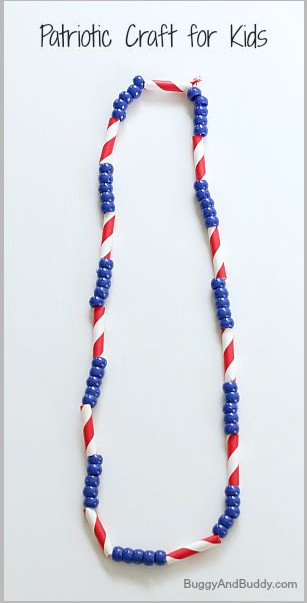 Patriotic Necklace – Click Here
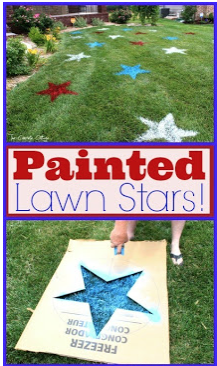 Painted Lawn Stars – Click Here (I LOVE this idea and may have to do it next year!)
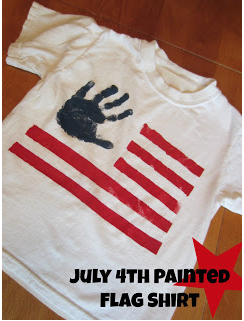 DIY Independence Day Flag T-Shirts – Click Here
 Patriotic Ice Cream Sandwich Pops (So Easy!) – Click Here