I have spent years fighting with plastic wrap rolls & tin foil rolls. They pop out of the box, get tangled, and are just sometimes frustrating to deal with! Then someone told about this little tip and I was floored! It really does help!
Simple Video
The Simple Way To Peel Garlic
I could not believe how easy this little tip was for peeling garlic! Especially if you have a lot of cloves to peel! Best part? No garlic smell on my hands!
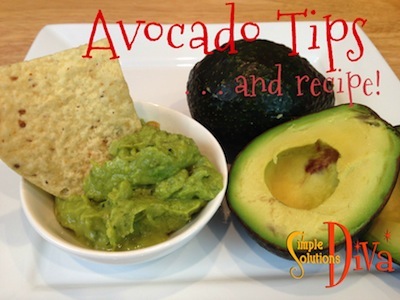
Simple Tip & Recipe: Avocado Tips and Guacamole Recipe
I love guacamole, and my favorite is from the restaurant, Cantina Laredo. They make it table side for you and adjust the seasonings to fit your taste. Here is a pretty close version of their recipe – Many people don’t care for the taste of cilantro, so feel free to adjust this recipe based on your likes!
Fresh Guacamole
Ingredients:
- 2 Haas avocado (review my tips in video above to find the perfectly ripe avocado)
- 1 plum tomato, chopped
- 1/4 cup of a small purple onion, chopped very fine
- 1/2 fresh jalapeno pepper (I use 1/4 or even less). If you don’t want to deal with chopping a jalepeno pepper, use canned, pre-chopped version – about 1/2 to one whole teaspoon.
- 2 T. fresh Lime juice (I recommend fresh lime juice over packaged lime juice. Some things are worth the work!)
- 1/4 teaspoon salt (I tend to not use salt, but I do when working with avocados and eggs!)
- 1/4 teaspoon pepper
- 2 T. fresh cilantro chopped (Omit if you don’t like the flavor!)
- 1/4 teaspoon garlic powder
Preparation:
Combine fresh lime juice, salt, pepper, garlic powder in a bowl and mix. In a separate, small bowl, scoop out avocado flesh and mash with a fork.
Add avocado, jalapeno, tomato, onion, and cilantro to lime juice mixture. Serve immediately with tortilla chips, or save using the method in my video above.
Simple Project: Make Your Own Chalkboard Sign
This is such a simple little project! You can make this using the following supplies:
- Chalkboard Paint (purchase at any craft supply stores or many hardware stores)
- Small paint brush (I recommend using one with bristles, not a sponge applicator, just to have a smooth finish)
- A dish or plate (I used one from the dollar store!)
Depending on how large the plate is, you can use it to serve and identify appetizers (like a cheese plate), use it to list the dinner menu, use it as an ever-changing welcome sign, a humorous sign for family, and so much more!

Simple Recipe: Hasselback Potatoes Two Ways
Hasselback Potatoes Two Ways
Ingredients:
- 2 potatoes, washed and scrubbed clean of dirt
- 2-3 Tablespoons olive oil
- 1 stick of butter, sliced into small squares/pads
- Cheese of Choice – Version 1: Sharp cheddar cheese, Version 2: Boursin Garlic and Herb Cheese
- Salt and Pepper to taste
Preparation:
Preheat the oven to 400 degrees.
Placing potato on a clean work surface, make slices in the potato without cutting all the way through (like an accordion). To make it easier, place a chopstick on either side of the potato while cutting to keep the knife from cutting all the way through, like this:
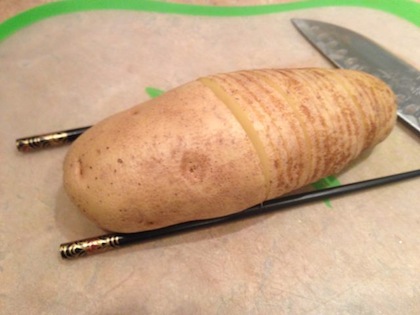
Slice the entire potato. Alternating between the slices, place a small pad of butter into the slice, then in the next slice, alternate with your cheese of choice. Do this until the potato is completely stuffed with cheese and butter (no one said this was low calorie!). The potato will be somewhat arched.
Drizzle the potato with a little olive oil and sprinkle on salt and pepper to taste.
Repeat the process with the other potato. When completed, place the potatoes on a baking sheet (cover the sheet with tin foil to protect it), doing your best to make them stand up (like a delicious tasting little rainbow!).
Place in the oven and bake for 45 minutes, or until the cheese is melted and the inside of the potato is cooked (it will be somewhat firm but not hard). Be sure to check on the Boursin cheese potato a little sooner than the cheddar cheese – mine burned a little (but still tasted AWESOME!).
One large potato can easily satisfy two people (as a side dish).

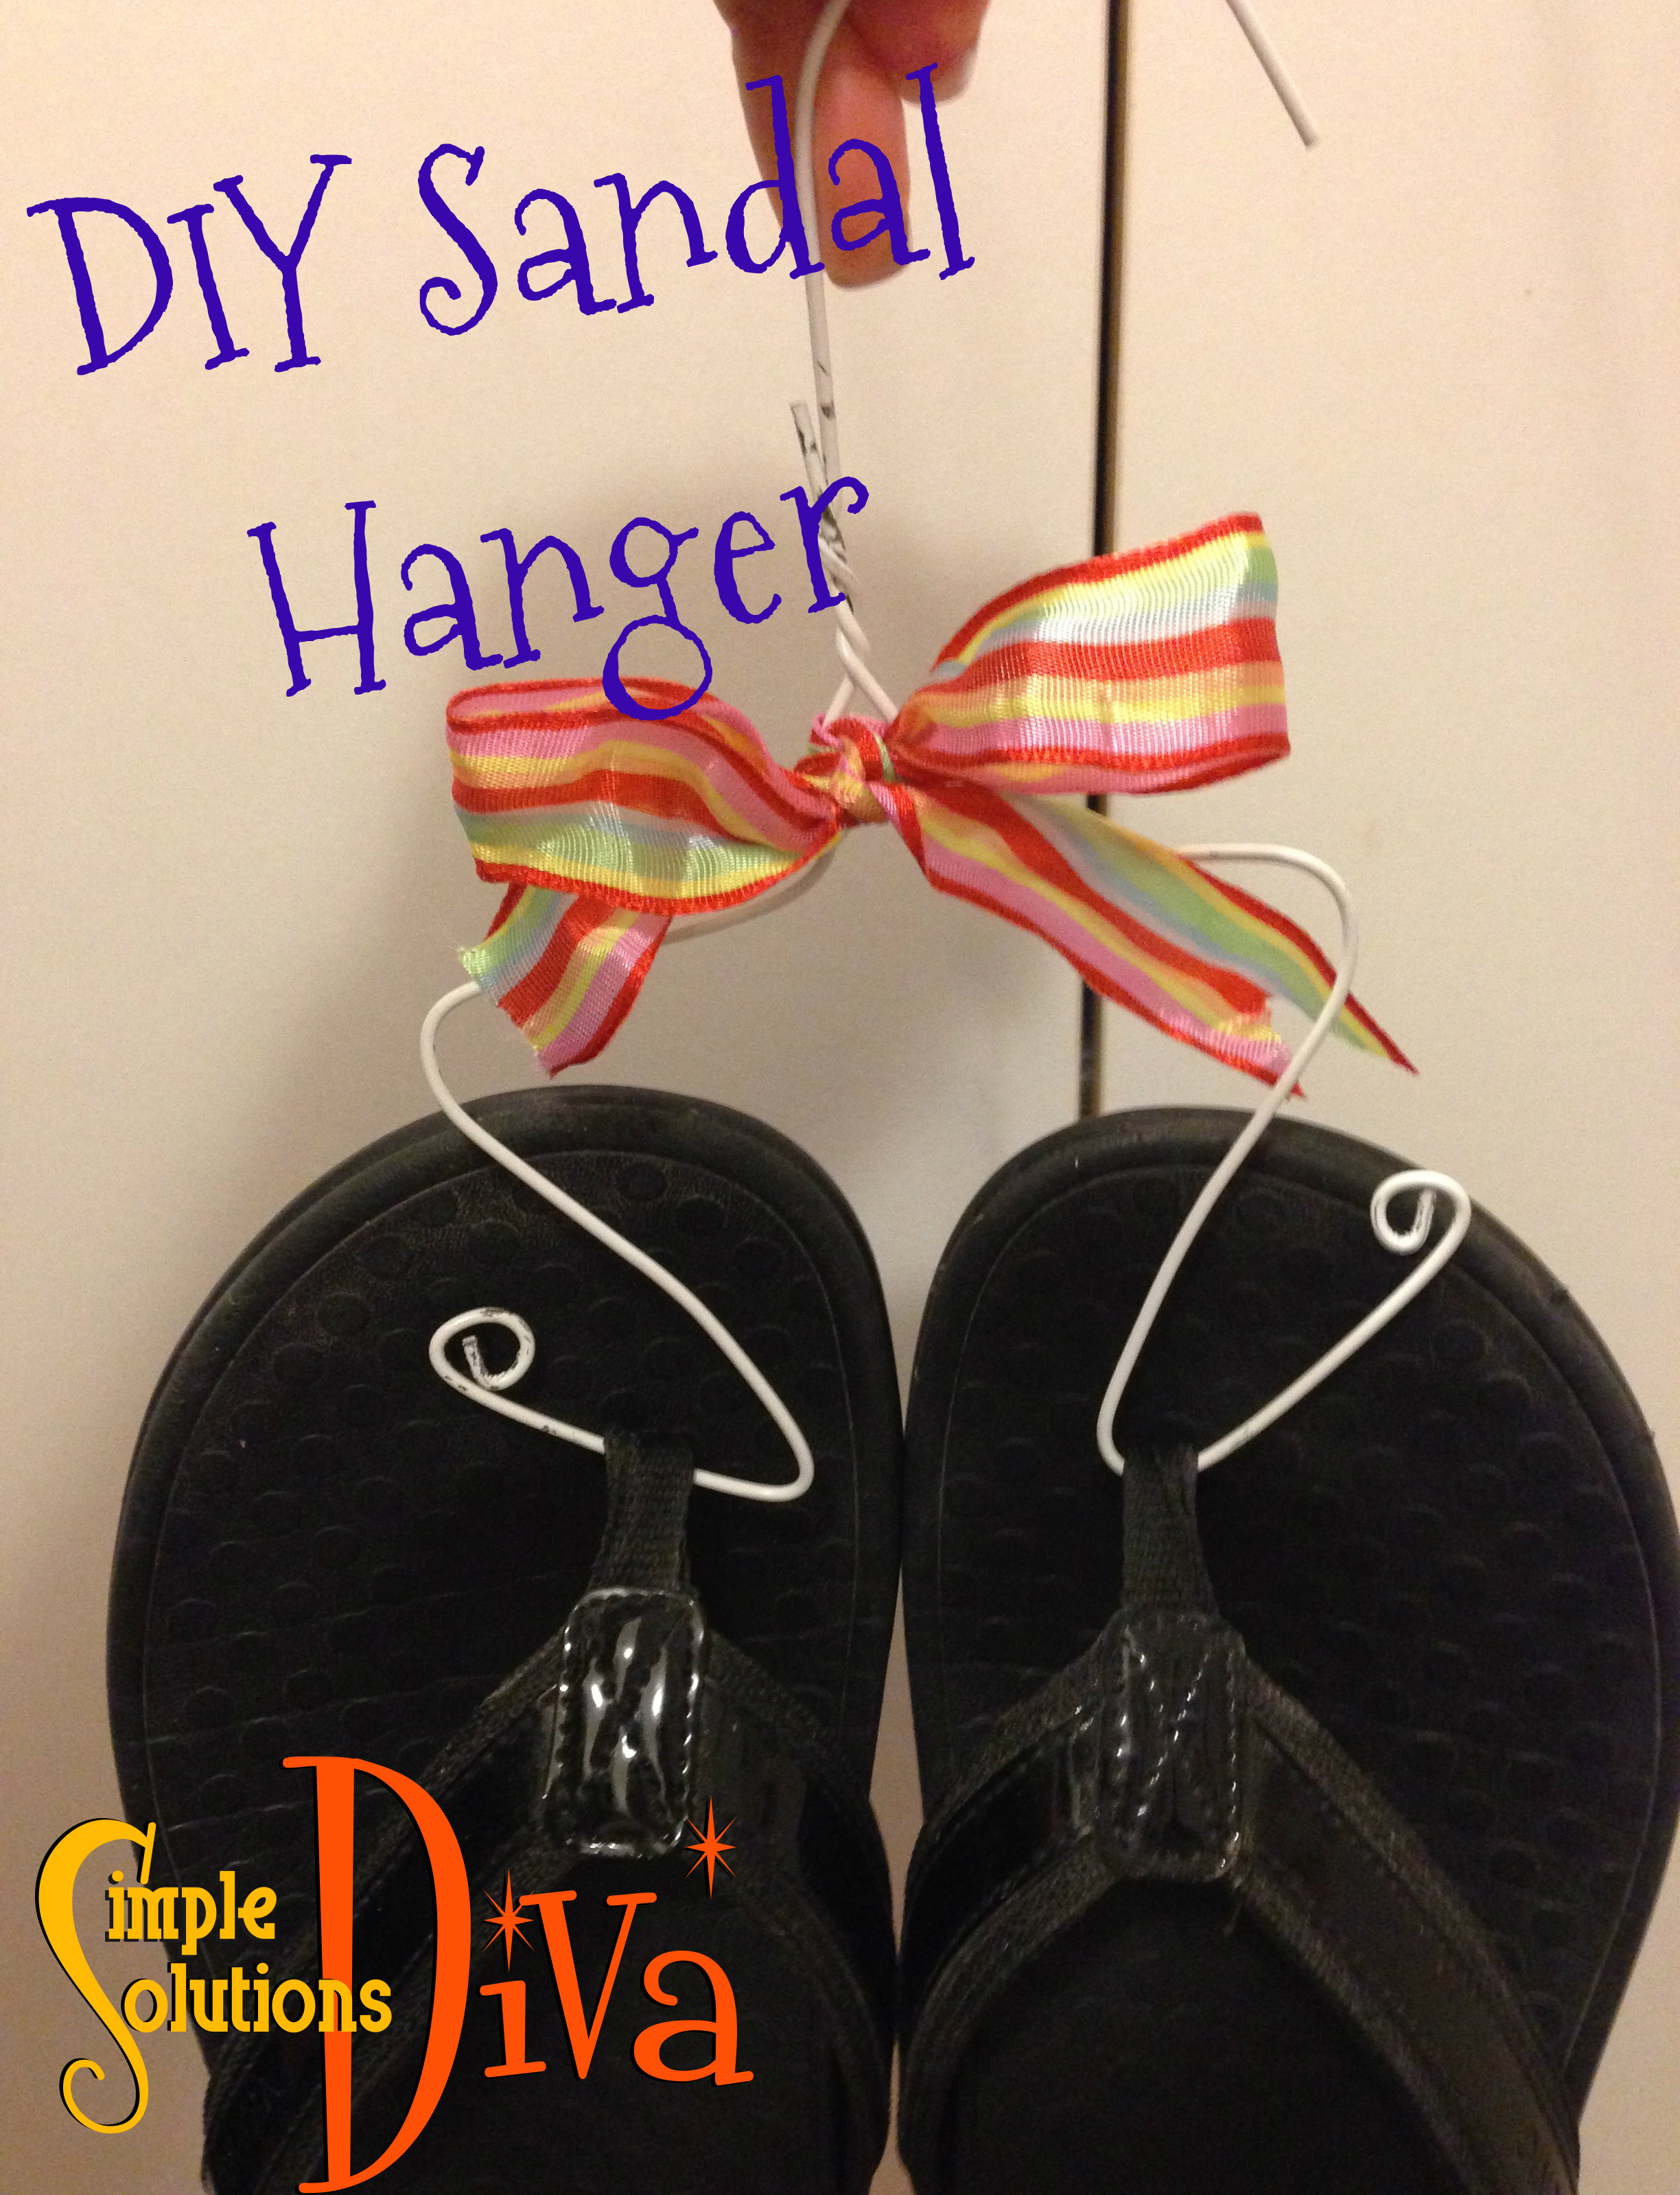
Simple Craft Project: DIY Sandal Hanger
This is what they look like completed:
Simple Project Perfect For The Kids: DIY Sidewalk Chalk
Looking to keep the kids busy and entertained this summer? Have them make their own sidewalk chalk! This project only uses 3 ingredients and will provide hours of fun once the chalk has set! Turn those artists loose on the driveway or sidewalk and they will have a ball!
What You Need:
- Water
- 1/4 cup Tempura Paint PER COLOR (multiple colors)
- 1 Cup Plaster of Paris PER COLOR (find this in any craft store)
- Disposable cups – One per color you plan to use
- Plastic spoons or wooden popsicle sticks, something to stir that you can throw away
- Molds – It is best if you can find shaped, silicone ice cube molds or use just plain ice trays.
Instructions:
Place 3/4 cup water in the disposable cup. Add 1/4 cup tempura paint. Mix well using the plastic spoon or popsicle stick. Add 1 cup Plaster Of Paris. Mix thoroughly until most of the lumps are dissolved. SHould look like the consistency of really thick pancake batter.
Repeat the process with each color of paint you plan to use.
Pour the colored mixture into the molds. You can use one color per mold section OR you can add multiple colors to each section (just don’t stir the colors – you will get a muddy-looking chalk piece.
Allow to dry in molds for 24 hours; gently pop chalk out of molds and allow to dry another 24 hours.
Now go have a ball drawing on your driveway with your kids!
I found this recipe on PrincessPinkyGirl.com – check them out because they have some great ideas PLUS they featured some GREAT sidewalk chalk art!
Simple Summer Fun For The Kids: Homemade Giant Bubbles
What is more fun than blowing bubbles? Making GIANT bubbles! Get the kids involved in making this bubble solution and then watch them spend hours playing with them!
What You Need:
- 6 cups water
- 1 cup light corn syrup
- 2 Cups Joy Dishwashing Liquid
- Large bubble wands – I actually found some at the dollar store. Plus, I used a butterfly net that had a wire rim to it, and cut away the netting – this actually made the largest bubbles! You could also try creating a wand with a wire hanger. Always make sure young children have supervision when using these items!
- A deep bucket to mix all the ingredients together so you can immerse the wands into it the mixture. I used a tin foil turkey roasting pan because of its deep sides and wide open space large enough to accommodate the bubble wands.
Directions:
Outside, mix together the water and corn syrup in the bucket. Gently add the dishwashing liquid, being careful not to create bubbles (the bubbles will inhibit creating the large bubbles!).
Once thoroughly mixed, dip your bubble wands into the mixture. Now start making bubbles!
Many thanks to my favorite Bubble Experts: Nichole, Sadie and Josie! They were awesome assistants and were so much fun!
Simple Tips For Packing For Summer Camp
Keep your child happy and you relaxed when preparing for summer camp! This video contains many helpful hints for the first time summer camp packer!
A Simple Summer Treat For Your Dog
During the summer, we all want a nice, frosty treat to cool us off — including our dogs! So here is a simple recipe for homemade Frosty Paws for your pup! They will love it!
Homemade Frosty “Faux” Paws Treats For Dogs
Ingredients:
- 16 oz. container of plain greek yogurt
- 1 banana, peeled
- 1 Tablespoon peanut butter
- 1-2 tablespoons of honey
Preparation:
Place all ingredients into a blend and blend until creamy and mixed thoroughly. Using cooking spray, spray the inside of a cupcake tin. FYI – I used mini-cupcake tins because my dog is small; feel free to use the larger cupcake tins if your dog is on the bigger size!
Pour the mixture into the cupcake tin and freeze until hardened (approximately 4 hours). Pop the “Frosty Faux Paws” out of the tin and place in a freezer bag; return to freezer until ready to use!