SimpleSolutionsDiva.com

Month: September 2015

Crockpot Mac & Cheese

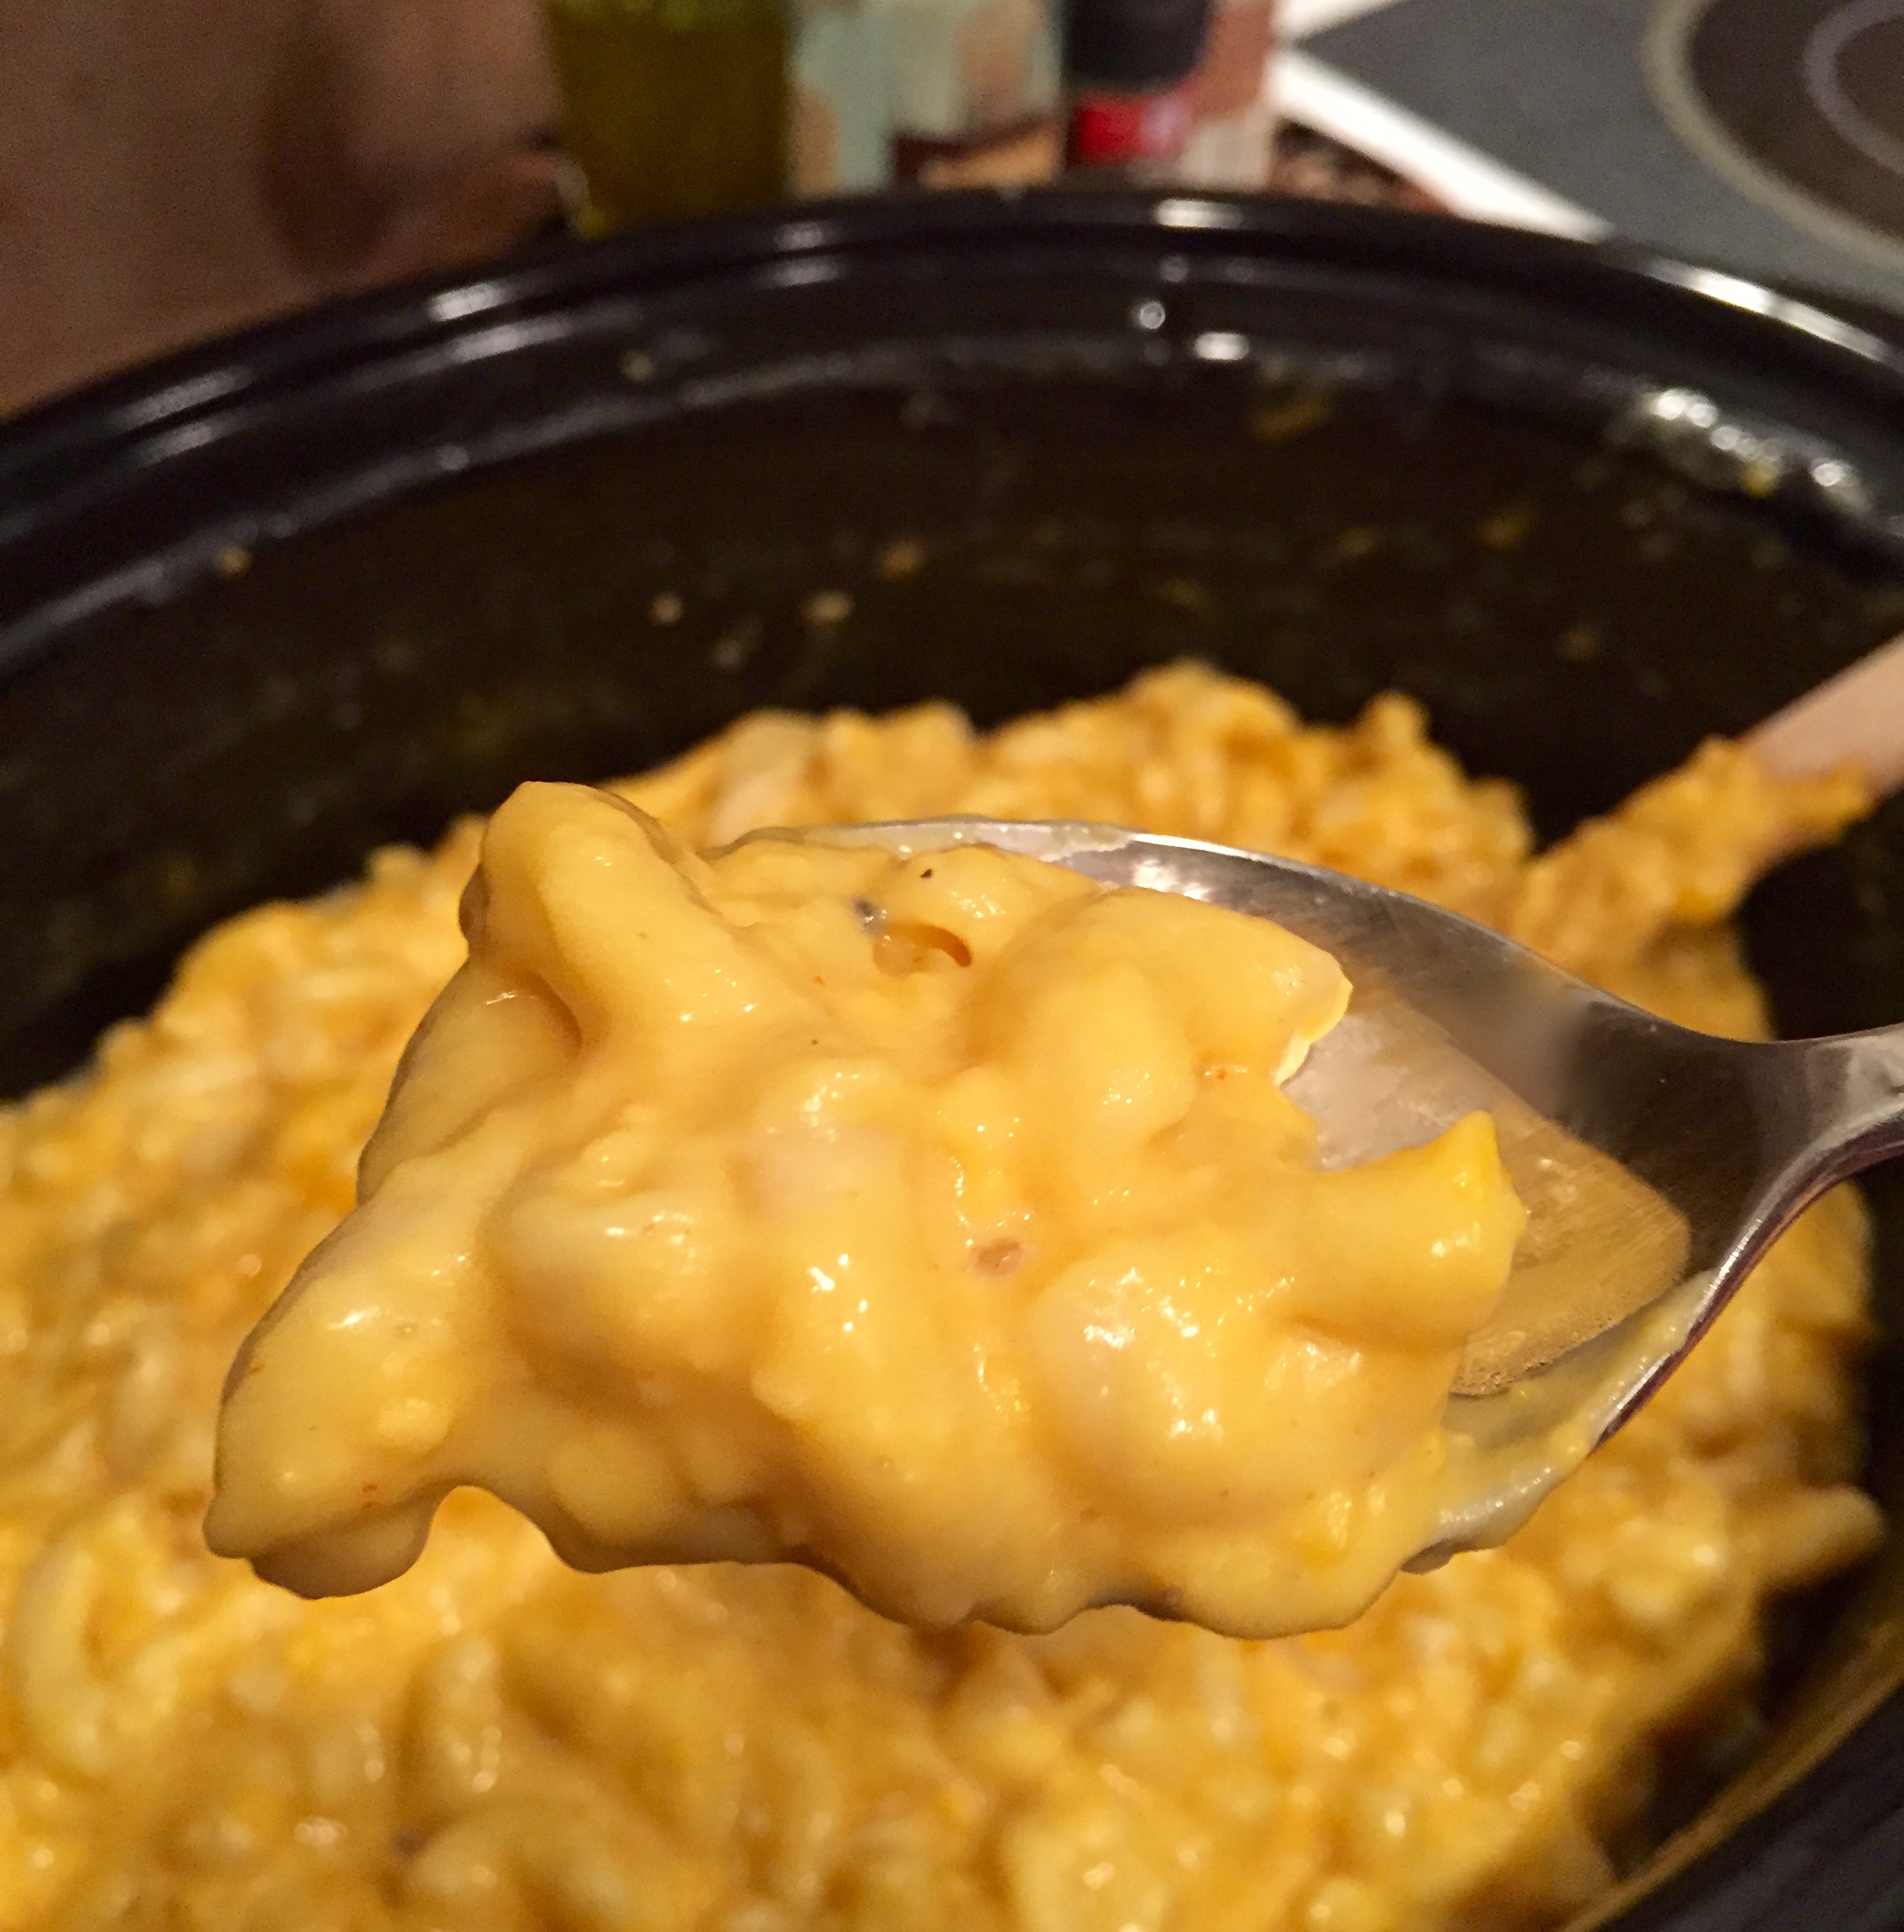
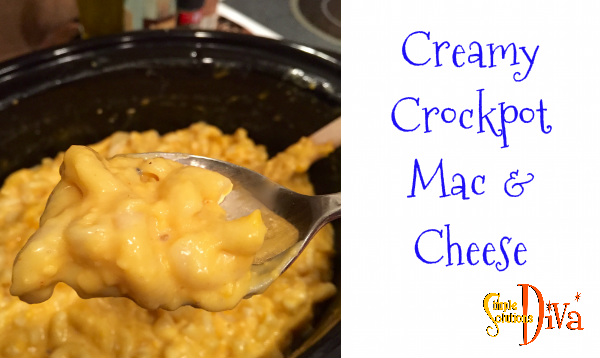
High schools across the country look to parents to stock their concession stands during sporting events! As a parent of two student athletes, I know it can be hard to find recipes that SELL at the high school concession stand! Well, this recipe for Crockpot Mac & Cheese is a sure-fire, big seller! All that creamy goodness. The recipe comes from 101CookingForTwo.com – be sure to check his site out for great recipes! I doubled the recipe and adjusted some of the spices!

IMG_8214

Crockpot Mac & Cheese
 
Prep time
Cook time
Total time
 
Creamy Mac & Cheese goodness in the crockpot (NOT from a box!). This is a large batch, but don't worry - it will go quick! This is perfect for large parties and for sports concession stands!
Author:
Recipe type: Crockpot
Cuisine: American
Serves: 16 servings
Ingredients
  • 4 cups elbow macaroni pasta, cooked for about 6 minutes and drained (yes, I undercook it!)
  • 2 cups milk
  • 1 cup sour cream
  • 4 cups shredded cheese (I used a combo of sharp and mild cheddar)
  • 8 T butter
  • 2 10¾ oz can cheddar cheese soup
  • 1 t salt (or to taste)
  • 1 t pepper (or to taste)
  • 1 t dry mustard
  • ¼ to ½ t Cayenne pepper (optional)
Instructions
  1. In a large crockpot/slow cooker, combine the undercooked macaroni and all the remaining ingredients.
  2. Stir until well combined.
  3. Cover and set on low for approximately 2 hours.
  4. Stir every 30 minutes to ensure the cheese does not burn.
  5. Enjoy!

 SSD Crockpot Mac Cheese

A Few Concession Stand Tips:

Making hot dogs for the stand? Don’t worry about grilling them – use your crockpot! Open your packages of hotdogs and empty them into the crockpot (adding whatever liquid is in the package, but no more!). To save room, stand the hot dogs up on one end to allow for large batches of hot dogs! Cover and cook on high for 2 hours, or low for 4 hours. So simple!

Provide Simple, Healthy Alternatives! When people are stuck all day or evening at an event, they would like a little healthy stuff thrown in! Cheese sticks, bananas, granola bars are always a welcome choice!

Have No Clue How To Run A School Concession Stand? Check out this terrific tutorial on the basics of a school concession stand from HubPages.com!

SSD Concession Stand Tips

Simply Fantastic Tailgate Tips


In addition to the Tailgating Tips covered in the video, here are a few more that I just thought were great:

  • Freeze water bottles and use them to keep food cold; plus when it melts, you’ll have cold water.
  • Turn a case of beer into a cooler! When you bring a case of beer, empty it out first, layer the inside with 2 garbage bags (to keep from leaking), place the beers back inside and fill with ice. When the beers are gone, throw the container away or recycle.
  • Have hot coals still in your BBQ? You need to dispose of them properly! Pour the coals into a disposable aluminum tray, then pour the cooler water (melted ice) over the coals. Voila!

SSD Tailgate Tips

Sweet Chili Snack Mix

This recipe is handy for tailgating or as a snack – it is a perfect blend of salty, sweet, and it packs a nice protein punch!

snack w logo2

Ingredients:

  • ¼ Cup sugar
  • ½ teaspoon cumin
  • ½ teaspoon chili powder
  • ½ teaspoon chipotle chili powder
  • 1 large egg white
  • ¾ Cup Corn Chex
  • ¾ Cup almonds **
  • ¾ Cup cashews **
  • ¾ Cup pepitas (pumpkin seeds) **

** If you use nuts that are already salted, you don’t need to add salt. If they are not salted, feel free to add ½ teaspoon salt (or to taste)

snack w logo 1

Directions:

Preheat oven to 325 degrees.

In a small bowl, combine the sugar, cumin, chili powder and chipotle chili powder – stir to combine (If adding salt, add it in here).

In a larger bowl, whisk the egg white until it is frothy. To that, add the Chex and the nuts; stir to coat all ingredients. Sprinkle the spice mixture over the nut mixture, stirring to coat.

Cover a cookie sheet with parchment paper, then spread the mixture in the pan. Place in oven and cook for 15 minutes. Remove fro oven and stir, then place back into the oven. Shut oven off and let sit in warm oven for 15 more minutes. Remove pan from oven and allow to cool on a wire rack.

Store in airtight container for up to 2 weeks. Enjoy!

SSD Snack Mix

Blistered Corn Salad

This is a wonderful salad to serve at a BBQ or a tailgate party! I call it a sturdy salad because it can hold up to a little time outside on a warm day. Why? No mayo! Full of flavor and freshness!

Ingredients:

  • 1/3 Cup rice wine vinegar
  • 1 Tablespoon Dijon Mustard
  • 2/3 Cup Olive Oil
  • 8 Ears of corn
  • 1 Tablespoon jalapenos, chopped (or for milder version, substitute ¼ cup mild, chopped green chilies)
  • ½ Cup red onion, chopped
  • 1 Cup chopped cherry tomatoes (I used grape tomatoes)
  • ¼ Cup of mixture of chopped fresh herbs (I used chives, cilantro and basil)
  • Salt & Pepper to taste

Directions:

Husk the corn, removing all corn silk. Brush with olive oil and grill 10-15 minutes, turning frequently, until the corn is lightly charred on the outside. Using a knife, remove the corn kernels and place in a large bowl.

In a small bowl, whish together the Dijon mustard and the rice wine vinegar. Slowly whish in the olive oil. Add to the corn kernels (this tastes even better when the kernels are still warm!).

Stir in the remaining ingredients, add salt and pepper to taste, cover, and set aside to allow the flavors to blend together (I left mine out for an hour).

Serve at room temperature.

Refrigerate any leftovers!

Close-up of Blistered Corn Salad


Blistered Corn Salad

© 2015 SIMPLESOLUTIONSDIVA.COM Designed by The Web Design Chic | ADMIN LOGIN