
Month: March 2014
Simple Ways To Fold Shirts, Towels and Fitted Sheets!
Before I became Simple Solutions Diva, I always wondered if there were secrets to doing things that would make life a little easier! I found a few simple solutions to some very vexing laundry issues and thought I’d share them with you! (FYI – Laundry is my LEAST favorite thing to do!)
Fold a Shirt In Seconds!
Sounds crazy, but I saw this video by Dave Hax on YouTube and was intrigued. This guy folded a shirt in under 2 seconds! Well, I had to try it – I’m not going to attempt to recreate the video, because he did it so well, so I’m sharing his video below. And yes, I can now fold a shirt in seconds. I love it!
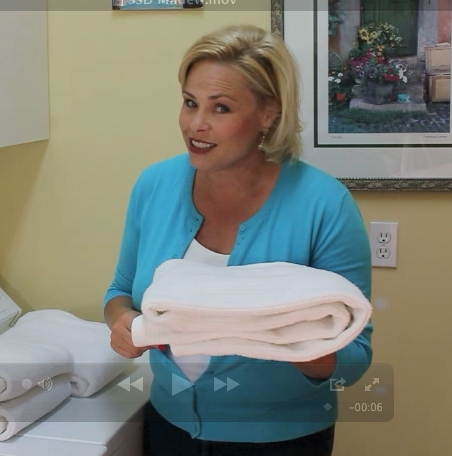
Fold A Towel For Optimal “Stackability”
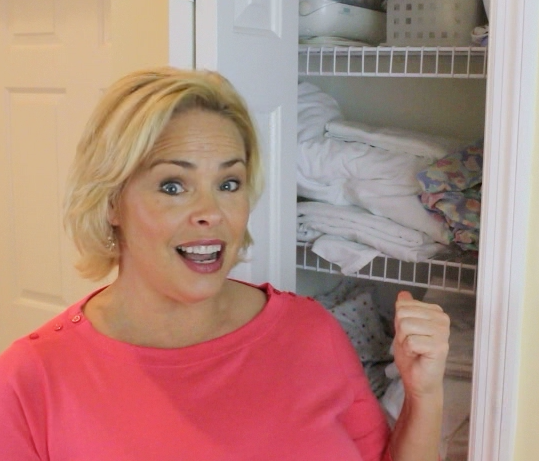
One of the best parts of staying in a luxury hotel for me? I get to choose from a beautiful stack of fresh, clean bath towels! Why so wonderful for me? Because when I open my linen closet at home for a towel, this is what I see:

Kind of a mess! So I looked up how to fold a towel so it would stack easily and look good!
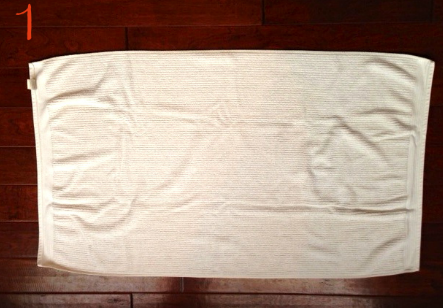
1) Start with your towel on a clean bed or table.
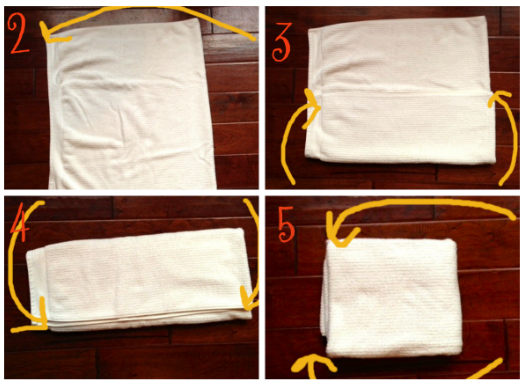
2) Fold towel in half. 3) Fold bottom 1/3 of towel. 4) Fold top 1/3 of towel. 5) Fold towel one more time to make a square.
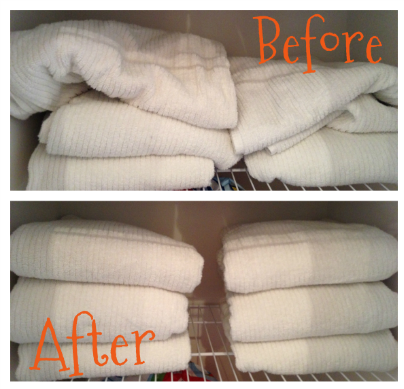
My Towels Before And After:
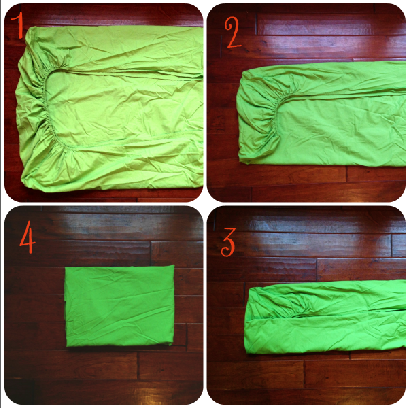
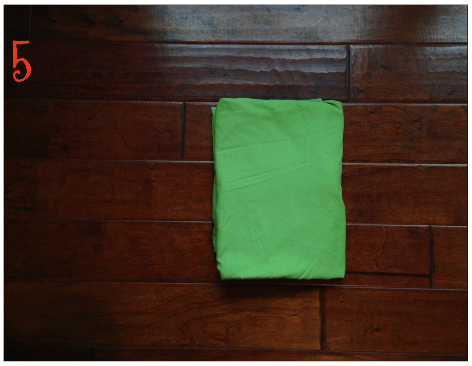
Tame The Fitted Sheet!
This is a hard one, because fitted sheets are just difficult to fold! Try this simple tip to fold them:
1) Fold sheet in half, tucking the fitted corners of one side of the sheet into the other side, so four corners become two.
2) Fold sheet again, tucking the one fitted corner into the other corner, making two corners into one.
3) Fold 1/3 of the sheet side without the fitted corners.
4) Fold the rectangle in half.
5) Fold that rectangle into a small square.
BONUS: My Top Three Favorite Laundry Tips
Tide To Go Stick – Always have a Tide To Go Stick with you to pre treat stains as soon as they occur.
Get The Grease Out! If you get a grease splatter on clothes while cooking, tackle it immediately with Dawn dish detergent! It actually releases the grease from the clothing so it when you wash it in the laundry, it will lift the grease out! Use a Q-Tip to liberally apply Dawn directly to the grease spot, then wash as usual.
Red Wine Wipe Out – Remove fresh red wine stains with this little trick! Placing the stained fabric on a safe surface, sprinkle baking soda on the fresh stain. Cover the entire stain with the baking soda – not too thick! Next, sprinkle vinegar on the baking soda. The baking soda will bubble and you should see the stain change color (kind of a dark green or dark blue). Allow this to sit for a few minutes, then rinse with cold water, then wash as soon as possible. If you pull it out of washer and stain is still there, soak in a solution of 1/3 cup vinegar to 2/3 cup water. Wash again.
Other Related Simple Solutions Diva Videos On Laundry:
 Simply Clean Your Pillows!

 Clean Your Top Loading Washer

 How To Remove Mildew From Towels
 Simple Tip To Store Linens
Thank you to WTLV-TV’s First Coast Living for having me on to talk all about laundry!
Celebrating Our Top Five Videos on YouTube!
Putting Pinterest To The Test: Easy Way To Remove Rust From Knives?
Celebrate The First Day Of Spring With Spring Cleaning Tips!
Thursday, March 20 is the First Day Of Spring! I always get itchy to clean up my home around this time of year (yes, just slightly crazy, but true!). Here are some simple tips for tackling those spring cleaning projects in your home:
Think About Strategy:
Do you choose to clean a room or do a project? It really is a personal choice, because it comes down to your personal preferences. I love to attack projects, one at a time. When I step back and look at what I’ve done, I feel accomplished.
If You Pick A Room:
Think 360 Degrees

Pick a spot in the room and move left to right around (in a 360 degree circle) the room to clean. You know you’re finished when you reach the start location.
If You Pick A Project, Simple Things Make A Big Impact:
Turn To Professionals: Hire professionals to clean your carpet and most used upholstered chairs/couches. The professionals know what they are doing and the drying times are faster because they have the equipment that can really get the water out of carpets better than those rental units you can rent. Tip: Turn your air down in your home until carpets dry out; it creates lower humidity, making drying time faster.
Use the 3 Box Rule:
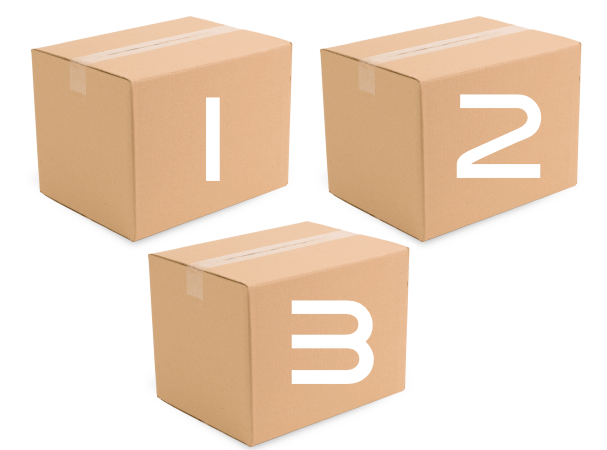
Declutter, one room at a time, using three boxes. If you don’t use an item, place it into the “toss it” bin, “donate it”, or if it is sentimental, place it into the “ sentimental bin”, where items in this box can be displayed on a rotation schedule. Rotating sentimental items for display quarterly or every six months lets you appreciate the items more.
Clean Out Your Closet: Having a clean closet sets the tone for everything else in your house. It makes you feel good. Tip: If you are a shoe lover, try using clear plastic shoe boxes to organize your shoes. They allow you to easily see the shoes, keep them neat and dust free. The Container Store offers a kit of 20 clear shoe boxes on sale for $33.80 (usually $37.80).

Organize Your Pantry: We all have items in the pantry we bought because we were going to use it for a recipe that never happened. It is time to clean those out! Look for items that have sat in pantry too long. Check expiration dates and toss; have too many of one thing that you will never use before expiration date? Donate it. One great way to manage your smaller pantry items so you can see them is by using an over the door shoe bag. Clear pockets allow you to see the little items that may get lost on your pantry shelves.
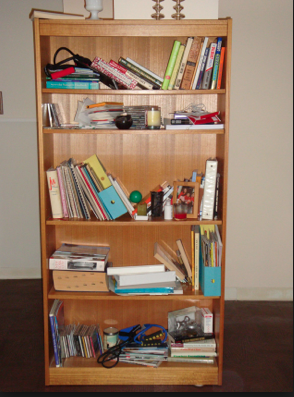
Reorganize Your Bookshelves:
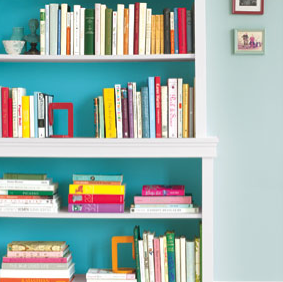
A surefire way to make an impact in a room is to reorganize the bookshelves. Donate books you are not interested in anymore. Dust all remaining books, then sort by size and subject. Line books, some vertically, some horizontally to give some visual interest. Add some of those sentimental items, but not too many. For some great ideas on how to arrange your shelves, check out this wonderful pictorial from Real Simple Magazine.
Just to illustrate how great a bookshelf can look, check out these before and after shots of one bookshelf (photos from GothamOrganizers.com):

Spring Cleaning – What Is Your LEAST Favorite Task?
Simple Solutions Diva Talks Spring Cleaning Tips
Spring is almost here! (Well, it is about time!)
Simple Solutions Diva is celebrating the First Day Of Spring by sharing her top Spring Cleaning Tips on WTLV-TV, Ch. 12, First Coast Living, Thursday, March 20 at 11 a.m. and 2 p.m.
Great tips and ideas on how to make spring cleaning easier on you! Join us!

Putting Pinterest To The Test: Grout Cleaning Made Easy?
Dark Marks On Dishes? Here’s How To Get Rid Of Them!
I love my light yellow, Southern Living plates I bought years ago, but I am not thrilled with the dark marks on them! What the heck are they? Why do they appear? Well, it is time to save those dishes from the trash bin (or donation pile!).
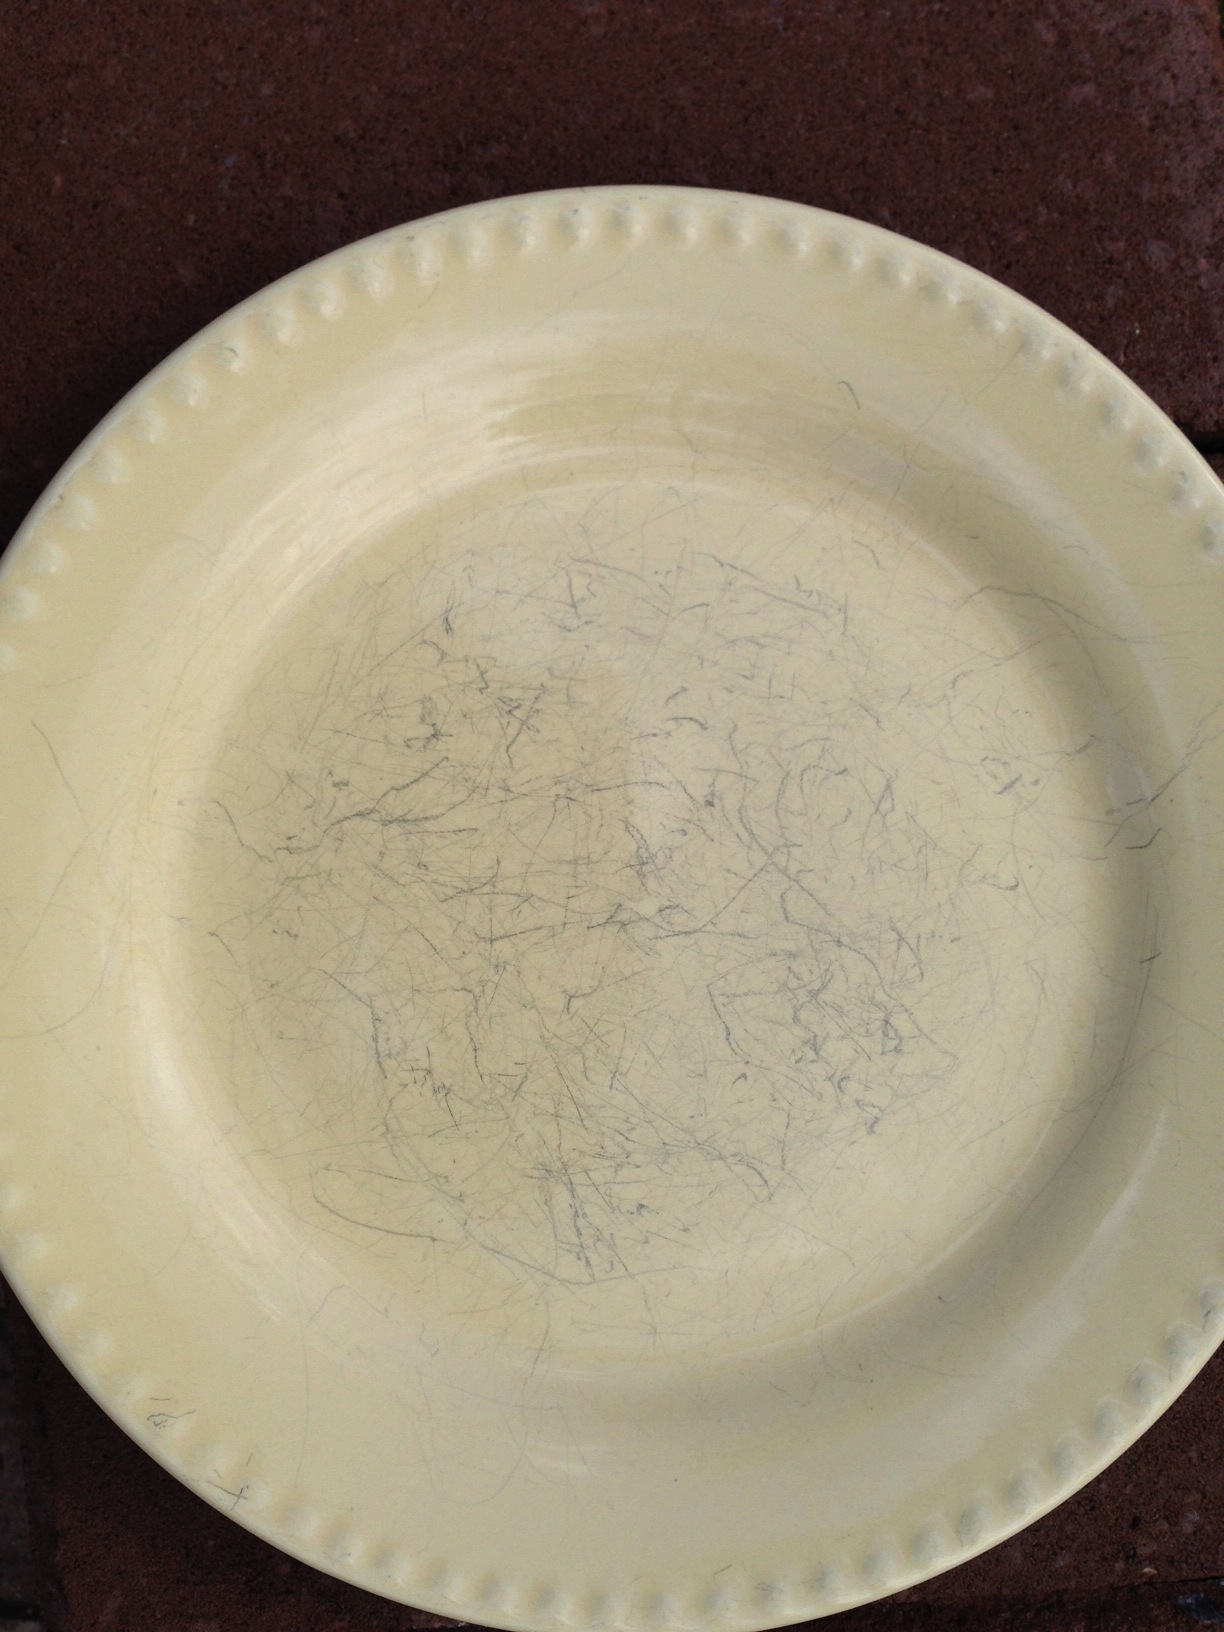
The marks are from the utensils used to eat off the dishes. Why this happens? There seems to be many answers:
- They are cheap dishes (They weren’t cheap when I bought them at a Southern Living Home Party!).
- They are old and the protective coating (ceramic glaze) has thinned on the surface of the plate, allowing the utensils to make their marks. (Quite possible, considering I bought these about 8 years ago – how long are dishes supposed to last?)
- Something in the composition of the plate reacts to the utensils.
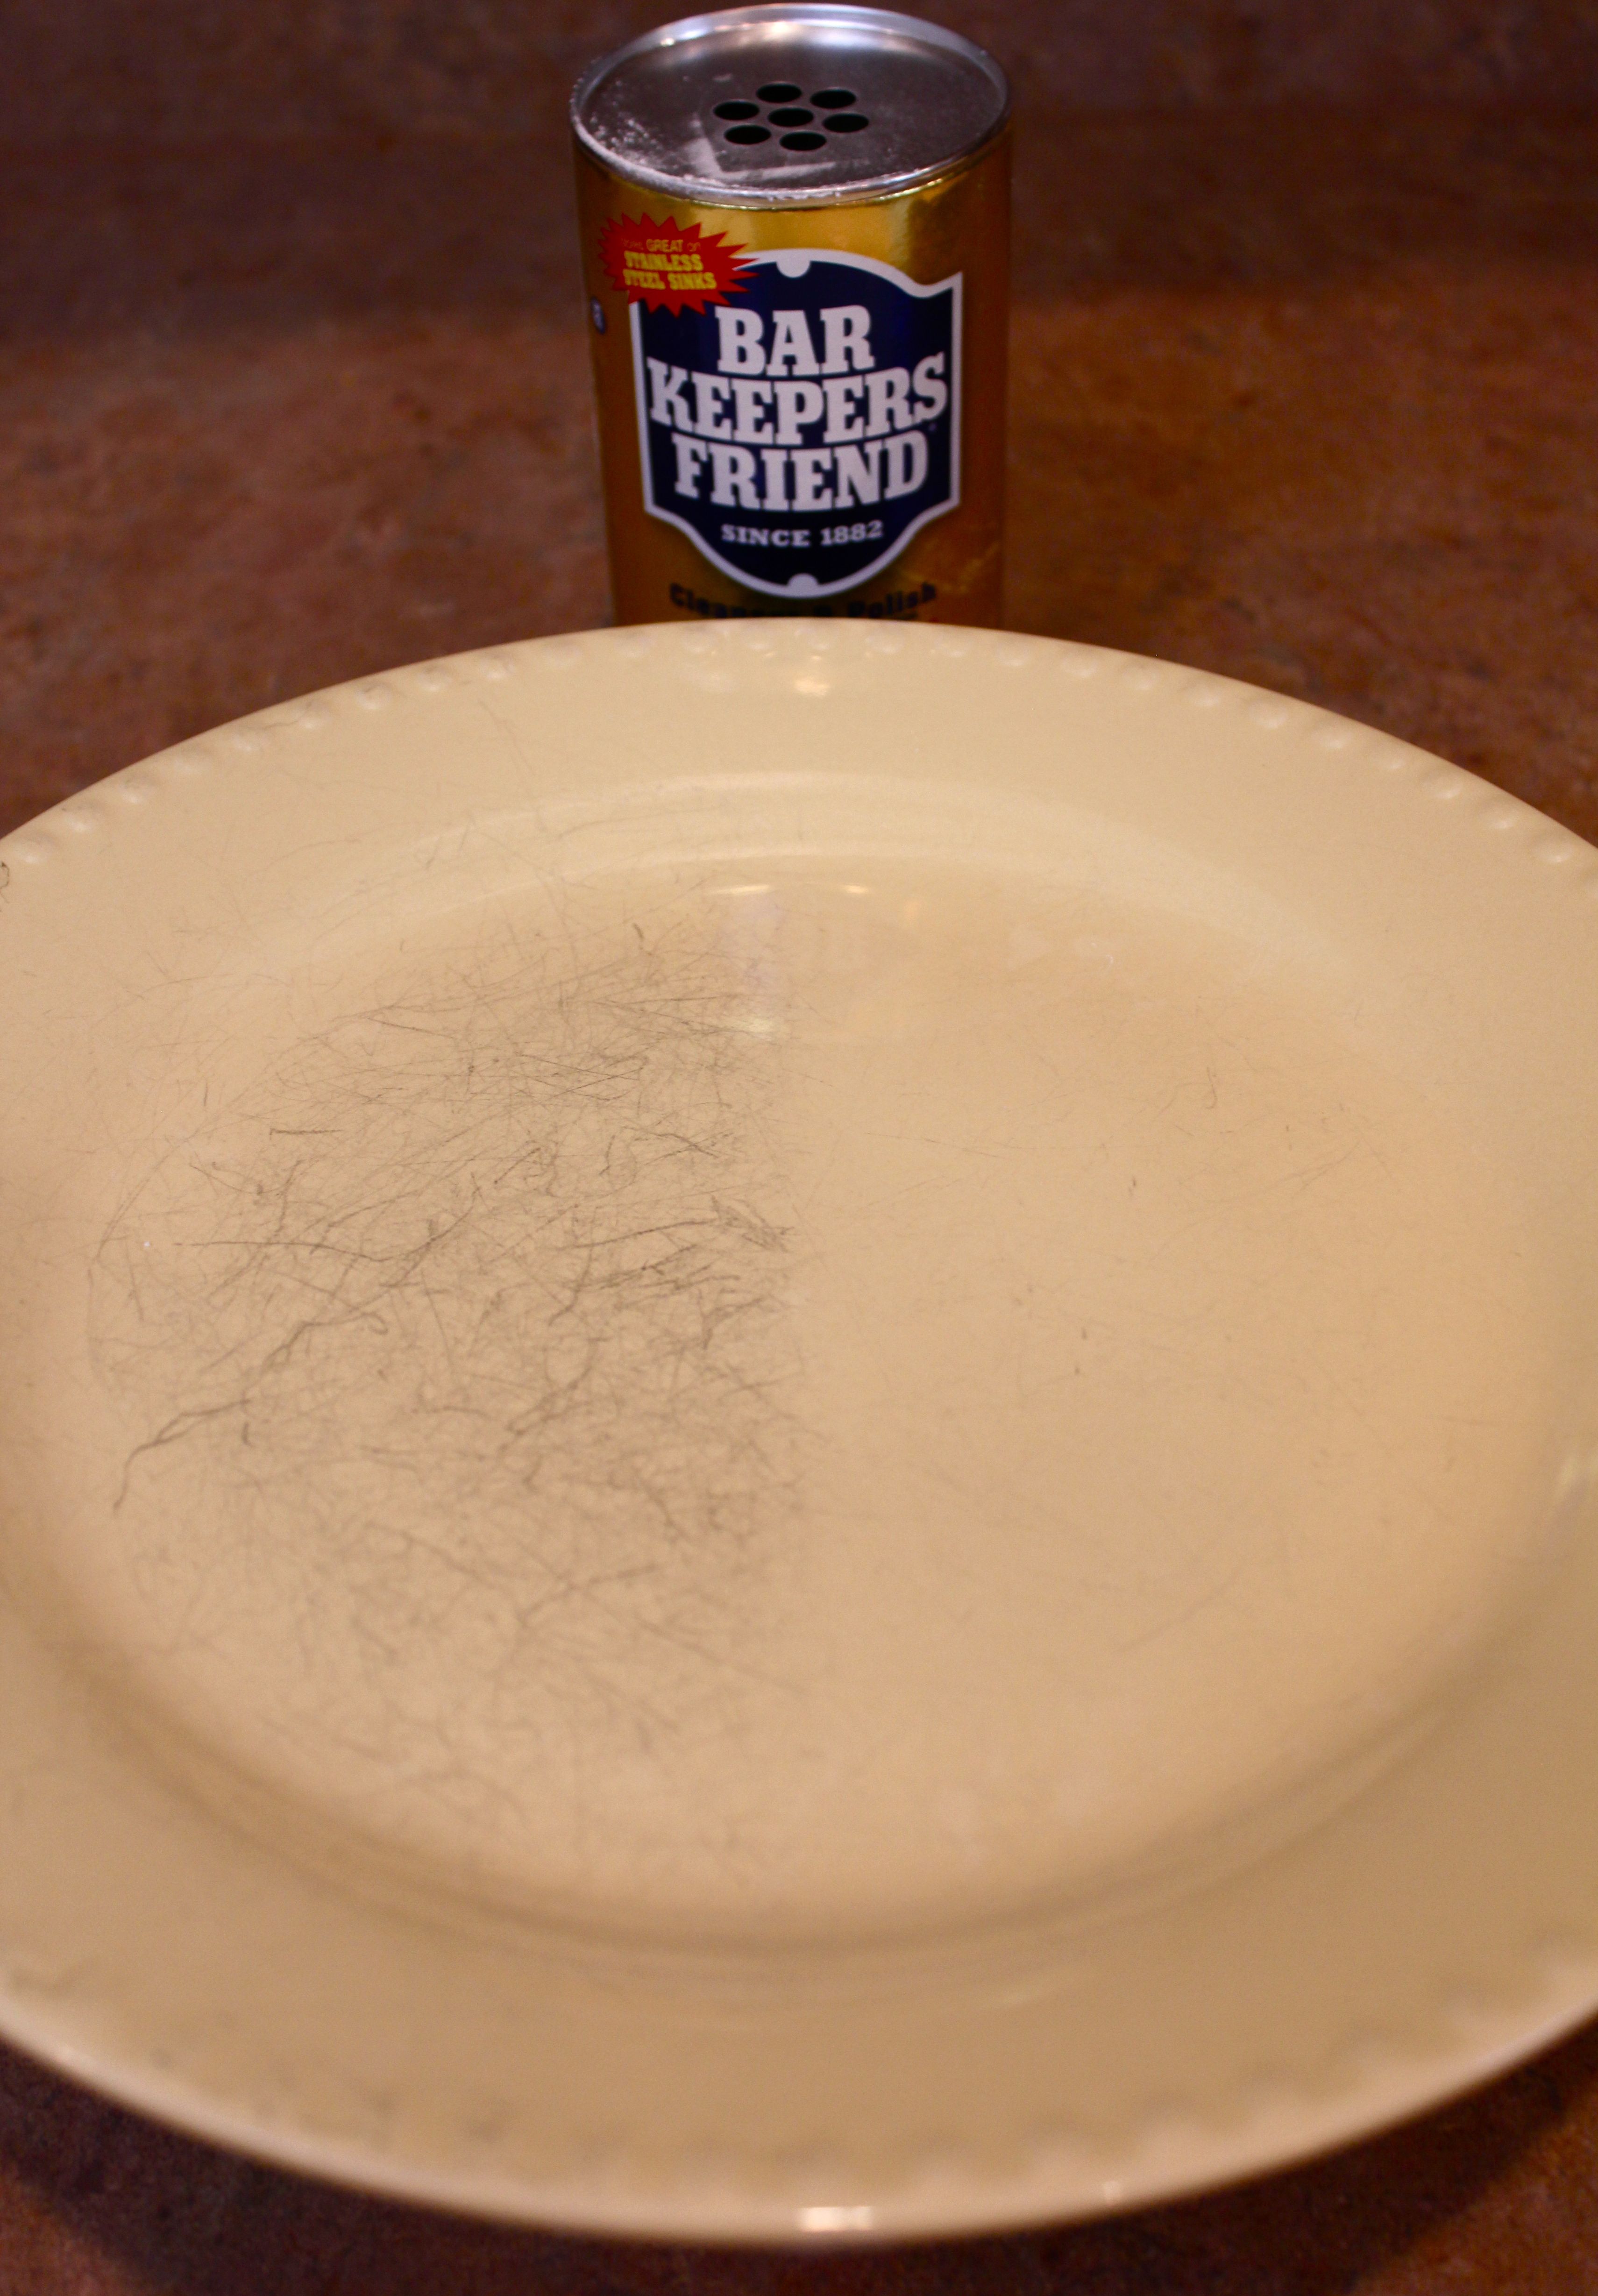
Here is the trick to removing the marks off the plates:
Instructions:
Be sure to wet your plate and sprinkle with Bar Keepers Friend (it also comes in liquid form). Using a sponge, gently scrub surface of plate in a circular motion. Rinse once you see the marks gone. Hand wash with liquid soap or place in dishwasher for thorough cleaning. That is it!
Last year I covered this for my “Putting Pinterest To The Test” video series, comparing this technique to another technique using Cream Of Tartar. The video is below:
)
Thank you to WTLV-TV’s First Coast Living for inviting me on to speak about this handy technique! And here is the video from First Coast Living: