
Right about this time of year (late January), I start imagining all the things I want to do in my garden. Lush plantings, beautiful and colorful flowers, clever statues or topiaries. Now mind you, most of those things never actually happen, but a girl can dream, right?!
So to satisfy my need for soil under my nails, I’m featuring a few, simple ways to bring the garden indoors, even in winter!
For The Cook: An Indoor Herb Garden

If you love to cook with fresh herbs and you have a room that has enough bright light, you can have a mini garden at your fingertips. I selected some healthy looking herbs that I use when cooking (oregano, peppermint and thyme), planted them in a beautiful pot, and added cute plant markers I made from leftover wine corks and long wooden skewers.
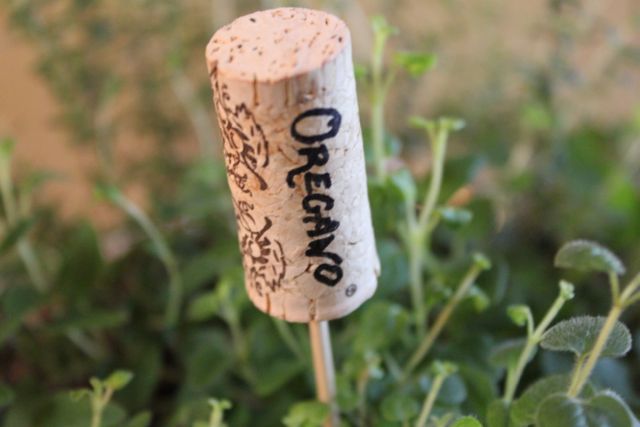
A decorative and useful planting that has a touch of whimsy!
For The Brown Thumb Gardener: A Colorful Cactus Garden
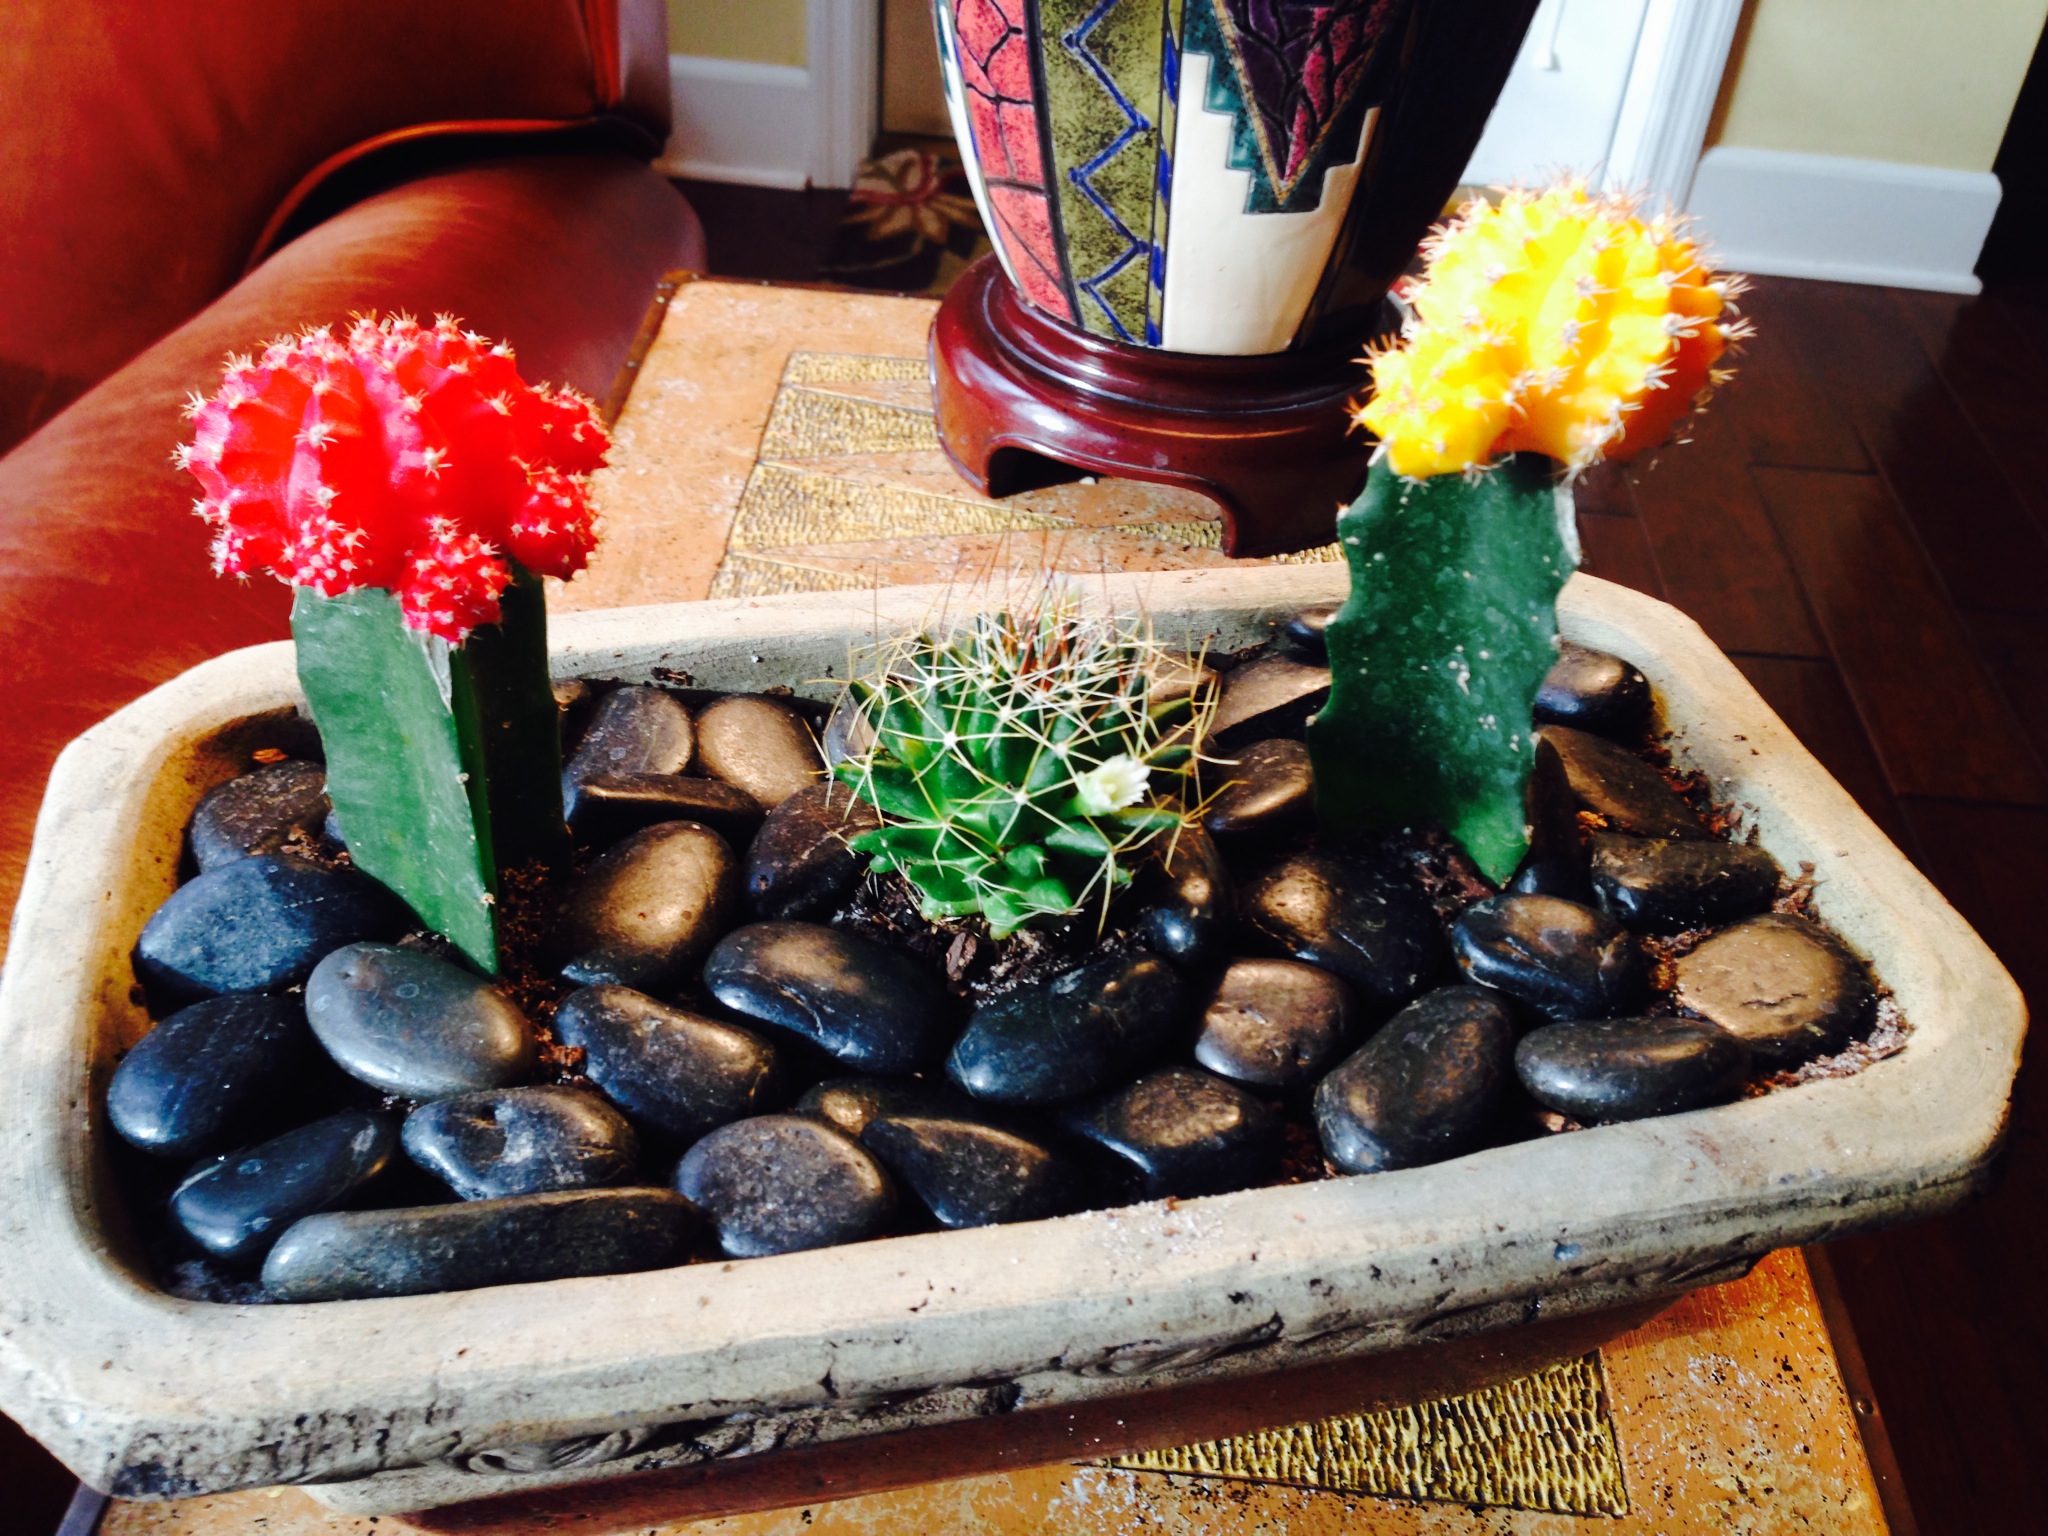
Cactus are easy, don’t require much, and if you choose the right ones, they can be very colorful! The key is to have a soil that supports the cactus’ needs – Think sandy! I mix together potting soil and simple play sand from the hardware store. Add a base layer at the bottom of the pot of pea stone to allow for good drainage. Once I have the stone, soil and cactus in place, I add a top layer of decorative stone (I used polished, black river rocks) to make it attractive and to help keep the soil in place. A little bit of water goes a long way to keep the cactus alive. A good, sunny spot in the house will help keep the cactus happy and healthy.
Bulb Happy!
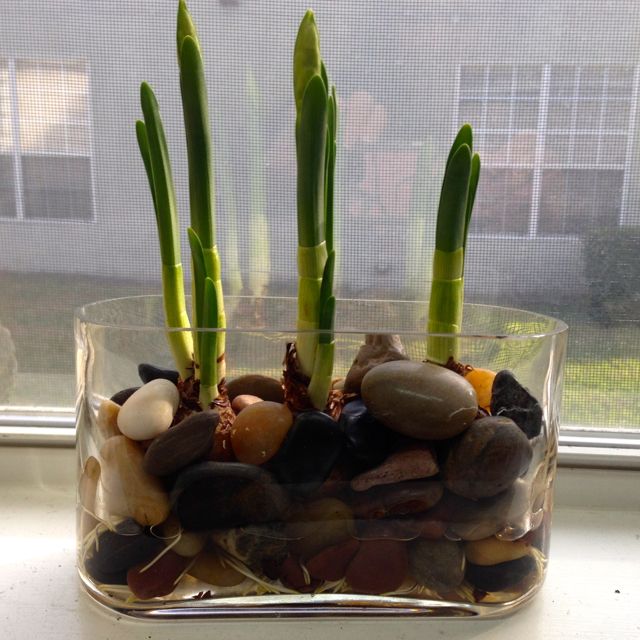
A burst of Spring in the middle of Winter – I love using fast growing bulbs and setting them up in shallow glass containers with river rocks and water. They grow so quickly and it is wonderfully satisfying to see them change from brown, ugly bulbs to fragrant, flowering plants in a matter of weeks! Paper Whites or Narcissus are terrific, and you can chose decorative stones to enhance the color of your flowers. Keep an eye on the water level – you want it to just touch the very bottom of your bulbs. It is also a fun project to do with kids – they can see the roots of the plants growing daily. A suggestion: Be sure to rotate your container so the plants don’t grow sideways.
Create A Simple Seed Starter Kit
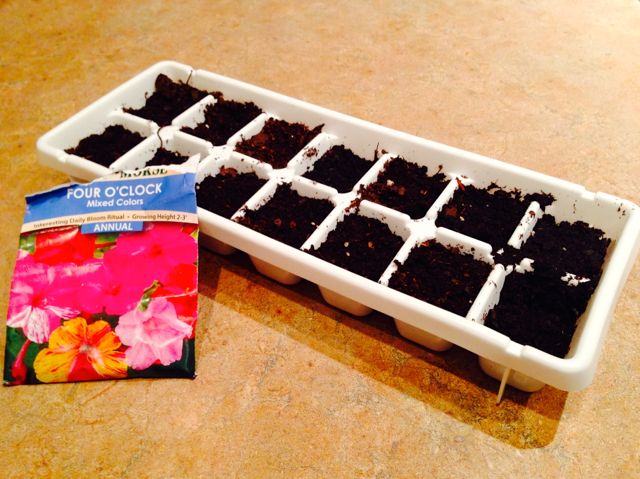
All you need is a sunny window, potting soil, an old ice cube tray or empty egg carton, and your selection of seeds. Fill the ice cube tray’s reservoirs with potting soil, plant your seeds to the proper depth according to the back of the seed packet, water and place in a sunny window! Monitor the water, and you should see your plants growing within a week or two (depending on the types of seeds you selected). Another great project to do with the kids – select some veggie seeds and get your kids interested in growing their own veggies (if they grow them, they may eat them!).
Encourage Stealth Gardening With Seed Bombs
A great project to do with your kids! As I walk along the public sidewalks in my home town, I’m always impressed when I see wildflowers growing where nothing else grows. They are a beautiful pop of color. Try helping nature along by making your own Seed Bombs! In the Spring, you can do a little stealth gardening with the kids – plant or throw your seed bombs into open or bare areas around your neighborhood or town! The newspaper cocoon gives the seeds a medium in which to start growing, and once wildflowers get growing, WATCH OUT! Flowers everywhere!
 You need:
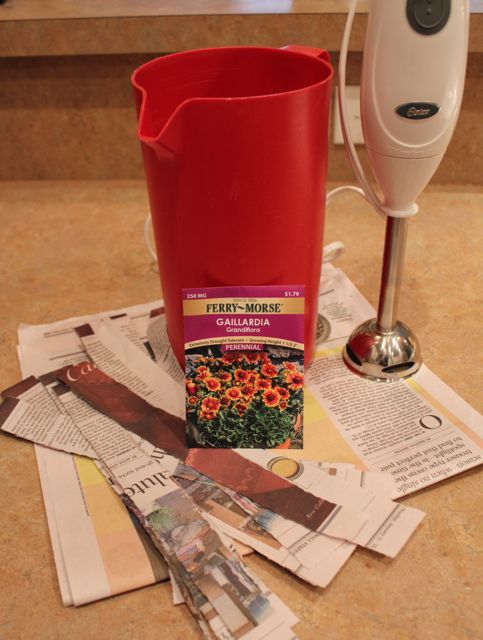
- 4 Sheets of Newspaper, shredded into small pieces
- A tall glass container (you will be mixing in this)
- Warm Water (approximately 1 cup)
- An Immersion Blender
- Cheese cloth (or you can use an old, thin rag)
- A selection of wildflower seeds or other hearty flower seeds (if in doubt, ask your garden center for recommendations).
- Ice cube tray or other molds (I used ice cube tray and I experimented with small, decorative cookie cutters that worked out well)
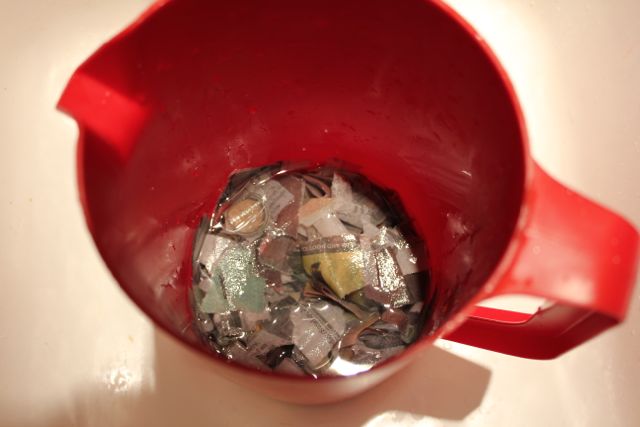 Place shredded newspaper into the tall glass container and add warm water until the newspaper is covered. Using immersion blender, blend until the paper is completely shredded.
 Add seeds and mix using hands so seeds are dispersed through the mixture. place cheese cloth into a strainer and pour mixture into the cheese cloth. wrap the cloth around the mixture and squeeze out as much moisture as you can.
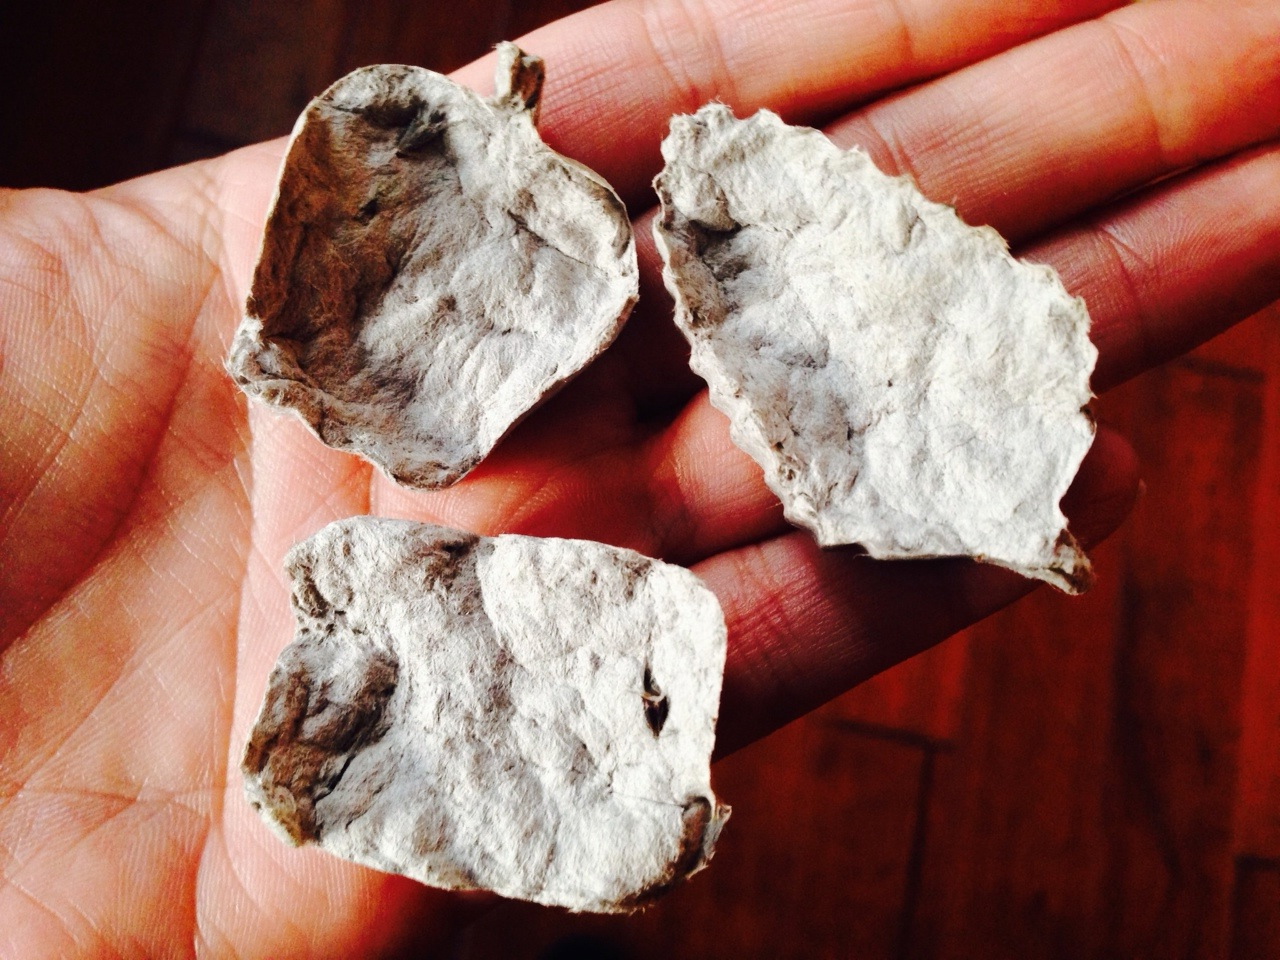
 Take small balls of the mixture and press into the trays (or molds). Let dry overnight. Remove the seed bombs from the tray and let them continue to dry until there is no moisture left. (I actually had them sit on my dryer while a load was drying!)
Now you have a bunch of seed bombs you can use to share with the community!
Thank you to WTLV-TV for inviting me on to First Coast Living to speak on this topic!