Mango is a perfect summertime fruit. Pair it with Avocado and you have a tropical salsa that is a perfect pairing with fish or chicken (or even just chips!). This recipe is even better when left to sit overnight in the fridge!
Ingredients:
1 ripe Hass Avocado, peeled, pitted and diced
1 mango, peeled, seeded and diced
1 lime, juiced
splash of rice wine vinegar
1 small red onion, finely chopped
1 small red pepper, seeded and chopped
1-2 tablespoons fresh, chopped cilantro
1 tablespoon (more or less) chopped jalapeño pepper (canned is just fine!)
salt to taste
Preparation:
Combine all ingredients in a bowl; mix thoroughly. Enjoy!
The “Get Your Greens” Smoothie is the perfect way to incorporate stealth nutrition into your diet (and your kids’!). Kale and spinach are “hidden” in plain sight, and are masked by the flavors of mango, pineapple, and banana. You can name this smoothie whatever you want to call it to get your kids to eat it!
Suggestion:Using baby spinach and baby kale greens adds a little sweeter flavor to the smoothie.
Ingredients:
1 cup ice
1 ripe banana
1 cup pineapple
1 whole, fresh mango peeled and cubed (or 1 cup frozen)
1 handful of fresh washed spinach
1 handful fresh washed kale
1 cup apple juice
splash or two of almond milk
1 tablespoon turbinado sugar (optional)
Feel free to add flax seed or other ingredients to add your own take on this smoothie!
Preparation:
Add all ingredients into blender (add ice first). Blend until smoothie is the consistency you want. Enjoy!
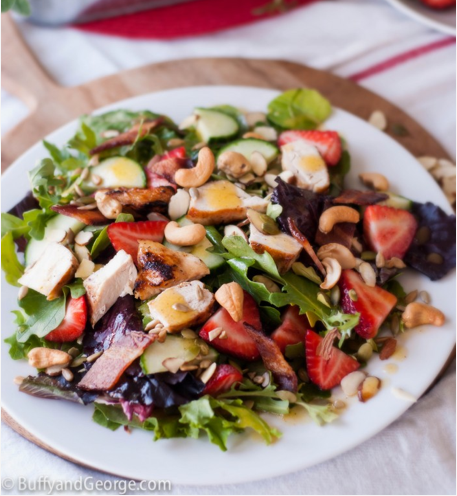
Combine the best of light, summer eating – Salads and Grilled Meats — and you have this wonderful recipe from BuffyandGeorge.com! (GREAT website with some wonderful recipes!)
This salad makes a perfect cold meal in the summer, AND you get to keep the kitchen cool in the summer! (Well, except for the bacon that you cook in the house! But that doesn’t count!)
Quick Cooking TIp:Pound the chicken breasts to about 3/4 inch thickness for even grilling and faster cooking time.
Ingredients
5 oz package of mixed salad greens
2-4 chicken breasts (depends on how hungry you are)
6 pieces of bacon, fully cooked
1 cup strawberries, sliced
½ English cucumber, sliced in half moons
½ cup mixed nuts and seeds (cashews, sliced almonds, pumpkin seeds & sunflower seeds)
Vinaigrette Ingredients
zest and juice of one lime
1 tbsp white wine vinegar
1 tsp chipotle chili powder (more if you like it hot)
1 tsp Dijon Mustard
1 tsp honey
pinch of salt and pepper
½ cup olive oil
Instructions
Pound the chicken breasts with a meat mallet so that they are a more uniform thickness. Lightly coat the chicken with a little vegetable oil and sprinkle with salt and pepper. Cook on the grill until cooked through.
Whisk the lime juice and zest, vinegar, mustard, chipotle powder, honey, salt and pepper together in a glass bowl or measuring cup. Slowly add the olive oil while whisking constantly until the dressing is fully emulsified. You could also add everything to a mason jar and shake vigorously until mixed.
Cut the cooked chicken and bacon into bite sized pieces. Toss the salad greens with half the vinaigrette (use more if you like a lot of dressing). Serve the dressed salad topped with chicken, sliced strawberries, cucumber, bacon and smattering of nuts & seeds.
Any extra vinaigrette, chicken and bacon can be put in the fridge for salads another day. Or you can use the vinaigrette as a marinade for chicken or steak!
I’M BORED! Those dreaded words that make any strong mother or father drop to their knees and scream, “What on earth can I do to keep them entertained?!” If this kind of describes you and your summer with the kids, then this topic is for you! I have pulled together some great summer entertainment ideas that will help keep your kids entertained (at least for a little while!).
I have included credit and links to websites where I found some of these ideas. I encourage you to visit the sites – they are wonderful and worth the visit!
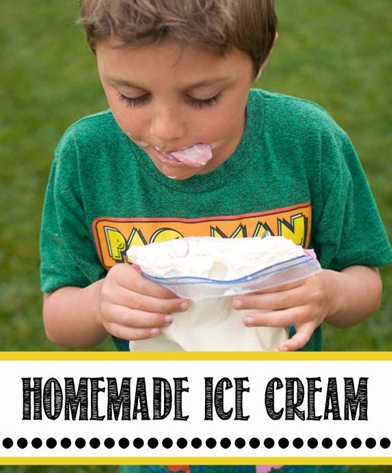
Photo Credit: OverTheBigMoon.com
Homemade Ice Cream in a Baggie! My girls did this yummy project in elementary school, and it is a surefire winner in entertaining the kids! This project is great for older and younger children alike (even us moms and dads!). Recipe credit goes to OverTheBigMoon.com– Adorable website with great craft ideas and more!
Ingredients:
Half and Half
Sugar
Vanilla
gallon Ziploc baggies
quart Ziploc baggies
Ice
Rock salt
For each serving you need 1 cup of half and half, 2 Tbsp. sugar, and 1/2 tsp. vanilla. Pour ingredients into a quart bag and seal. (Blogger did about 3/4 cup half and half and 1/4 cup whipping cream. She said, “the whipping cream made it really smooth and creamy. Do not use all whipping cream though because it kind of whips up and doesn’t freeze as well.”)
Fill a gallon Ziploc bag a little less than half way up with ice and then add 1/2 cup rock salt and the quart baggie with the ice cream ingredients. Then shake it! It takes about 5 minutes to get it a really thick consistency. (Best of all, the kids will be exhausted by the time it reaches the right consistancy!) Once is it done, you can add chopped fresh fruit to make it a little extra special.
When everyone has enjoyed their treats, ask the kids how they think it became frozen. Challenge them to research the answer online. A teachable moment!
Photo Credit:SheriSilver.com
Crafty Orange Bird Feeders.Most kids are naturally drawn to any project that helps animals. And the reward of creating a bird feeder that attracts beautiful, colorful birds into your yard is a real treat, plus it demonstrates the immediate benefit of the project. This idea comes from SheriSilver.com, a website full of crafty ideas!
Materials:
orange
(4) pieces of twine, yarn or string, cut into 24? lengths
bird seed
With a sharp knife, cut the orange in half – scoop out the flesh. Pierce 4 small holes on opposite sides, about 1/2? from the top edge of each half . Thread one piece of twine through a hole, and out the opposite end. Repeat with the second piece of twine in the remaining holes (you’ll have an “X”). Gather the ends together and tie in a knot. Repeat with the other half. Fill with bird seed and hang from sturdy branches outside.
Photo Credit: wallcoo.com
Family and Friend Dog Show!Gather together the sociable dogs of family and friends, a few props (you can use chairs, skateboard ramps or the slide in the backyard), and lots of treats, and you have the makings of a great dog show!
Let the kids take the dogs into the backyard and have them “train” the dogs to run an obstacle course, perform tricks, or just sit and look cute. The kids get to be creative with their pups, and the dogs get some much loved attention!
The Mini Movie Challenge! Encourage those budding movie directors with the Mini-Movie Challenge Using Vine. Vine is an application for your iPhone, iTouch, or iPad, that allows you to create short (6 seconds), looping videos. I watched my teenager and her friend spend over an hour creating their perfect movie – it had drama, humor, and a murder mystery all in 6 seconds. Best of all, you can share the movies with family and friends!
For the younger “directors”, you might want to give them a theme to start from. For the older kids, let them do it freestyle, and just step back and let the creativity flow!
For a Challenge – Try a challenge like the international, 48 Hour Film Project: Break them up into teams. All teams must incorporate the same prop and the same phrase into their movie. You’ll be surprised how different each film will be!
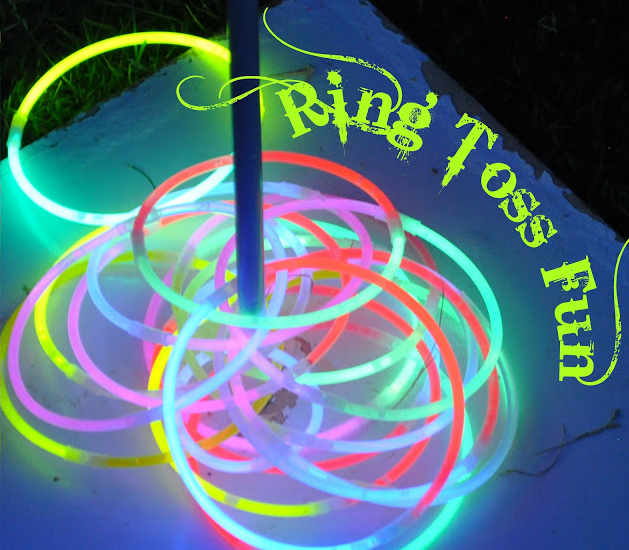
Photo Credit: MommaDidIt.blogspot.com
NightTime Ring Toss: This simple and inexpensive idea is sure to keep the kids entertained in the evening hours. Two glow-in-the-dark bracelets, attached together with the connectors (included in packages) and reinforced with tape, make perfect rings for ring toss! Place two wooden poles approximately 10 feet apart, and you have a simple ring toss pit! To make things a little easier, paint the wooden poles with glow-in-the-dark paint.
You can find packages of glow-in-the-dark bracelets CHEAP at places like Hobby Lobby, The Dollar Store, Target, Oriental Trading Company. (15 bracelets/$1.00)
Check out MommaDidIt.Blogspot.com to see this idea, plus many more great, nighttime activities!!
For more great summertime activities, I recommend checking out a few Pinterest Boards:
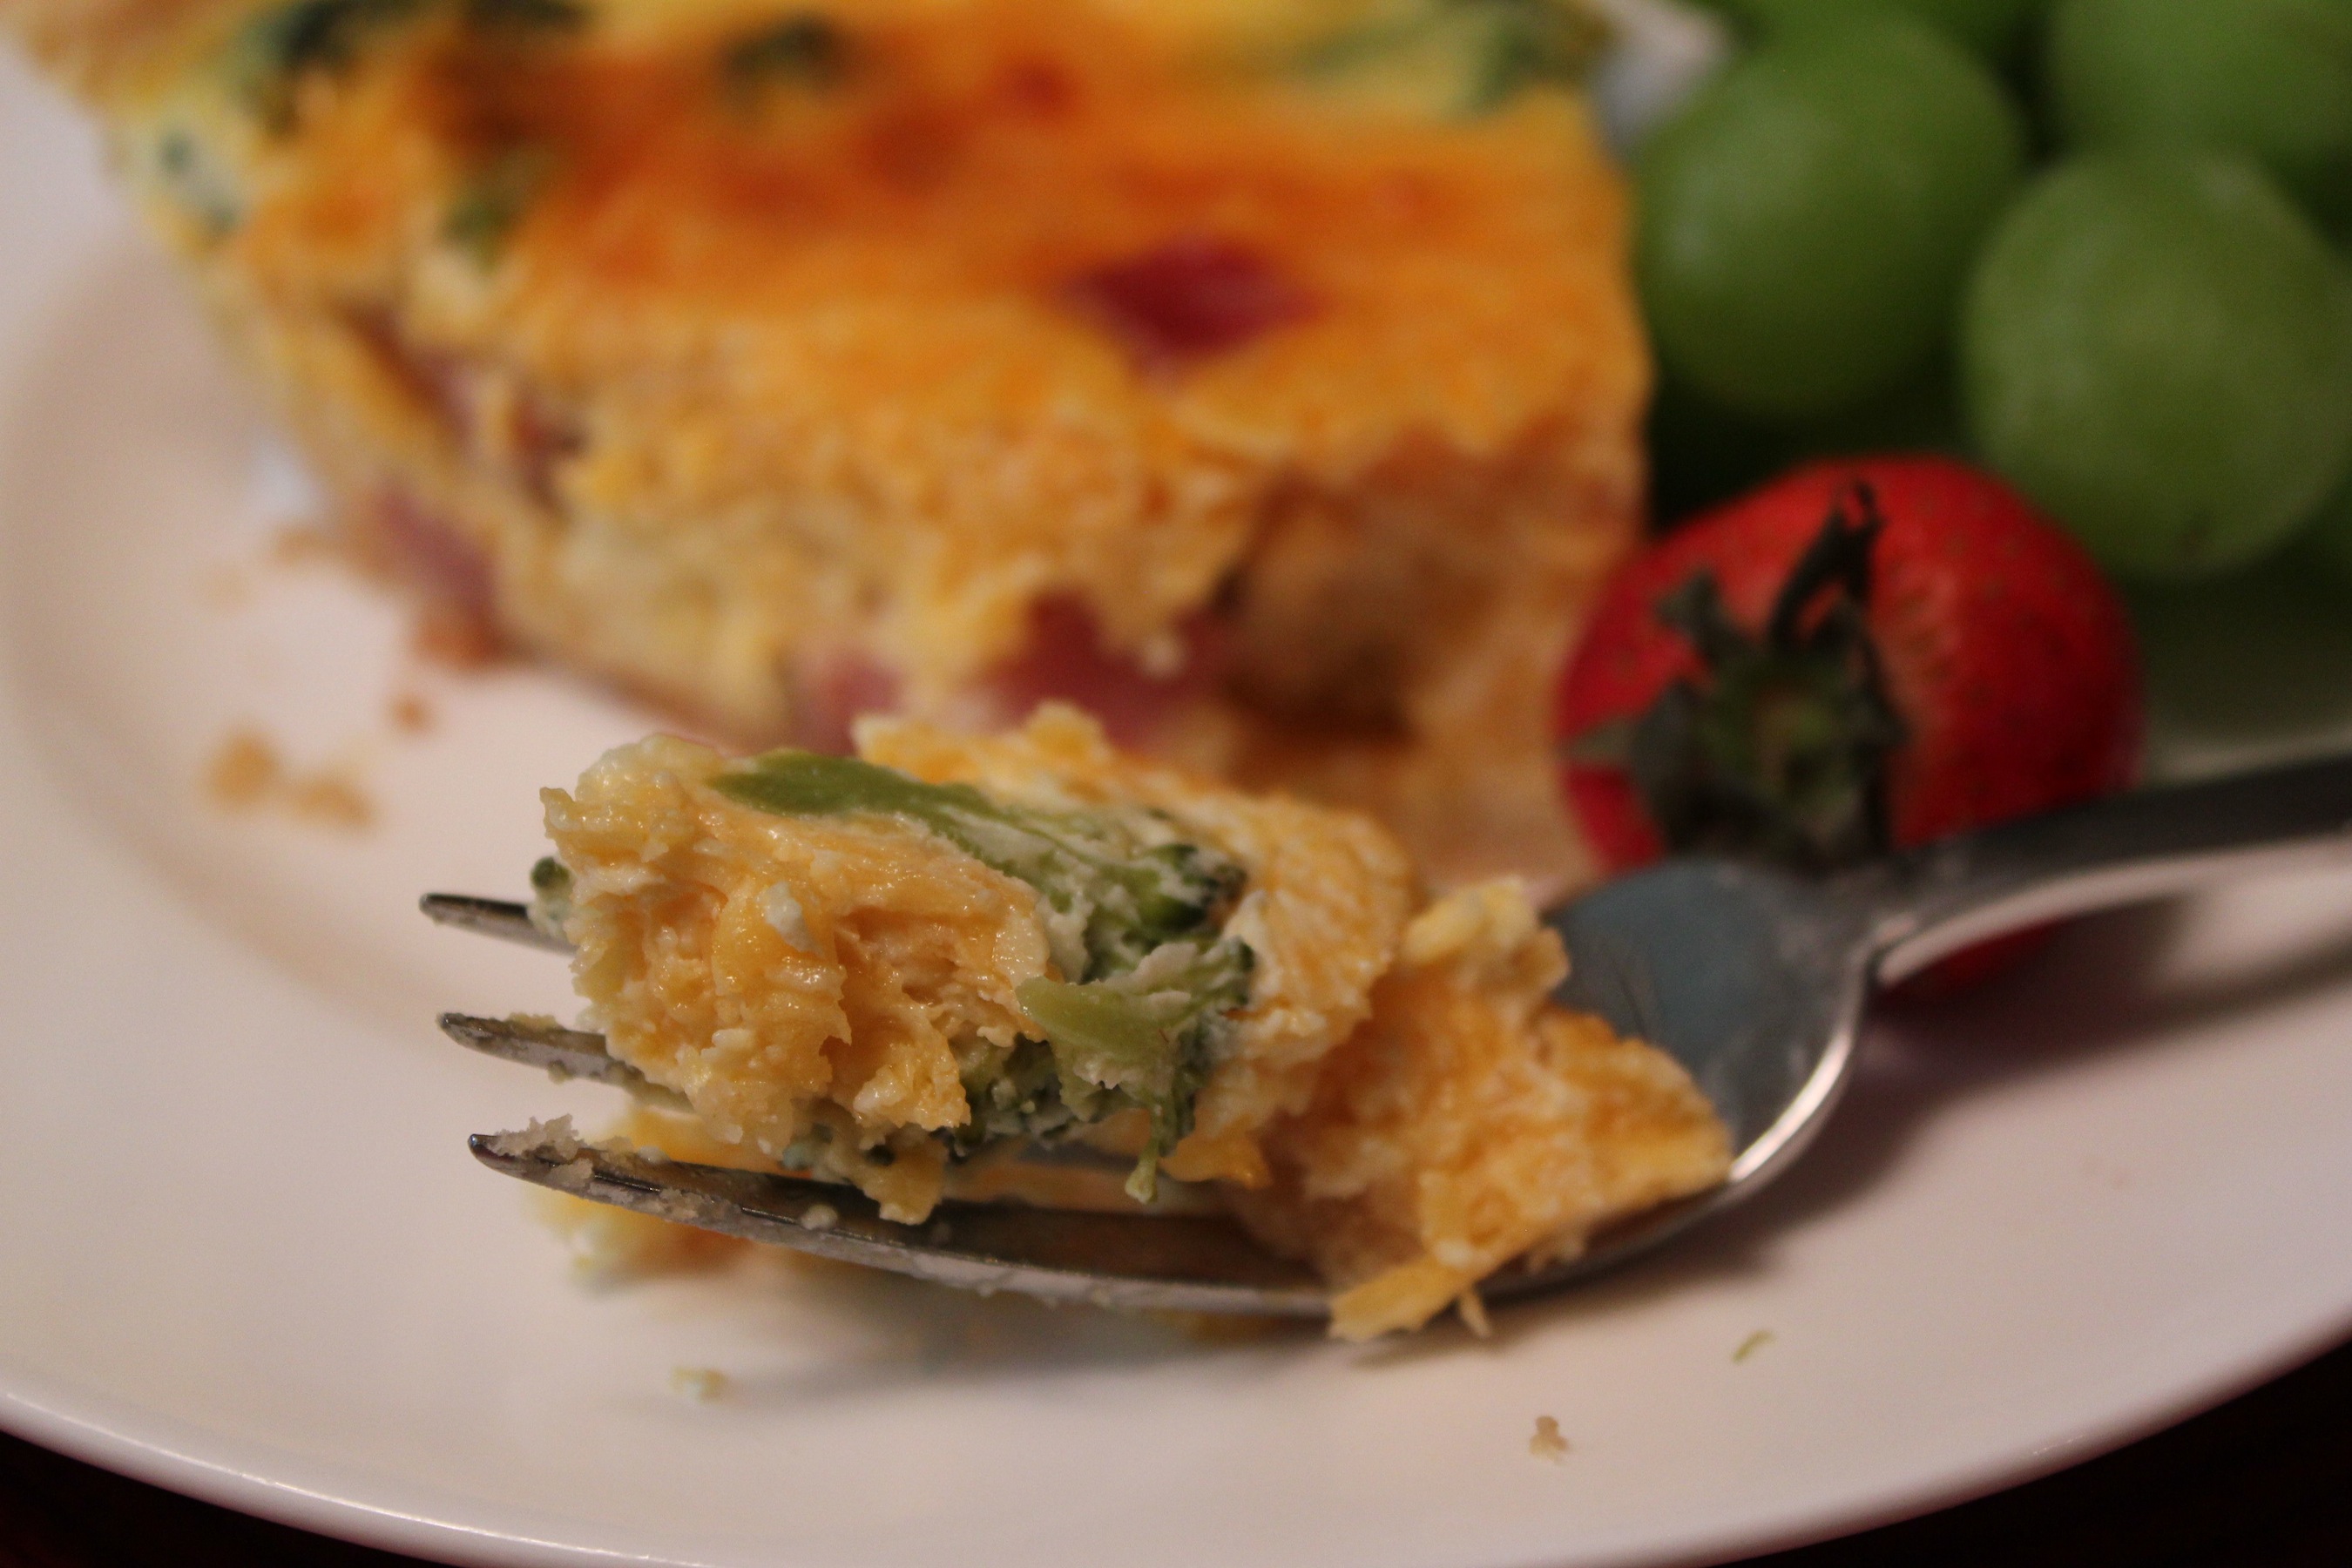
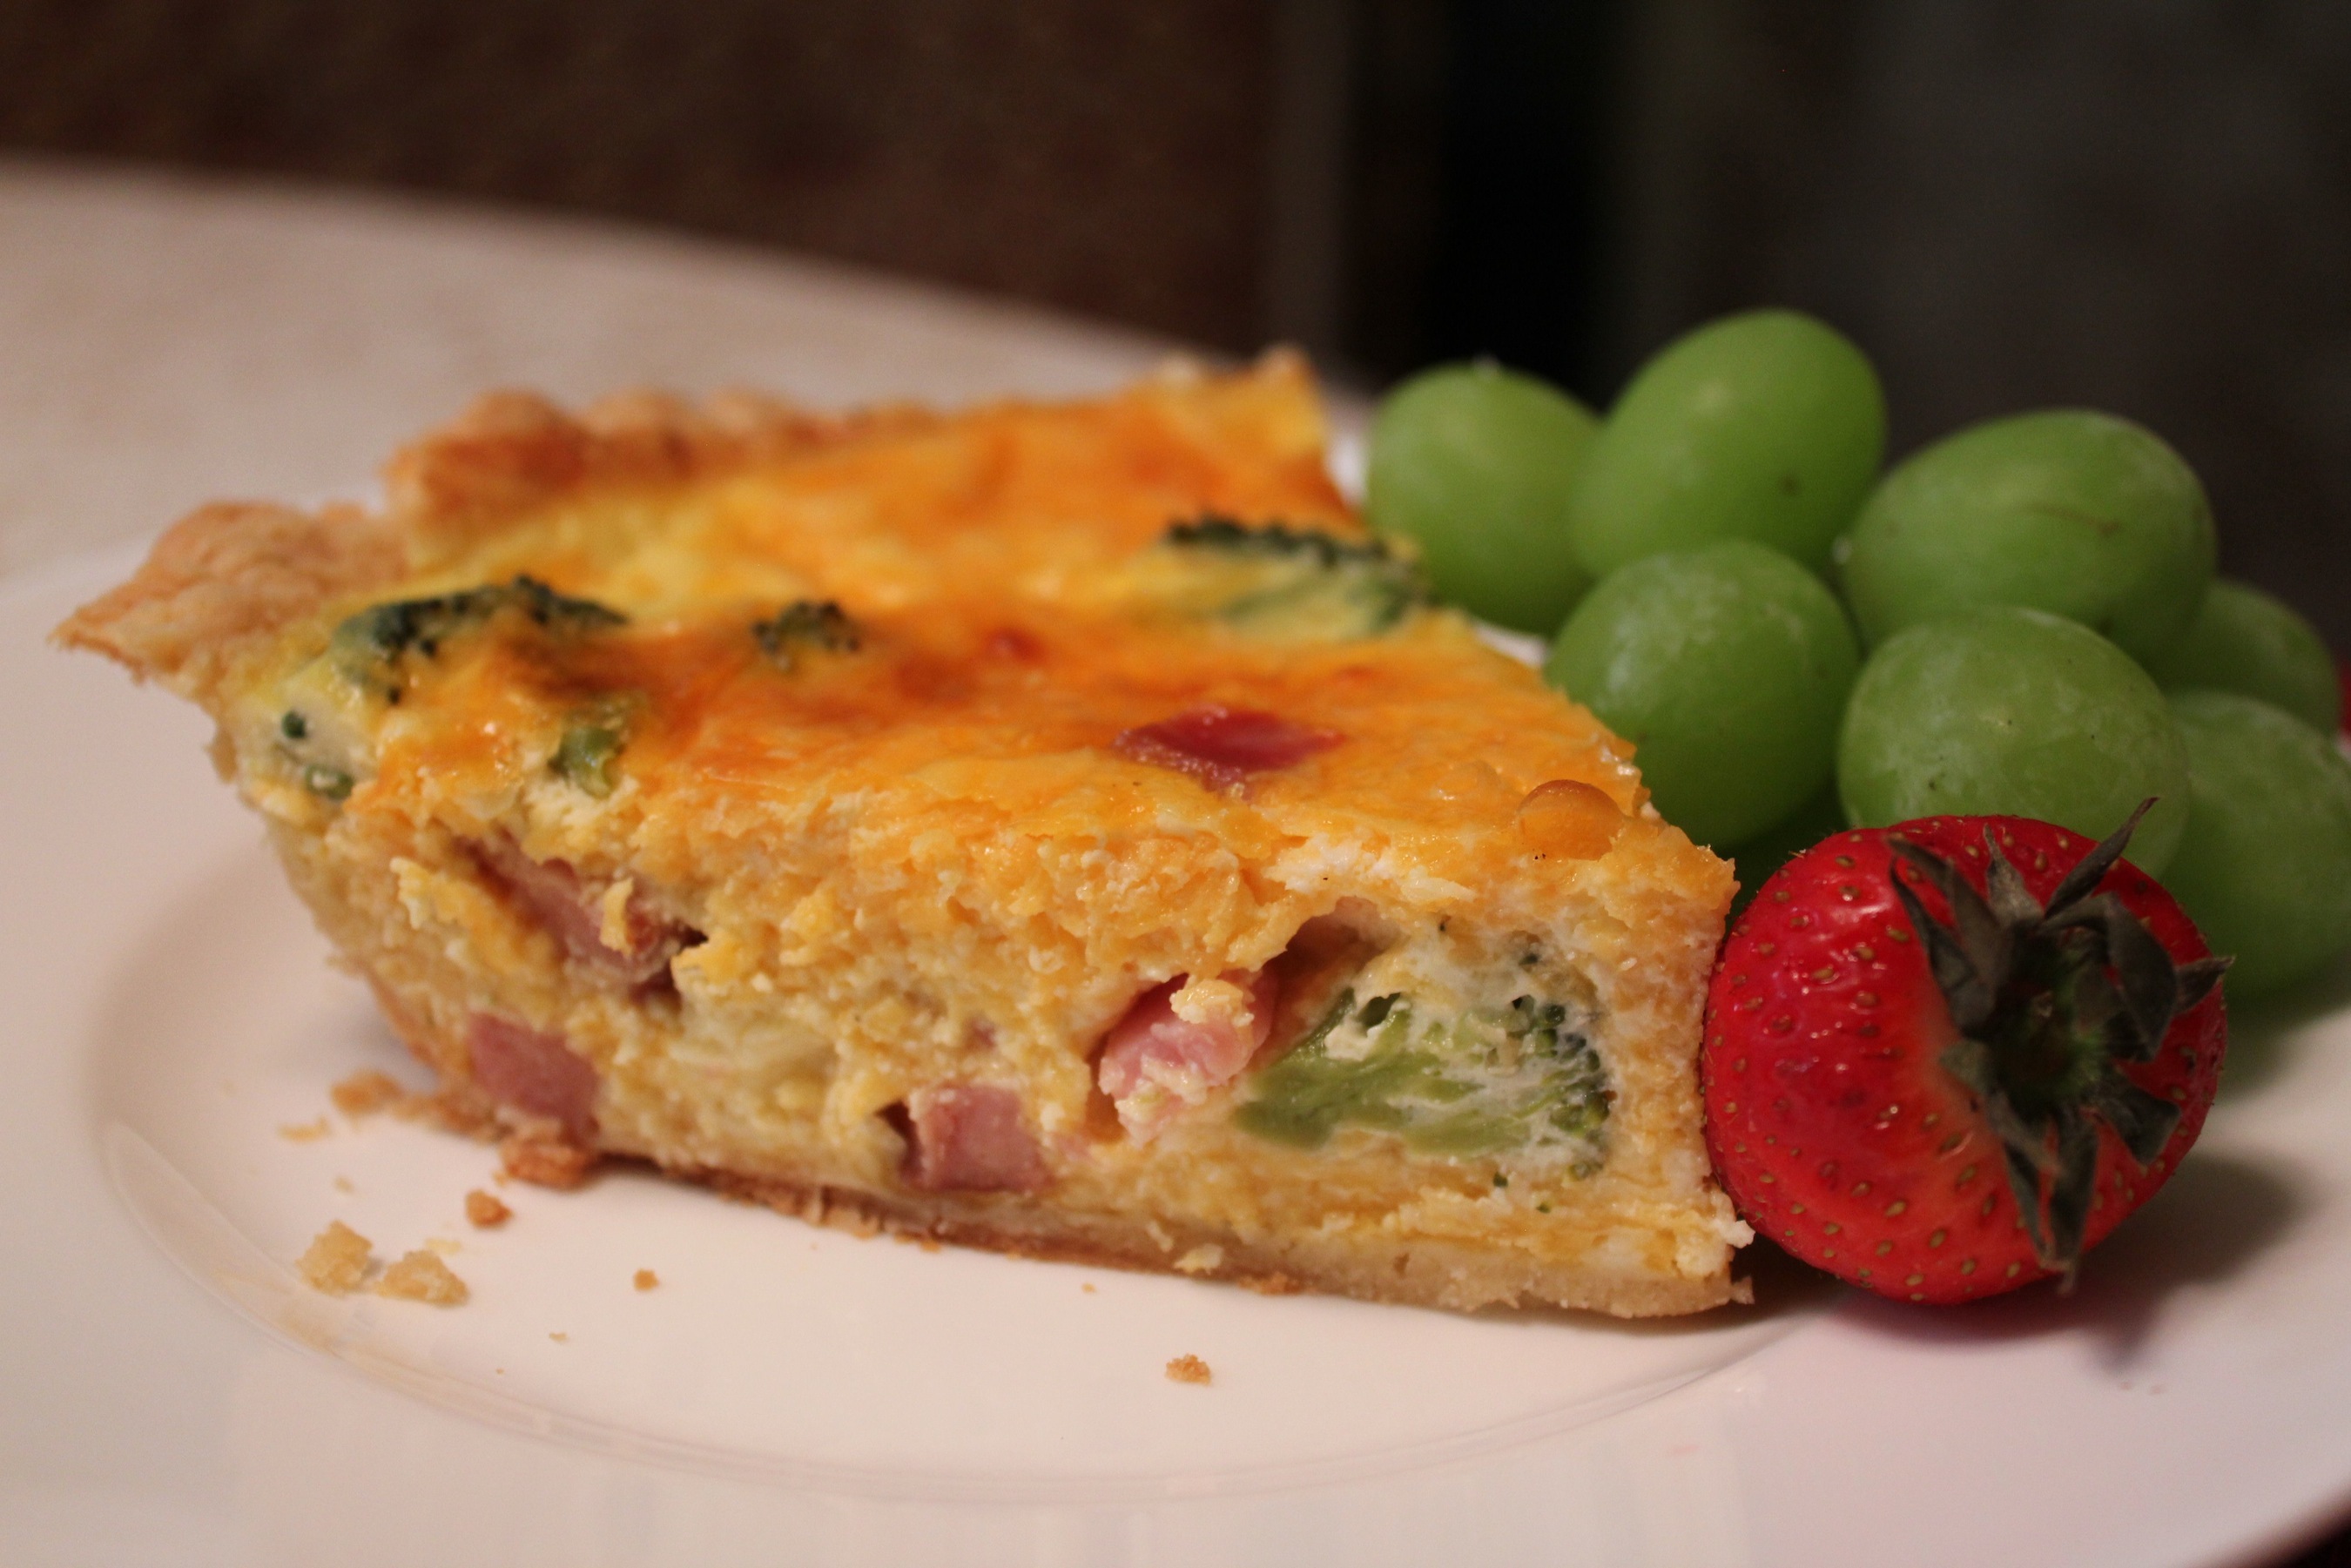
1/2 – 3/4 cup steamed broccoli (optional – use whatever veggie you like)
1/2 cup diced ham (optional)
1 frozen deep dish, 9 ” pie shell
Preparation:
Preheat oven to 350 degrees. Place pie shell on a cookie sheet covered with tin foil (to protect the cookie sheet from overflow).
In a medium bowl, mix together shredded cheese and flour, tossing to coat the cheese with flour. Set aside.
In a large bowl, mix beaten eggs, milk, salt and pepper (to taste). Add the broccoli and ham to this egg mixture; mix well. Add the cheese and gently mix together.
Pour into the pie shell. Make sure to disperse “chunky” ingredients evenly throughout the pie shell. Place in oven for 55-60 minutes until center is set.
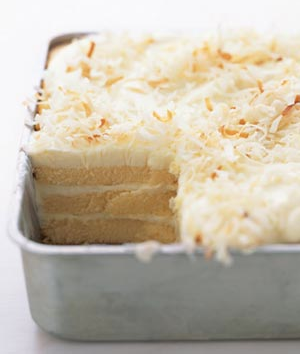
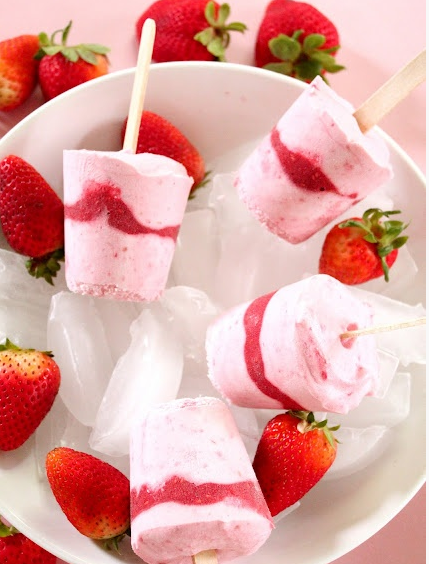
Who likes to heat up the kitchen in the summer? Not many people! This yummy dessert, from Real Simple Magazine, is perfect for summer because it requires no baking of the cake, because you use pre-made pound cake! Toast the coconut the day before and you are done with the oven – keep the kitchen cool this summer! This is so simple!
Ingredients:
1/4 cup flaked sweetened coconut
1 cup heavy (or whipping) cream, whipped to a soft peak
2 pound cakes (such as Sara Lee), about 11 ounces each
2 cups Vanilla Pudding (prepared)
Directions:
Preheat oven to 350° F. Spread the coconut on a baking sheet and toast in oven until golden, about 10 minutes, shaking the tray once about halfway through the cooking time. Remove and let cool.
In a medium bowl, gently fold together the whipped cream and pudding. Slice each cake vertically in half, then slice each half horizontally into three ½-inch layers.
Line an 8-by-8-inch square pan with 4 slices of cake to make 1 layer. Top with about 1 cup of the pudding mixture, spreading to cover the cake. Repeat the process to form 3 layers, ending with the pudding mixture. Refrigerate for 1 hour. Garnish with the toasted coconut and serve.
Fond memories of the family gathering around the camp fire, roasting hot dogs over the fire, telling stories sure to give you a chill — even in the summer weather! Summer campouts, whether in the Big Woods or the Big Backyard, makes fun for everyone. But it takes work and planning, especially when it comes to meal planning.
Simple Solutions Diva has gathered together some great camping recipes and ideas that, hopefully, will make things easier for the meal planner!
Breakfast Ideas:
Pancakes on the Road– Everyone loves pancakes, but storing all the ingredients for camping can take up a lot of space! Try this tip: Make your pancake batter as the recipe states. Then pour all the batter into a large ziploc bag and freeze! Once you are ready to use it, take it out of the freezer to thaw, snip off a corner of the bag, and you have quick & mess free pancake mix! It’s a great way to use up a few cups of milk before it expires!
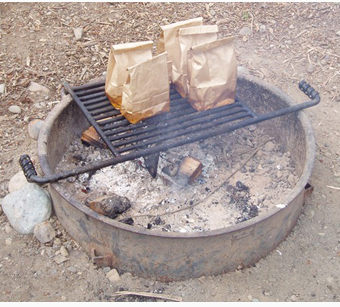
Photo Credit: 20goingon80.com
Breakfast In A Bag– Line the bottom of paper bag with bacon. Make sure to cover all of the paper and slightly up the sides, too. Crack egg(s) and drop on top of the bacon. Fold the top of the bag over a couple of times. Put the bag on the grate over the campfire. The eggs are done when the grease from the bacon is about half way up the side of the bag. (I have NEVER tried this, but I thought it was clever!)
Photo Credit: Dawn Dalto/Lakeland Gear Blog
Last Day Breakfast Plan– Super Camper, Rita Manyette, (Camping Enthusiast and good friend of Simple Solutions Diva!) says get creative for your last breakfast at your campsite. Use up leftovers for your breakfast so you don’t have to lug it home. Take the odd hot dog or hamburger bun and use it for French Toast (this also applies to the last of the bread!). The buns really soak up the egg. She also uses up the last of the flavored creamer her husband brings along on the trip as the milk in the French Toast. It adds a great flavor to the French Toast.
Meal Planning:
Marinade & Freeze Your Meats. LOVE this great tip from EchoesOfLaughter.com: Switch it up from the ususal hot dogs, hamburgers and beans-simply marinate meat/steak at home, toss in the freezer, and take on your trip for more upscale meals! Just take the meat out of the cooler to thaw on the morning of the day you plan to serve it. For tasty marinade recipes, Click Here!
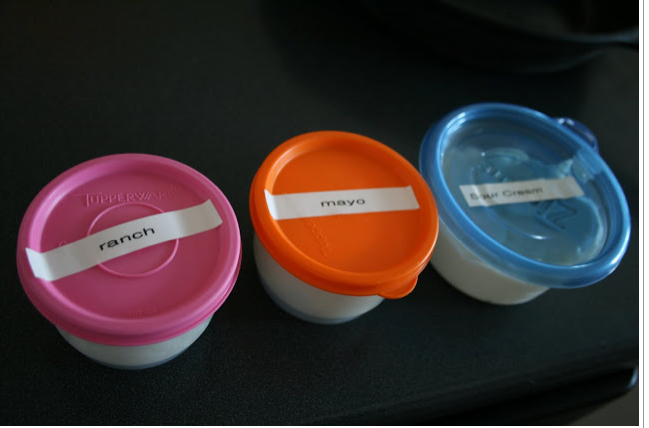
“Containerize” Condiments-Save yourself time & money by packing small containers of condiments made up from the bigger sizes you already have in your fridge. This saves you from having to buy small sizes of condiments…saving you money. The smaller sized containers from home also fit into a cooler better. I like these little Tupperware containers. This is another great tip from EchoesOfLaughter.com.
Photo Credit: EchoesOfLaughter.com
Camp Cooker (also know as Pie Irons)– Easy way to make individual meals, whether it is grilled, fried, baked, or toasted! Kids can use these to be creative and make their own meals. Be sure to look for cast iron types, because they will ensure uniform cooking. Click to find Coghlan’s Cast Iron Camp Cooker.
Photo Credit: WisemenTrading.com
Planning and Organizing-For more great tips for organizing and preparing for your camping trip, plus super recipes, visit EchoesOfLaughter.com.
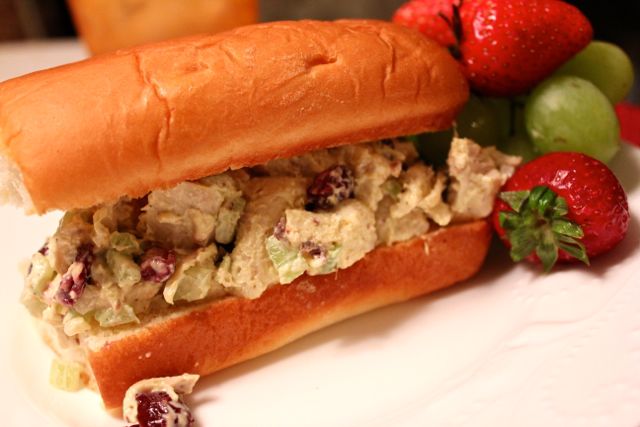
Chicken Salad is a favorite go-to meal in the summer – it is chilled, light, and can be as flavorful as you want! The secret to my Chicken Salad is a sweetness from touch of curry and chopped, dried cranberries. Serve it with a beautiful salad, and you have a very nice dinner!
Ingredients:
1.5 pounds boneless chicken breast halves
1/4-1/2 cups mayo (I adjust the amount based on how “wet” or “dry” I want my salad.)
2 tablespoons dijon mustard
2 teaspoons curry (you can adjust the amount based on taste)
1/4 cup sweet vidalia onion, finely chopped
3 stalks of celery, finely chopped
1/4 cup chopped, dried cranberries
Salt and pepper to taste
Preparation:
Place chicken breasts in a large sauce pan, and cover with water (or chicken broth for flavor). Poach chicken over low heat, simmering until chicken is white throughout. Remove chicken to plate to cool (approx. 20 minutes). Once cool, dice chicken into 1/2 inch sized chunks.
In a large bowl, add mayo, mustard, curry, and salt and pepper to taste. Once mixed, add chopped onion, celery and cranberries. Add diced chicken and mix to fully coat the chicken. Cover and refrigerate until chilled (approx. 30 mins.).
Serve on favorite crusty bread or on top of bed of favorite greens! Enjoy!
Summer is HERE! Simple Solutions Diva has collected some great summer recipes, ideas, cocktails, and more on her new Pinterest Board, Summer Lovin’! Click on the photo above to visit the board! Stay cool and refreshed all summer long!
Mike, the Meat Manager at my local Publix grocery store, was so excited to share what he knows about steaks and grilling! He highly encourages anyone to visit their local butcher or meat manager to find out what they recommend for steaks or any other types of meats or fish. They can “steer” you in the right direction! (Pun intended!)
Here are Mike’s top recommended cuts of beef as alternatives to more expensive cuts for grilling:
Flat Iron Steak (Also known as Hanger Steak) – This was the top choice of our Meat Expert. He noted that this cut of beef is starting to trend across the country. Great to marinate and grill.
Shoulder Tender Medallions – This was the runner-up to the Flat Iron as a favorite of our Meat Expert. Marinate overnight and grill.
Chuck Eye Steak – According to our Meat Expert, this cut of beef doesn’t even need to be marinated. It is a cut that is right next to the Ribeye, so flavor is all there.
Shoulder Steak – Great to marinate and grill.
Shoulder London Broil – The original London Broil cut. Marinate and Grill
Bottom Sirloin Steak Rolls– Marinate and grill.
Chuck Steak (Boneless) – Marinate and grill.
For great marinade recipes (including Mike’s Simple Marinade) for beef, fish and poultry,Click Here.