We are bringing technology outside today! What do you do if you have pest problems in the garden or need to identify a plant? Want to design your garden before you plant? Or even what kind of bird just visited your bird feeder? Here are a few top websites and apps to help you in your garden!
Design Your Garden – On Line Garden Planner
This website allows you to create a layout of your garden, or to use a pre-designed garden layout. They have a free, limited 15 day trial available (you can design, you just can’t save the plans), or you can purchase the full version for $34.00. They also have an app available for iPad for $9.99. (iPad app: https://itunes.apple.com/us/app/garden-designer/id521621059)
Identify That Plant or Garden Problem – Garden Compass App
This app is like having a gardener in your pocket! They have garden experts in all regions of the country. You have a problem or need to identify a plant, you simply take a photo and it is sent to one of their garden experts. Within 24 hours, you receive an answer to your question. They have a library of more than 6,000 plants to reference. Right now, the App is free and can be used on iPad, iPod Touch, or your iPhone. When you download the app, you are given 6 credits for free, allowing you to send in 2 different photo inquiries. Additional credits (10 credits) are available to purchase for cost $6.99.
Humans aren’t the only ones who like to visit Florida! Birds like to visit our state on their migratory paths! WhatBird.com is a great, free site to identify the unique, and the run-of-the-mill, birds you see in your yard! You can identify the birds by color, body shape, bill shape and even by their sound! They also have an app called iBird for the iPhone and iPad – which is currently on sale for $14.99.
Spring is here and it is time to get in and prune out those dead leaves and branches from plants and shrubs. But look closely at them – there might be fungus or other disease on the plants that could be transmitted to healthy plants just by using your garden tools! Check out today’s video to see how to disinfect your garden tools!
Spring is here and the birds are all aflutter! How about trying a few small DIY projects that are for the birds, literally! With a little creativity and a little elbow grease, you can make some adorable (AND Simple!) projects that will have all the birds tweeting! Best of all, these projects are perfect for the kids to make – with a little adult help!
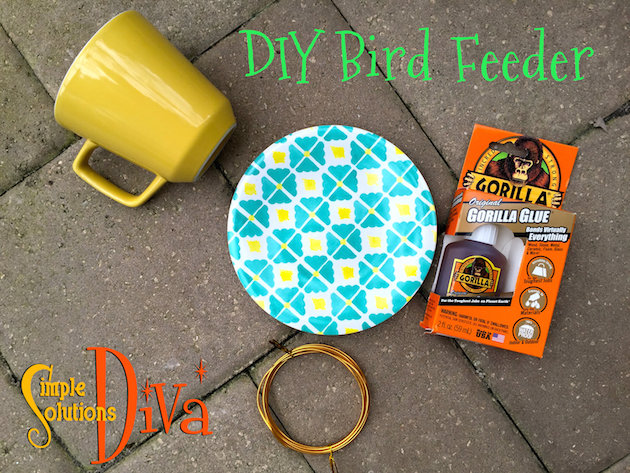
DIY Bird Feeder
This simple feeder can be made with any teacup and saucer!
What You Need:
Teacup & Saucer (I used a mug small enough to fit on saucer)
Gorilla Glue (or other waterproof adhesive that works with ceramics)
Copper Floral Wire (optional)
Bird Seed
All you need for this little project!
Directions:
Clean and remove all stickers from the teacup and saucer. Dry thoroughly.
With a spray bottle or damp cloth, moisten the saucer. Using the Gorilla Glue, draw a thin line of glue on the side of the teacup opposite of the handle. Place the teacup, glue side down, on the saucer. Hold in place for two hours. (I used a small hand weight to keep constant pressure and to keep teacup in place.) NOTE: These instructions are specific to using Gorilla Glue as your adhesive. If using something other than Gorilla Glue, follow the directions for that product.
You can use the handle of the cup as a hook, or you can create an extended hanger by using copper floral wire (optional). Use the Gorilla Glue to secure the wire in place on the cup handle.
Add birdseed and hang in location where you can enjoy watching the birds visit!
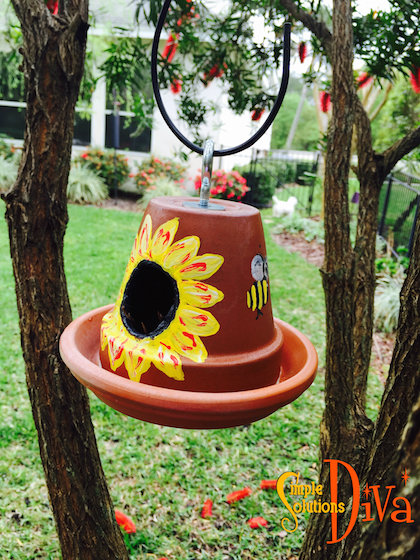
DIY Birdhouse
A little clay pot, a clay saucer, a hole cutter drill bit and you’ve got one cute Birdhouse! This project requires the use of power tools (a drill), so gather your materials before beginning the project!
What You Need:
Clay Pot – I had several on hand in case I broke one while drilling (which I did!).
Clay Saucer that is a bit larger than the top of clay pot.
Electric Drill
Hole Cutter Drill Bit, or progressively larger series of drill bits. I used an adjustable hole saw by Skil – Click link to find a Skil Adjustable Dial Saw
Sandpaper
Protective Eyewear
Gorilla Glue
Eye Bolt & Nut
Two Fender Washers
Clear, Protective Coating Spray Paint (I used Krylon Fusion, Clear UV Protection)
Acrylic paints, small paintbrushes (optional)
Everything you need to build a simple little birdhouse!
Directions:
Remove all labels from pots and saucers. Soak the pots in water for approximately 5-10 minutes. This will soften the clay and will lessen the likelihood of the pot breaking into shards. (Keep a bucket of water handy while drilling – you may need to dunk the pot in the water occasionally to keep things damp.)
On a safe, flat work surface, using something to secure the pot in place on the work surface, use the drill and hole cutter drill bit to cut the hole in the pot. Be sure to use protective eyewear! Size of hole will depend on the size of the pot. I cut a hole about 1.5 inches in diameter. I also used sand paper to smooth out the edges of the hole.
Turn the pot upside down on a clean, flat work surface. Feed one washer onto the eyebolt, then feed eyebolt through bottom of the pot. Turn pot right side up, feed second washer onto eyebolt. Add the nut and secure the eyebolt to the pot.
Using the Gorilla Glue, and following the directions on the label, glue the saucer to the top of the pot. Allow 2 hours to affix completely.
If desired, paint the birdhouse with acrylic paints. Spray clear, protective coasting spray over entire birdhouse. Hang in a tree and enjoy the new visitors!
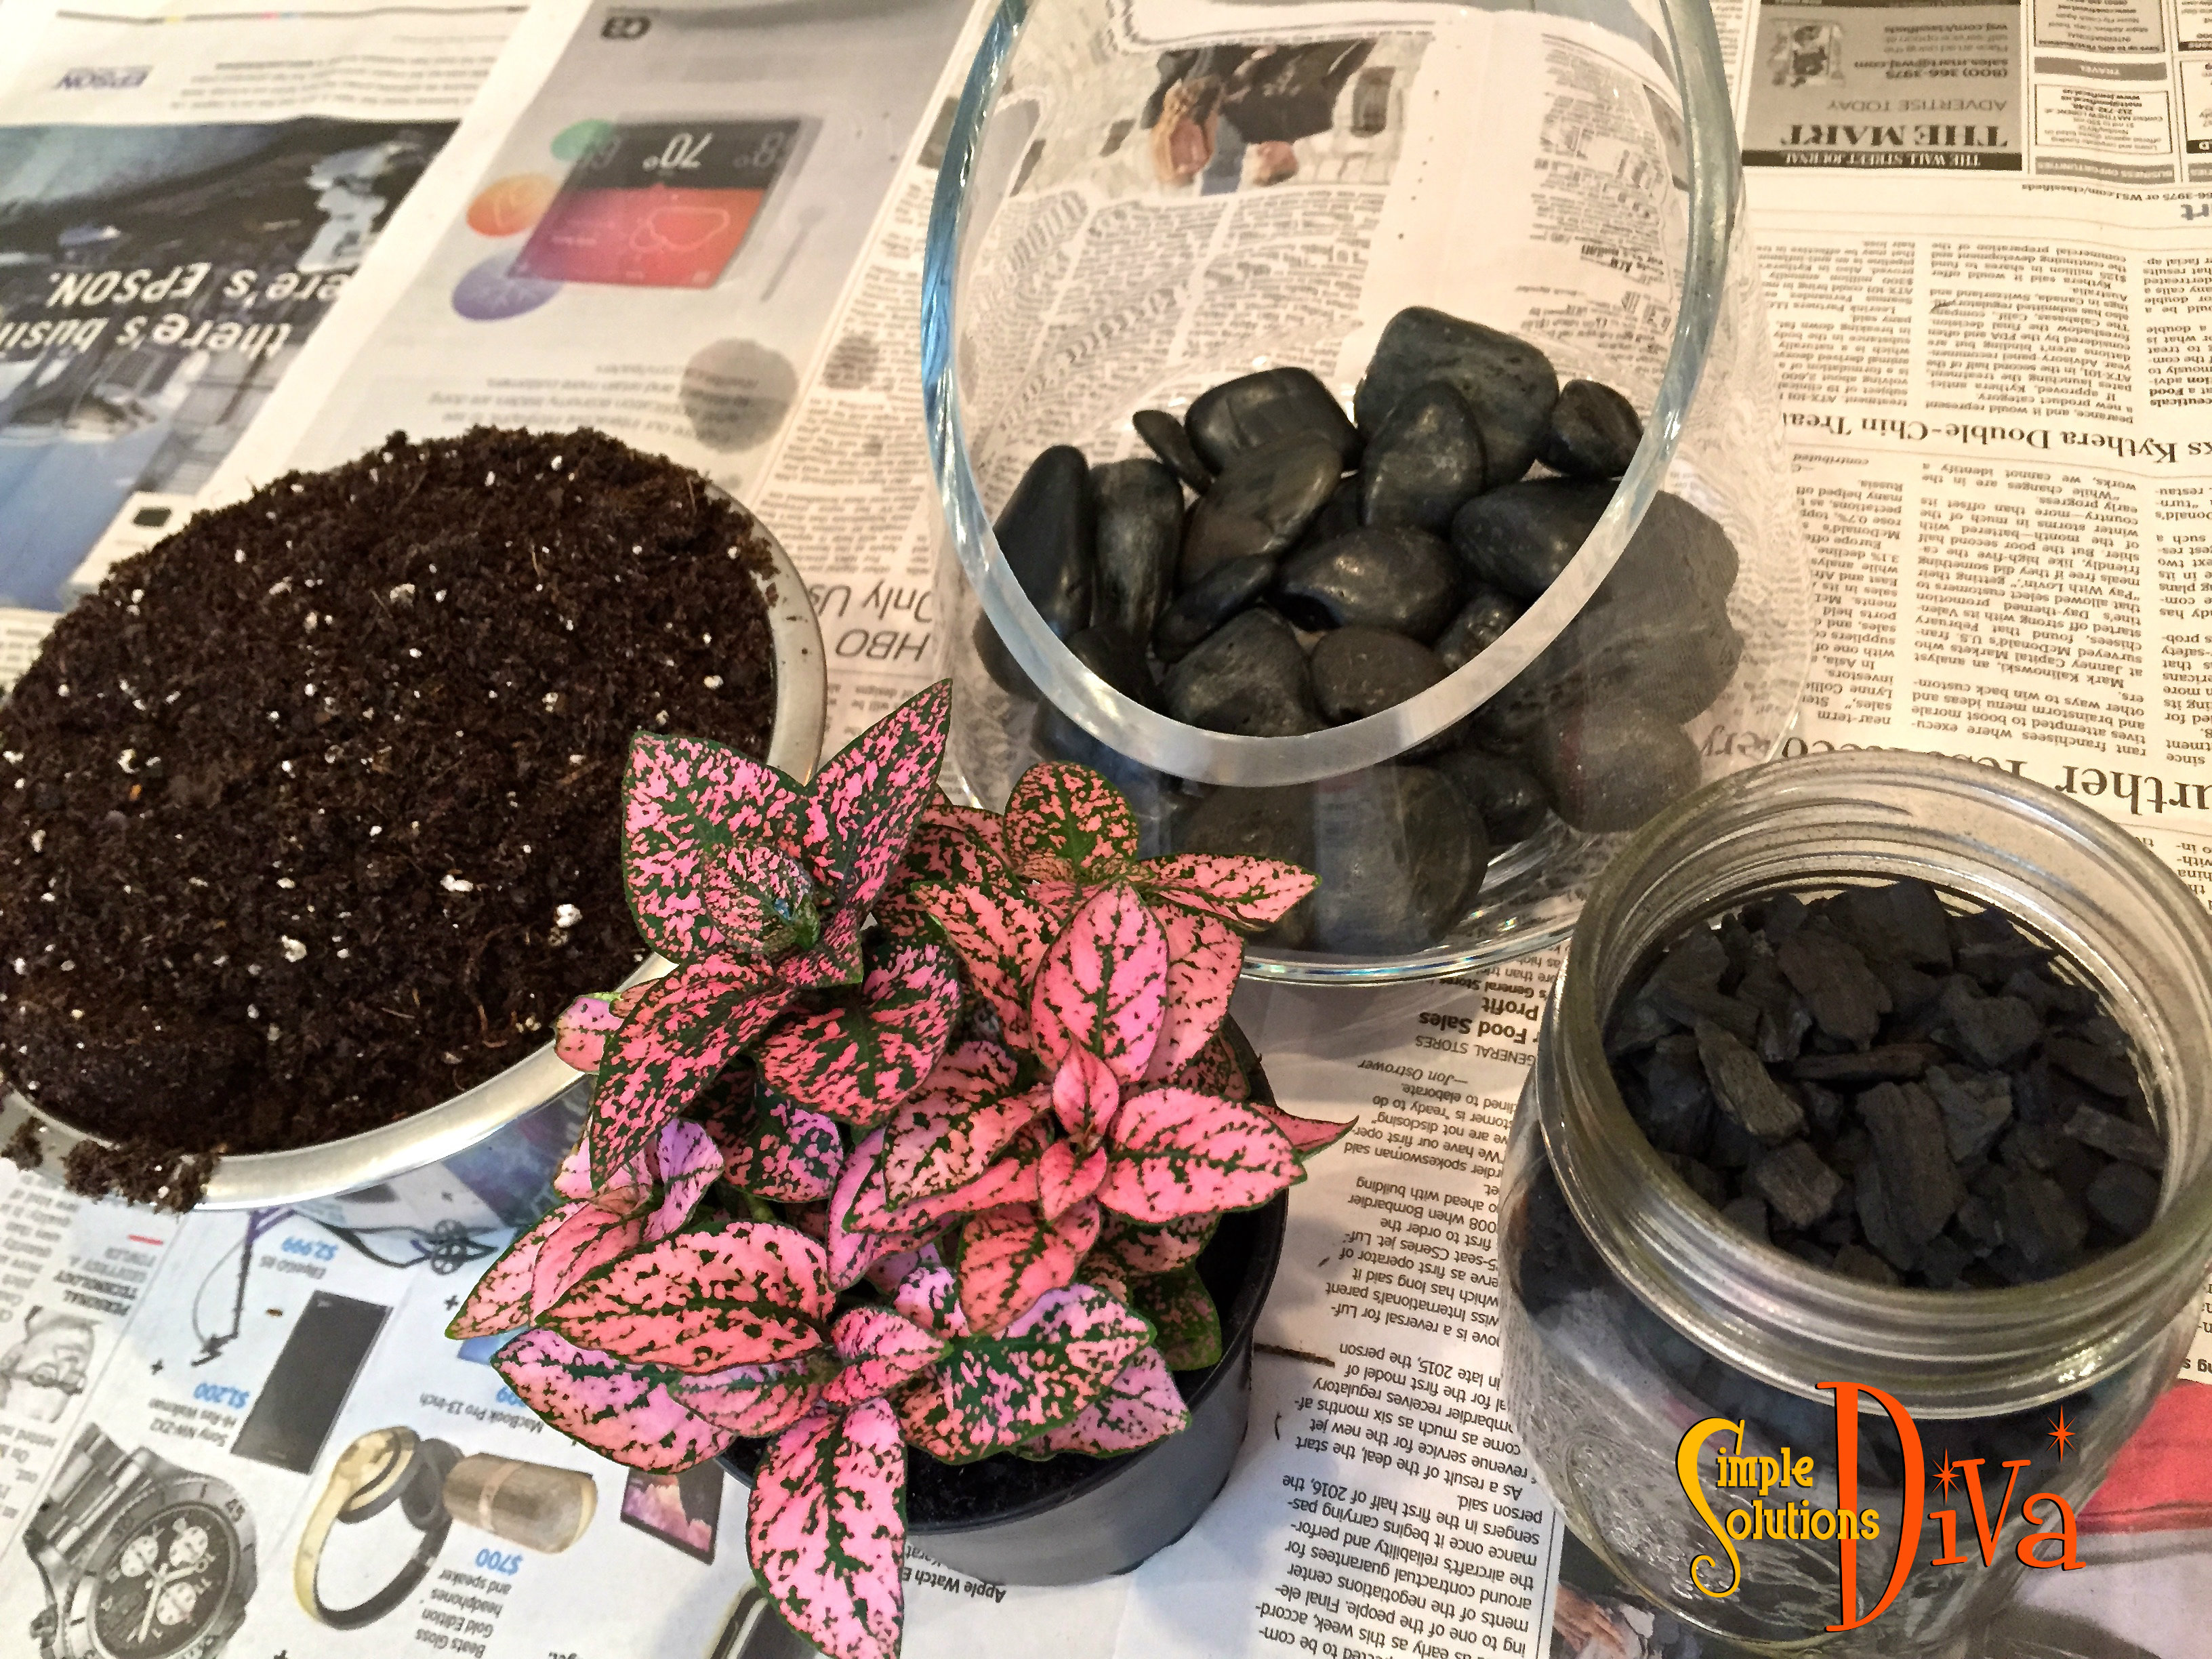
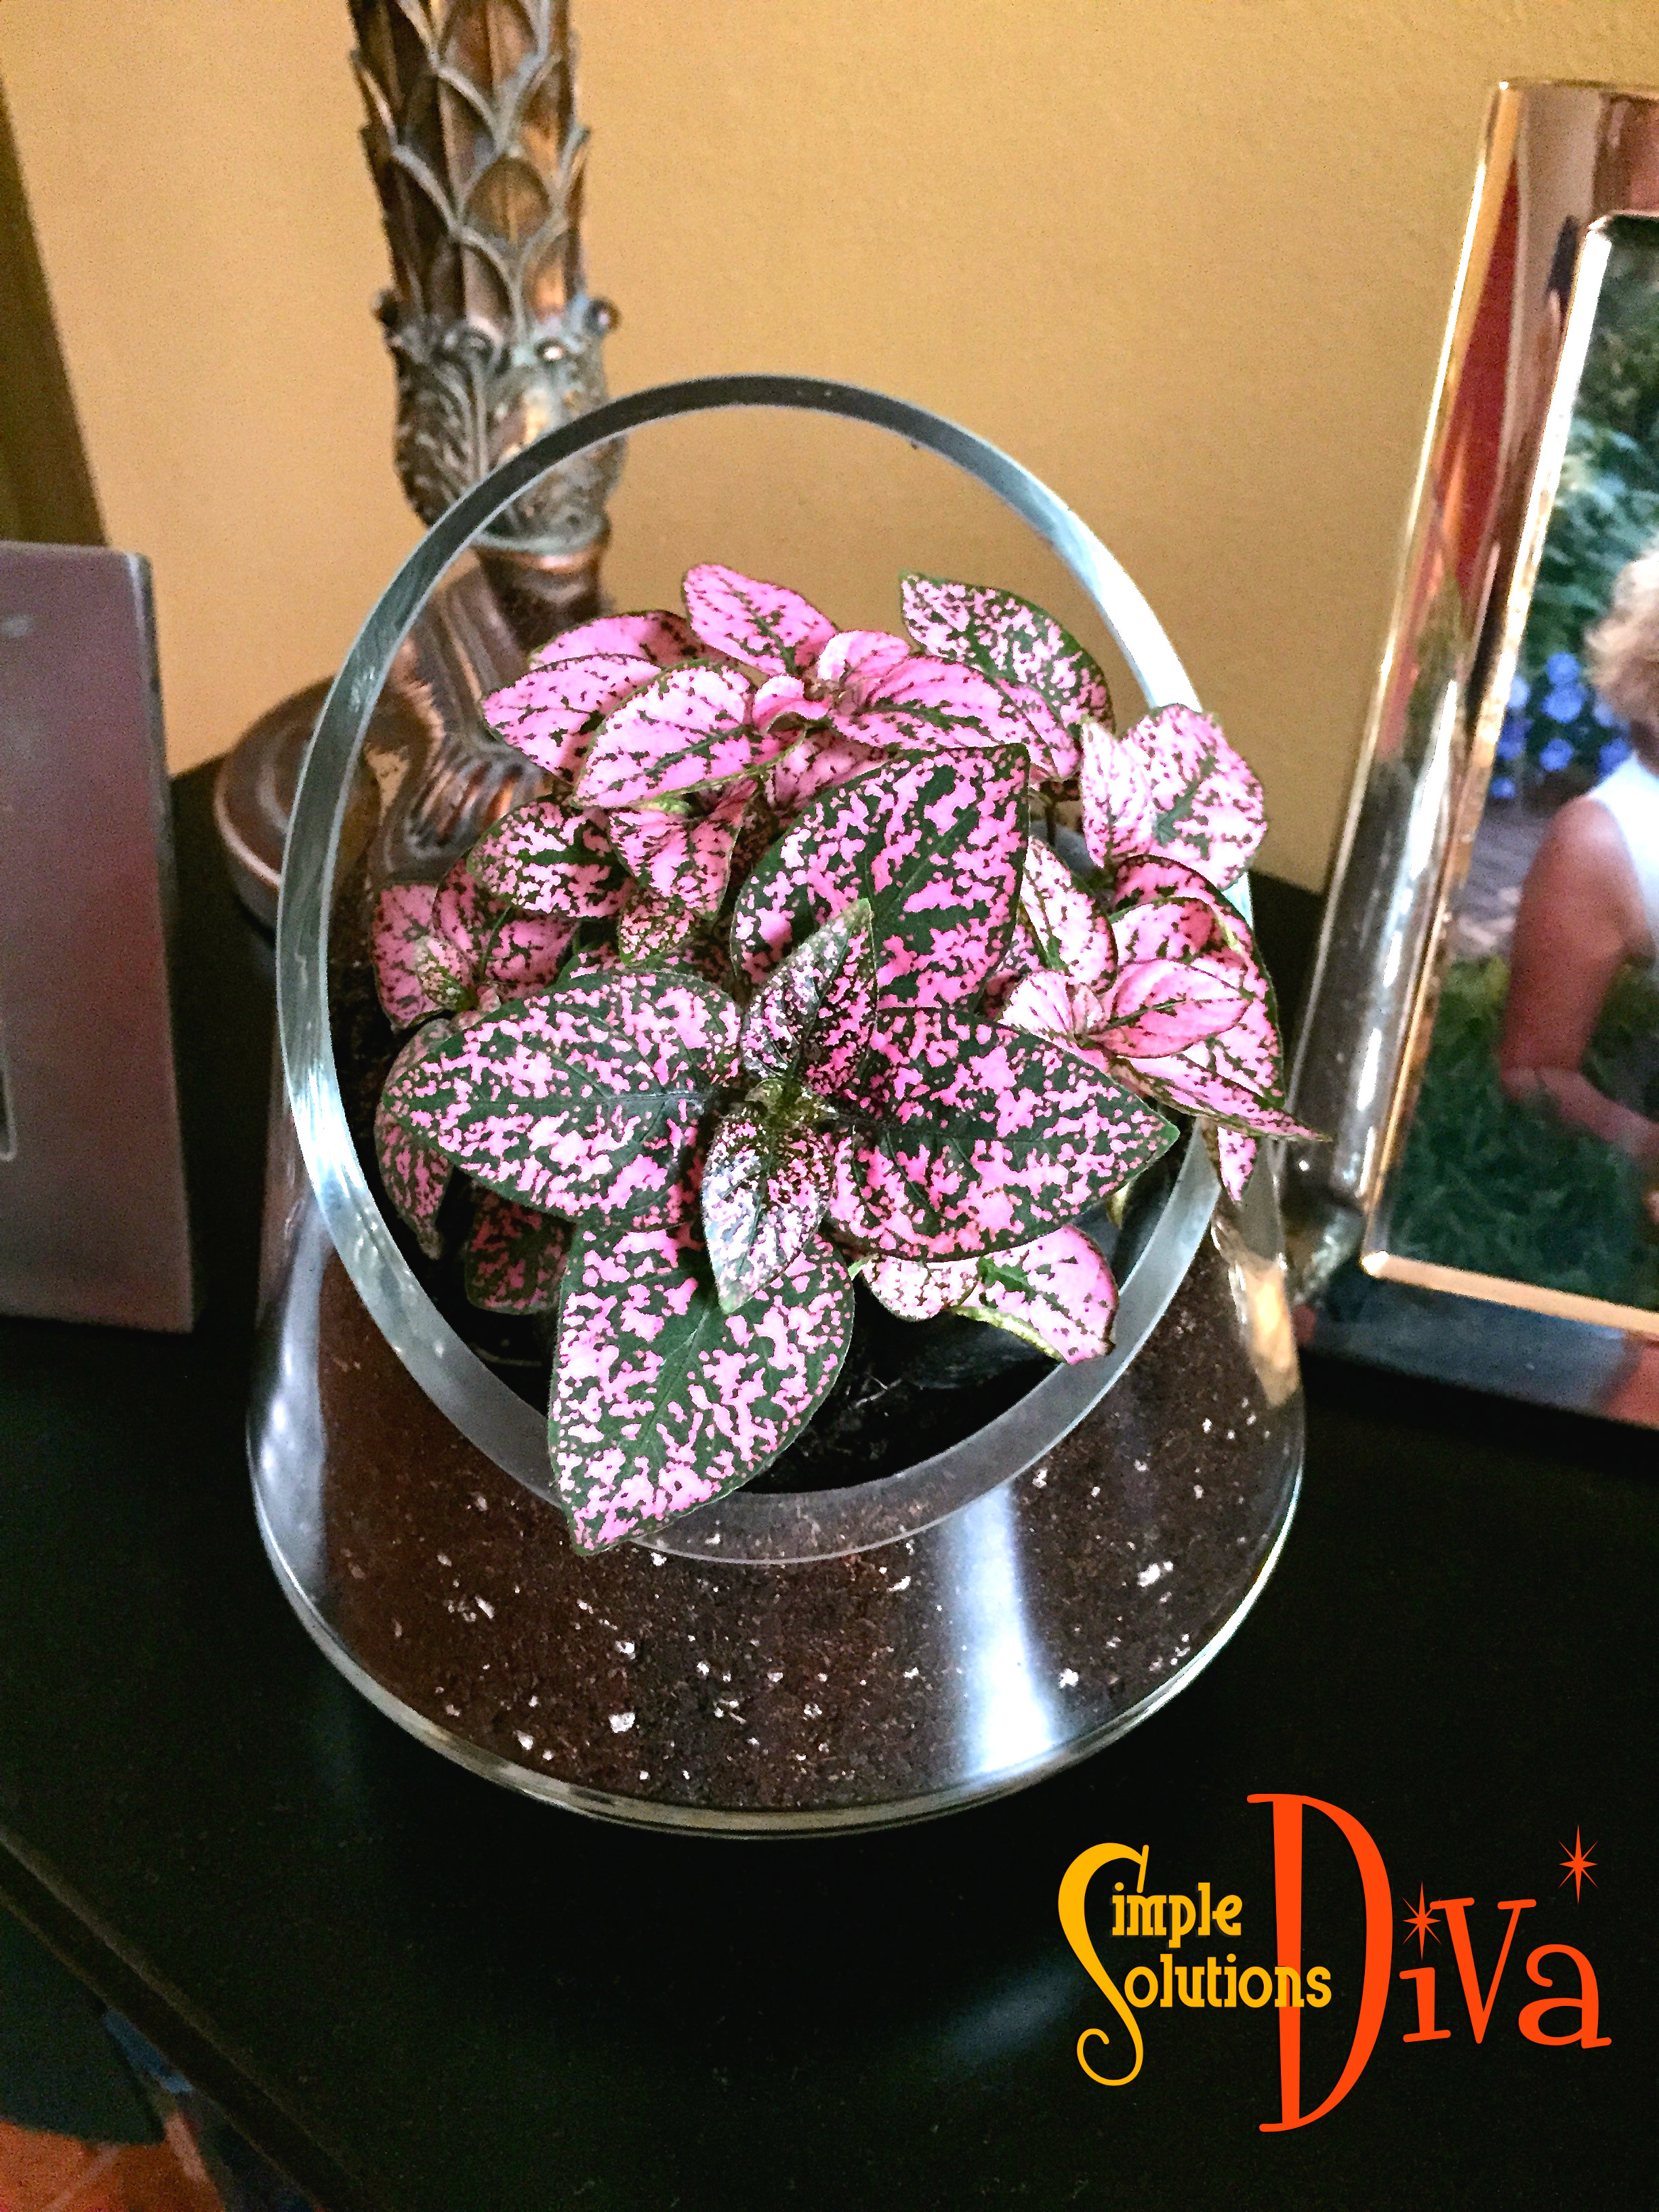
All You Need For A Terrarium: Charcoal, rocks for drainage, a beautiful bowl, soil, and a plant perfect for your lighting conditions!
An indoor garden? Why YES! A terrarium IS an indoor garden! The Diva shows you a few simple tips to create a beautiful display that will remain lovely for years to come!
Here are a few basic tips from About.com on how to care for your terrarium:
Caring for your terrarium is easy. Check every couple of weeks to see if your terrarium needs water. Feel the soil to see if it is dry and add water if it is.
If your terrarium is closed, take off the top at least once a month to air it out. If you see lots of condensation or have added too much water, leave the top off until it has had a chance to dry out.
Pull off any leaves that show signs of yellowing or damage and prune plants if they grow too large.
Don’t fertilize your terrarium because you don’t want to encourage growth.
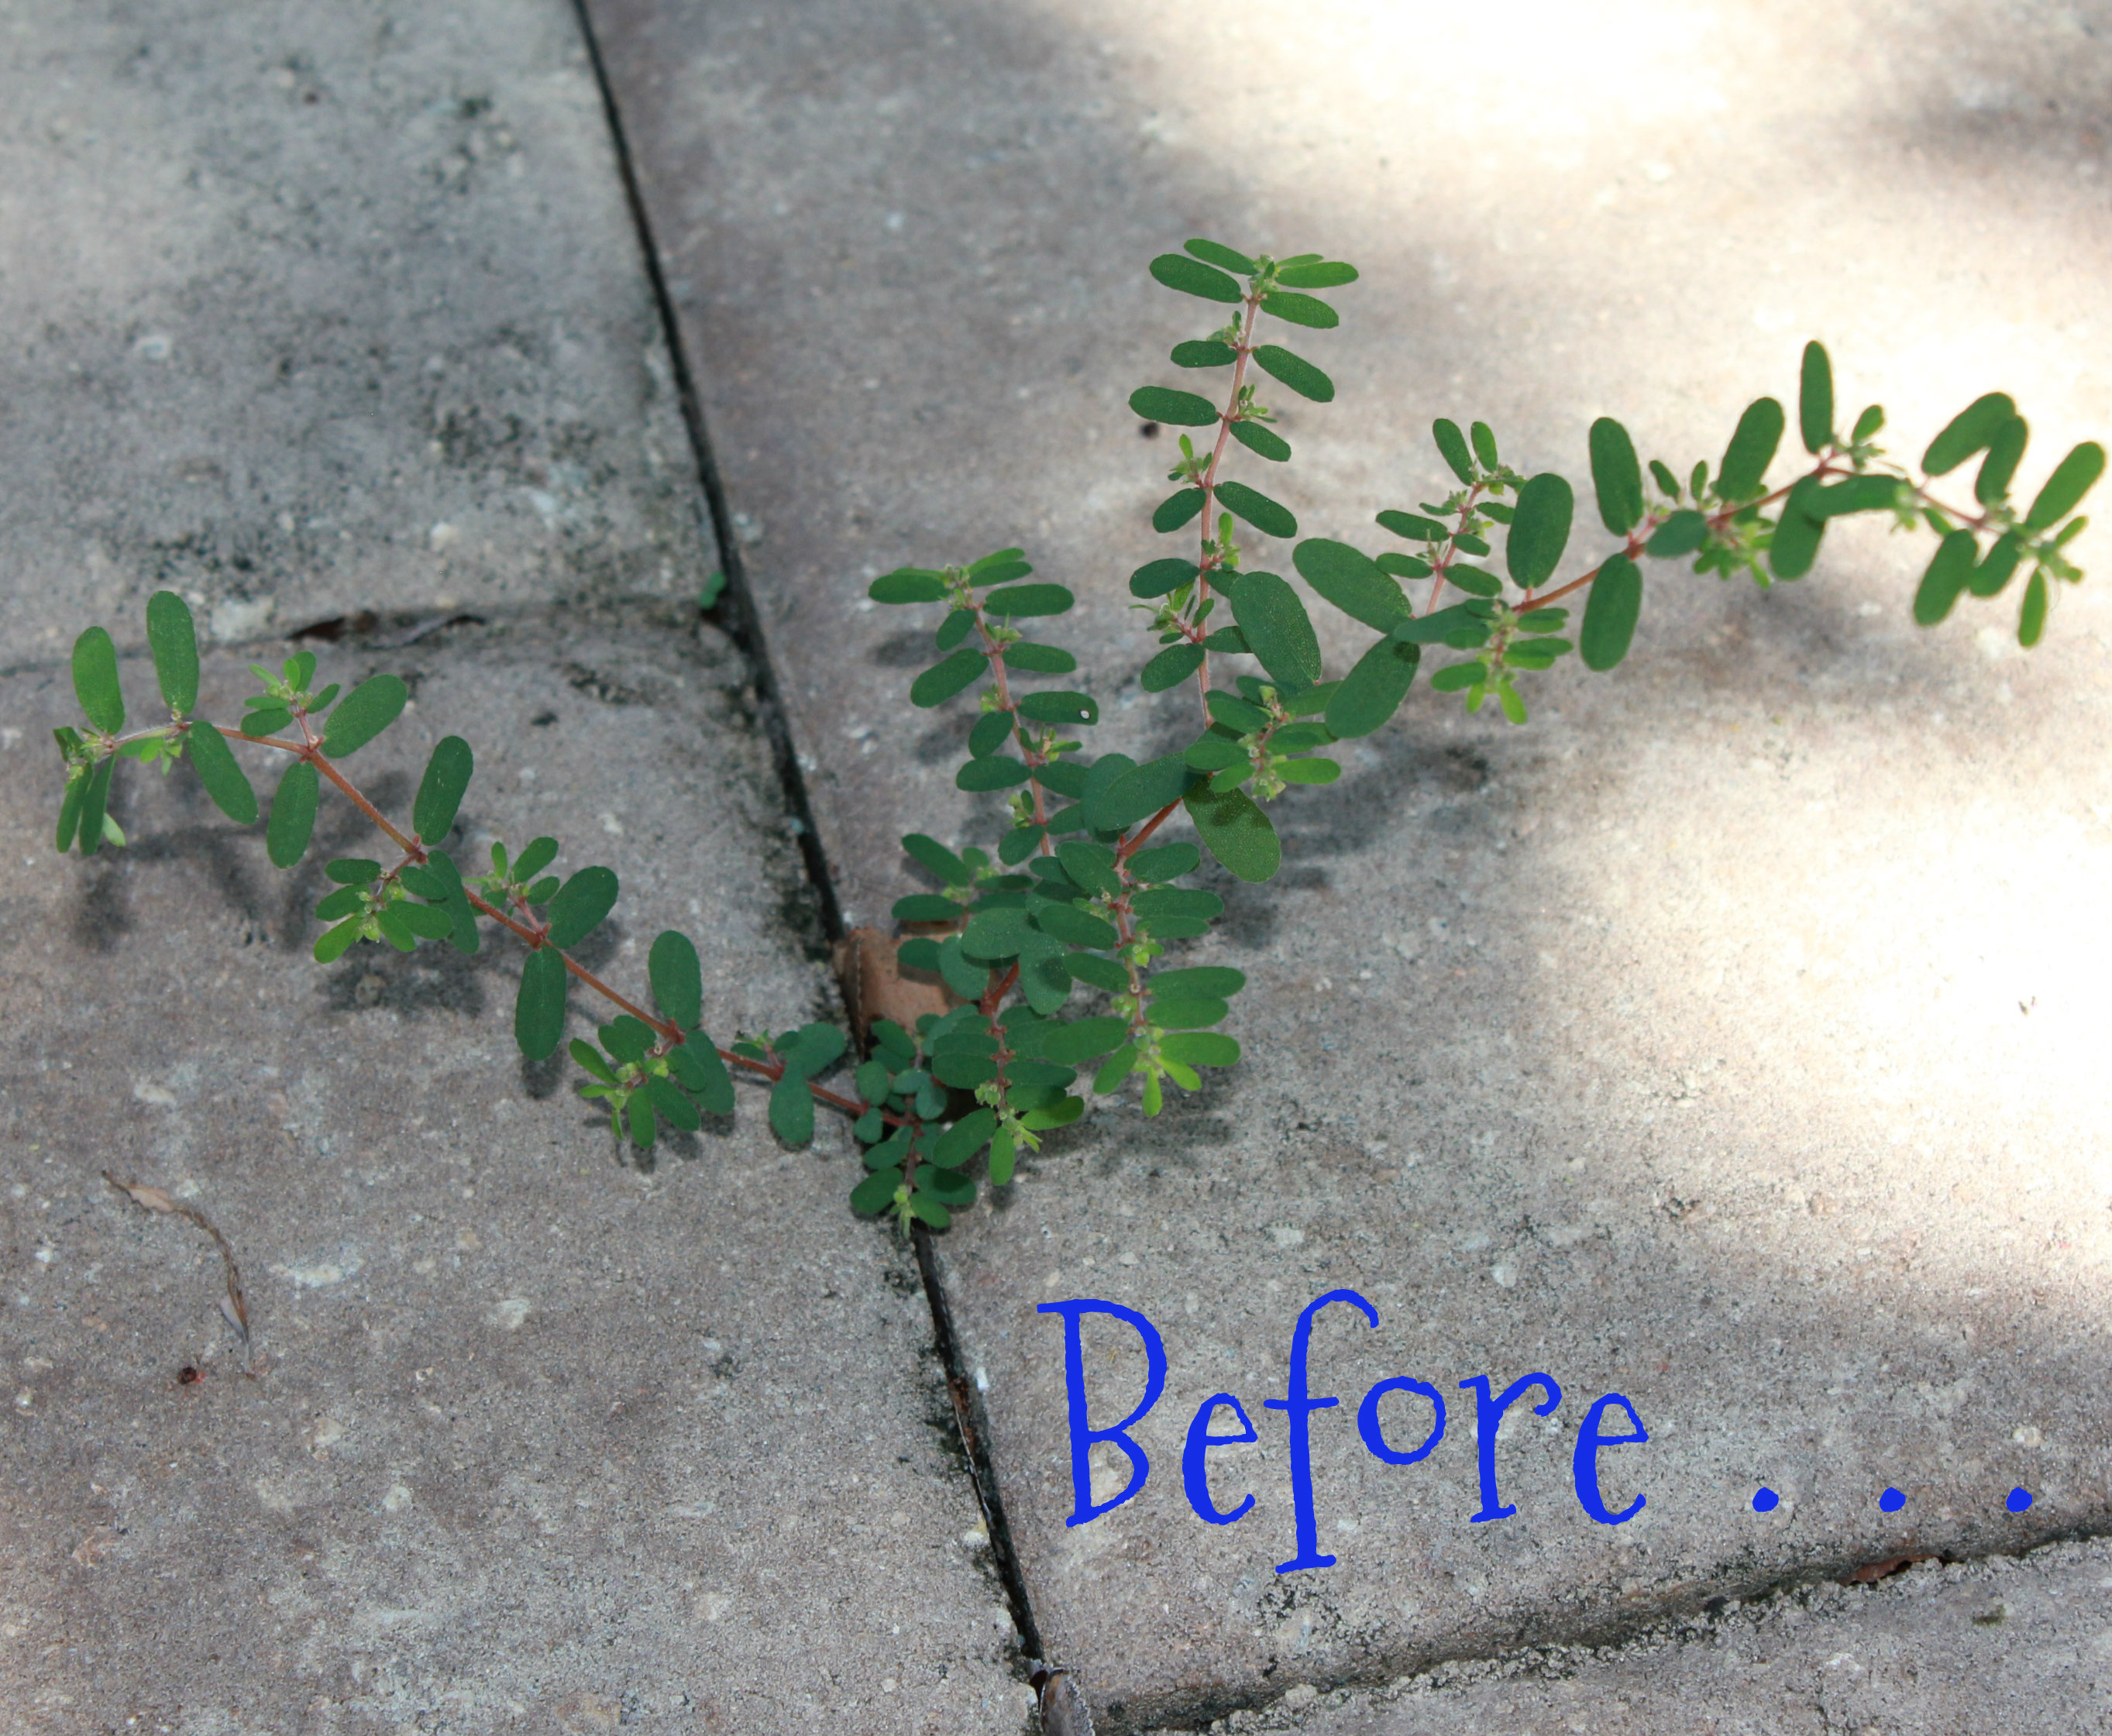
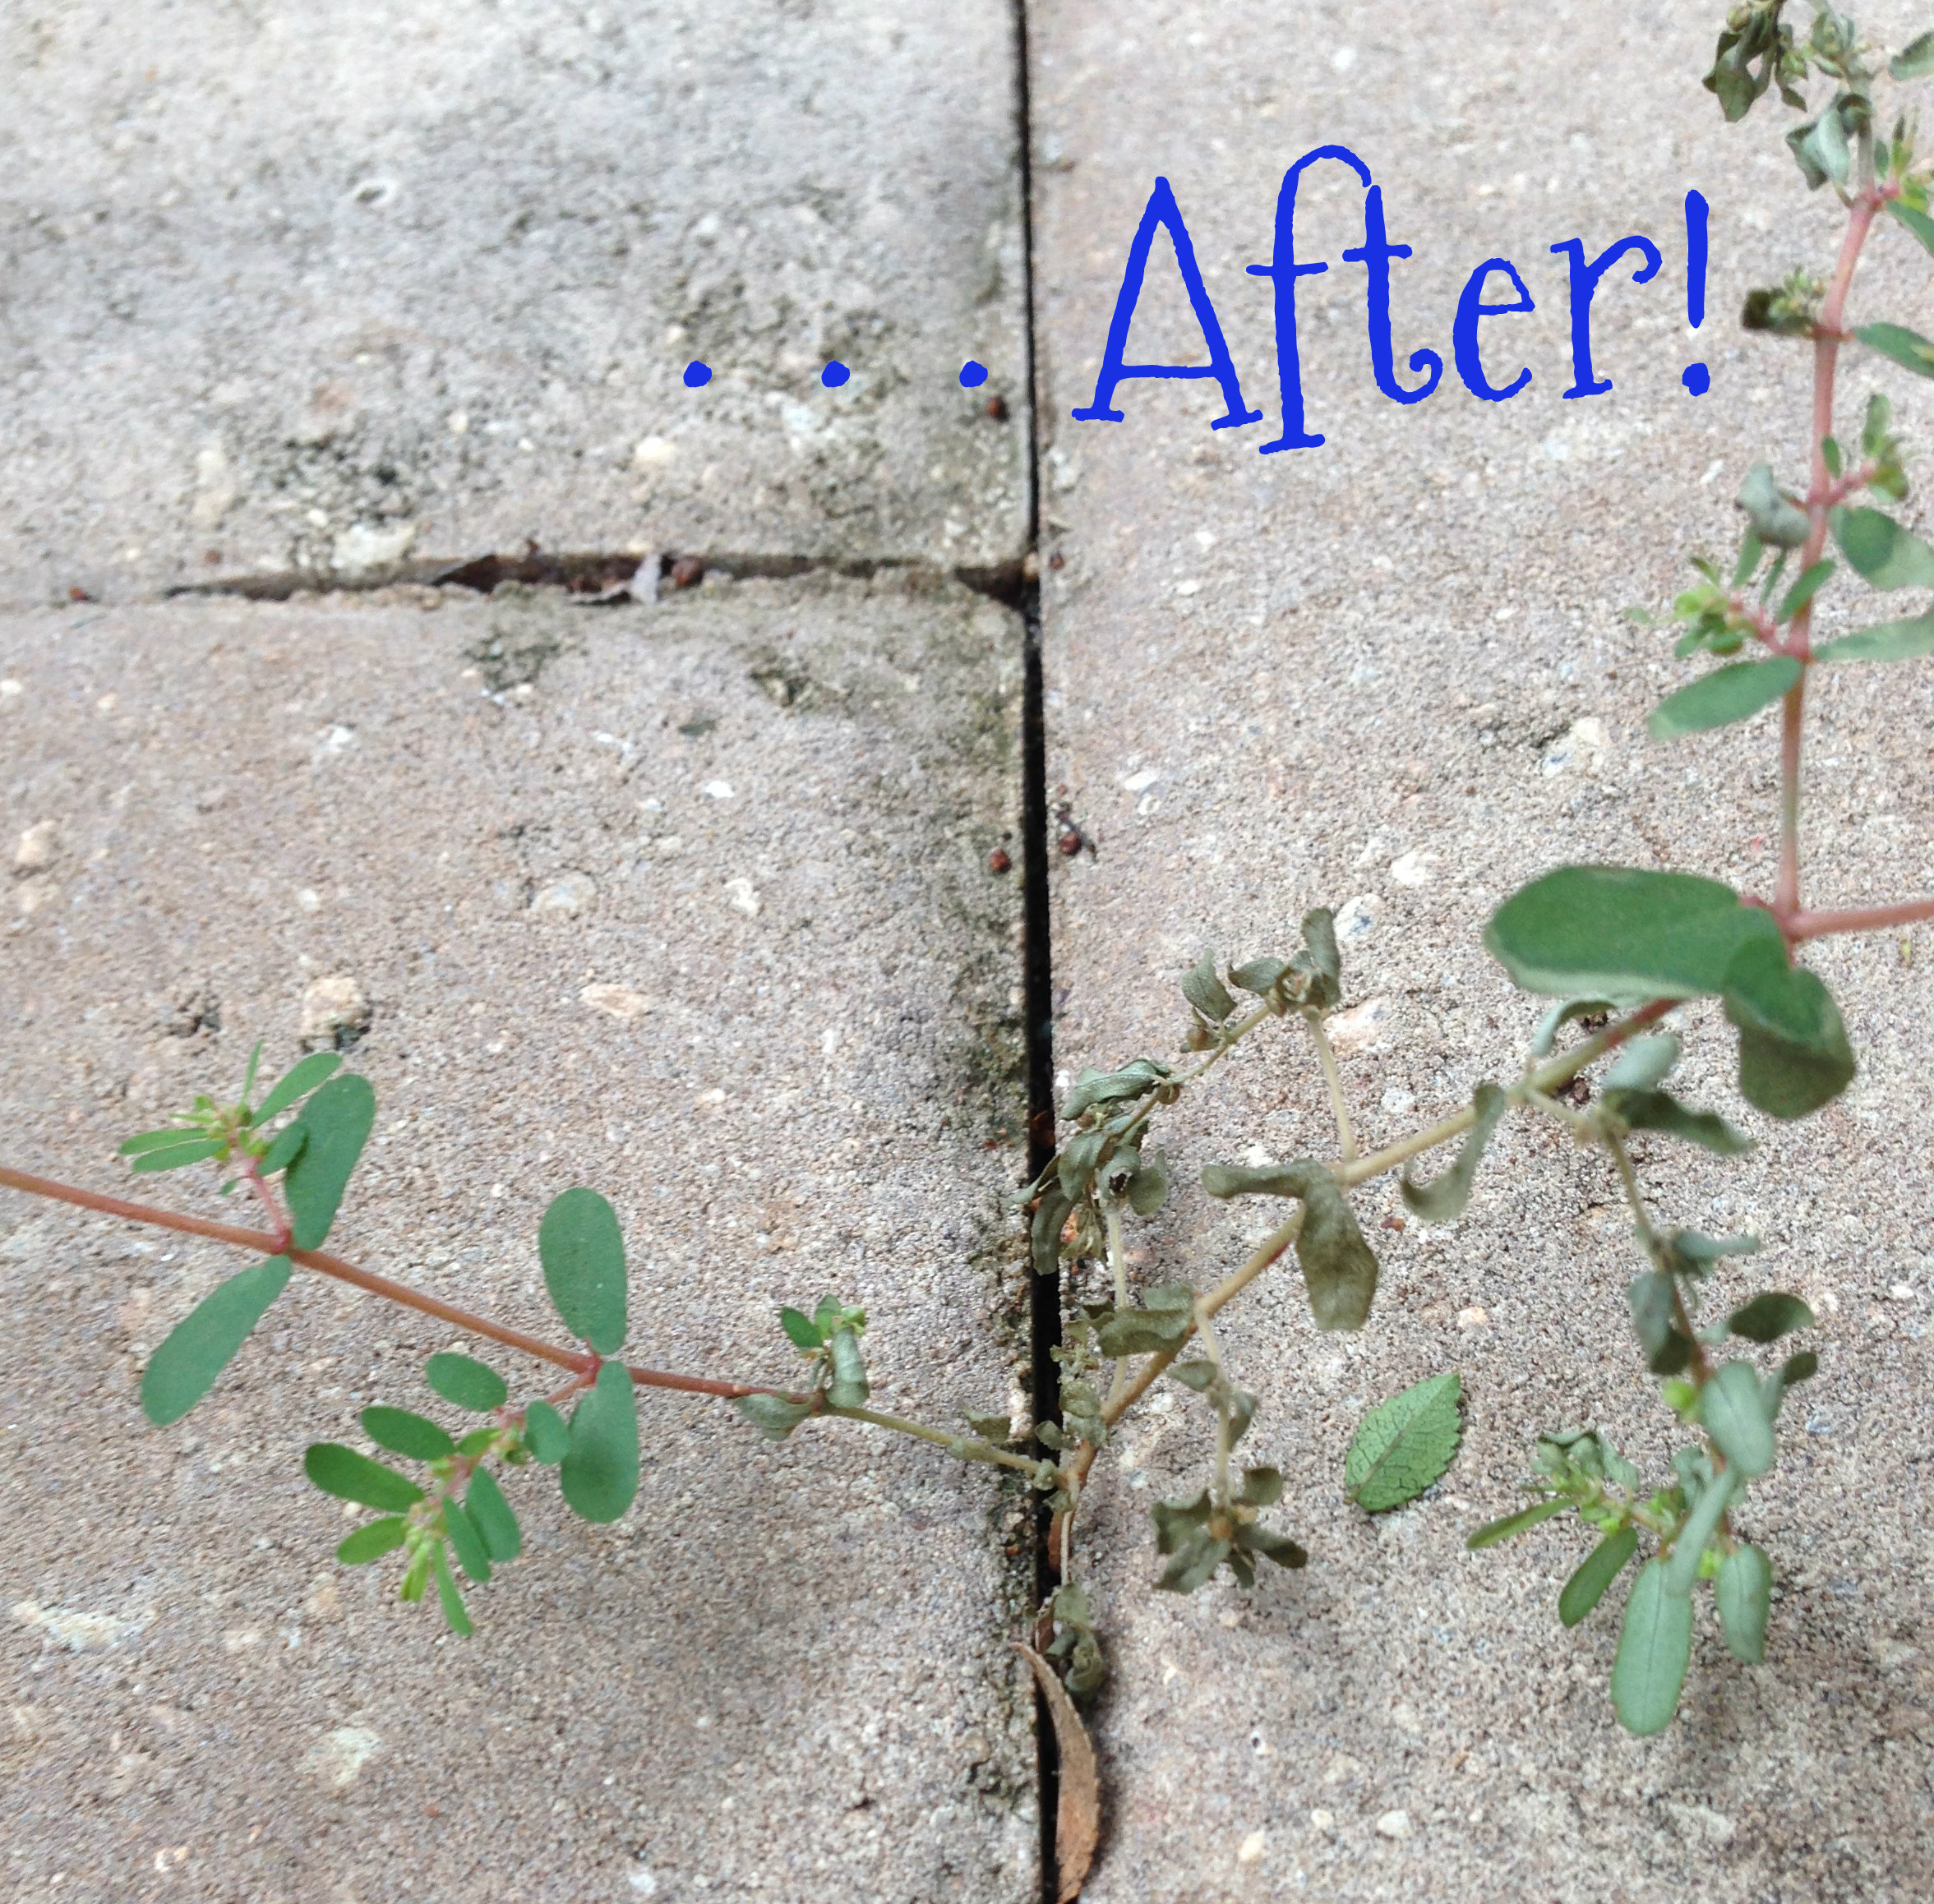
Note: The trick to this tip is to make sure that the water is boiling hot – I first tried this with microwaved water that sat for a minute or so before I started taping. It did not do the trick. I went back and boiled water and took it directly from stove top to weeds. I saw it working the next day – it really killed them within 2 days. Then just pull the dead weeds out and they should not grow back! It also kills the seeds that get down in the cracks.
There is nothing I love better that to see beautiful urns flanking a front door, filled with gorgeous and healthy flowers and plants. But how do people create these stunning containers and KEEP them looking beautiful? Here are a few tips to remember when planning your garden container:
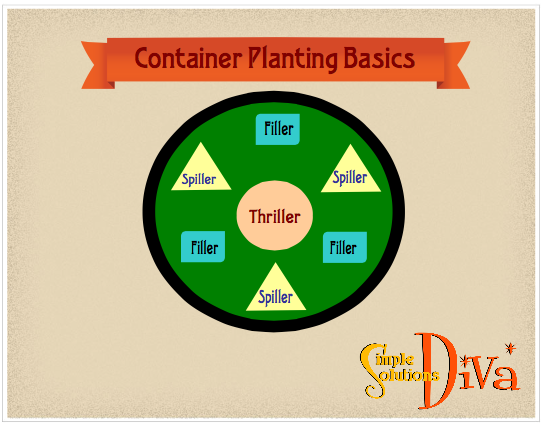
Think Thriller, Filler and Spiller!
These are code words for the types of plants you use in designing a planter/container. Think of the planter as a movie and the plants in it the cast of characters!
Thriller: Thriller is the star! It is the centerpiece of your planter. It should be the tallest of the plants – Think Big, Bold, Beautiful.
Filler: The Filler is the supporting cast – a usually a flowering plant that compliments the Thriller. It is usually shorter than the Thriller and will stay shorter as it grows.
Spiller: This plant is the comedic relief – provides a bit of mischief for the container, spilling over the sides of the container, softening its edges. It is usually a low-lying plant.
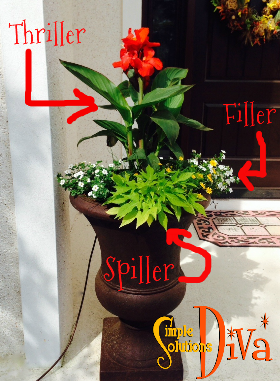
Here is an example of the Thriller, Filler & Spiller Strategy from my front porch:
The Thriller, Filler & Spiller Strategy for Planting Containers, from SimpleSolutionsDiva.com.
If you follow this strategy, you are well on your way to creating a beautiful planter! Here are some other tips to consider when creating a garden container:
Choose plants that have similar watering and sunlight needs.
Choose plants that will not crowd and outgrow their pot – Choose plants of similar size expectations (height and width). If you can’t match the sizes, be prepared to have to transfer plants from the pots when they get too big.
Potting soil choice is important – use one with moisture control, or you will be watering it non-stop in the summer.
If you live in a hot climate, consider adding to the container a small sprinkler device that connects to your sprinkler system. You can find these at places like Lowe’s and Home Depot. (In photo above, you can see the tubing on left side of urn leading up to the mini sprinkler- this is how I keep my plants alive in the Florida heat!)
For Large, Heavy Containers – Keep your container light weight by using empty water bottles to take up space in the bottom of the pot, so you don’t have to fill it all with heavy potting soil. This will also allow for better drainage.
Thank you to WTLV-TV’s First Coast Livingfor inviting me on to talk about this topic!
Right about this time of year (late January), I start imagining all the things I want to do in my garden. Lush plantings, beautiful and colorful flowers, clever statues or topiaries. Now mind you, most of those things never actually happen, but a girl can dream, right?!
So to satisfy my need for soil under my nails, I’m featuring a few, simple ways to bring the garden indoors, even in winter!
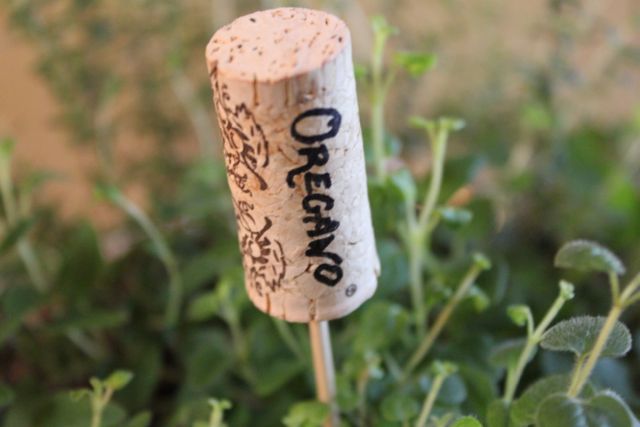
For The Cook: An Indoor Herb Garden
If you love to cook with fresh herbs and you have a room that has enough bright light, you can have a mini garden at your fingertips. I selected some healthy looking herbs that I use when cooking (oregano, peppermint and thyme), planted them in a beautiful pot, and added cute plant markers I made from leftover wine corks and long wooden skewers.
A decorative and useful planting that has a touch of whimsy!
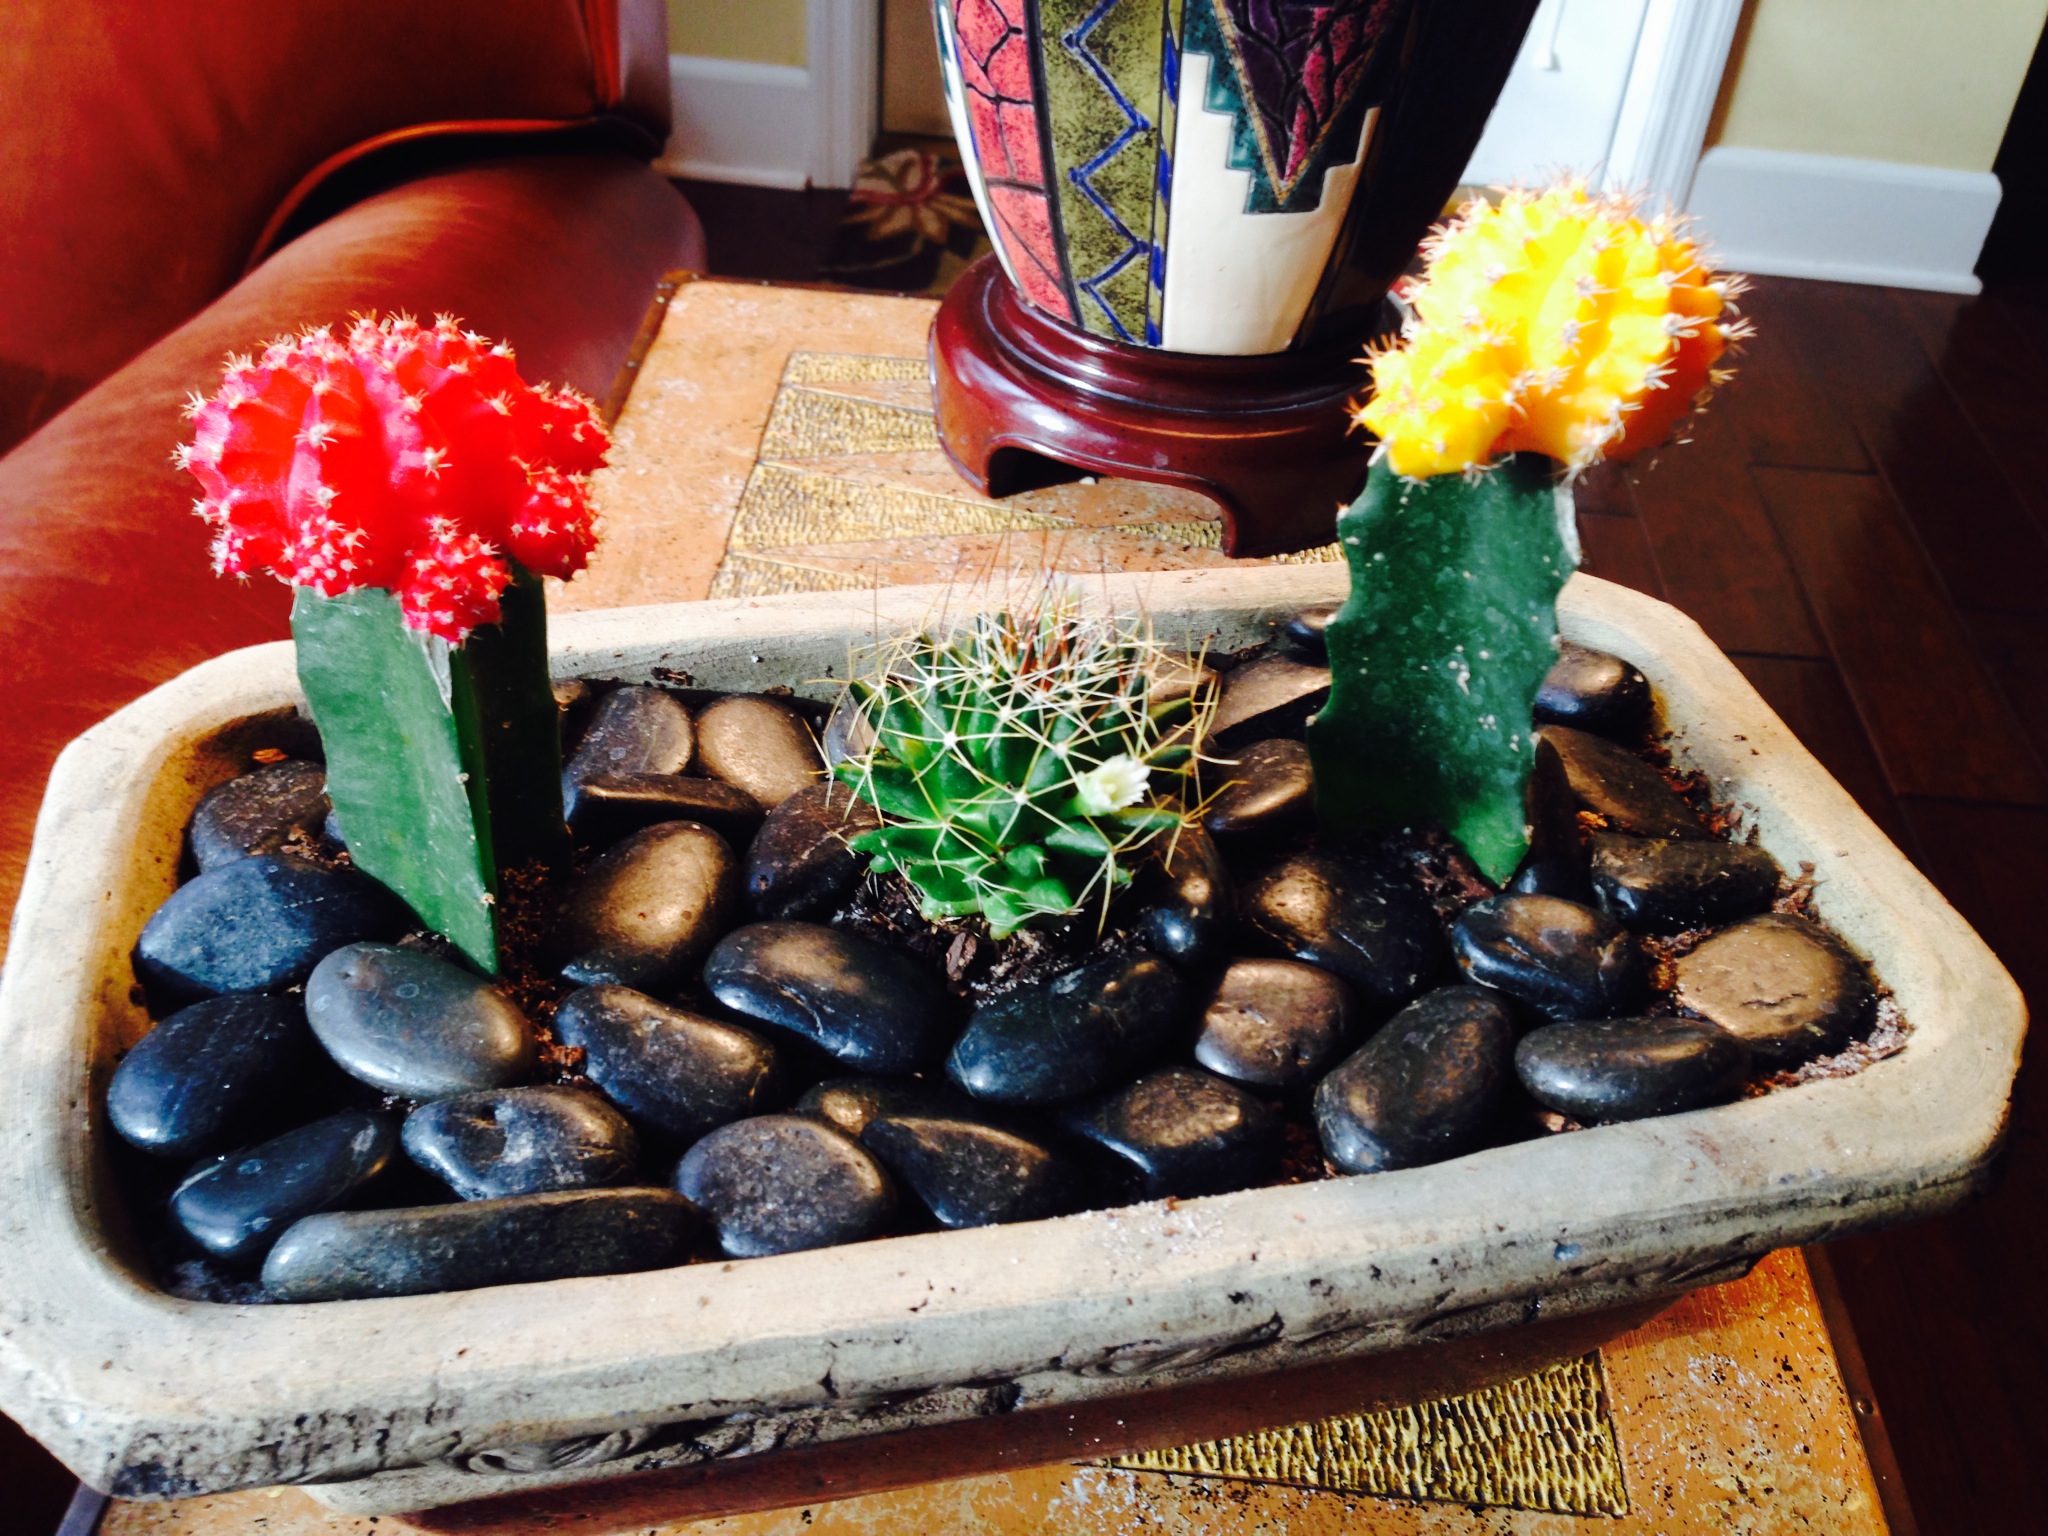
For The Brown Thumb Gardener: A Colorful Cactus Garden
Cactus are easy, don’t require much, and if you choose the right ones, they can be very colorful! The key is to have a soil that supports the cactus’ needs – Think sandy! I mix together potting soil and simple play sand from the hardware store. Add a base layer at the bottom of the pot of pea stone to allow for good drainage. Once I have the stone, soil and cactus in place, I add a top layer of decorative stone (I used polished, black river rocks) to make it attractive and to help keep the soil in place. A little bit of water goes a long way to keep the cactus alive. A good, sunny spot in the house will help keep the cactus happy and healthy.
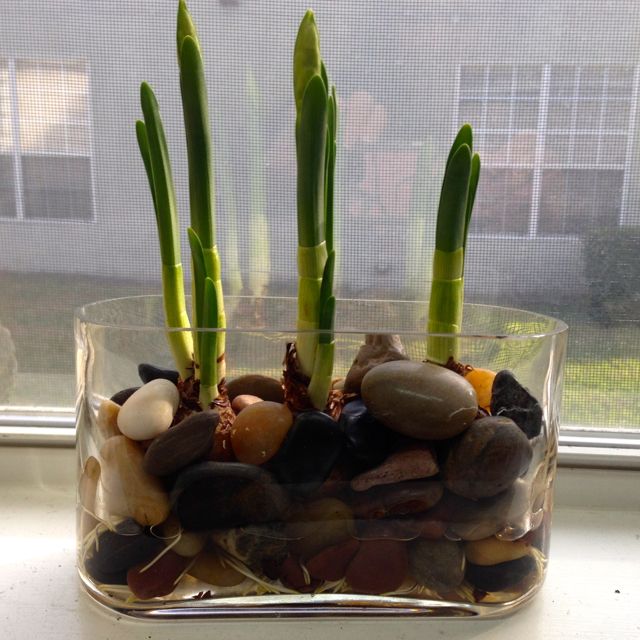
Bulb Happy!
A burst of Spring in the middle of Winter – I love using fast growing bulbs and setting them up in shallow glass containers with river rocks and water. They grow so quickly and it is wonderfully satisfying to see them change from brown, ugly bulbs to fragrant, flowering plants in a matter of weeks! Paper Whites or Narcissus are terrific, and you can chose decorative stones to enhance the color of your flowers. Keep an eye on the water level – you want it to just touch the very bottom of your bulbs. It is also a fun project to do with kids – they can see the roots of the plants growing daily. A suggestion: Be sure to rotate your container so the plants don’t grow sideways.
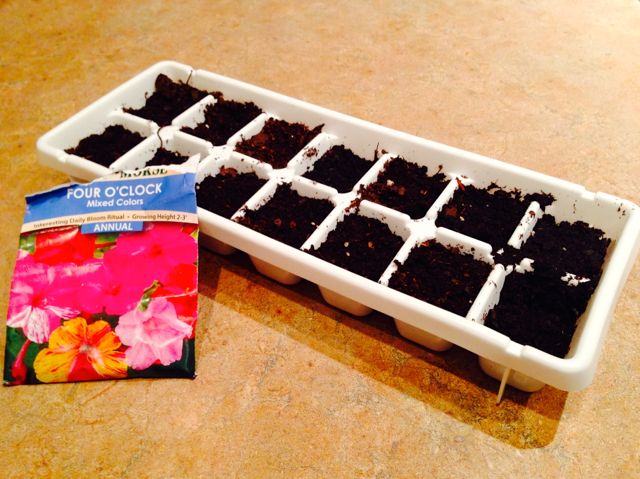
Create A Simple Seed Starter Kit
All you need is a sunny window, potting soil, an old ice cube tray or empty egg carton, and your selection of seeds. Fill the ice cube tray’s reservoirs with potting soil, plant your seeds to the proper depth according to the back of the seed packet, water and place in a sunny window! Monitor the water, and you should see your plants growing within a week or two (depending on the types of seeds you selected). Another great project to do with the kids – select some veggie seeds and get your kids interested in growing their own veggies (if they grow them, they may eat them!).
Encourage Stealth Gardening With Seed Bombs
A great project to do with your kids! As I walk along the public sidewalks in my home town, I’m always impressed when I see wildflowers growing where nothing else grows. They are a beautiful pop of color. Try helping nature along by making your own Seed Bombs! In the Spring, you can do a little stealth gardening with the kids – plant or throw your seed bombs into open or bare areas around your neighborhood or town! The newspaper cocoon gives the seeds a medium in which to start growing, and once wildflowers get growing, WATCH OUT! Flowers everywhere!
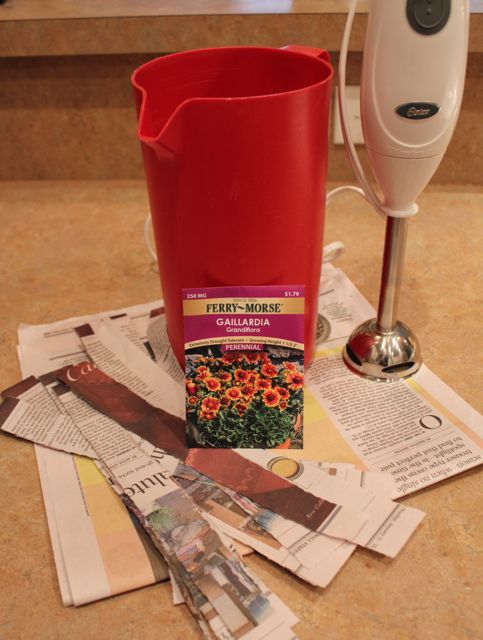
You need:
4 Sheets of Newspaper, shredded into small pieces
A tall glass container (you will be mixing in this)
Warm Water (approximately 1 cup)
An Immersion Blender
Cheese cloth (or you can use an old, thin rag)
A selection of wildflower seeds or other hearty flower seeds (if in doubt, ask your garden center for recommendations).
Ice cube tray or other molds (I used ice cube tray and I experimented with small, decorative cookie cutters that worked out well)
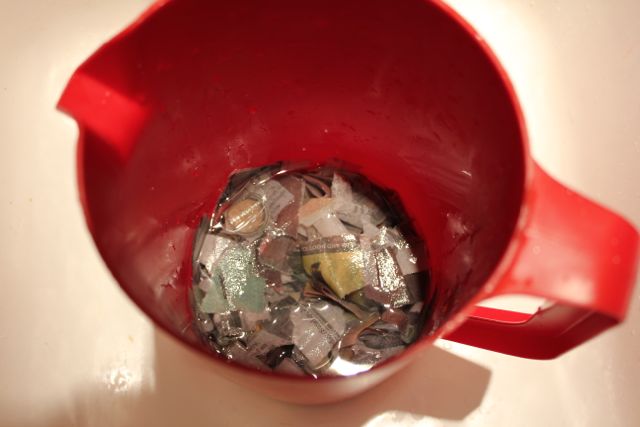
Place shredded newspaper into the tall glass container and add warm water until the newspaper is covered. Using immersion blender, blend until the paper is completely shredded.
Add seeds and mix using hands so seeds are dispersed through the mixture. place cheese cloth into a strainer and pour mixture into the cheese cloth. wrap the cloth around the mixture and squeeze out as much moisture as you can.
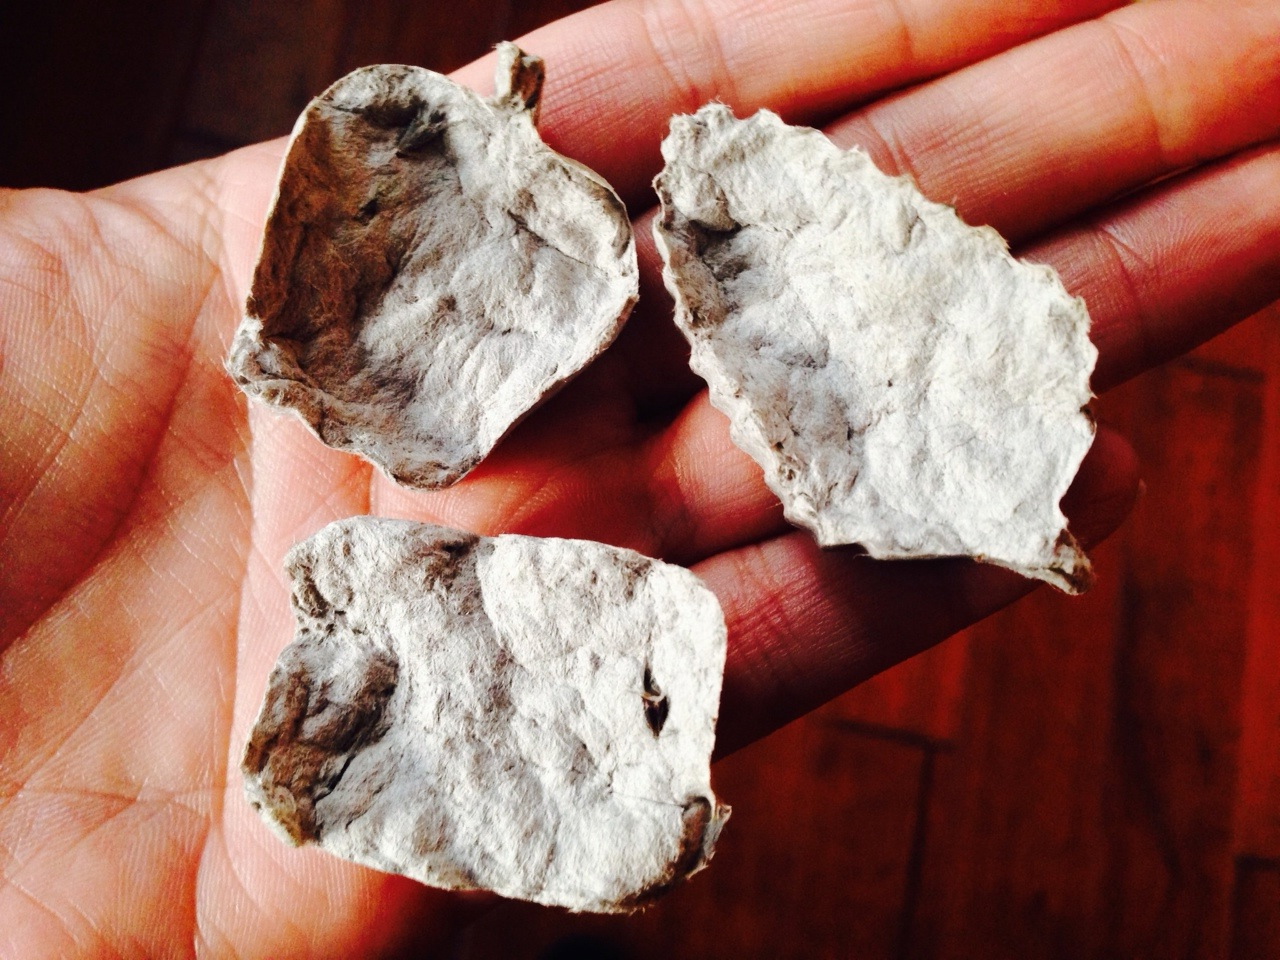
Take small balls of the mixture and press into the trays (or molds). Let dry overnight. Remove the seed bombs from the tray and let them continue to dry until there is no moisture left. (I actually had them sit on my dryer while a load was drying!)
Now you have a bunch of seed bombs you can use to share with the community!
Thank you to WTLV-TV for inviting me on to First Coast Living to speak on this topic!