
Simple Ideas
Simple Solutions Diva Talks Spring Cleaning Tips
Spring is almost here! (Well, it is about time!)
Simple Solutions Diva is celebrating the First Day Of Spring by sharing her top Spring Cleaning Tips on WTLV-TV, Ch. 12, First Coast Living, Thursday, March 20 at 11 a.m. and 2 p.m.
Great tips and ideas on how to make spring cleaning easier on you! Join us!

Putting Pinterest To The Test: Grout Cleaning Made Easy?
Dark Marks On Dishes? Here’s How To Get Rid Of Them!
I love my light yellow, Southern Living plates I bought years ago, but I am not thrilled with the dark marks on them! What the heck are they? Why do they appear? Well, it is time to save those dishes from the trash bin (or donation pile!).
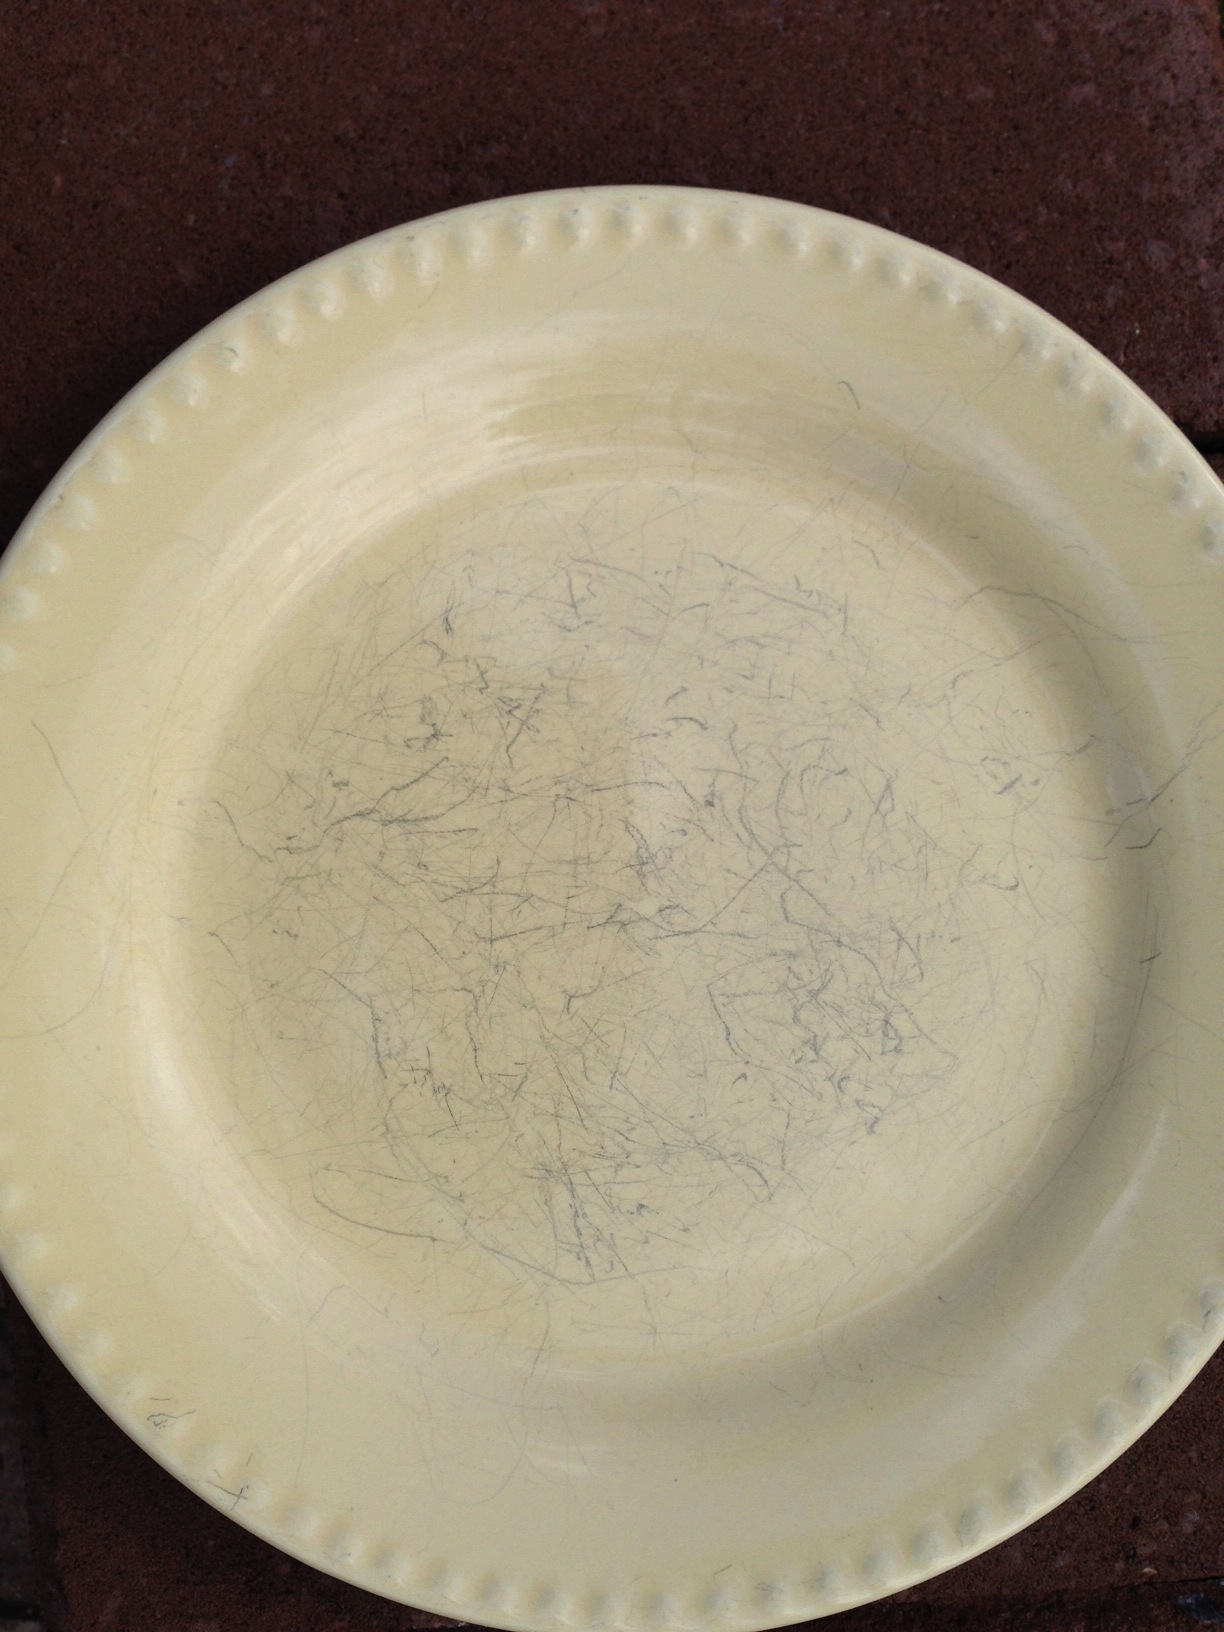
The marks are from the utensils used to eat off the dishes. Why this happens? There seems to be many answers:
- They are cheap dishes (They weren’t cheap when I bought them at a Southern Living Home Party!).
- They are old and the protective coating (ceramic glaze) has thinned on the surface of the plate, allowing the utensils to make their marks. (Quite possible, considering I bought these about 8 years ago – how long are dishes supposed to last?)
- Something in the composition of the plate reacts to the utensils.
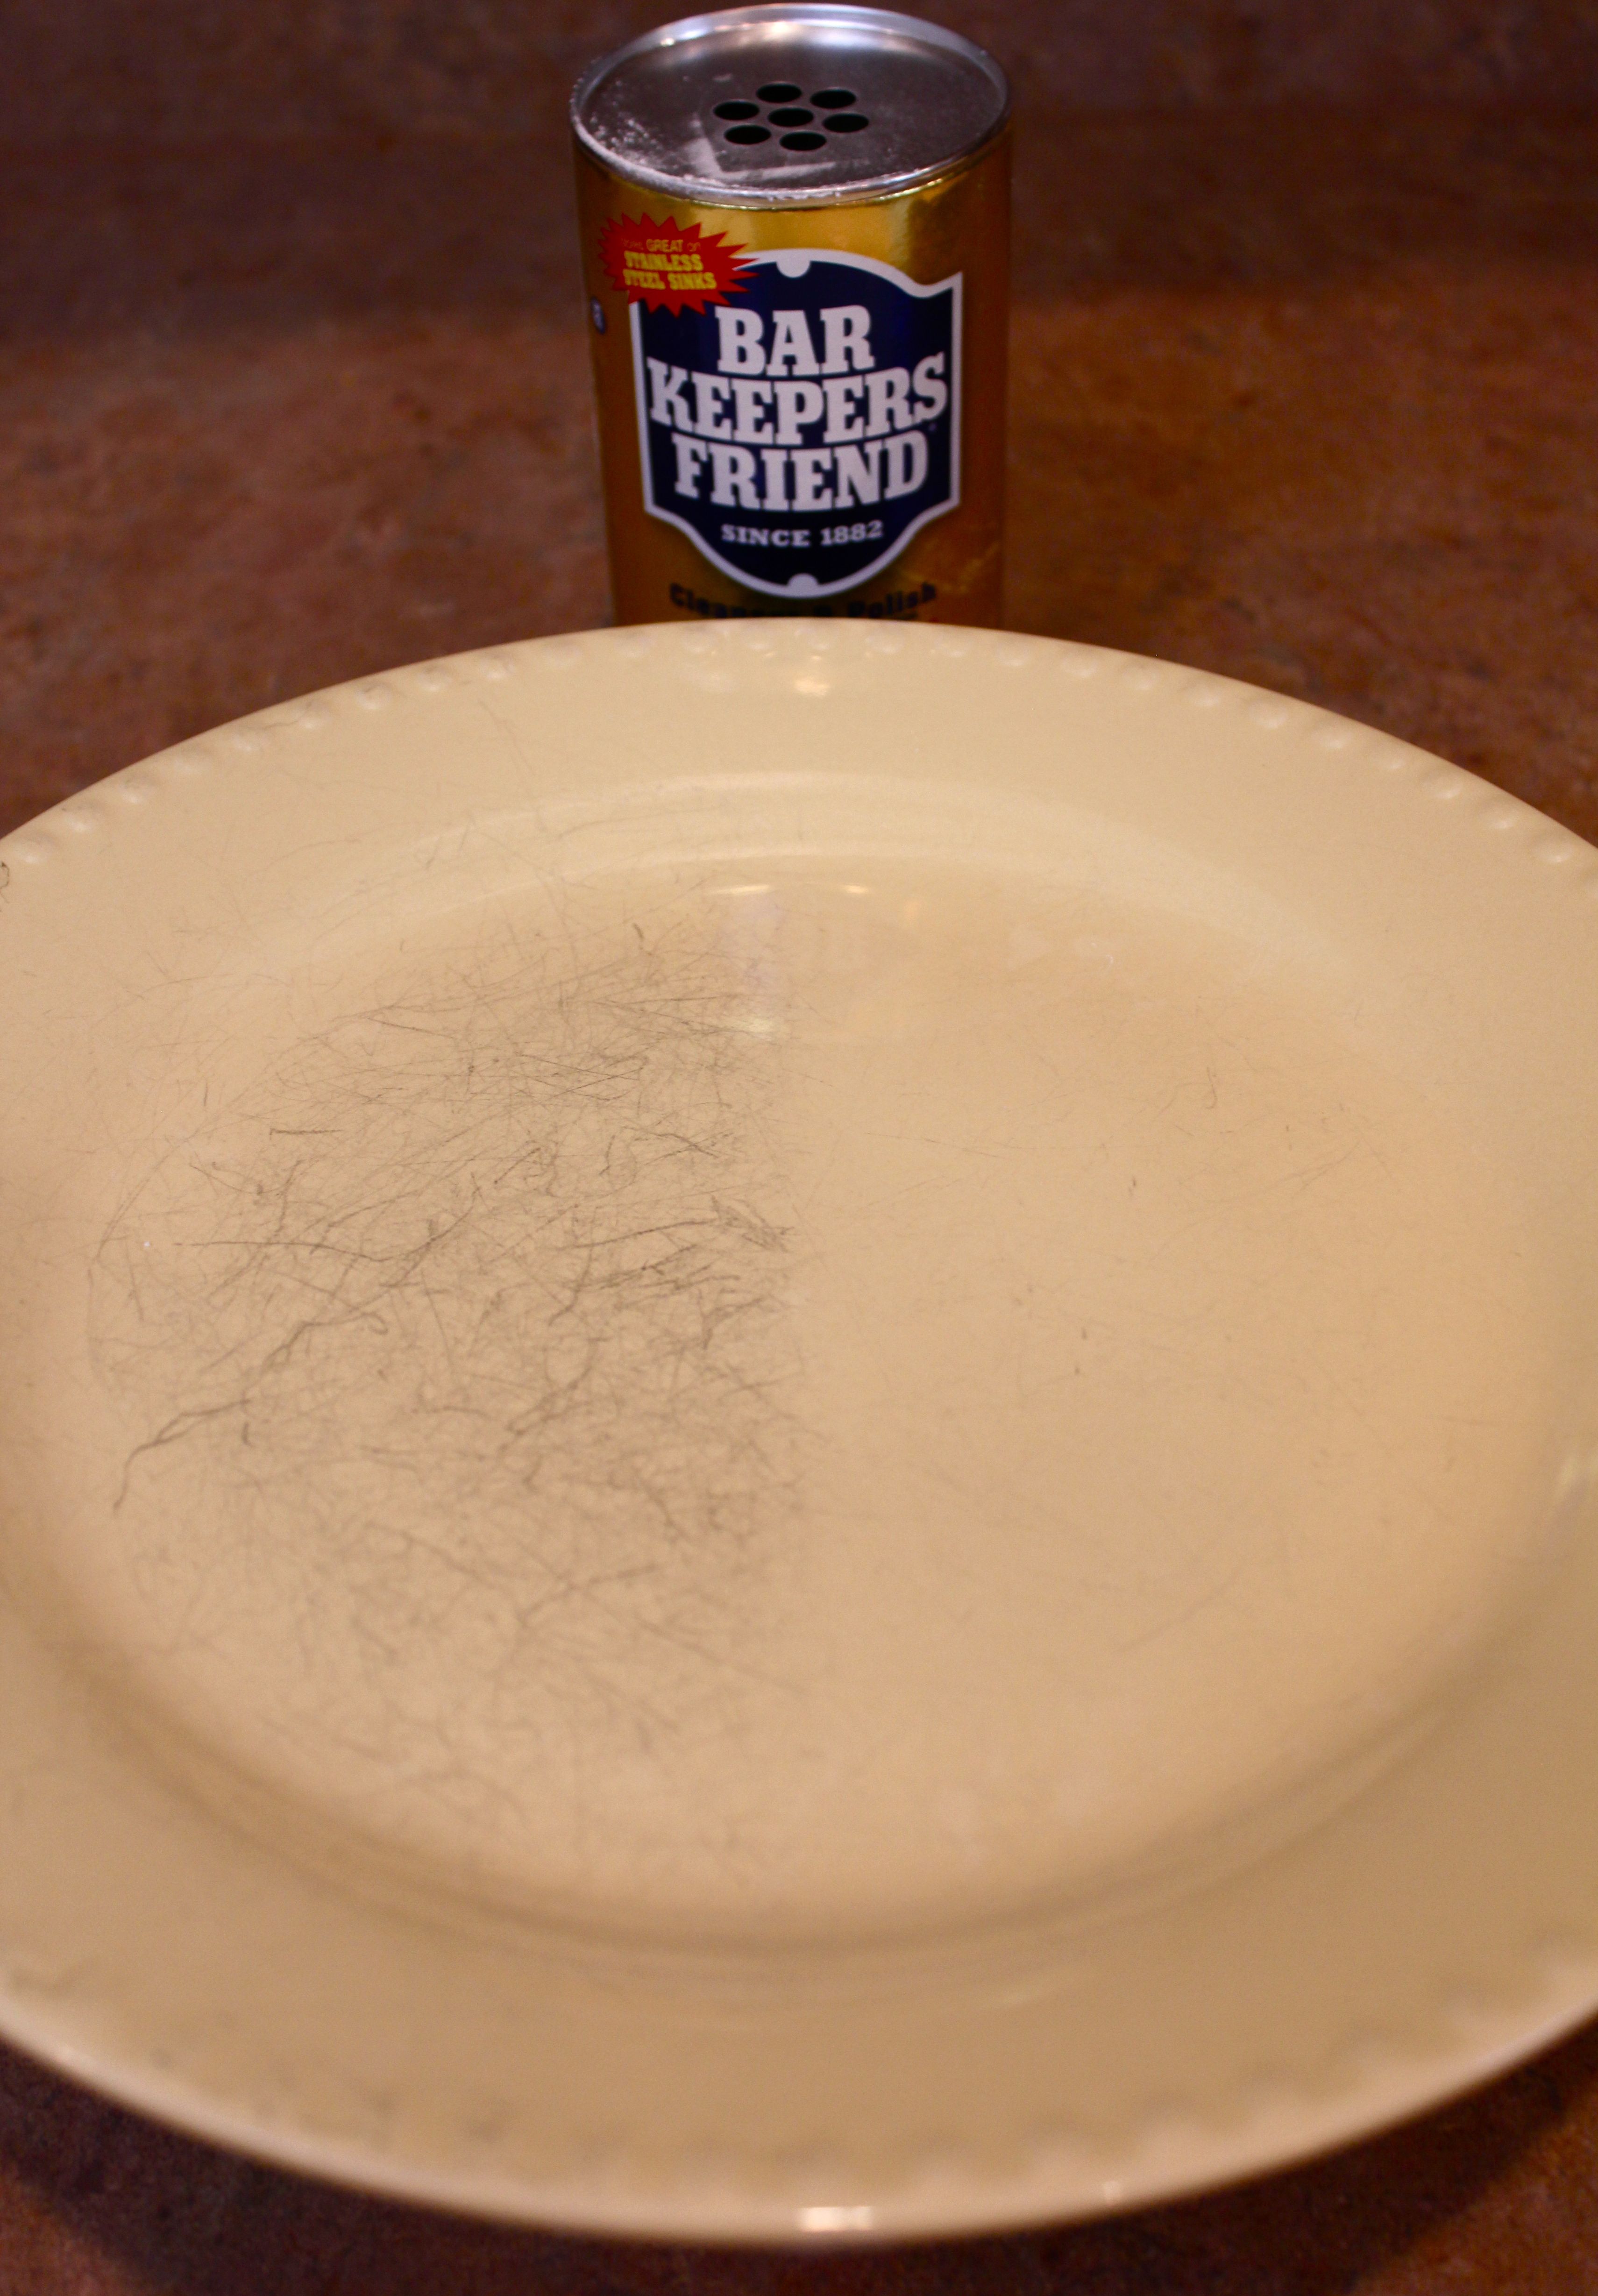
Here is the trick to removing the marks off the plates:
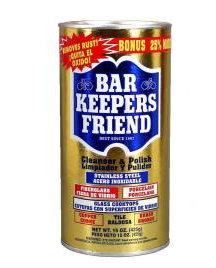
Instructions:
Be sure to wet your plate and sprinkle with Bar Keepers Friend (it also comes in liquid form). Using a sponge, gently scrub surface of plate in a circular motion. Rinse once you see the marks gone. Hand wash with liquid soap or place in dishwasher for thorough cleaning. That is it!
Last year I covered this for my “Putting Pinterest To The Test” video series, comparing this technique to another technique using Cream Of Tartar. The video is below:
)
Thank you to WTLV-TV’s First Coast Living for inviting me on to speak about this handy technique! And here is the video from First Coast Living:
Putting Pinterest To The Test: Clean Your Iron Easily – Really?
St. Patrick’s Day Fun
St. Patrick’s Day can be so much fun – especially if you have some great foods and pranks to serve up on the big day! Check out these really easy ideas from Simple Solutions Diva:
Morning Fun:
Those leprechauns can be so silly! And they just LOVE to play pranks to let little kids know they were there!
Magic Milk: Surprise the kids when you pour them their milk, the milk suddenly turns green! This silly surprise happens when you place a drop or two of green food coloring in the bottom of a glass, then pour milk into the glass — instant green! As an alternative, you can add green food coloring to the entire jug of milk, but be prepared to drink green milk for a while!
Bathroom Surprise:
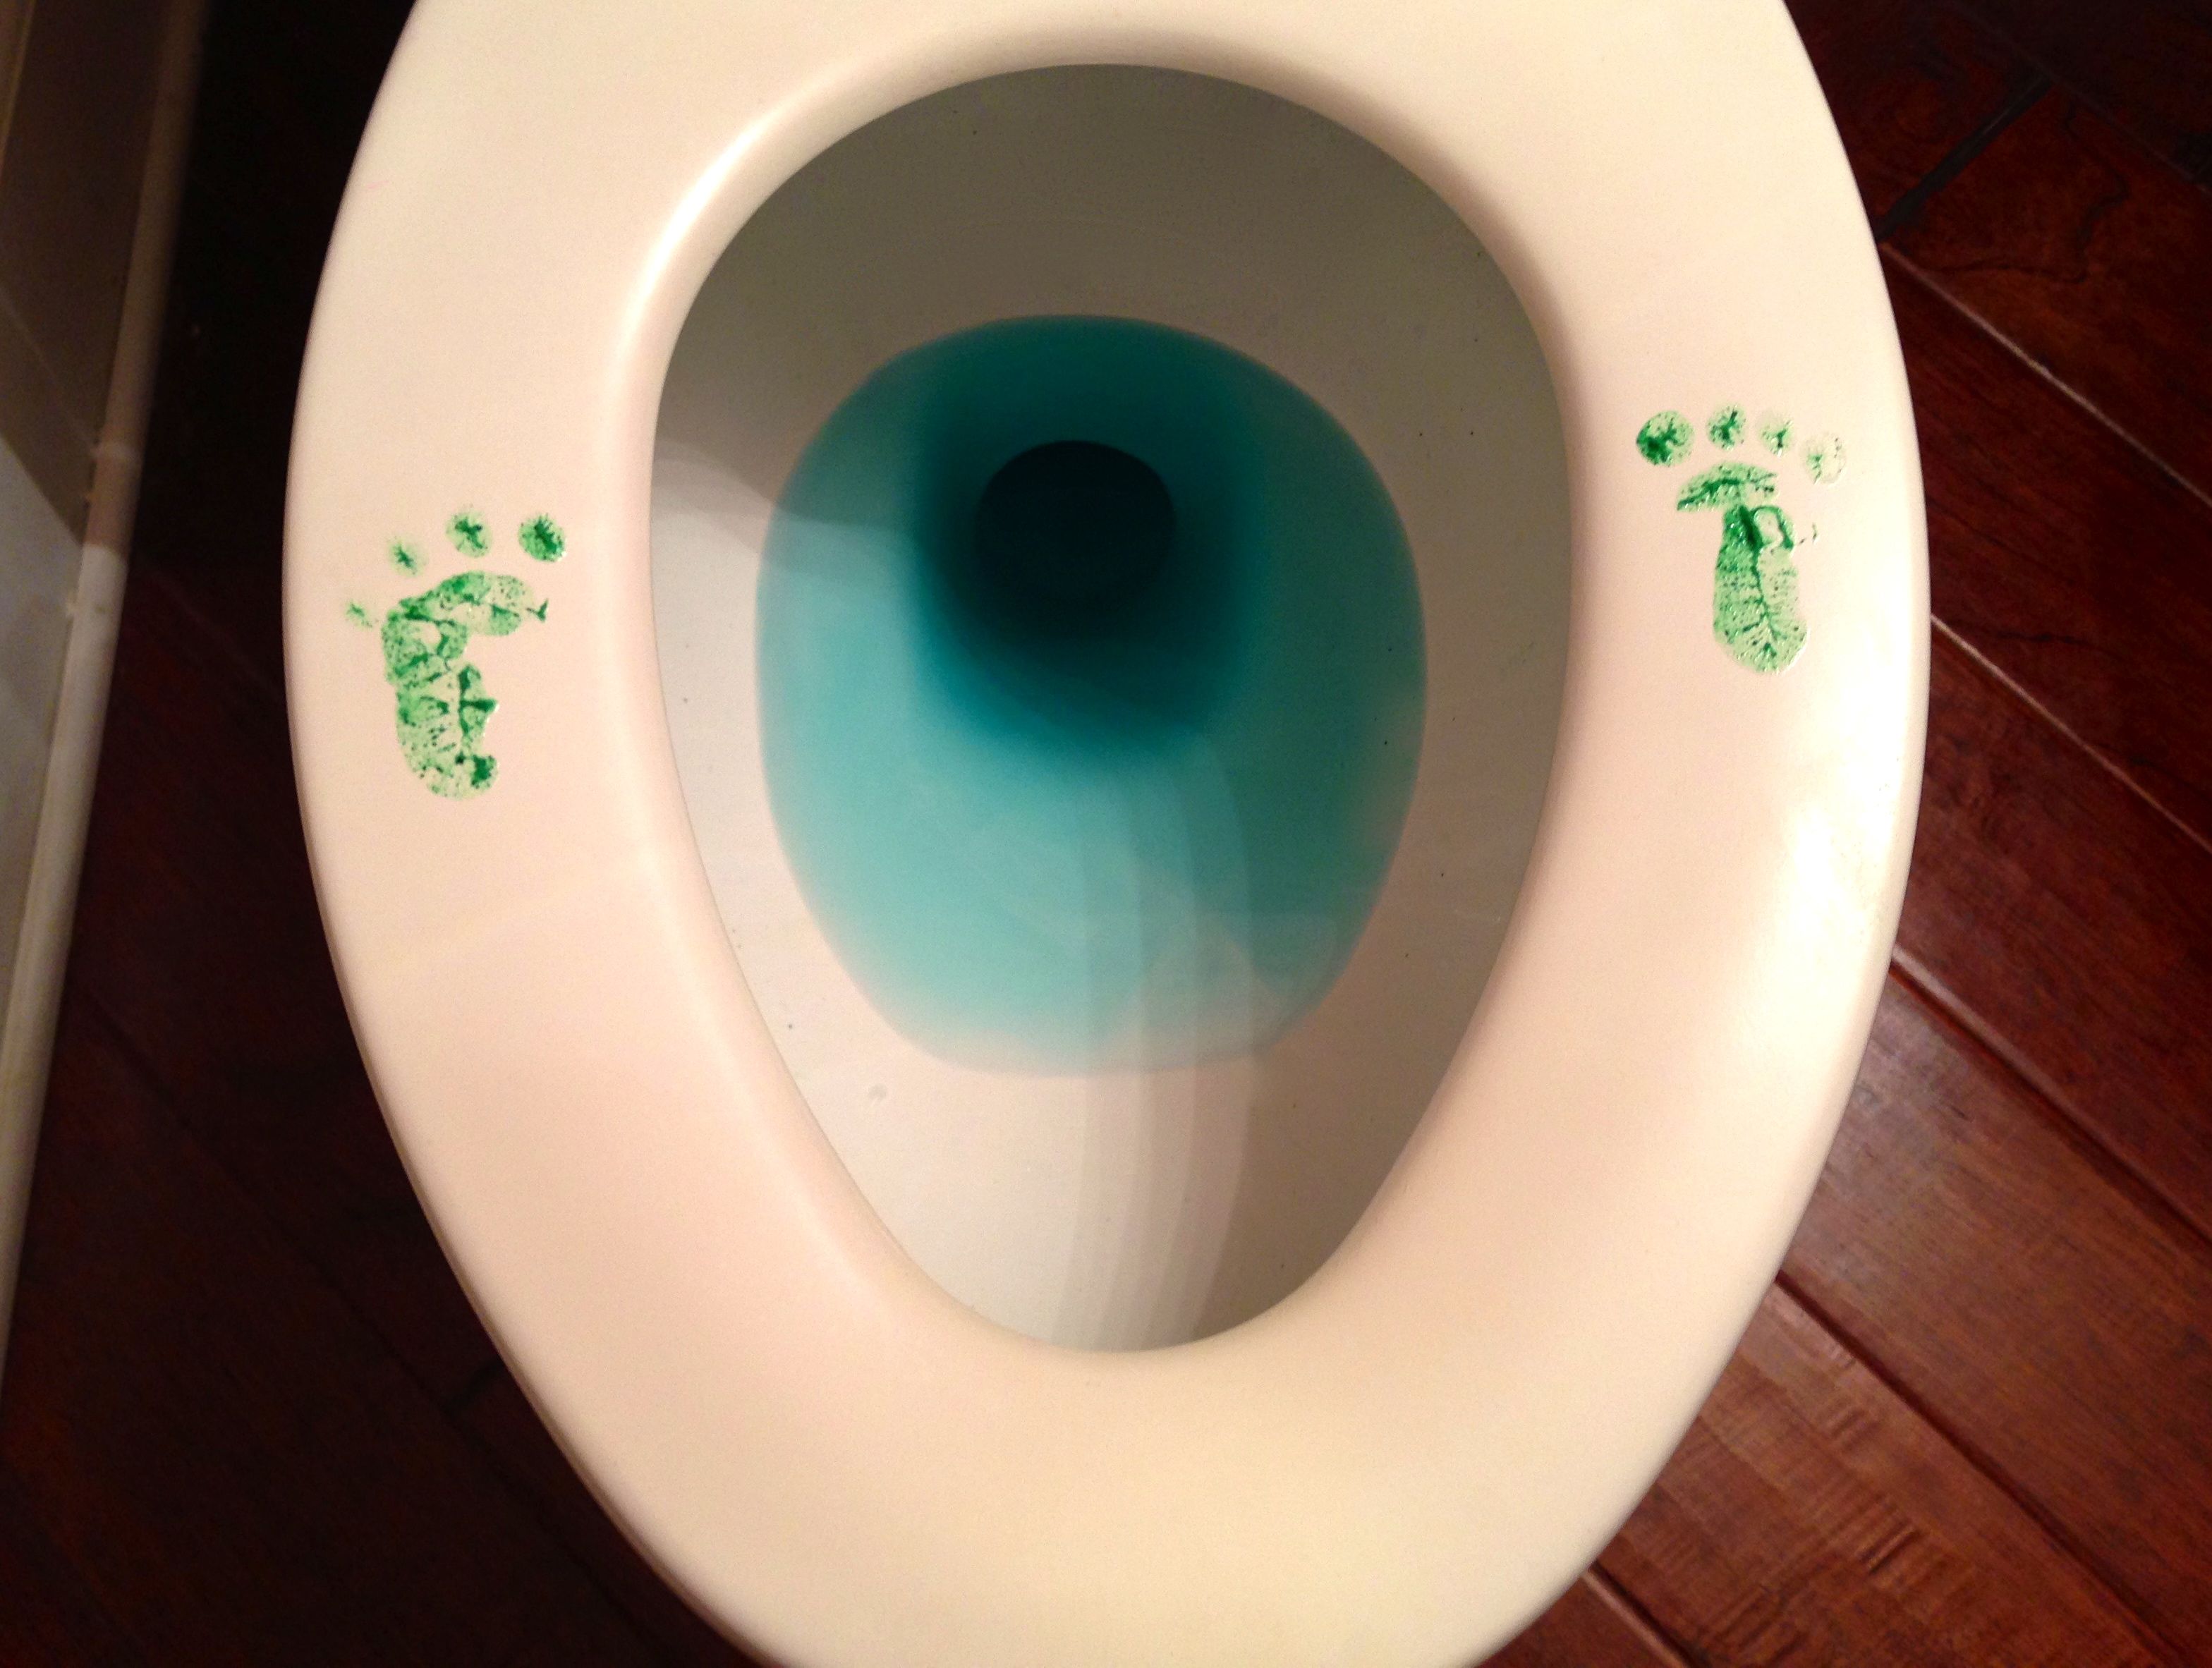
Yes, this is a little gross, but I think it is Oh So Cute! I accomplished this sneaky prank by dropping green food coloring in the toilet (I used 4 drops). I then added an additional cup of water to mix it without having to put anything in the toilet. The footprints are made with hand lotion mixed with food coloring. You make a fist with your hand. If you notice, the side of your fist (side with the pinky) looks a lot like a foot! Place that edge of your hand into the colored lotion, then press onto toilet seat. Take a finger and dot on toe prints (note four toes instead of five!); repeat on other side with other hand! I had to do it a couple of times to make it look right.
Be sure to wipe off well once the kids have seen it!
Snack Ideas:
Leprechaun Cookies:
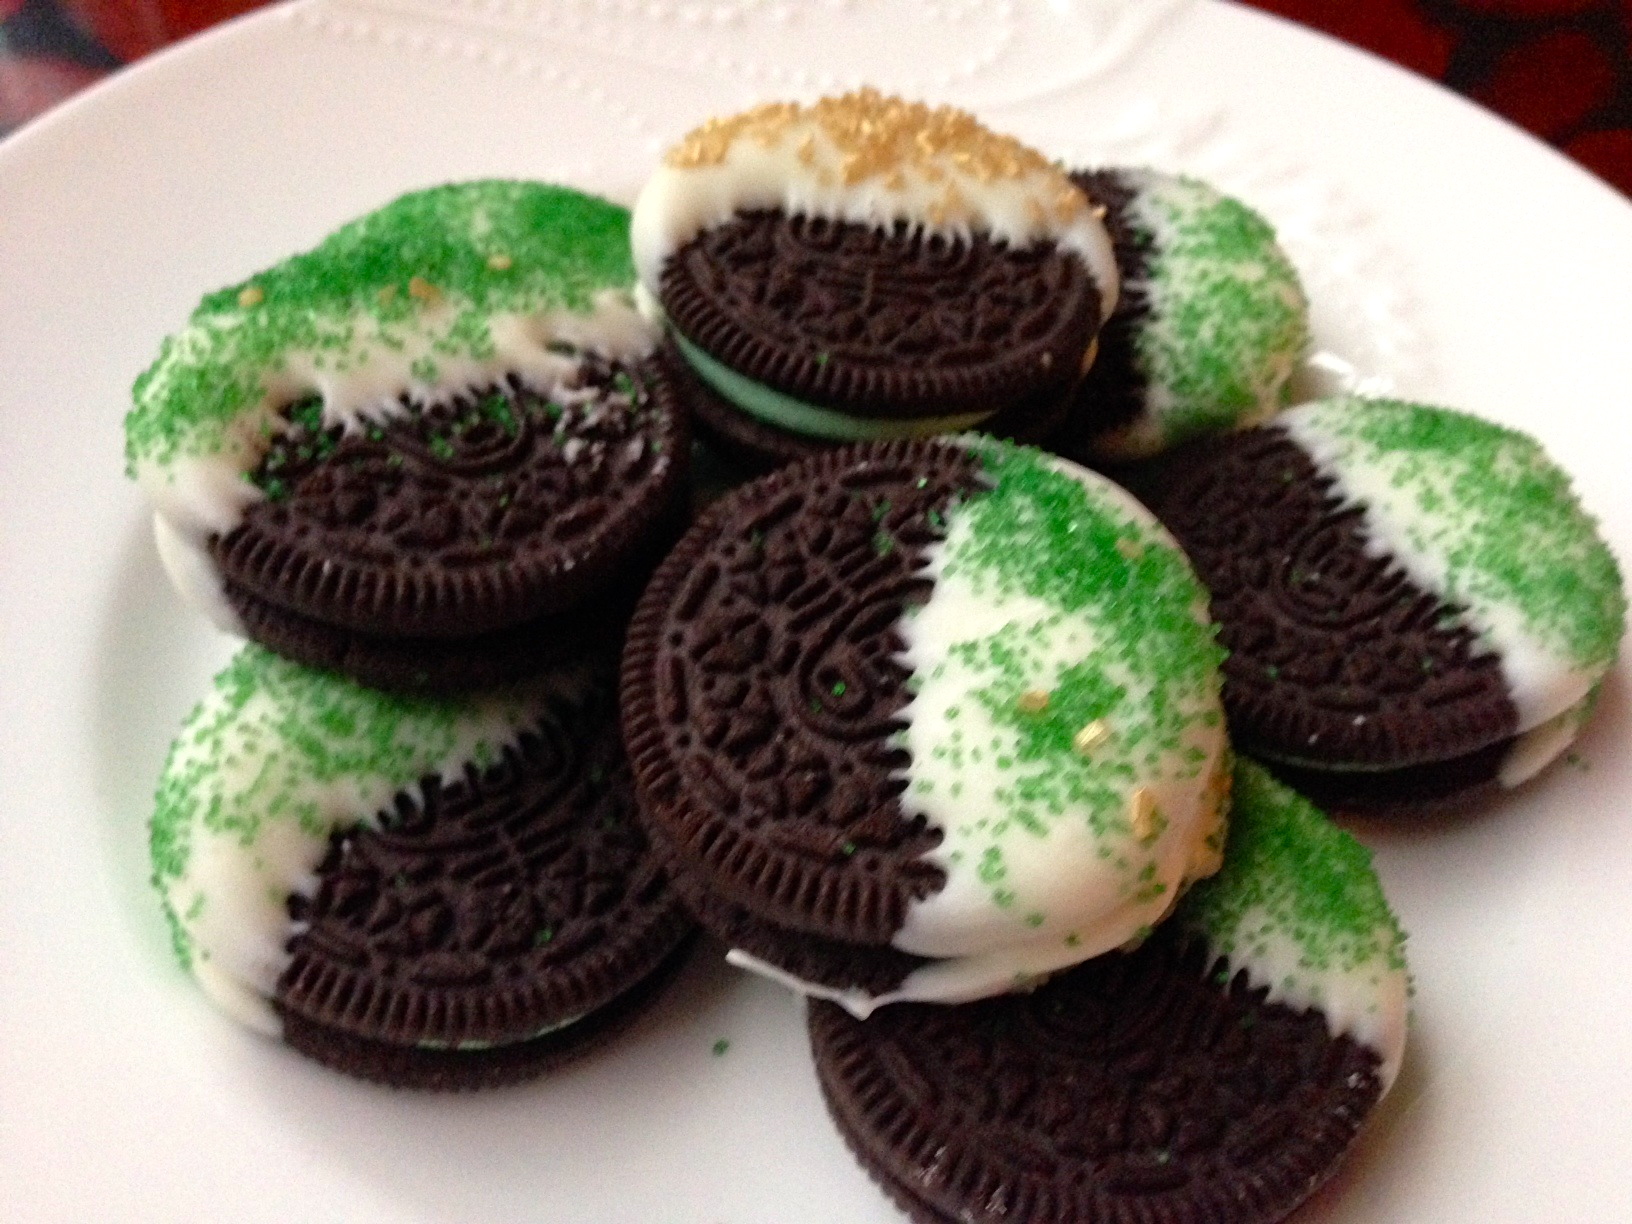
These are probably the easiest snacks, and they pack well in lunch boxes (once the chocolate hardens)! Melt 1 cup white chocolate chip morsels according to the microwave instructions. Using either plain or Cool Mint Oreos, dip the Oreo into the melted white chocolate, covering half of the cookie. Sprinkle with green sprinkles. Place in fridge to harden the chocolate.
Rainbow Fruit Platter:
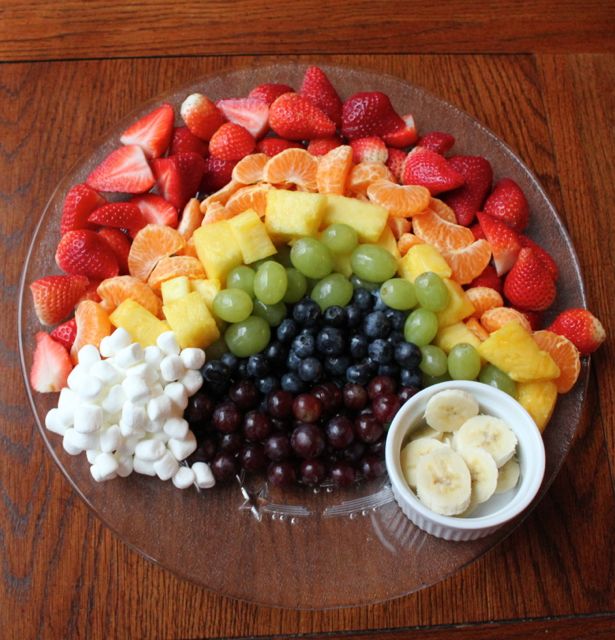
A healthy, fun treat! Wash and cut up a variety of colorful, fresh fruit. I used strawberries, clementine wedges, pineapple, green grapes, blueberries, red grapes, and bananas. Arrange in an arch fashion, just like a rainbow. On one end of the rainbow, pile mini marshmallows (like clouds!). At the other end, place a small bowl filled with banana slices (the Pot ‘O Gold!).
Dinner Fun:
-Consider serving Green Spaghetti! Simply add green food coloring to the water as you cook the pasta.
-Or serve up Spinach Raviolis on Skewers, with a side of pesto sauce for dipping. It may help convince the kids they like things with spinach!
Shamrock Chips: Try this simple recipe for homemade chips. Heat the oven to 375 degrees. Using large Spinach Wraps from the grocery store, fold one wrap in half. Use a Shamrock Cookie Cutter or trace a shamrock form on foam (I used pre cut foam pieces from Dollar Store). Using the form as your guide, cut a shamrock out of the spinach wraps using a sharp knife. You can get about four large shamrocks out of one large wrap.
Spray the shamrocks with olive oil spray, place on cookie sheet. Sprinkle lightly with salt and bake for 5-7 minutes until lightly brown (watch them so they don’t burn). Serve with guacamole or green salsa.
Thank you to WTLV-TV’s First Coast Living for inviting me on to share these ideas!
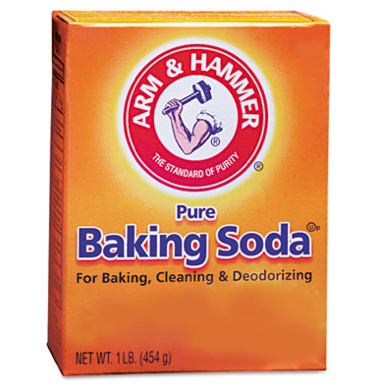
Simple Tip: Baking Soda – The Unsung Hero!
Baking soda – that little orange box that sits in your pantry – is more than just part of a baking recipe. It is a great cleaner and freshener! And don’t forget, baking soda is an inexpensive product to use. Try out some of these simple ways to freshen up your home:
Freshen Fridge and Freezer
We all know you can stick a box of baking soda to get rid of smells in your fridge and freezer. You just pop open the top of the box and place it in the back of your fridge, replacing it every 30 days. Did you know Arm & Hammer makes a specially designed, non-spill box? It only costs $.10 more than the regular box ($.95 versus $.85 a box). Bonus Tip: When you replace that box after 30 days, pour the used box down your kitchen sink disposal and let sit for 20 minutes to freshen it up!
Freshen Your Towels – Get The Stink out!
You can add a cup of baking soda to every load of wash to freshen the smell of your laundry. Have really tough odors, like towels that smell like mildew? Simple Solutions Diva has a tried-and-true way to remove that stink — Click Here!
Freshen Your Carpets & Couches
For Carpets – Sprinkle baking soda on carpets ½ hour before vacuuming. The baking soda absorbs the smells.
For Couches And Other Fabric-Covered Furniture – Make your own fabric spray! Use a spray bottle filled with 1 T. Baking Soda, Warm Water, 10 drops of your favorite essential oil. Shake well until baking soda is dissolved. Lightly spray your couch and let dry. It will smell a little like the essential oil, and the stinky smell will be neutralized.
Clean Coffee And Tea Stains
Have a favorite coffee/tea cup or pot that is stained? Just mix up a ¼ cup baking soda in 1 QT warm water and soak the cup or pot. You can also make a paste with baking soda and water and lightly scrub.
De-Stink Those Dental Appliances
Grossed out by your night guard or child’s smelly retainer? Mix a 1/2 cup of baking soda with one cup of water and soak those dental appliances to remove food particles and smell. You can also dip your wet toothbrush into baking soda and scrub the appliance and let it sit for a few hours.
Thank you to WTLV-TV’s First Coast Living for inviting me on to share these ideas! Here is the video from First Coast Living:
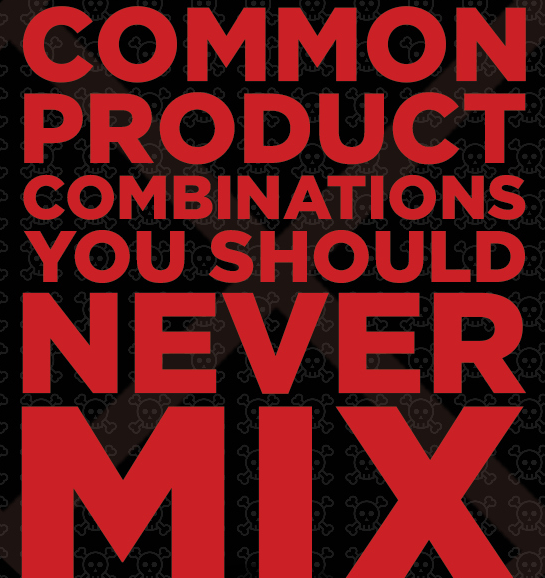
Top Four Common Product Combinations To Never Mix
With so many great cleaning ideas floating around Pinterest, it really is important to know that some common household products, when combined together, can be dangerous! Thank you to BuzzFeed.com for these combination warnings – visit the site for more combinations that are not good.
Take a look at these products that you should never mix:
Bleach and Vinegar
These are great cleaners — when used separately! But combine these two, and you end up with Toxic Chlorine Gas! It can cause a chemical burn to your eyes and lungs.
Ammonia and Bleach
This combination, if you inhale the vapors, could cause respiratory damage and throat burns. BuzzFeed.com highlights a story of a man who used Ammonia, Bleach and Drano to unclog his toilet, was overcome by the fumes, and died. I don’t know about you, but cleaning my toilet is NOT the way I want to go!
Rubbing Alcohol and Bleach
This chemical cocktail creates chloroform – Who knew? It can damage your nervous system, eyes, lungs, kidneys and more. Extremely high exposure can actually cause death, and even low levels of exposure can cause dizziness and nausea.
Hydrogen Peroxide and Vinegar
You can use these items as cleaners, separately. But if you combine them together in the same container (like a spray bottle for cleaning), you can create a corrosive acid! use them on the same surface, separately.
Check out Buzzfeed.com to see the full listing of products they recommend you do not combine!
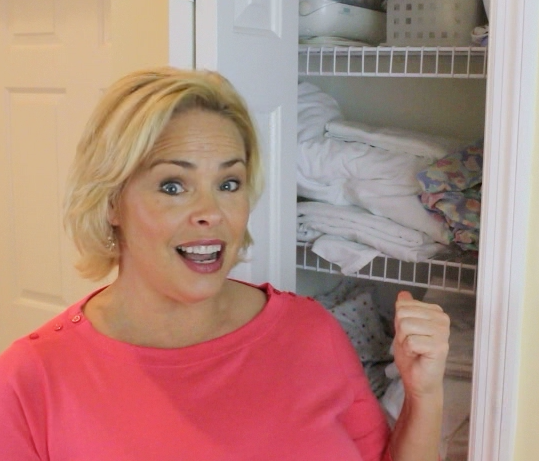
Simple Tip To Store Linens
Simply Smooth Skin: Homemade Sugar Scrubs
It is the peak of winter, but warm spring and summer days are just around the corner! Start making your skin smooth and soft with these great homemade sugar scrubs! Did you know exfoliating BEFORE shaving your legs will actually allow for a closer shave?
These scrubs are simple to do, cost very little to make, and are just delicious smelling!
The Basic Sugar Scrub Recipe
Ingredients:
- 3 Cups white sugar
- 1 Cup (plus 2 Tablespoons) Extra Virgin Olive Oil – you can experiment with other oils, such as almond oil, coconut oil, etc.
- 10 drops favorite essential oils – this amount really depends on how strong you like the scent. Add more or less to suit your preference.
- Jars for storing sugar scrubs (The Dollar Store is where I found mine!)
Preparation:
In a large bowl, mix sugar and olive oil well. Add essential oils and mix well. Store in jars or other oil-safe container. Use in shower to soften hands and/or body. Rinse well before drying. (Note: Shower Floor can be slippery after using sugar scrubs in shower. Use caution.)
Types of Essential Oil Combinations:
I found essential oils at my local health food store, and they offered a wonderful variety! Try one of these ideas, or get creative with your own!
- Lavender and Tea Tree Oils
- Peppermint
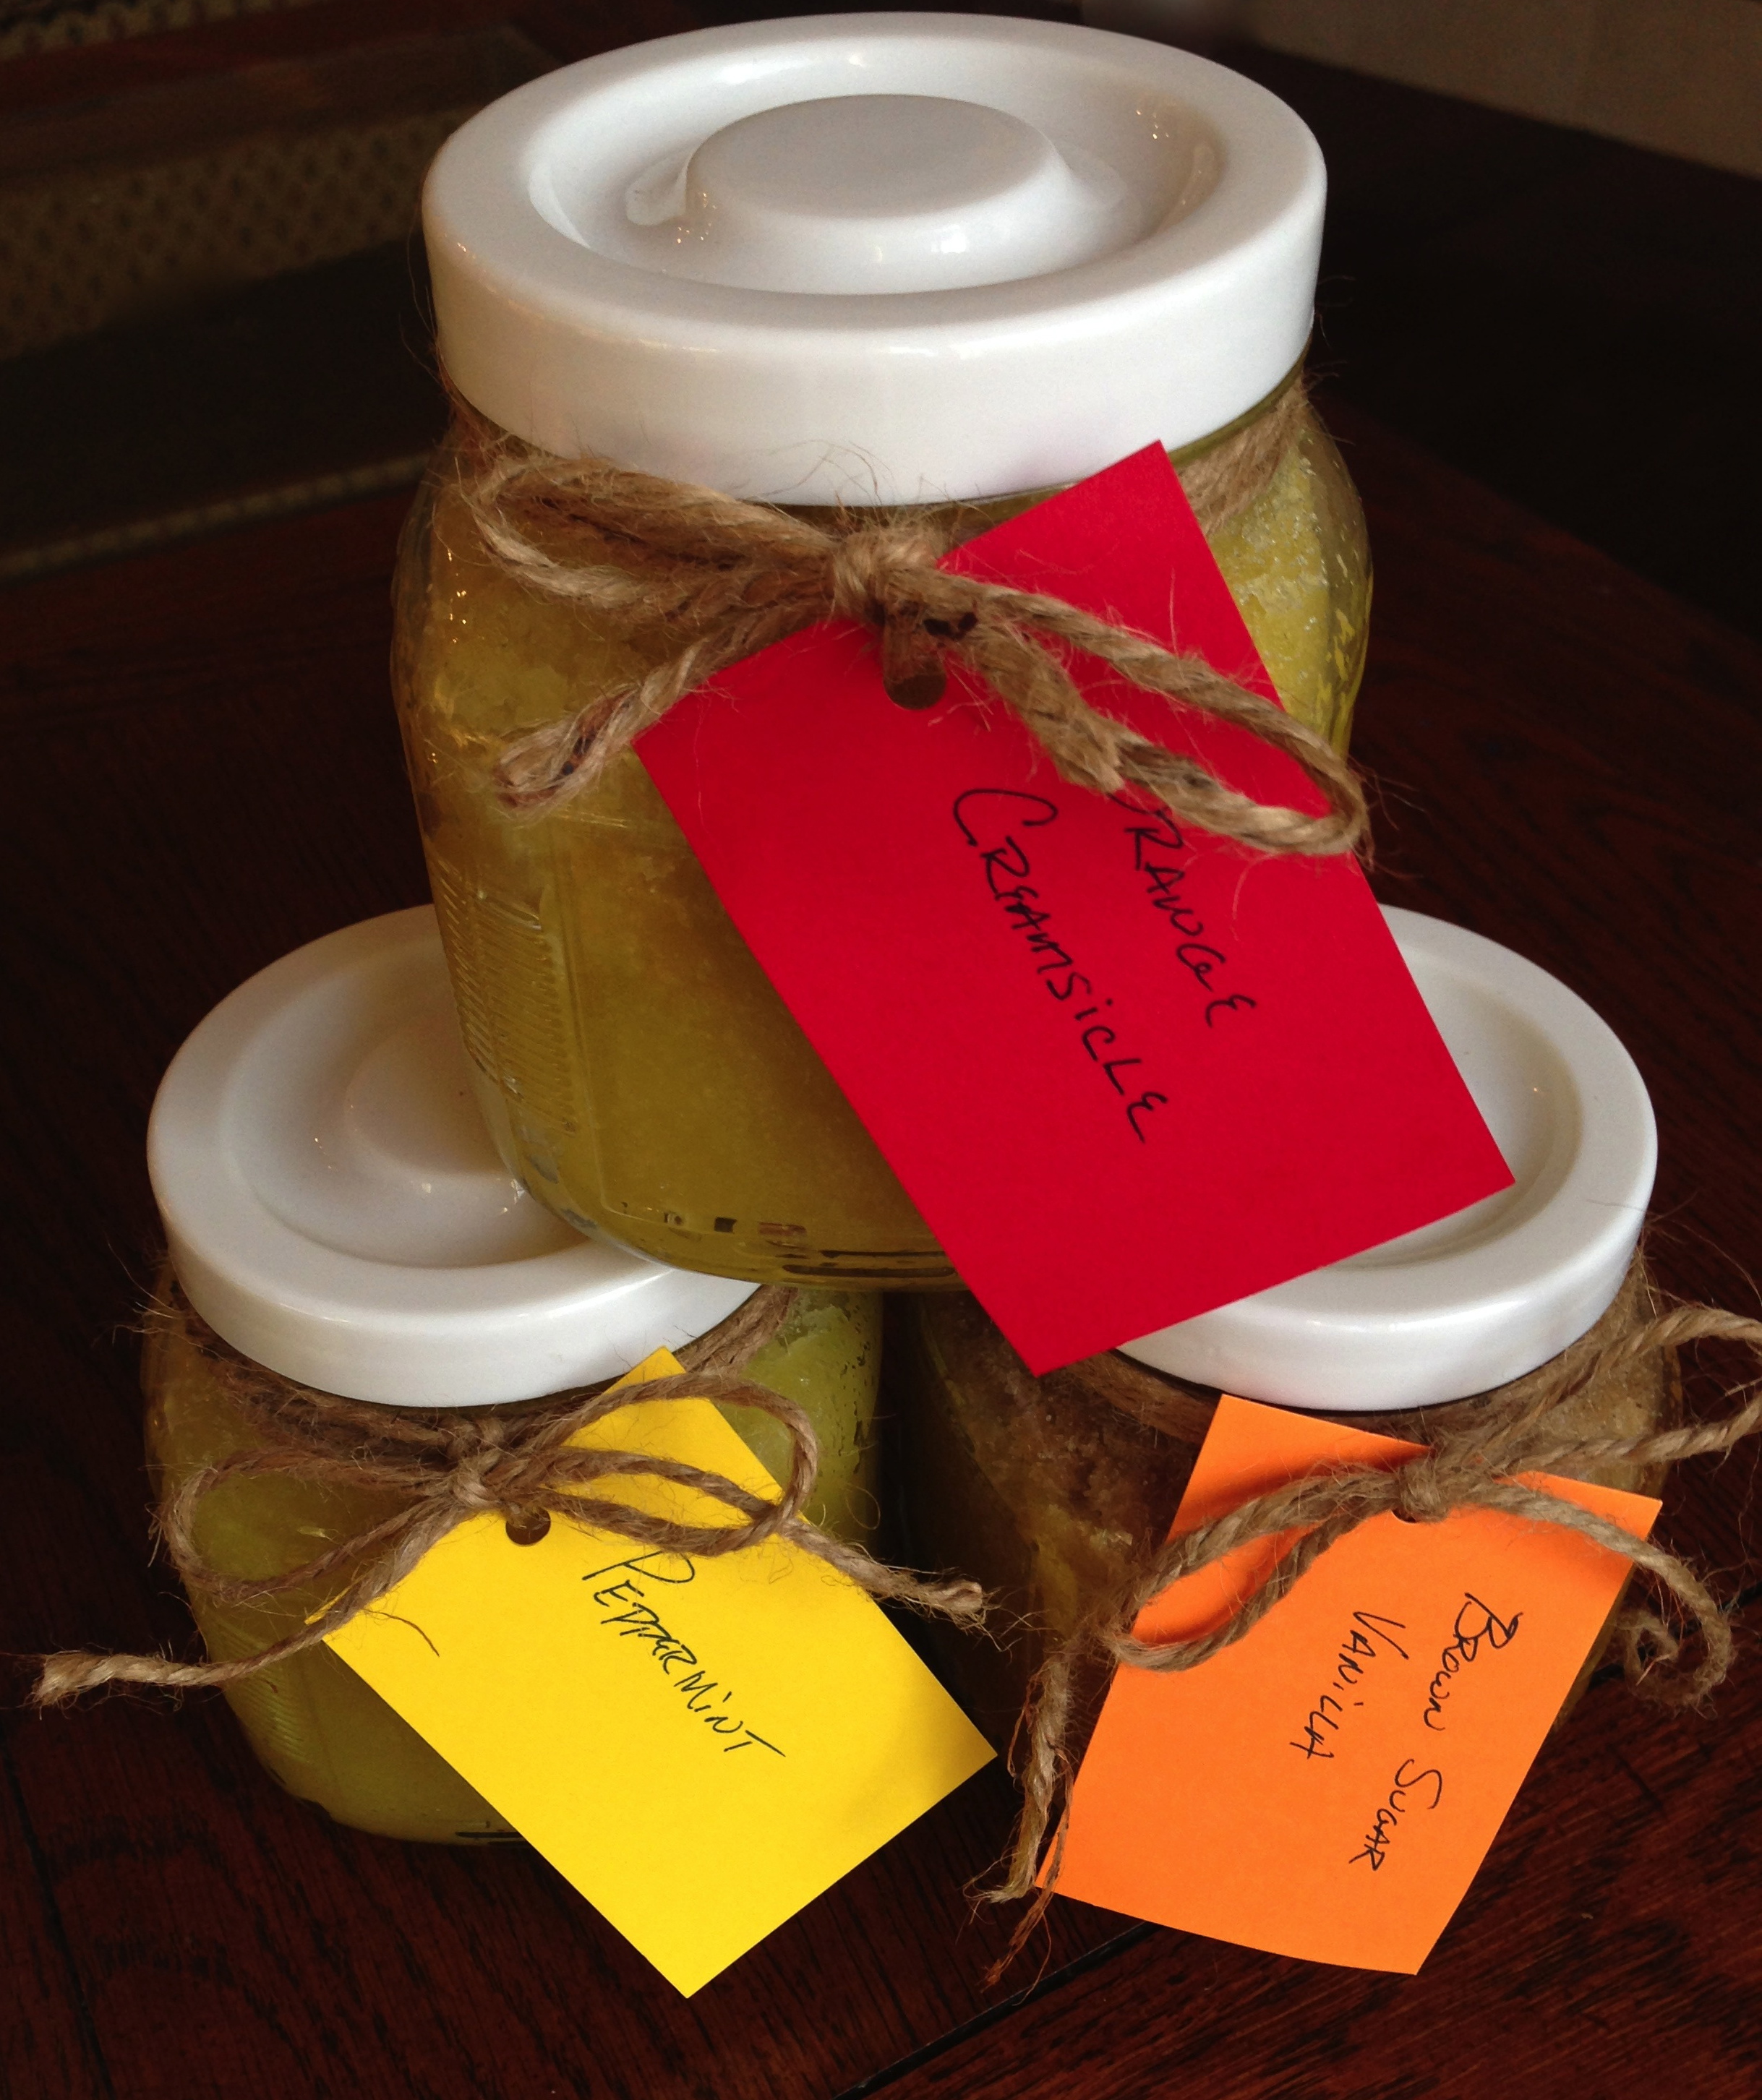
- Orange Creamsicle – A mixture of Sweet Orange and Vanilla essential oils.
- Brown Sugar Vanilla – Replace one of the cups of white sugar with Brown Sugar. Add Vanilla essential oil. (You will want to eat this one!)
If you want a rougher texture to your scrub, replace the white sugar with turbinado sugar. It changes the look AND the feel of the scrub!
Thank you to WTLV-TV’s First Coast Living for inviting me on to share this fun idea!