SimpleSolutionsDiva.com

Recipes

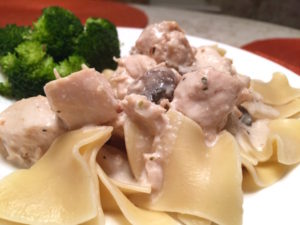
Slow Cooker Chicken Stroganoff

Aren’t slow cookers the best? You can make something in the morning and let it cook all day until it is tender and delicious! But have you noticed so many slow cooker recipes use canned soup? IT is a short-cut to making something creamy – BUT you can’t control the ingredients! Though I am the Queen of Shortcuts, I try to make things from scratch so I can control the ingredients. That’s why this recipe is so good! It is all fresh (no canned soup here!), so I’m in control of all the ingredients, plus it is EASY!

This is a creamy & tasty dish that I feel good about serving the family. Make it in the morning, before the day gets busy (or assemble the night before, put in fridge & cook the next day!). You come home to a delicious smelling house! Doesn’t it look fabulous? (You should SMELL it!)

Serve it over egg noodles and pair it with a healthy vegetable side dish – Oh SO GOOD! Enjoy!

Slow Cooker Chicken Stroganoff
 
Prep time
Cook time
Total time
 
Creamy and flavorful Chicken Stroganoff is a wonderful recipe to make for guests! Serve over egg noodles, dust with a little fresh, chopped parsley! Yum!
Author:
Recipe type: Main Course
Cuisine: American
Serves: 4-6 servings
Ingredients
  • 1.5 pounds boneless skinless chicken breasts, cubed
  • 2 tablespoons butter
  • 3 tablespoons flour
  • ½ cup chicken broth
  • ½ cup milk (you can use ½ cup evaporated milk for a richer feeling sauce)
  • ¼ teaspoon pepper
  • ½ teaspoon each of garlic powder, dried basil, dried oregano & sea salt
  • 1 cup sliced mushrooms
  • 1 clove minced garlic
  • ½ cup onions, chopped
  • 4 ounces cream cheese
  • ½ cup sour cream
Instructions
  1. Place the cubed chicken breast into the crockpot.
  2. In a sauce pan over medium heat, melt the butter. Add the flour and whisk into a paste. Remaining over medium heat, add the chicken broth and whisk. Add the milk and whisk. Continue whisking the mixture over medium heat until the mixture is a slightly thick sauce.
  3. Add the pepper, garlic powder, dried basil, dried oregano, and sea salt. Stir well.
  4. Add the fresh garlic, onion and mushrooms.
  5. Pour sauce over the chicken in crockpot. Stir until all chicken pieces are covered in sauce.
  6. Cover and cook on low for approx. 5 hours.
  7. Add cream cheese (cube it first) and stir until melted.
  8. Add sour cream and stir. Allow to heat up - maybe 20 minutes.
  9. Serve over egg noodles, garnish with fresh chopped parsley, if desired.
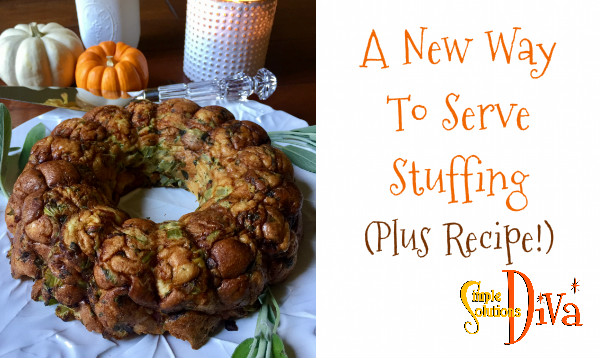
A New Way To Serve Stuffing

Tired of serving stuffing out of a bird’s behind? Try presenting your stuffing in a creative way (plus, you don’t have to worry about undercooking and getting salmonella!).

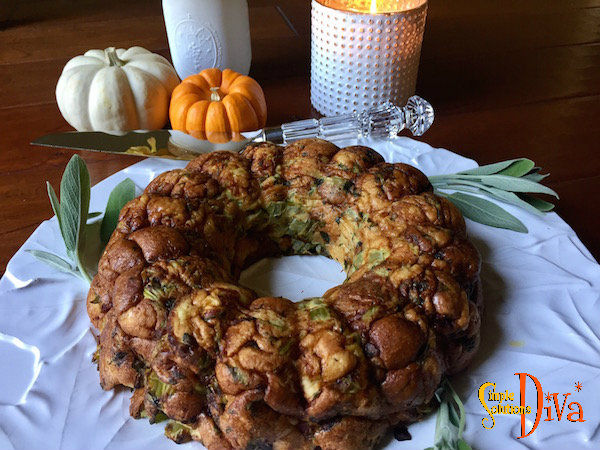
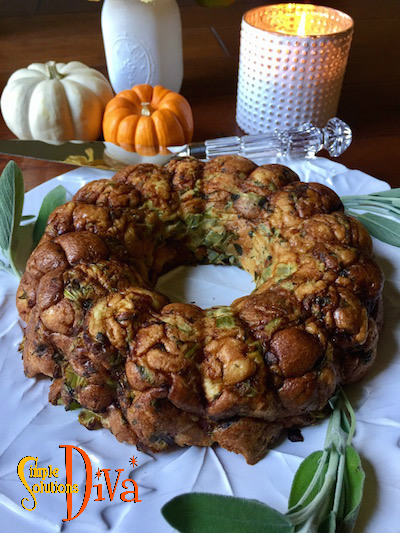
Make your stuffing in a bundt pan! It is not only healthy, but it presents the stuffing in a unique form! The key is to add eggs to your favorite recipe so it will hold together when you take it out of the bundt pan. Look how pretty it looks!

stuffing4


You can use your own, favorite recipe, just be sure to add 3-4 eggs to your mixture (mix it in with the chicken broth you use in your recipe). Bake at 400 degrees for 30-40 minutes, until it is lightly browned.

If you are in need of a recipe, try this one:

Bacon (or Sausage) Stuffing
 
Prep time
Cook time
Total time
 
Cook this recipe separately from your turkey and be sure to cook it in a bundt pan for a nice presentation!
Author:
Recipe type: Side Dish
Cuisine: American
Serves: 10 servings
Ingredients
  • 4 slices thick cut bacon (or ½ cup ground pork sausage), cooked, drained and copped into small pieces (keep the fat in the pan)
  • 1 Tablespoon chopped, fresh sage
  • ½ cup fresh chopped parsley
  • ½ teaspoon (or more) minced garlic
  • Salt & Pepper to taste
  • 1 loaf of french bread, cubed and dried in a 200 degree oven until lightly toasted - about 20 minutes.
  • 2-3 cups chicken broth
  • 3-4 eggs, beaten
Instructions
  1. Heat the oven to 400 degrees.
  2. Using the pan with the bacon (or pork sausage) grease, sauté the sage, garlic, parsley together for 30-40 seconds. Add the chopped bacon (or sausage) and stir.
  3. In a small bowl, mix the beaten eggs into the chicken broth.
  4. In a large bowl, place the bread cubes, the herb mixture, and mix together.
  5. Slowly add the chicken broth mixture, tossing the bread cubes to coat.
  6. Press mixture into a lightly greased bundt pan.
  7. Bake at 400 degrees for 30-40 minutes.
  8. Allow to rest for 20 minutes.
  9. Invert onto a serving platter.

Have a VERY Happy Holiday!

stuffing5

stuffing3

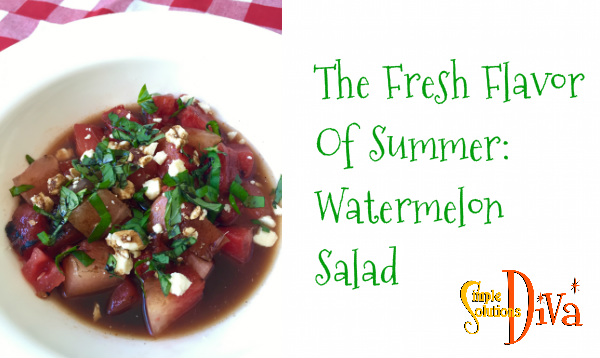
Grilled Watermelon, Feta & Basil Salad

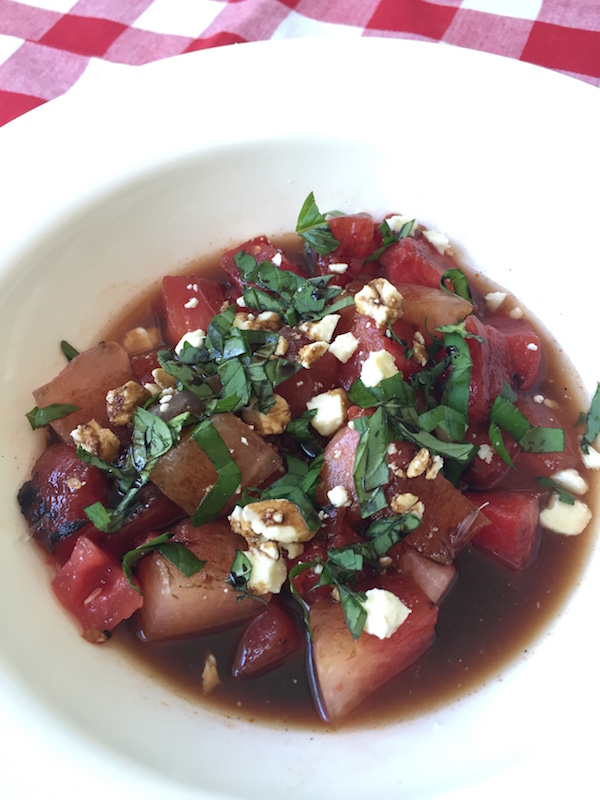
Fresh watermelon – so plentiful this time of year! Combine it’s juicy flavor with fresh feta cheese, basil straight from the garden, and balsamic glaze, and you have a delicious summer salad! Kick it up a notch by grilling the watermelon first – it brings out the sweetness of the melon, adding a new depth of flavor!

watermelon
Grilled Watermelon, Feta & Basil Salad from SimpleSolutionsDiva.com.


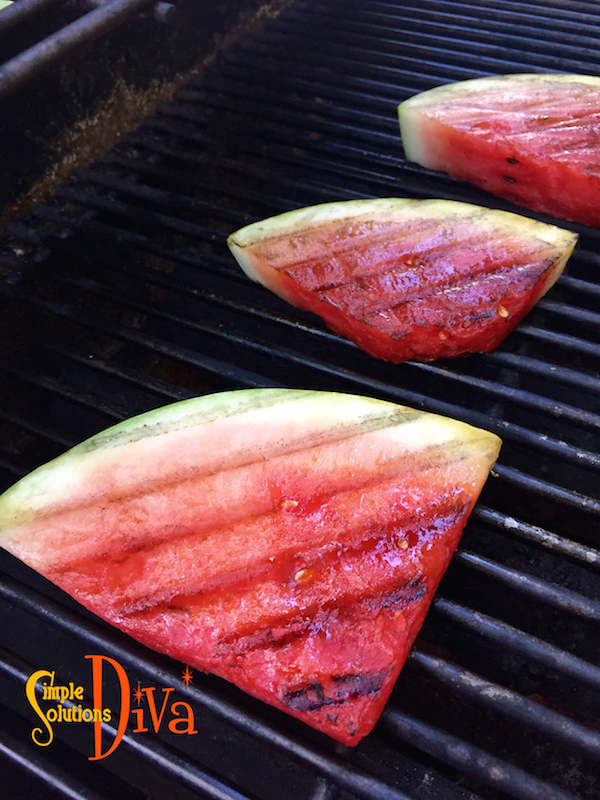
How To Grill Watermelon: Brush both sides of sliced watermelon with olive oil and grill on high heat until grill marks show up on the melon slices:

watermelon2

Grilled Watermelon, Feta & Basil Salad
 
Prep time
Cook time
Total time
 
Juicy Watermelon only gets better when grilled! Combine it with fresh feta, basil and balsamic to make a delicious summer-fresh salad!
Author:
Recipe type: Salad
Cuisine: American
Serves: 4
Ingredients
  • 6-7 watermelon slices, brushed with olive oil, then grilled.
  • Feta Cheese crumbles - approximately 3-5 ounces, depending on how much you like Feta!
  • Juice of ½ a lime
  • Fresh Basil, chopped (approx. 2-3 tablespoons
  • 2 pinches of kosher salt
  • On pic ground black pepper, or more, to taste
  • Balsamic Glaze from drizzling!
Instructions
  1. Slice off the rind of the grilled watermelon and cut into cubes.
  2. Add the lime, salt and pepper and toss.
  3. Add the feta cheese and drizzle with balsamic glaze.
  4. Serve Immediately (The watermelon will continue to release juice, so if you wait too long to serve, it will become soupy!)

Balsamic Glaze: You can quickly make a balsamic glaze by combining 1 cup balsamic vinegar with 1/4 cup brown sugar in a sauce pan. Heat over medium heat, stirring constantly until it boils. Reduce the heat and simmer until it reduces by half. Glaze is done when it coats the back of a spoon. Cool and store in air-tight container in the fridge.

Enjoy!

Simple Desserts To Celebrate July 4th!

patriotic 2

Independence Day is Monday, and that means we have a long weekend to celebrate with family and friends! i’m featuring a few simple desserts you can bring to that July 4th Party or Picnic that are sure to be a hit! Best of all you can get kids of all ages involved in making these!

FullSizeRender

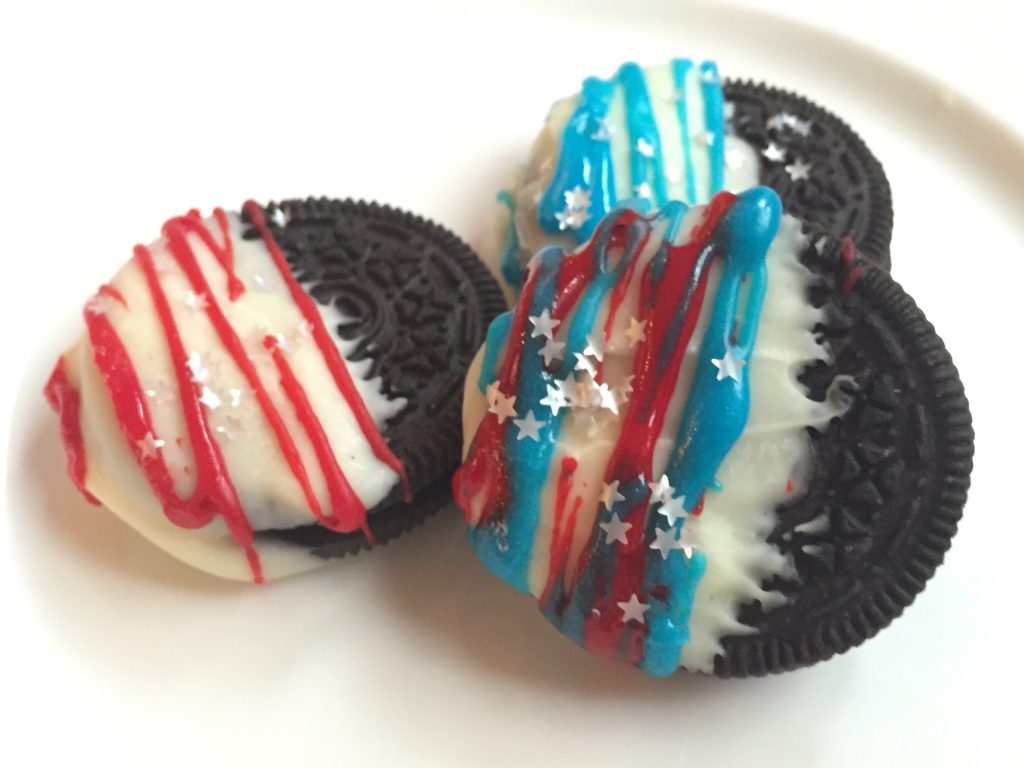
Patriotic Oreos – Red, white & blue make this simple dessert a winner.

Ingredients:

  • One package of Oreo cookies.
  • One container of Dolce Frusta White Shell, melted (or you can make your own white chocolate dip by following the melting directions on back of package of Nestle’s White Chocolate Chips)
  • Red and Blue Cookie Icing – To make it easy on myself, I used Betty Crocker Cookie Icing.
  • Optional: Edible, Patriotic decorations

Directions:

Dip the Oreos in melted white shell/white chocolate (cover 1/2 – 3/4 of cookie). Place on wax paper to cool and set.

Using the cookie frosting, drizzle the Oreos with red and blue, then sprinkle with patriotic decorations (If using!) Allow icing to set before serving.

Screen Shot 2016-06-30 at 7.35.01 PM

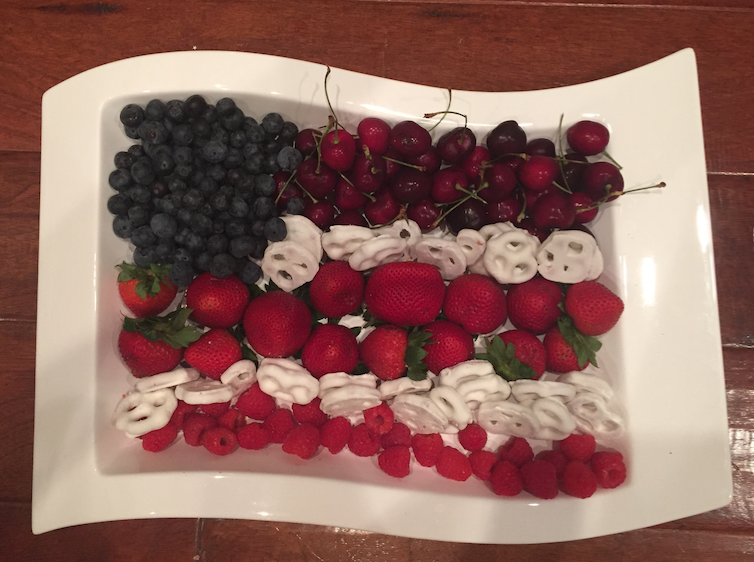
Fruit Flag Dessert – A healthy way to celebrate the holiday! And you don’t need to worry about it going bad in warm weather!

Ingredients:

Your favorite red & blue fruits! I used strawberries, raspberries, cherries, and blueberries.

Yogurt covered pretzels or yogurt covered raisins.

Assemble the fruits into the shape of a flag – pretty easy peasy!!

IMG_1647

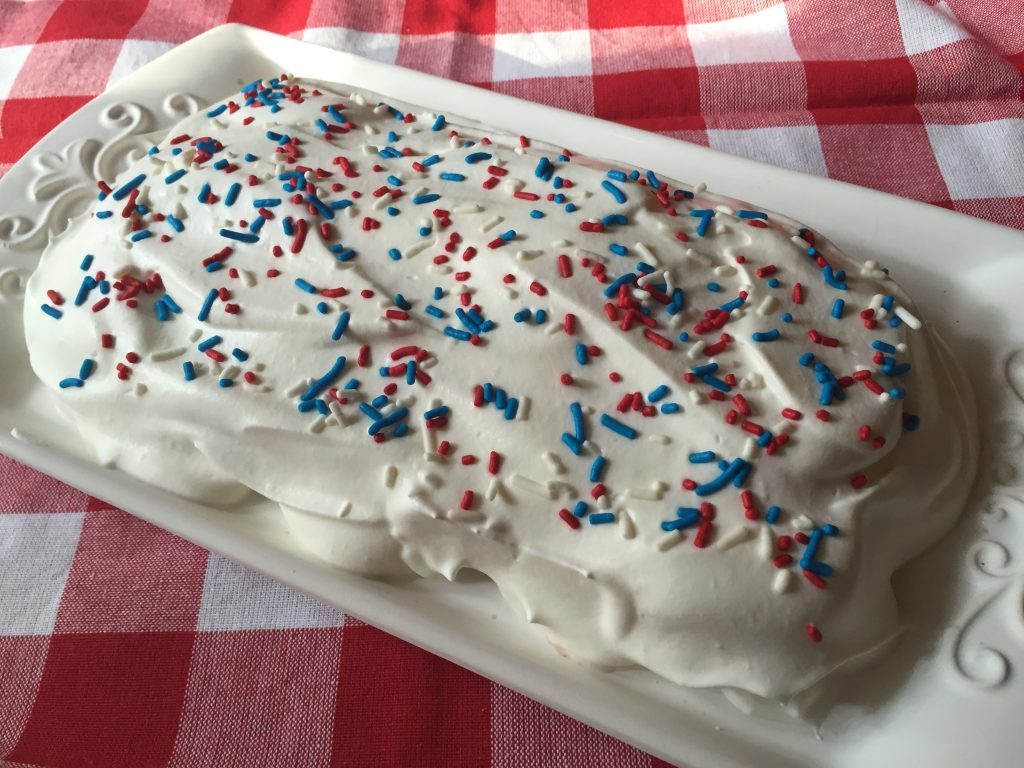
Icebox Cake – Old Fashioned, not filled with sugar and so tasty! This one requires refrigeration until serving!

Ingredients:

  • Nabisco Chocolate Wafers
  • 2 cups whipping cream
  • 1/2 teaspoon vanilla
  • 2-3 Tablespoons Chambourd Liqueur
  • 1/4 cup fresh raspberries, mashed
  • Patriotic Sprinkles

Directions:

TIP: Before starting, store your beaters and bowl in the refrigerator to chill. This will help with whipping the cream.

In a large bowl, mix the whipping cream at high speed until peaks form. Gently add in vanilla. Move 1/3 of the whipped cream into another chilled bowl and fold in the raspberries and Chambourd.

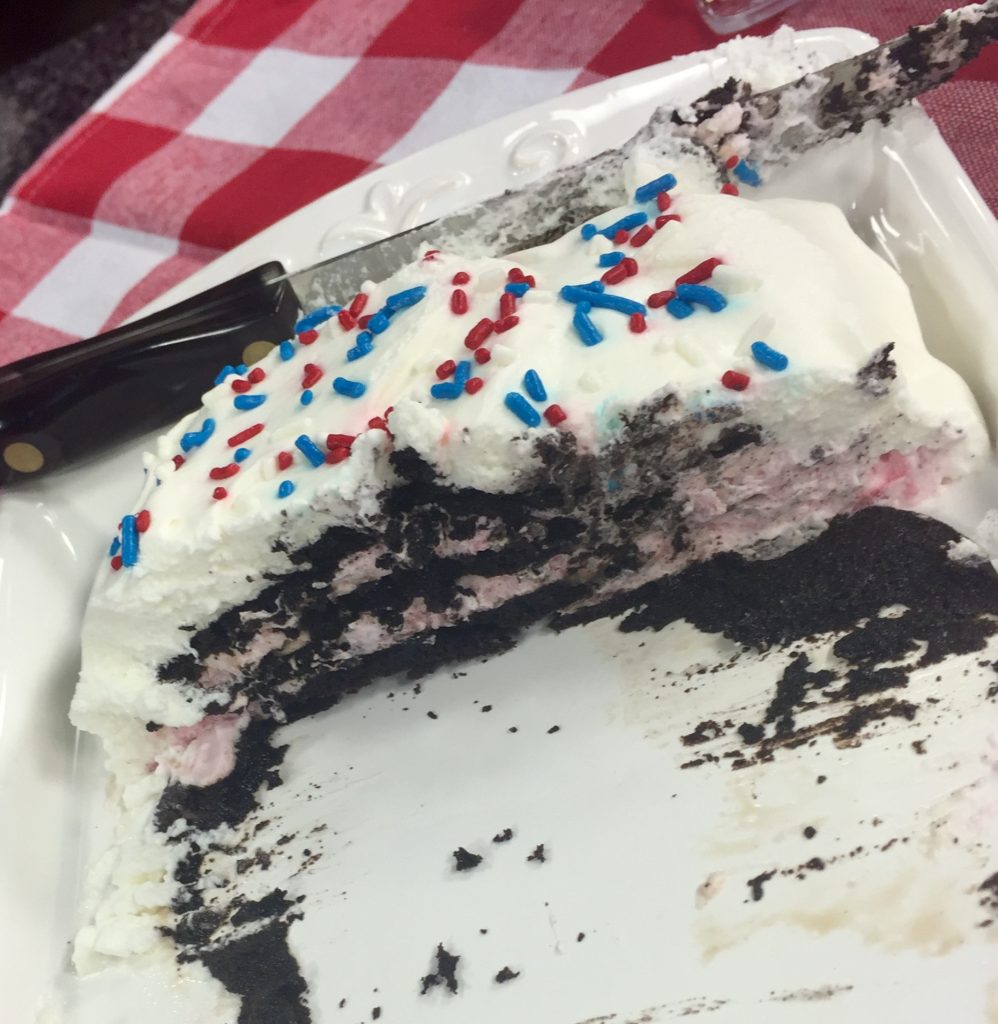
On a plate or small platter, arrange one layer of the chocolate wafers. Layer with the raspberry whipped cream. Add another layer of chocolate wafers. Layer with raspberry cream again. Add one last layer of chocolate wafers.

Taking the plain whipped cream and cover the entire cake. Sprinkle with patriotic sprinkles and refrigerate overnight. Serve and eat immediately.

Optional: Brush each layer of wafers with additional Chambourd – as much or as little as you like.

The cake at the end of the TV segment - devoured! But at least you can see what the cake looks like in the center!
The cake at the end of the TV segment – devoured! But at least you can see what the cake looks like in the center!

Thank you to WTLV-TV’s First Coast Living for inviting me on to share these recipes!

Recipes For Kids To Make This Summer


kids recipes


With kids out of school during summer break, the two most dreaded phrases parents will hear are, “I’m Bored!” and “I’m Hungry”! Why not kill two birds with one stone and use the lazy days of summer to teach your kids to cook? Here are some recipes, of varying levels of difficulty, you can teach your kids to make. Who knows? Maybe they will make dinner for YOU sometime!

Note: As a parent, you need to determine how much supervision your child needs when using the oven, stovetop, knives, etc. Every child is different!

Ants on a Log – The childhood classic — celery sticks filled with peanut butter and topped with raisins is always a favorite, requires no oven and no sharp knives. Pre wash & cut the celery and keep it in the fridge for quick access for the kids! For a fun variation, use Craisins instead of raisins or use a flavored cream cheese spread in place of the peanut butter.

Corn Dog Muffins – I’ve taken the County Fair Favorite (a corn dog on a stick) and made it super easy! Your child can make a batch of these for snacks! Serve with ketchup or mustard to as a dip! (Requires the oven.)

Ingredients:

  • 2 packages cornbread mix
  • 2 Tablespoons brown sugar
  • 2 Eggs
  • 1.5 Cups milk
  • 1 Cup Cheddar Cheese (optional)
  • 9 All Beef Hot Dogs, sliced in half

Directions:

Preheat Oven To 400 degrees. Lightly grease muffin tin (makes 18 muffins).

In a large bowl, stir together the cornbread mix and brown sugar. In a separate bowl, beat the eggs and milk. Gently fold the egg mixture (and the optional cheese) into the cornbread mixture – mix until moistened.

Spoon the mixture into muffin tins until they are about 2/3 full. Add a ½ hot dog to each muffin cup.

Bake for 14-18 minutes, until golden brown.

Tuna Cheese Melts – English muffins, homemade tuna salad and cheese make for a yummy, simple lunch! (Requires toaster oven or regular oven for melting cheese.)

Ingredients:

  • 2 cans white albacore tuna fish in water, drained
  • 3 Tablespoons mayonnaise, more or less to taste
  • 1 teaspoon celery salt
  • 1 teaspoon onion powder
  • 1 teaspoon garlic powder
  • ¼ Cup each chopped celery & onion, chopped
  • 2-3 Tablespoons yellow or red bell pepper, chopped
  • 3 English muffins, split
  • 6 slices American cheese (or other favorite cheese)
  • 6 slices fresh tomato (optional)

Directions:

Toast the English muffin halves and set aside on a baking sheet. (Optional: You can butter the English muffins when you toast them.)

Preheat toaster oven (or oven) to 200 degrees.

In a medium bowl, flake the tuna and then combine the remaining ingredients, mixing thoroughly.

Spoon mixture onto each muffin half and top with a slice of cheese.

Pop in oven and bake until the cheese melts (approximately 8 minutes). Remove from oven, top with a tomato slice and serve.

Coconut Chicken Nuggets – A Tropical Twist on a kid’s favorite! Serve with pineapple mango salsa, or orange marmalade for dipping!

  • 1 Cup Flaked coconut
  • ½ Cup Flour
  • ½ teaspoon salt
  • ¼ teaspoon black pepper
  • ¼ teaspoon garlic powder
  • 1-1/2 pounds boneless, skinless chicken breasts, cut into 1 inch cubes (or strips if you prefer chicken strips!)
  • 1 egg, beaten
  • 1/3 Cup Butter, melted

Directions:

Preheat oven to 400 degrees.

On a plate, mix coconut, flour, salt, pepper, and garlic. In small bowl, beat the egg.

Dip the chicken in the egg mixture, then roll the pieces in the coconut mixture to coat.

Place on a non-stick baking sheet and drizzle with the butter. Bake 25 minutes, or until chicken is browned and cooked through, turning pieces halfway through.

Serve with dipping sauce and enjoy!

Note: You can mix a cup of orange marmalade with 2 tablespoons dijon mustard to make a zesty dip! (I added a couple of splashes of sweet chili sauce to it for my dip!)

For more recipes to make with the kids, check out the Diva’s video series Cooking With The Kids!

Thank you to WTLV-TV’s First Coast Living for inviting me on to share these recipes!

Asian Chicken Lettuce Wraps


I love going to a restaurant and ordering those light & tasty Asian Chicken Lettuce Wraps! This makes a perfect amount for an appetizer or light lunch – just double the recipe if you want to feed several people!

SSD Wraps Logo
Asian Chicken Lettuce Wraps from SimpleSolutionsDiva.com.


Asian Chicken Lettuce Wraps
 
Prep time
Cook time
Total time
 
These are just like what you get in your favorite Asian Restaurant! Double the recipe for a dinner!
Author:
Recipe type: Appetizer or Light Meal
Cuisine: Asian
Serves: 2.5
Ingredients
  • 2 tablespoons oil
  • 2 cooked boneless, skinless chicken breasts, chopped into small pieces
  • 1 cup water chestnuts, chopped into small pieces
  • ⅔ cup mushrooms, chopped into small pieces
  • 3 tablespoons chopped onions
  • 1 teaspoon minced garlic
  • ASIAN SAUCE:
  • ¼ cup sugar
  • ½ cup water
  • 2 tablespoons soy sauce
  • 2 tablespoons rice wine vinegar
  • 2 tablespoons ketchup
  • 1 tablespoon lemon juice
  • STIR FRY Sauce:
  • 2 tablespoons soy sauce
  • 2 tablespoons brown sugar
  • ½ teaspoon rice wine vinegar
  • CONDIMENTS:
  • 1 tablespoon hot mustard, watered down with 2 teaspoons water
  • 1 -2 teaspoon garlic and red chile paste
  • 4 -5 leaves iceberg lettuce leaves (I used butter lettuce)- rinsed & dried
Instructions
  1. Prep the Asian Sauce and Stir Fry Sauce first: For the Asian Sauce - In a medium bowl, combine the ¼ c. sugar, ½ c. water, 2 T. soy sauce, 2 T. rice wine vinegar, 2 T. ketchup, and lemon juice. Set aside until ready to serve the wraps. Stir Fry Sauce - In a small bowl, combine the Stir Fry Sauce Ingredients (soy sauce, brown sugar, rice wine vinegar).
  2. In a large fry pan, heat oil over medium heat. Add chicken, mushrooms, water chestnuts, onions, and garlic. Cook until the onions are translucent and garlic is fragrant. Add in stir fry sauce. Stir and cook until sauce is absorbed.
  3. To Serve: Divide the asian sauce into small bowls. Use the condiments (hot mustard sauce and chile paste) to spice up and add heat (to your taste preferences) to the asian sauce.
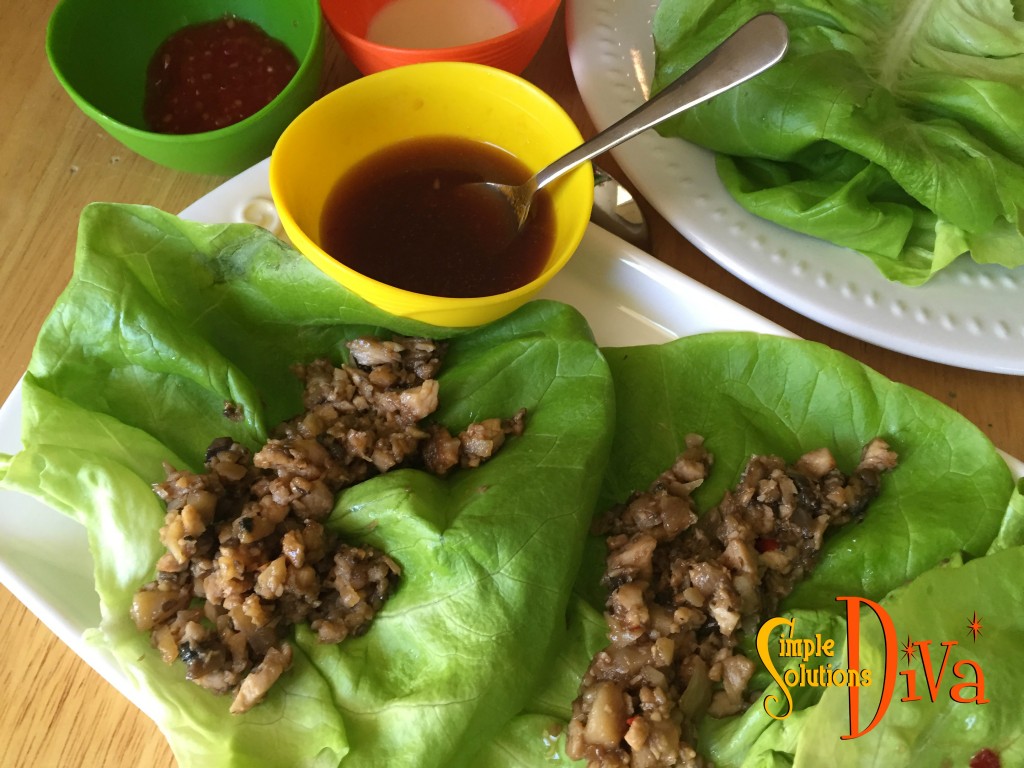
  4. Fill leaves with the chicken mixture, pour asian sauce on mixture and then roll up! Enjoy!


Close up of the Asian Lettuce Wrap!

SSD Lettuce Wraps

Game Day Recipe Round up: Sliders, Sliders, Sliders!

Screen Shot 2016-02-01 at 8.41.21 AM


When it comes to Game Day Foods, there is nothing better than a slider! These petite sandwiches are jam-packed with flavor, yet they are easy to handle with one hand (as you sip your favorite game day beverage with the other hand!).

This is a round up of slider recipes from my site and around the web! I think they are PERFECT for the Big Game!

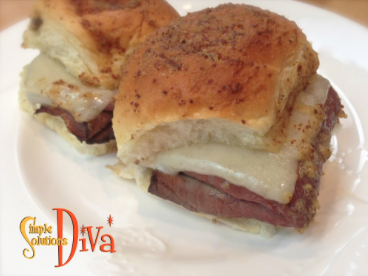
Game Day Roast Beef Sliders from SimpleSolutionsDiva.com.

Roast Beef and Swiss Sliders: This recipe is currently blowing up Pinterest! I’m getting around 200-300 visitors to my site just to view this recipe! So enjoy it – it’s a good one! Click HERE to go to the recipe!


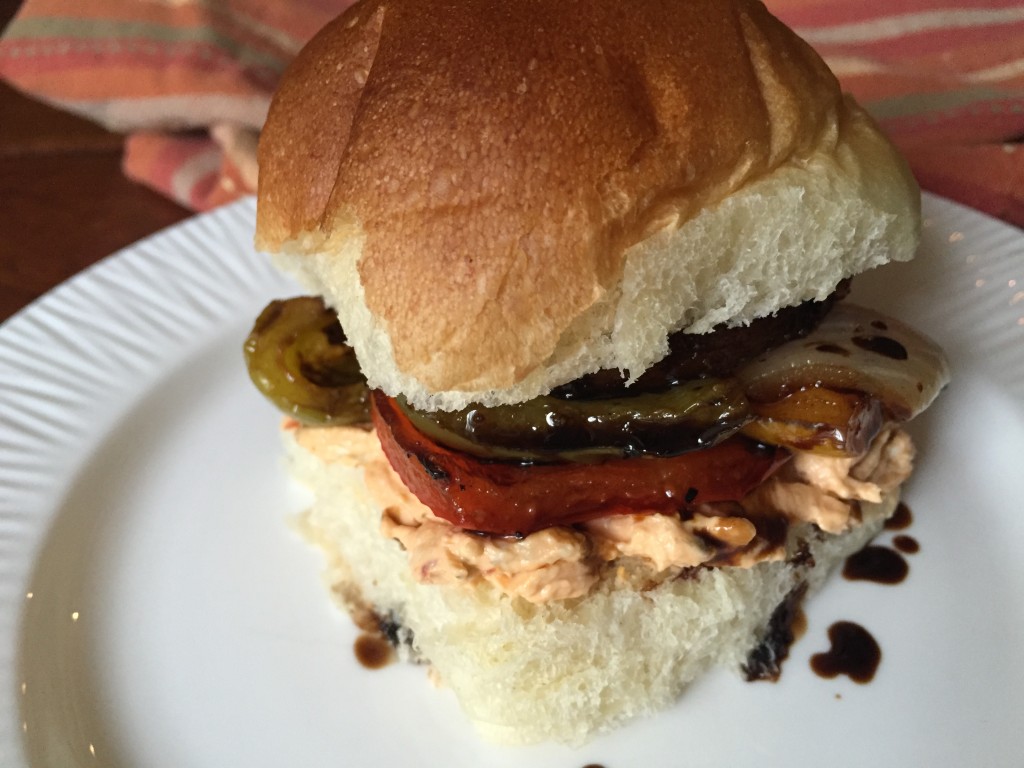
IMG_9420Grilled Veggie Sliders With Sun-Dried Tomato Pesto SpreadClick HERE.


Screen Shot 2016-02-01 at 4.18.52 PM


Ropa Vieja (Cuban Shredded Chicken) – This Slow Cooker recipe is perfect for serving on slider rolls! Click HERE.


Click HERE to see even MORE Super, Game Day Recipes To Feed A Crowd from SimpleSolutionsDiva.com!

And here are a few other slider recipes from around the web (Click the name of the site to be directed to the recipe):

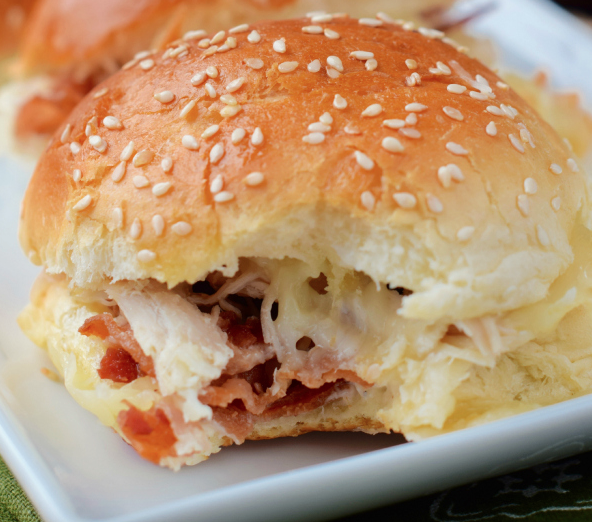
Turkey Bacon Ranch Sliders from WineAndGlue.com.


Turkey Bacon Ranch Sliders from Wine & Glue.


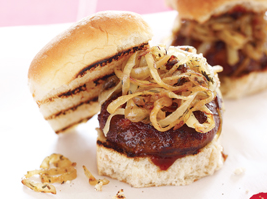
Smokey Baby Portobello Sliders from VegetarianTimes.com


Smokey Baby Portobello Sliders from VegetarianTimes.com.


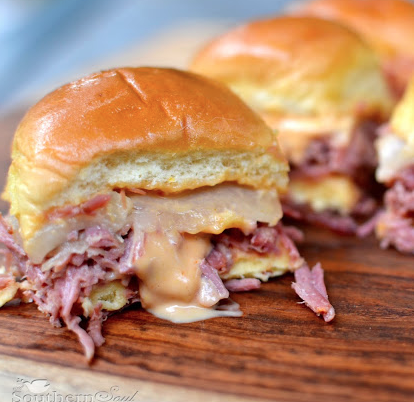
Slow Cooker Corned Beef Reuben Sliders from A Southern Soul.


Slow Cooker Corned Beef Reuben Sliders from A Southern Soul.


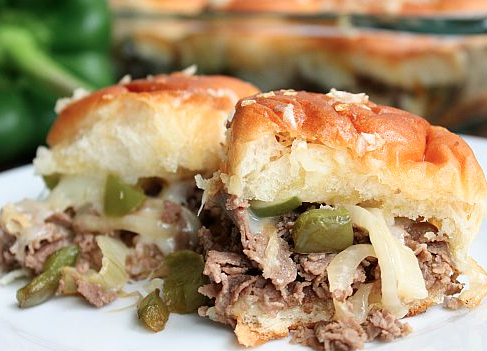
Philly Cheesesteak Sliders from Home. Made. Interest.


Philly Cheesesteak Sliders from Home. Made. Interest.


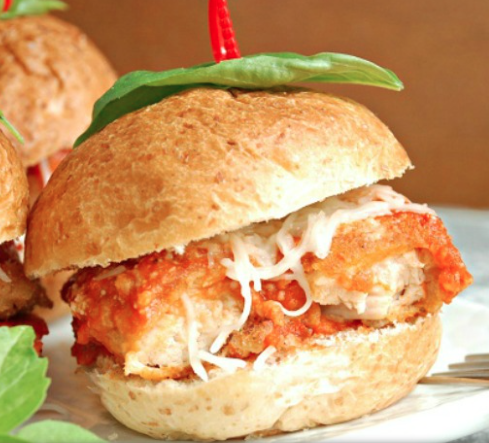
Chicken Parmesan Sliders from WillCookForSmiles.com.


Chicken Parmesan Sliders from WillCookForSmiles.com.


Thank you to WTLV-TV/NBC12 First Coast Living for inviting me on to share my favorite slider recipe!

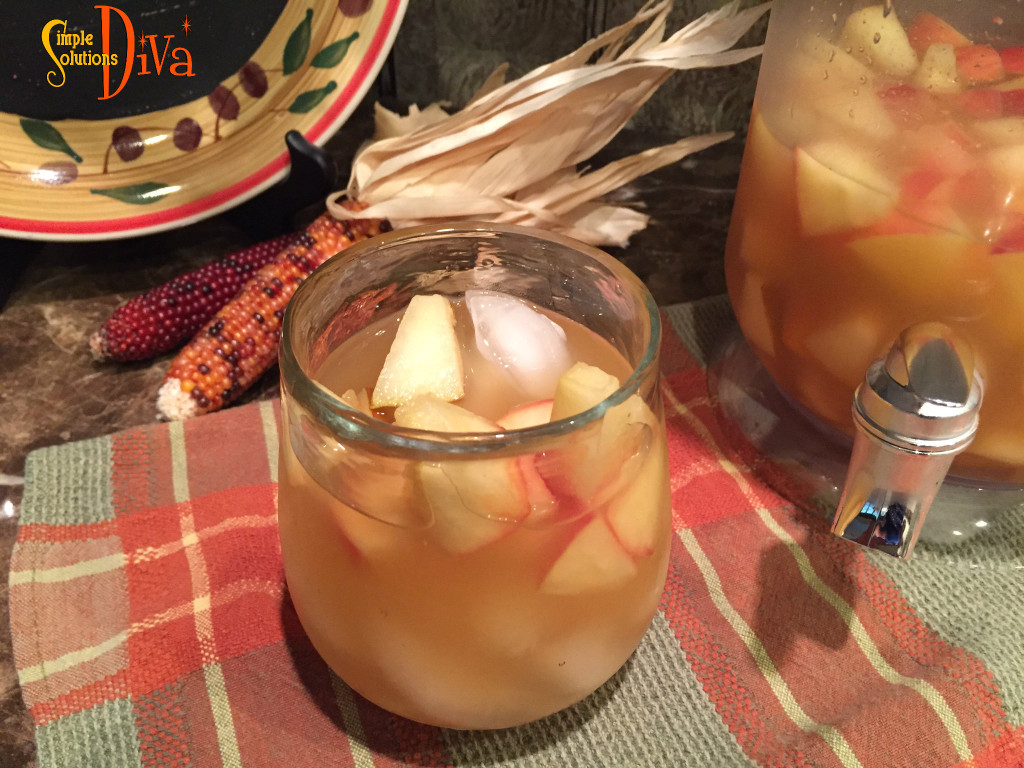
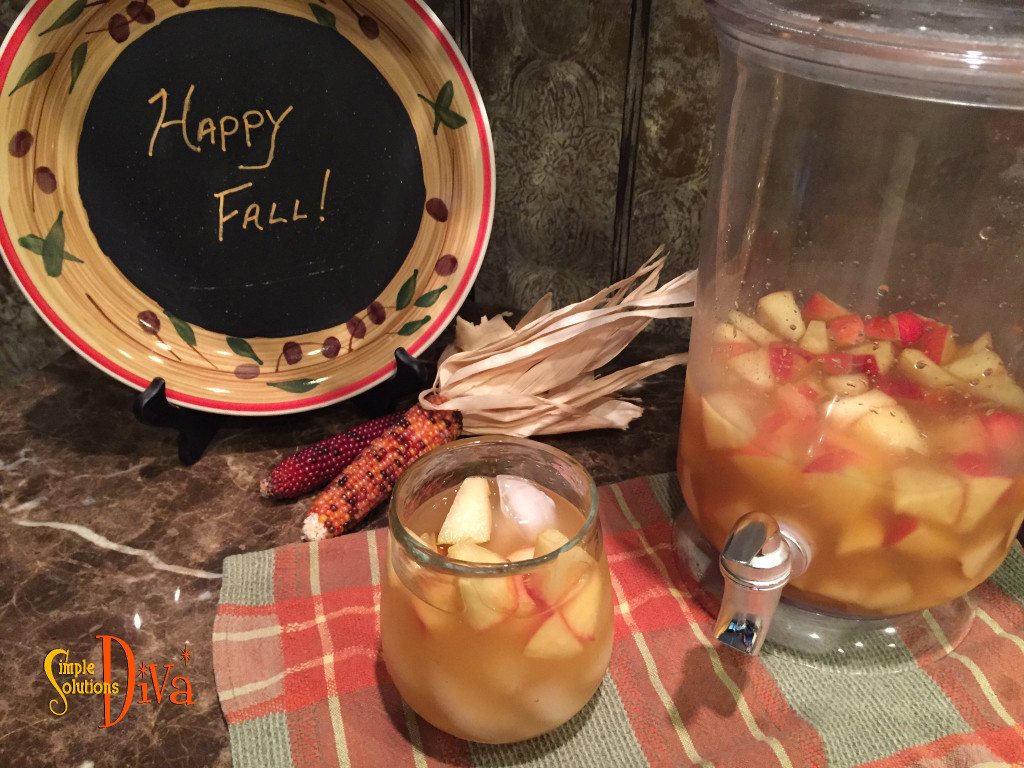
Apple Pie Sangria

This is a perfect cocktail to serve at Thanksgiving or any Fall event! This makes a large batch – you can cut the recipe in half and have a nice amount for 6-8 people.

SSD Apple Pie Sangria 5

Apple Pie Sangria
 
Prep time
Total time
 
A sweet sangria perfect for Fall events like Thanksgiving! Make the day ahead so all the flavors blend together.
Author:
Recipe type: Cocktail - Large Batch
Cuisine: Cocktails
Serves: 12-16
Ingredients
  • 2 bottle sweet wine, like resiling or muscato
  • 5 cups fresh apple cider
  • 2 cups ginger ale
  • 2 cups caramel flavored vodka
  • 3 honey crisp apple, cored & chopped
  • 3 pears, cored & chopped
  • 2 cinnamon sticks
Instructions
  1. In a large serving container, add the pears and apples. Add the remaining ingredients, except for the cinnamon sticks. Stir well and cover. Refrigerate overnight (or at least 6 hours).
  2. About 4 hours before serving, add the cinnamon sticks.
  3. Optional: Remove a cup or two of the apples and pears and place in bowl to add to glasses. (Keep in mind, the fruit is now soaked in alcohol, so don't give to kids or pets!)
  4. Serve over ice!


SSD Apple Pie Sangria 4SSD Apple Pie Sangria 1

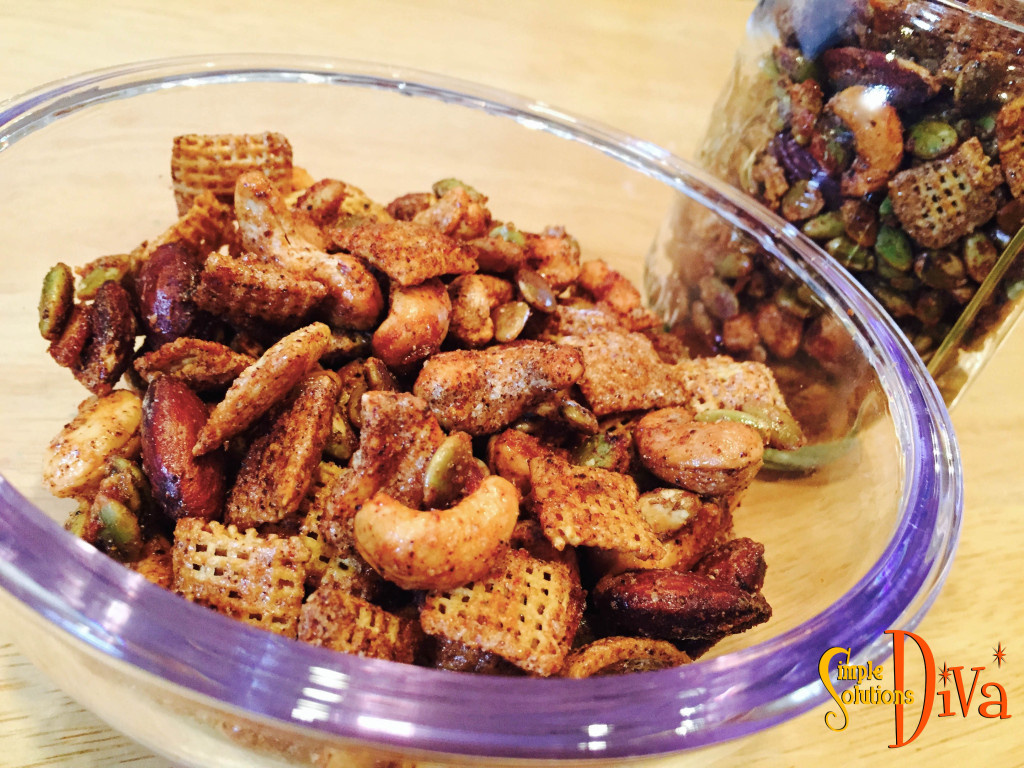
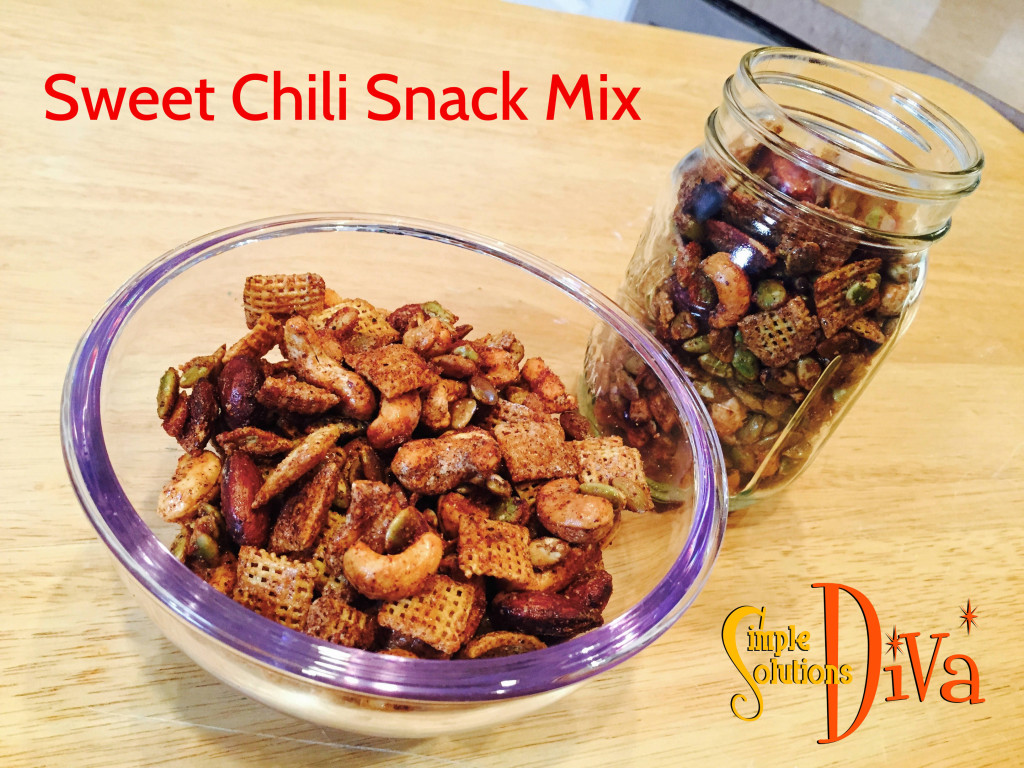
Sweet Chili Snack Mix

This recipe is handy for tailgating or as a snack – it is a perfect blend of salty, sweet, and it packs a nice protein punch!

snack w logo2

Ingredients:

  • ¼ Cup sugar
  • ½ teaspoon cumin
  • ½ teaspoon chili powder
  • ½ teaspoon chipotle chili powder
  • 1 large egg white
  • ¾ Cup Corn Chex
  • ¾ Cup almonds **
  • ¾ Cup cashews **
  • ¾ Cup pepitas (pumpkin seeds) **

** If you use nuts that are already salted, you don’t need to add salt. If they are not salted, feel free to add ½ teaspoon salt (or to taste)

snack w logo 1

Directions:

Preheat oven to 325 degrees.

In a small bowl, combine the sugar, cumin, chili powder and chipotle chili powder – stir to combine (If adding salt, add it in here).

In a larger bowl, whisk the egg white until it is frothy. To that, add the Chex and the nuts; stir to coat all ingredients. Sprinkle the spice mixture over the nut mixture, stirring to coat.

Cover a cookie sheet with parchment paper, then spread the mixture in the pan. Place in oven and cook for 15 minutes. Remove fro oven and stir, then place back into the oven. Shut oven off and let sit in warm oven for 15 more minutes. Remove pan from oven and allow to cool on a wire rack.

Store in airtight container for up to 2 weeks. Enjoy!

SSD Snack Mix

Blistered Corn Salad

This is a wonderful salad to serve at a BBQ or a tailgate party! I call it a sturdy salad because it can hold up to a little time outside on a warm day. Why? No mayo! Full of flavor and freshness!

Ingredients:

  • 1/3 Cup rice wine vinegar
  • 1 Tablespoon Dijon Mustard
  • 2/3 Cup Olive Oil
  • 8 Ears of corn
  • 1 Tablespoon jalapenos, chopped (or for milder version, substitute ¼ cup mild, chopped green chilies)
  • ½ Cup red onion, chopped
  • 1 Cup chopped cherry tomatoes (I used grape tomatoes)
  • ¼ Cup of mixture of chopped fresh herbs (I used chives, cilantro and basil)
  • Salt & Pepper to taste

Directions:

Husk the corn, removing all corn silk. Brush with olive oil and grill 10-15 minutes, turning frequently, until the corn is lightly charred on the outside. Using a knife, remove the corn kernels and place in a large bowl.

In a small bowl, whish together the Dijon mustard and the rice wine vinegar. Slowly whish in the olive oil. Add to the corn kernels (this tastes even better when the kernels are still warm!).

Stir in the remaining ingredients, add salt and pepper to taste, cover, and set aside to allow the flavors to blend together (I left mine out for an hour).

Serve at room temperature.

Refrigerate any leftovers!

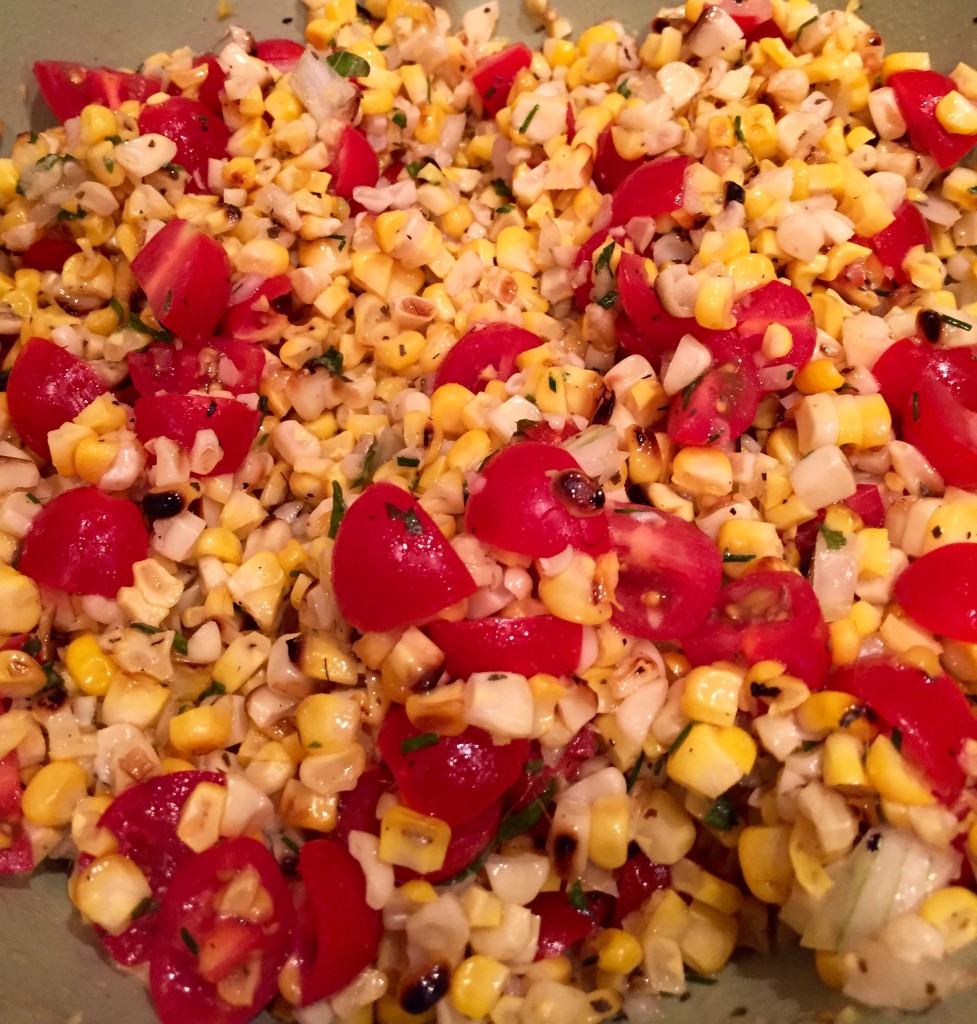
Close-up of Blistered Corn Salad


Blistered Corn Salad

1 2 3 9

© 2015 SIMPLESOLUTIONSDIVA.COM Designed by The Web Design Chic | ADMIN LOGIN