SimpleSolutionsDiva.com

Fall

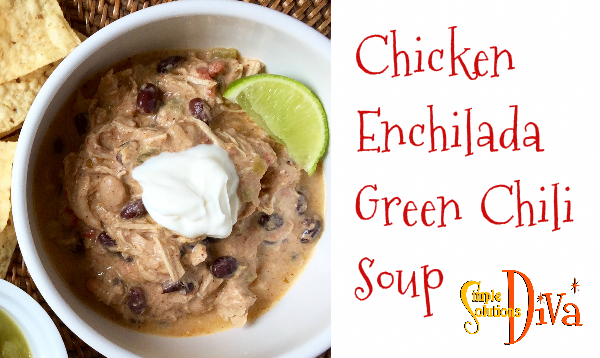
Chicken Enchilada Green Chili Soup

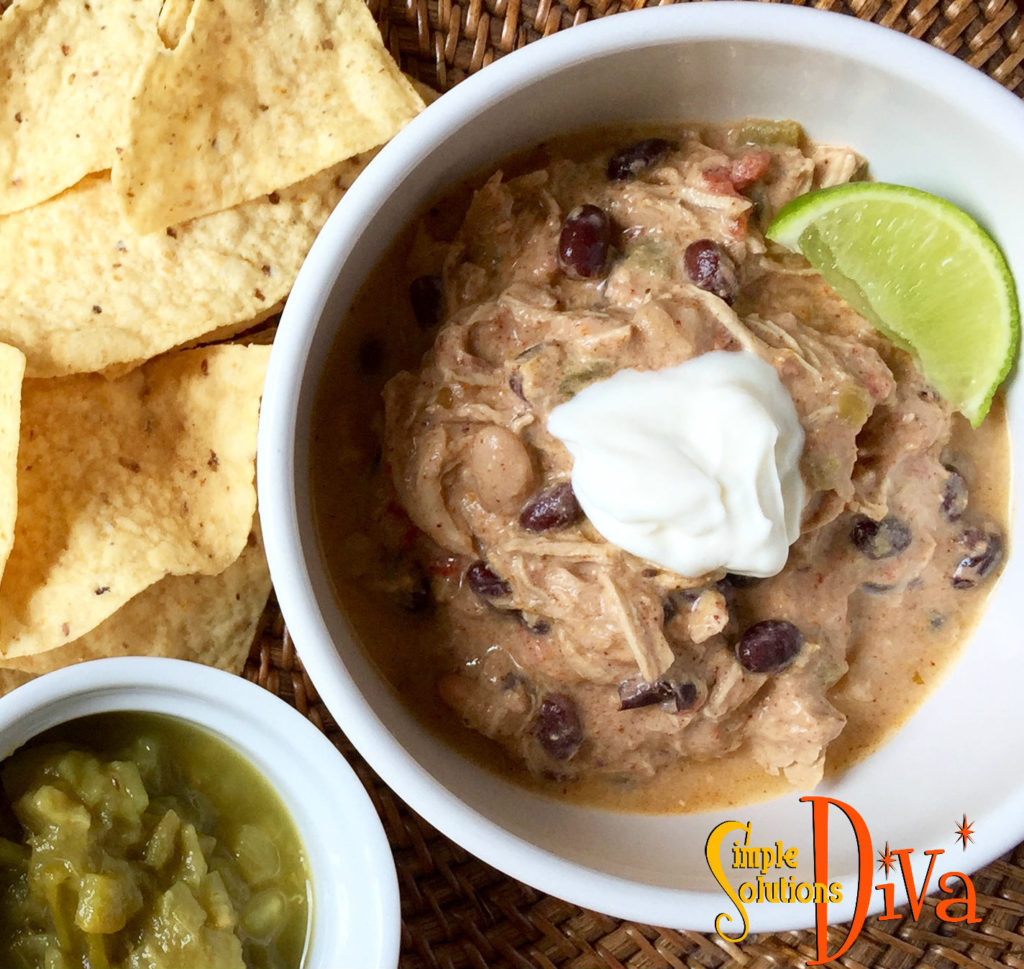
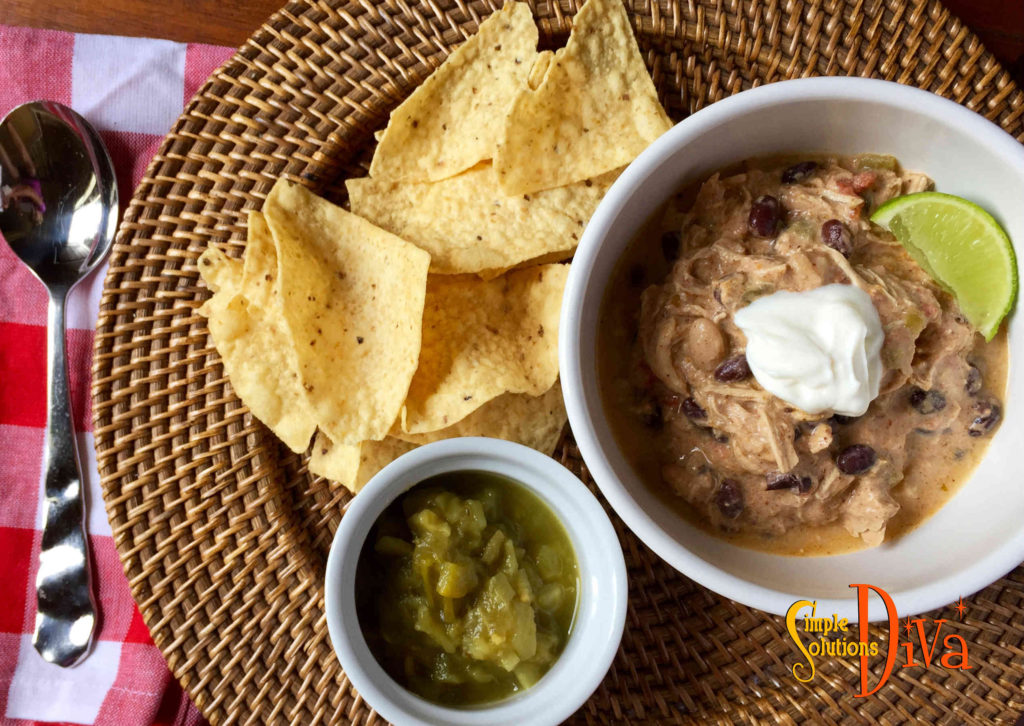
I love a good bowl of soup, especially on cool fall evenings! I find this soup, so thick it could almost be a stew, really hits the spot! A little spicy, a little Mexican – all my favorites in one dish!

enchilada-soup-2

I think when you try it, it will become a family favorite, too! Serve this up with some tortilla chips, a little sour cream, cheese, and maybe a little hot sauce to taste! Enjoy!

Crockpot Chicken Enchilada Green Chili Soup
 
Prep time
Cook time
Total time
 
This soup is perfect to come home to on cool nights in the fall or winter! Leave it in the crockpot all day and it will make your home smell like a Mexican fiesta!
Author:
Recipe type: soup
Cuisine: American/Mexican
Serves: 8 servings
Ingredients
  • 1 can green chili enchilada sauce
  • 4 chicken breasts, boneless
  • 2 cans diced green chilies
  • 1 can fire roasted diced tomatoes
  • 4 teaspoons chili powder
  • 1 T. cumin
  • 1 teaspoon paprika (if you use smoked, this would add a smokey flavor!)
  • 1 T. cilantro, chopped (optional)
  • 2 cans black beans, drained & rinsed
  • 1 can white beans, drained & rinsed
  • 16 oz. chicken broth (you can use more for a more soupy, soup!)
  • salt & pepper to taste (optional)
  • 8oz cream cheese, cubed
Instructions
  1. Pour half the can of green enchilada sauce on bottom of crockpot, then add chicken breasts.
  2. Top with remaining green enchilada sauce and all other ingredients, except for the cream cheese.
  3. Cover and cook on low for 8 hours, or on high for 4 hours.
  4. A half hour before serving, take 2 forks and shred the chicken. Add in the cubed cream cheese. Stir and cover, allowing the cream cheese to melt.
  5. Serve when the cream cheese is melted - enjoy!


Serve This Chicken Enchilada Green Chili Soup with Tortilla Chips, cheese and sour cream!

enchilada-soup-1

Simple Fall Decor For Your Home

ssd-fall-decor-2016

Happy Fall Y’all! I LOVE the cooler weather! Now is the perfect time to start decorating for the season, so I thought I would share some simple ways to bring a little fall into your décor!

Decorate With Mason Jars! You can buy mason jars in bulk at Publix, Walmart or other stores. They are very plentiful now because people are canning their summer produce.

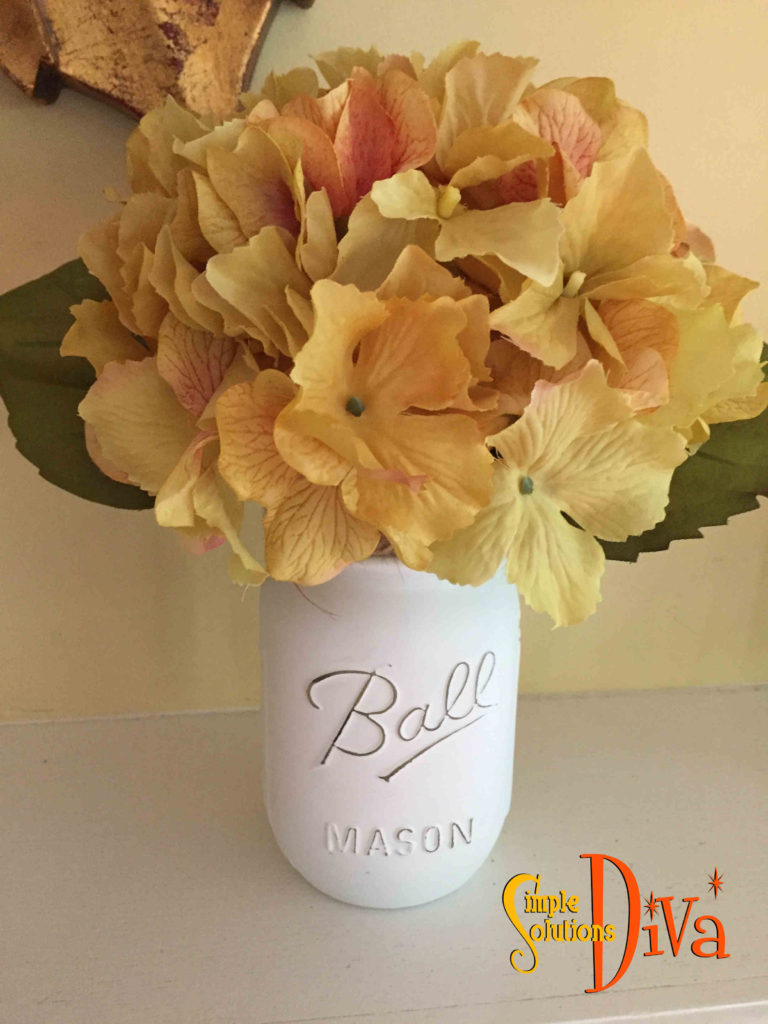
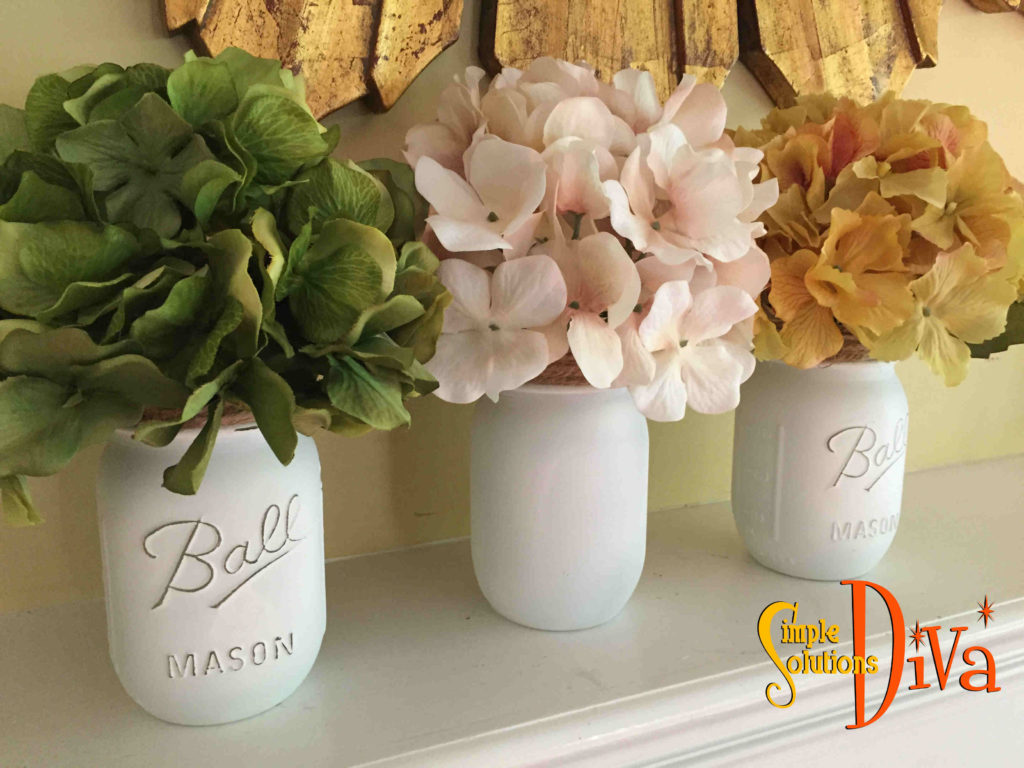
Distressed Can Be Good! Check out these cute, painted & distressed mason jars! I used Krylon Flat White Spray paint from Michael’s, sprayed the clean mason jars, then, when they were dry, I used a fine sandpaper to lightly distress the jars. I finished them off by wrapping natural twine around the top and added fall hydrangea! So simple!
fall-decor-3

fall-decor4


Get Leafy With It! If you like the look of fall leaves, grab a few, use glossy Modge Podge to affix the fall leaves to the mason jars – I use silk leaves when I do this project!

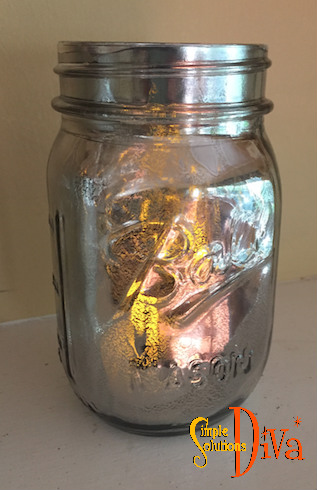
Love the Mercury Glass look? Grab a can of Krylon “Looking Glass” spray paint (I found it at a Michael’s Store) and spray the INSIDE of your mason jars. Add an LED candle inside and you have a cute candle! (Another Great Idea: You can also use the paint on the inside of one of those glass vases that come with flowers! I always have a few around the house! Or buy a simple glass vase from the Dollar Store!)
fall-decor-5

Bring A Little Nature Into The Home: Grab some pine cones from outside and use them in your decor! (But first be sure to dry & “debug” them with this simple tip from TwoitYourself.com)

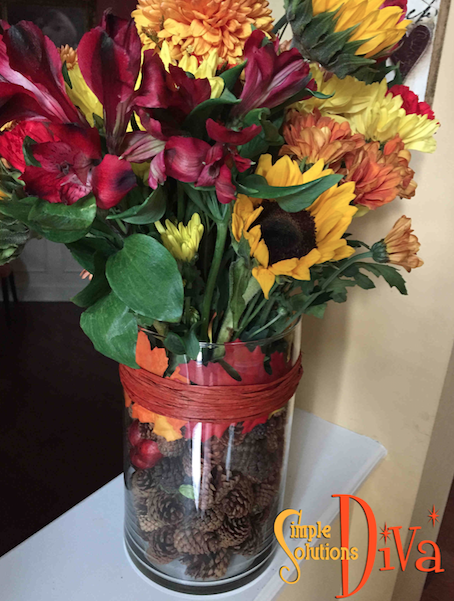
Pine cones & Flowers – Now check out this cute Flower display – it looks like the flowers are sitting in a jar of pine cones! (the Trick is, you have 2 vases – one small, one large. Put small inside the large, then add pinecones in between the two! Flower stems go inside the smaller vase!)
screen-shot-2016-09-23-at-6-26-06-am

Shop Your Home! Using pine cones and items around your home, you can create a Fall Tablescape that can take you from early Fall, Halloween on through to Thanksgiving! The tray is one that has been sitting in my bedroom. I had the three glass jars. I got the pine cones from outside, and then I just added items appropriate for the season – orange berry sprays for Fall, glitter pumpkins for Halloween, and I can add small gourds & mini pumpkins for Thanksgiving! The only thing I bought were the candles!
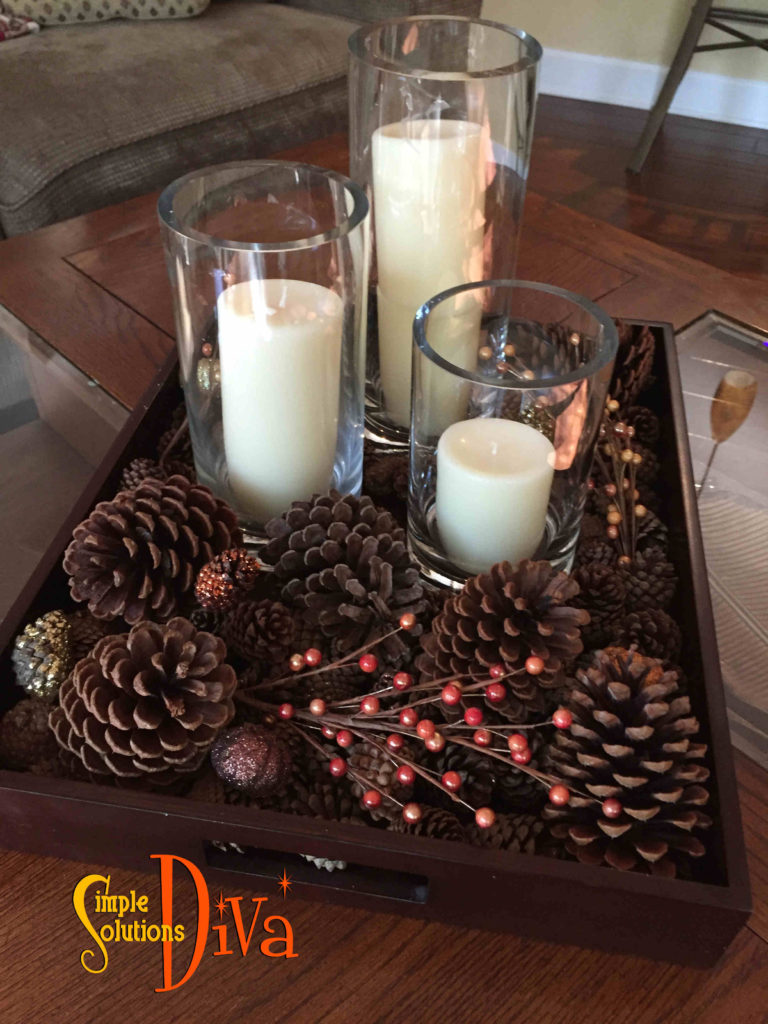
fall-decor2

Dollar Store Deals – If you want to decorate for the fall, you’ve got to check out dollar stores NOW! They have all their products out for fall and Halloween! (And even a little Christmas now, too!) I found cute little mini pumpkins, felt placemats in the shape of fall leaves, and forms for wreaths!

Special Giveaway! I will be cooking things up on the Jacksonville Magazine Cooking Stage Sunday, October 2, 11:30 a.m. at the Jacksonville Home + Patio Show. I have 4 pairs of tickets to the Jacksonville Home + Patio Show, September 29-October 2. The first four people to email me at info@simplesolutionsdiva.com will win the tickets.

If you don’t win, don’t be upset because I have a coupon code you can use to get discounted tickets at the Home & Patio Show – Use the code DIVA!

Thank you to WTLV-TV’s First Coast Living for inviting me on to share these simple tips!
 

Getting Creative With Veggies – Carrot “Pumpkins”

I know from experience it can be difficult to get kids to eat their veggies! For some reason, two and three year olds just don’t care when you explain that veggies are good for them! But like all good parents, we try to sneak vegetables into their diet – some with success, some without!

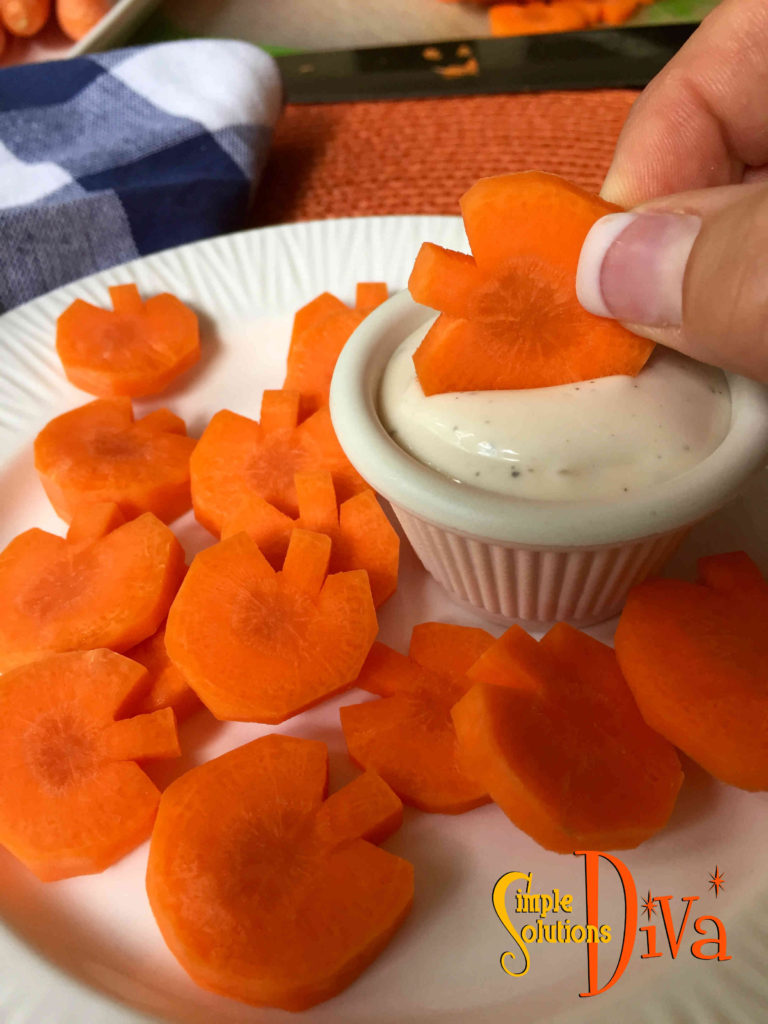
So I knew when I saw these adorable carrot “pumpkins” they would be a perfect fall treat for kids – and something a parent can feel good about giving them!

pumpkin-carrot2


I hope you like the cutting demonstration in the video!  Disclaimer: When using a big knife, I don’t recommend letting the kids cut the carrots! If you want to get them involved, give them the job of peeling and washing the carrots!

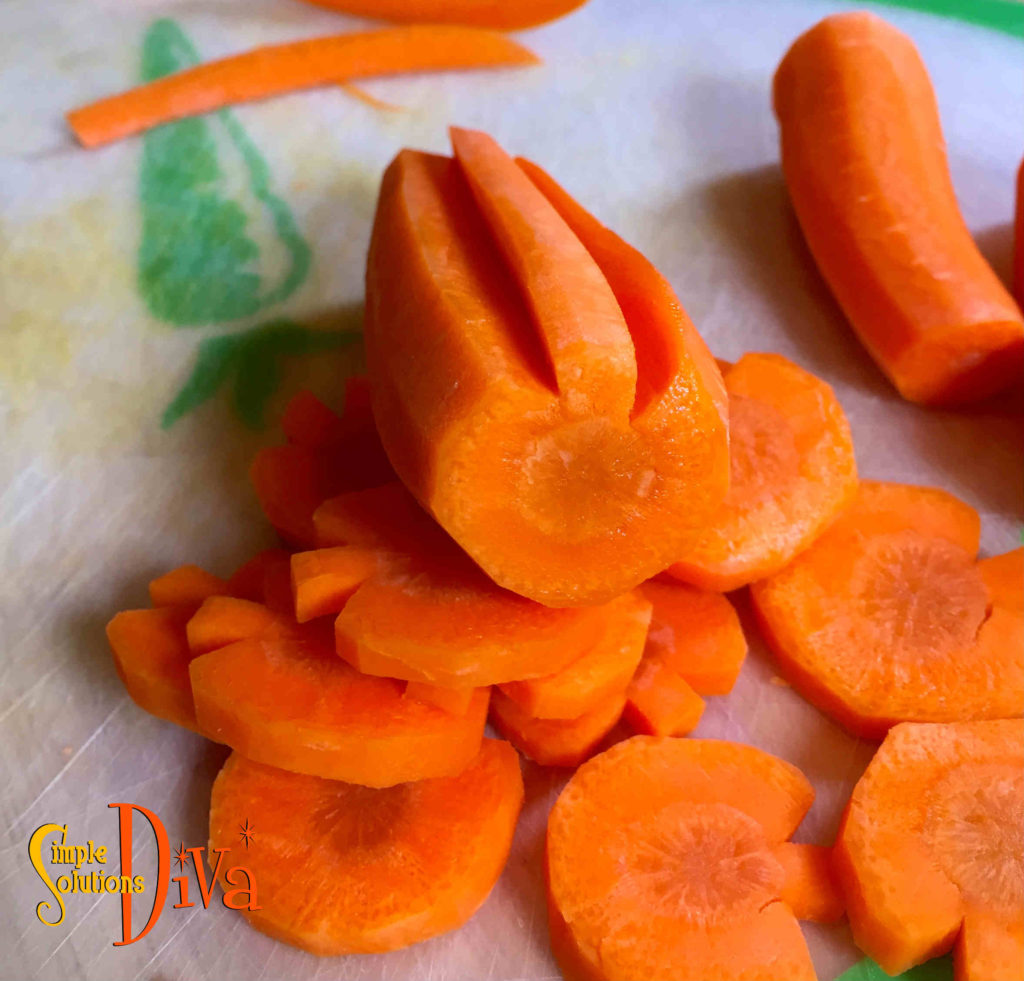
A close-up of the cuts you need to make on your carrot - So cute!
A close-up of the cut carrot – So cute!


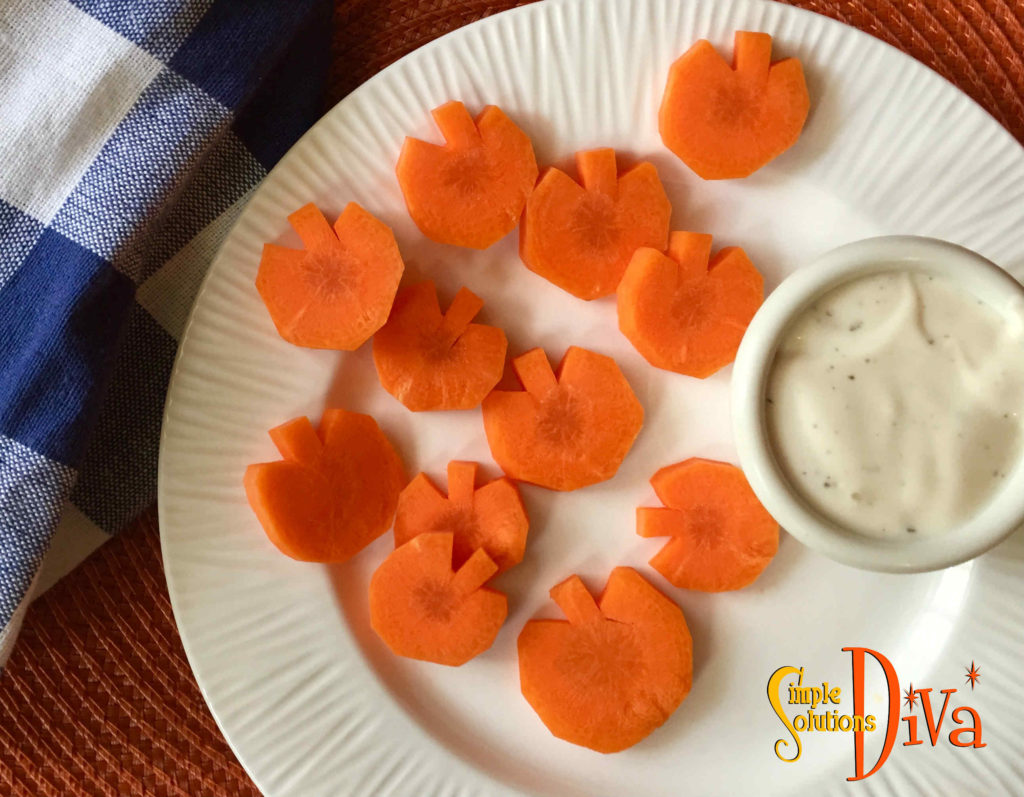
What kid could refuse these sweet & crunchy “pumpkins” – especially if they are served with dip! Or add them to chicken noodle soup for a Fall or Halloween theme!

pumpkin-carrots-1


However you serve them, you and your child are sure to love them! (FYI – Even my teenagers happily munched away on these – before I was done filming!)

pumpkin-carrots4

Simple Apple Cake

I kick off this month of being Thankful For The Season! And today, I am Thankful for Apples!

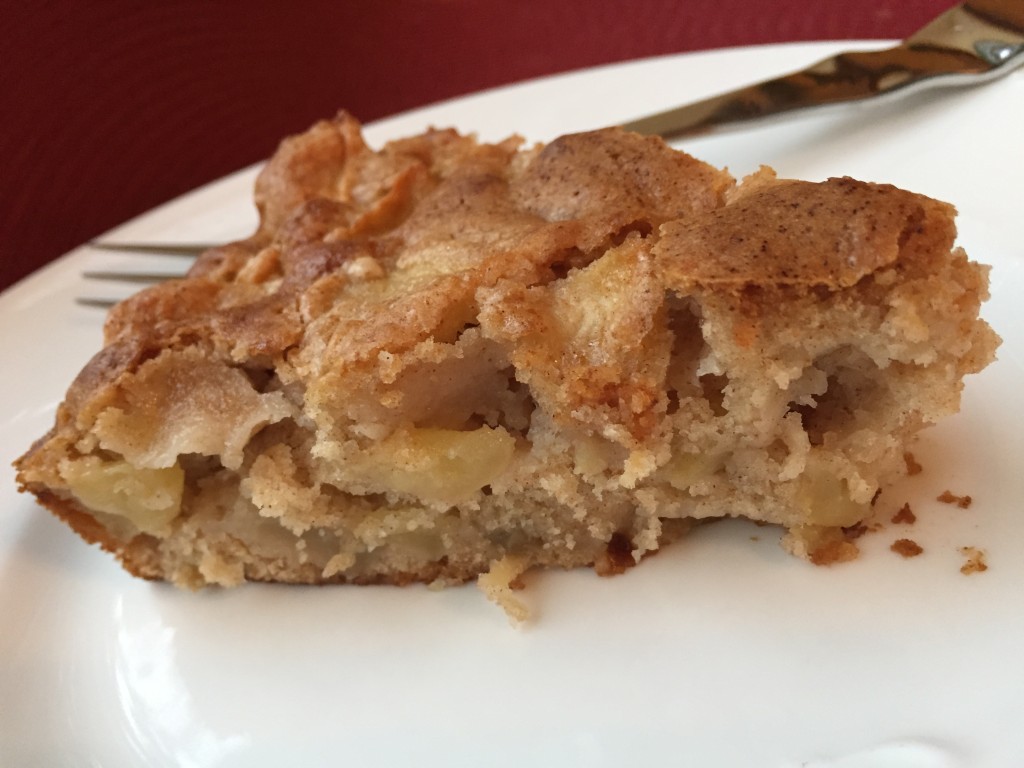
If you love apples and cinnamon, and you like things simple, this is the cake for you!! Serve it warm with vanilla ice cream, or drizzle with your favorite cream cheese glaze!

Simple Apple Cake from SimpleSolutionsDiva.com

Simple Apple Cake
 
Prep time
Cook time
Total time
 
Full of apple and cinnamon!
Author:
Recipe type: Baking
Cuisine: Cake
Serves: Approx. 16 servings
Ingredients
  • 2 Eggs
  • 1¾ Cup Sugar
  • 2-3 Heaping teaspoons of Cinnamon
  • ½ Cup Vegetable Oil
  • 6 Medium Gala, Fuji or Honey Crisp Apples
  • 2 Cups Flour
  • 2 teaspoons Baking Powder
Instructions
  1. Preheat oven to 350 degrees.
  2. In a large bowl, mix together the eggs, sugar, cinnamon and oil.
  3. Peel and slice the apples, and add to the mixture in the bowl.
  4. Mix together the baking powder and the four, then add to the bowl. Mix everything together thoroughly.
  5. Pour into 2 greased 9 " cake pans (or one greased 9x13" pan). Bake for approximately 55 minutes until a toothpick inserted in center comes out clean.
  6. Serve warm plain OR with vanilla ice cream! Enjoy!


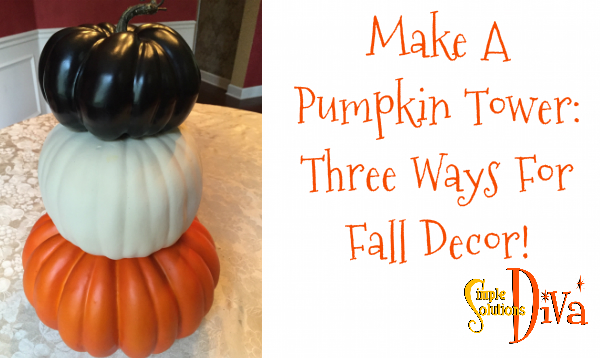
Make A Pumpkin Tower Three Ways For Fall!


This is a great project if you have found a good deal on artificial pumpkins! (Mid-October is when they tend to go on sale, so keep your eyes out for them!)

Pumpkin Tower 3

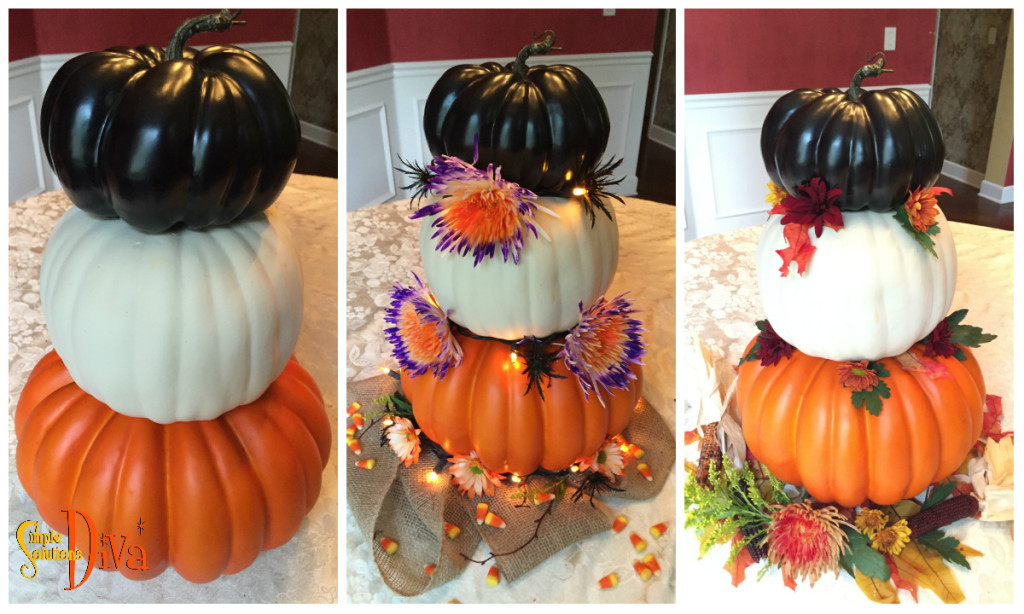
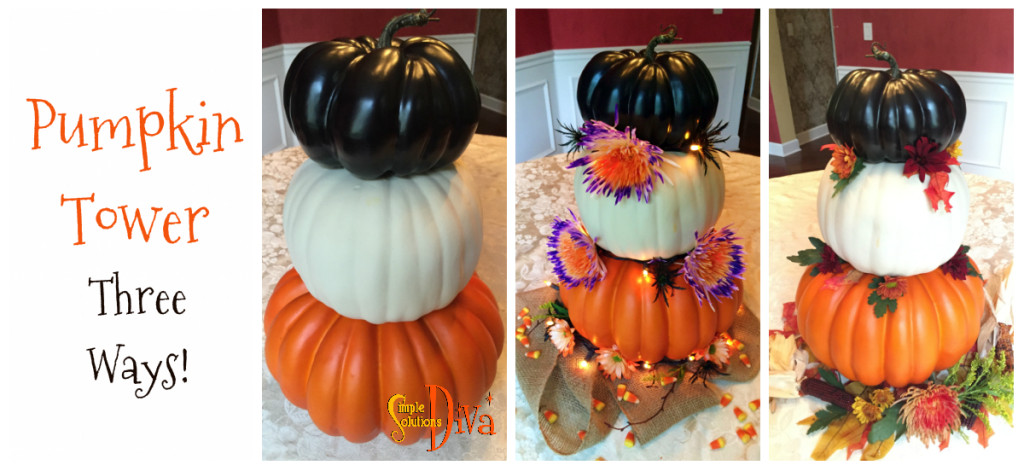
I like to have decor I don’t have to change up much to carry me from Fall to Thanksgiving, especially since I will go crazy with Christmas decorations! This was the perfect project for me – with just a few simple changes, I have three different looks!

Pumpkin Tower 2


What You Need:

  • Three artificial pumpkins, three different sizes and colors.
  • Hot Glue Gun
  • Knife to remove stem from 2 pumpkins (if needed)
  • Decorative items to change the look of the Pumpkin Tower. (I used two different bouquets of flowers from the grocery store, fall leaves, plus some Halloween decorations and some burlap fabric I had handy.)

Instructions on how to assemble the Pumpkin Tower are in the video at the top of this post!

Another use for the Pumpkin Tower, besides as a centerpiece: Have it on display in a planter on the front porch. Place some fall leaves and branches under it and it would be adorable!


Pumpkin Tower 1

Simple Fall Recipe: Fantastic Pumpkin Cheesecake Bread

This recipe is the best of both worlds – pumpkin bread AND cheesecake!  Feel free to use your own favorite pumpkin bread recipe, then use the directions below to create the cheesecake layer and to assemble the layers!

Ingredients:

Pumpkin Bread Layer

  • 2 Cups canned pumpkin (one can of canned pumpkin)
  • 4 Eggs
  • 1 1/2 Cups flour (You can make this 1/2 white flour and 1/2 wheat flour, for a healthier and more dense bread)
  • 3/4 Cup light brown sugar, packed
  • 1 teaspoon baking soda
  • 1 1/2  teaspoons ground cinnamon
  • 1/4 teaspoons nutmeg
  • 1/4 teaspoon ground cloves
  • 1/4 teaspoon ginger

Cheesecake Layer

  • 8 oz. cream cheese, softened
  • 4 Tablespoons sugar
  • 2 teaspoons flour
  • 1 egg


Directions:

Preheat oven to 350 degrees. Grease and flour a bread loaf pan.

For the pumpkin layer – In a large bowl, combine the pumpkin and eggs until mixture is smooth. In a separate, medium bowl, combine the flours, sugar, baking soda, and spices, making sure they are well mixed.

Slowly add in the dry ingredients into the wet ingredients. Mix well and set aside.

For the cheesecake layer – In a small bowl, combine cream cheese, sugar, flour, and egg until smooth.

To assemble the layers – Spoon or pour the pumpkin mixture into the bread loaf pan, filling 1/2 way.  Spoon or pour the entire cheesecake mixture over the pumpkin mixture, covering well. Add remaining pumpkin mixture to fill bread loaf pan 3/4 of the way.

Place in 350 degree oven for approximately 50-60 minutes. Test with a knife or toothpick in center for doneness – toothpick should come out clean. If not, place it back in oven and test again in five minutes!


This wonderful recipe was adapted from the website, BroughtToYouByMom.com. If you would like to check out the original recipe, click Here.


Simple Fall Recipe: Hot Apple Cider


Watch your family and friends’ reactions when they walk into your home and smell this cooking on the stove or in the crockpot!
Ingredients:

  • 2 Quarts fresh apple cider
  • 1/2 Cup brown sugar (or 1/4 Cup fresh maple syrup)
  • 1 Orange
  • 1 Apple
  • 2 teaspoons whole cloves
  • 4 cinnamon sticks
  • 15 allspice berries (or 1/4 teaspoon ground allspice)
  • Pinch of nutmeg
  • cinnamon sticks and small orange slices as garnish
  • Dark rum or spiced rum (optional)


Directions:

Pour the apple cider into a large pot (or crockpot).

Wash, dry, then slice the orange into thin slices, leaving a 1/4 of the orange ready for juicing. Place slices into the apple cider, and squeeze the juice from the 1/4 of orange into the pot.

Wash, dry, then slice the apple into thick slices.  Push the whole cloves into the skin of the apple slices, and place into the pot (or just toss both apple slices and cloves separately into the pot for convenience!).

Add the cinnamon sticks, allspice, brown sugar, and nutmeg into the pot and stir well. Heat on low for 10-15 minutes (or place on warm in crockpot for hours!). Serve warm in cups garnished with a fresh cinnamon stick and a small slice of orange.

For an adult version, serve with a shot of dark rum or spiced rum – YUM!


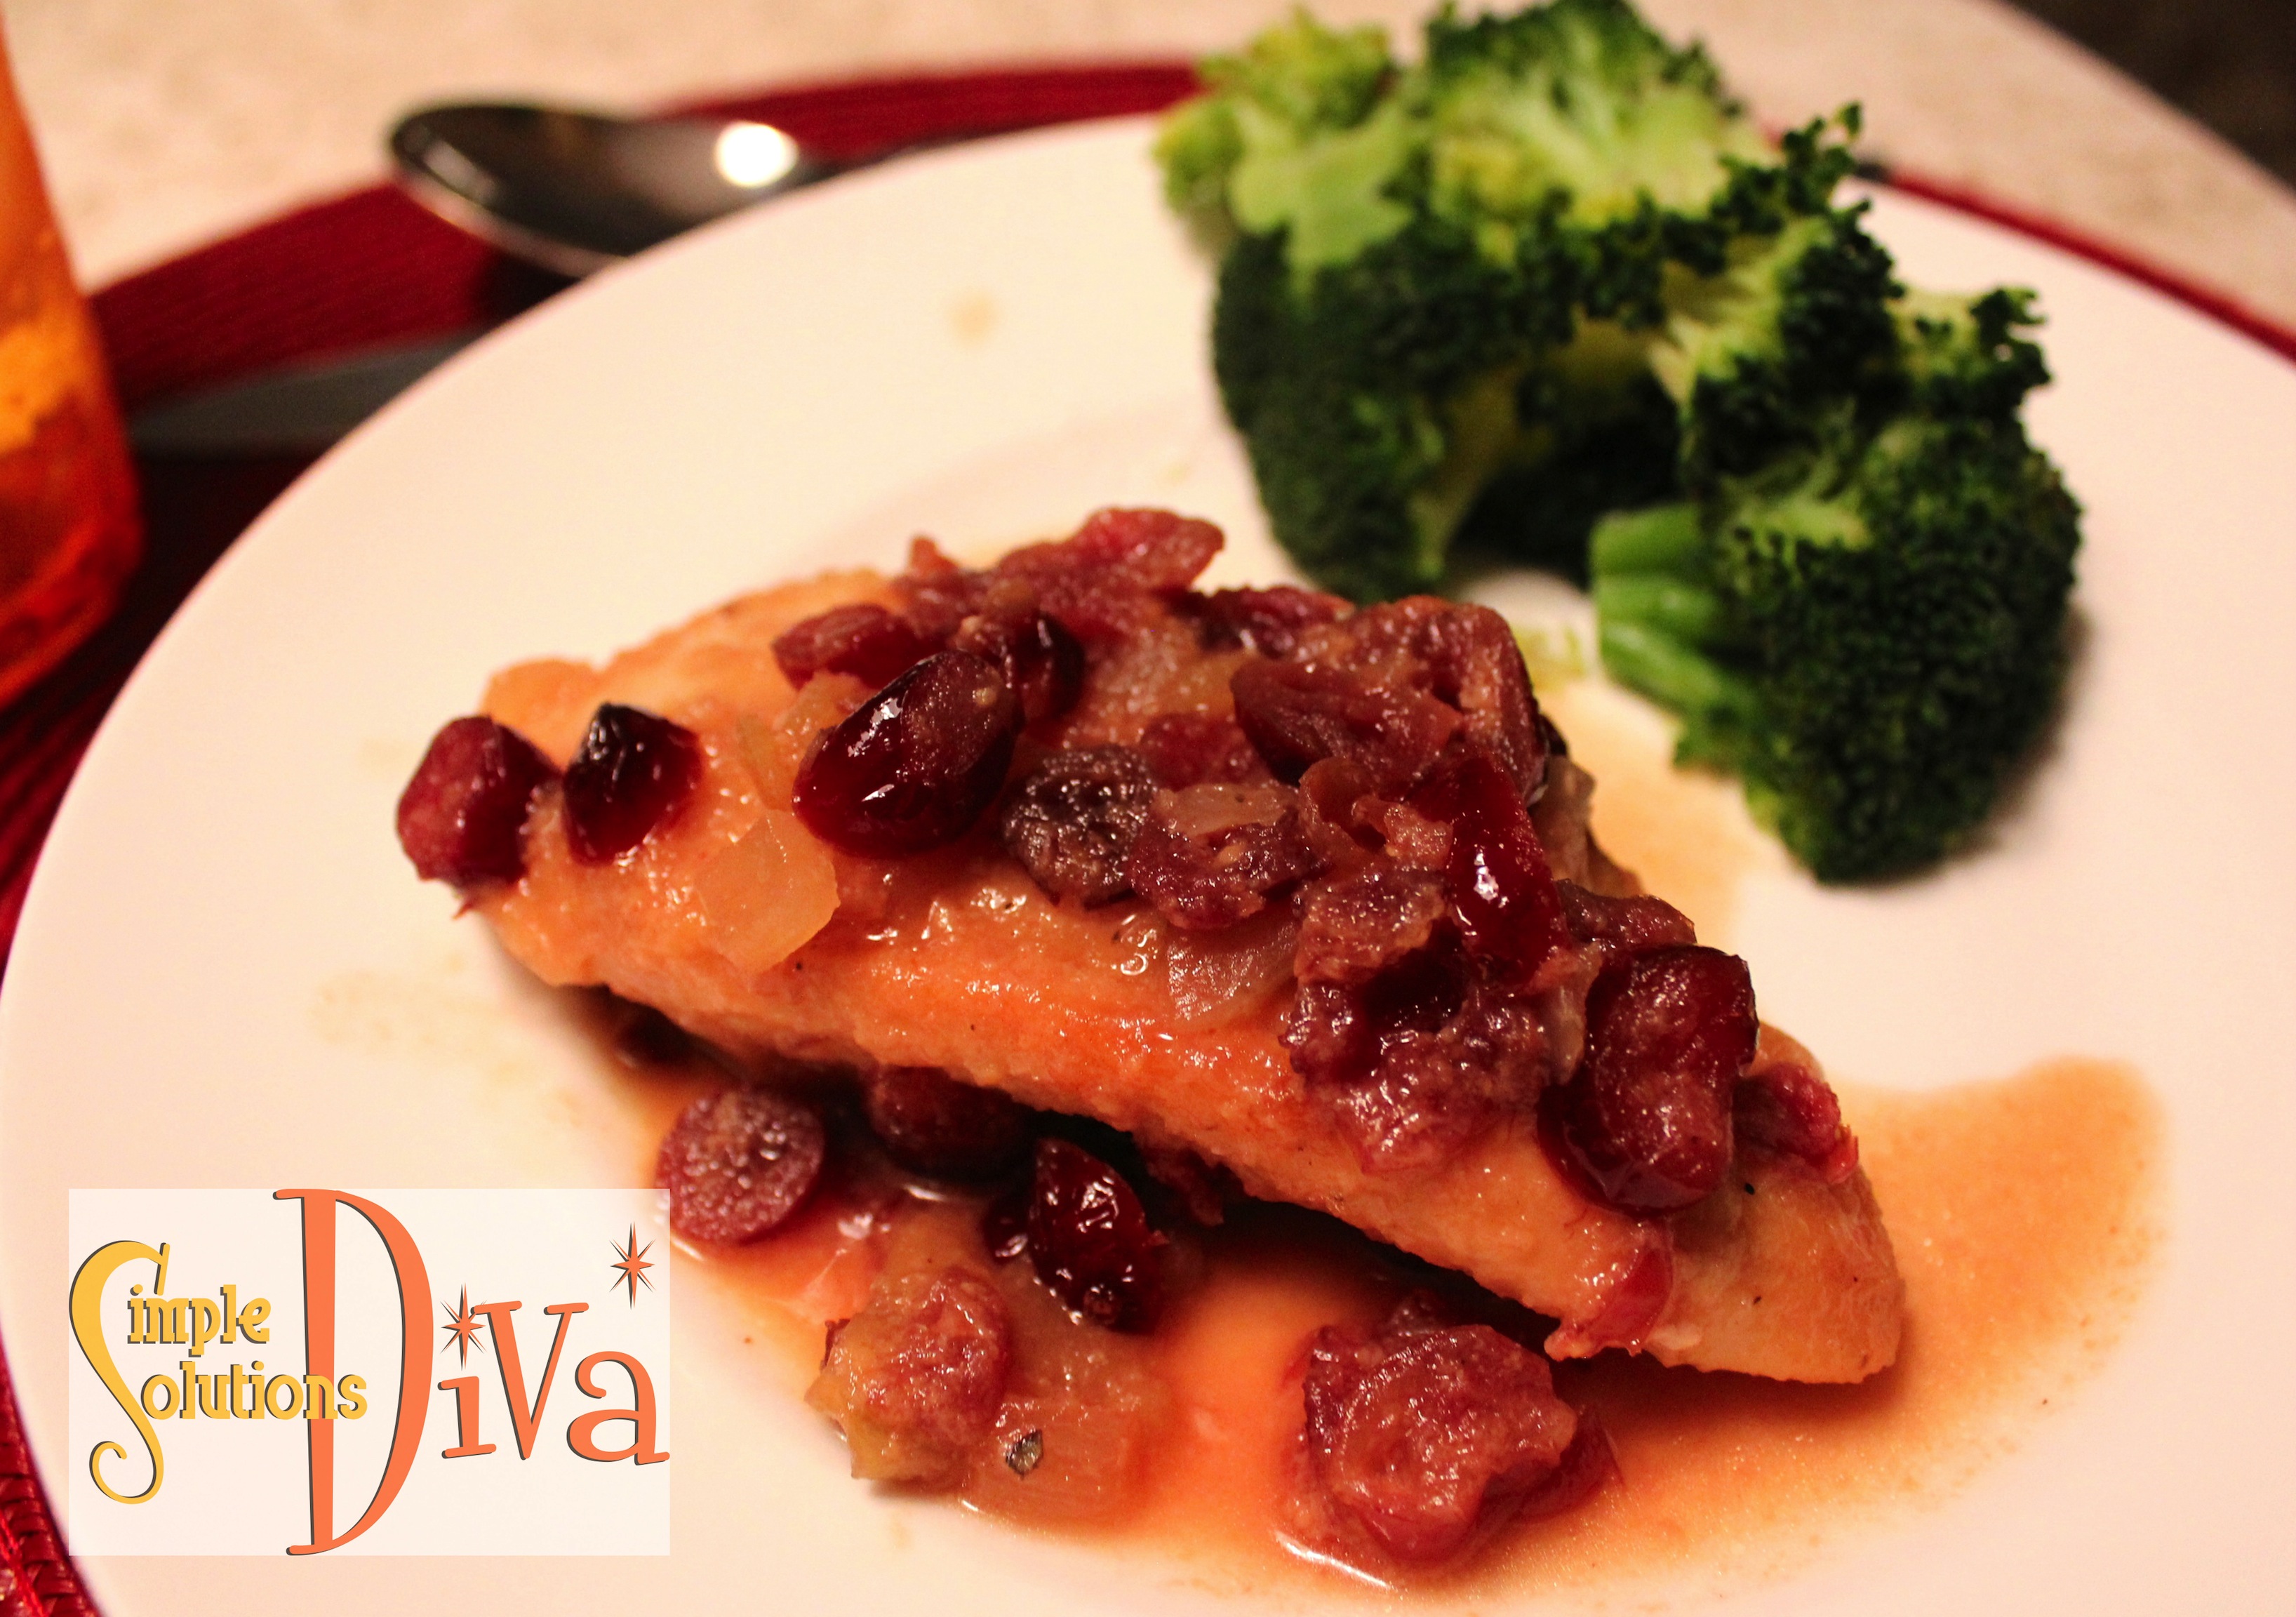
Simple Recipe: Fall Harvest Chicken Breast

Fall Harvest Chicken Breast from SimpleSolutionsDiva.com


This recipe is a new favorite in our household – with dried cranberries, apples and onions, it is a sweet taste of Autumn!

Ingredients:

4 Boneless Chicken Breasts

1 cup dried, sweetened cranberries

1/2 cup apple juice

1/2 cup chicken broth

1/2 cup chopped apples (peel, core and chop one small apple)

1/2 cup chopped onions (I used frozen chopped onions)

1 Tablespoon olive oil or other cooking oil

1 Tablespoon flour

1/2 teaspoon coarse ground pepper

1/2 teaspoon kosher salt

1 Tablespoon Dijon Mustard


Directions:

Combine cranberries, apple juice and chicken stock in a small bowl. Set aside.

In a gallon-sized plastic bag with zip top, mix flour, salt and pepper. Toss chicken breasts into bag and shake well until each breast is coated evenly with flour.

Heat oil in a medium skillet over medium-high heat. Once oil is hot add chicken and cook for 5 minutes each side. Remove chicken to a plate and keep warm.

Add apples and onions to pan and cook down on medium heat until the onions are translucent.

Pour soaked cranberries with juice and stock into the hot pan, reduce heat to low and scrape up any browned bits on the bottom of the pan. Stir in mustard and add chicken back into pan.

Cook for another 8-10 minutes or until chicken is no longer pink and sauce has thickened. Serve chicken with sauce atop.


1 2

© 2015 SIMPLESOLUTIONSDIVA.COM Designed by The Web Design Chic | ADMIN LOGIN