SimpleSolutionsDiva.com

DIY projects

Make A “No Sew” Scarf

I’ve always fancied myself a seamstress. . .

As a kid, I used to make costumes for my cats, making them get married or go to a ball. I’d spend hours on costumes, and quite a bit of time trying to get them on the cats! Once done, I’d sit back and admire my work, as I applied Bandaids to my face and neck.

But I never really LEARNED to sew. Yes, I could sew on a button (Thanks Grandma!), but I never really learned on a sewing machine. I envied people who could! So over the years, as I tried to create Halloween costumes for myself and eventually my kids, I found I became very adept at using a hot glue gun to seal seams!

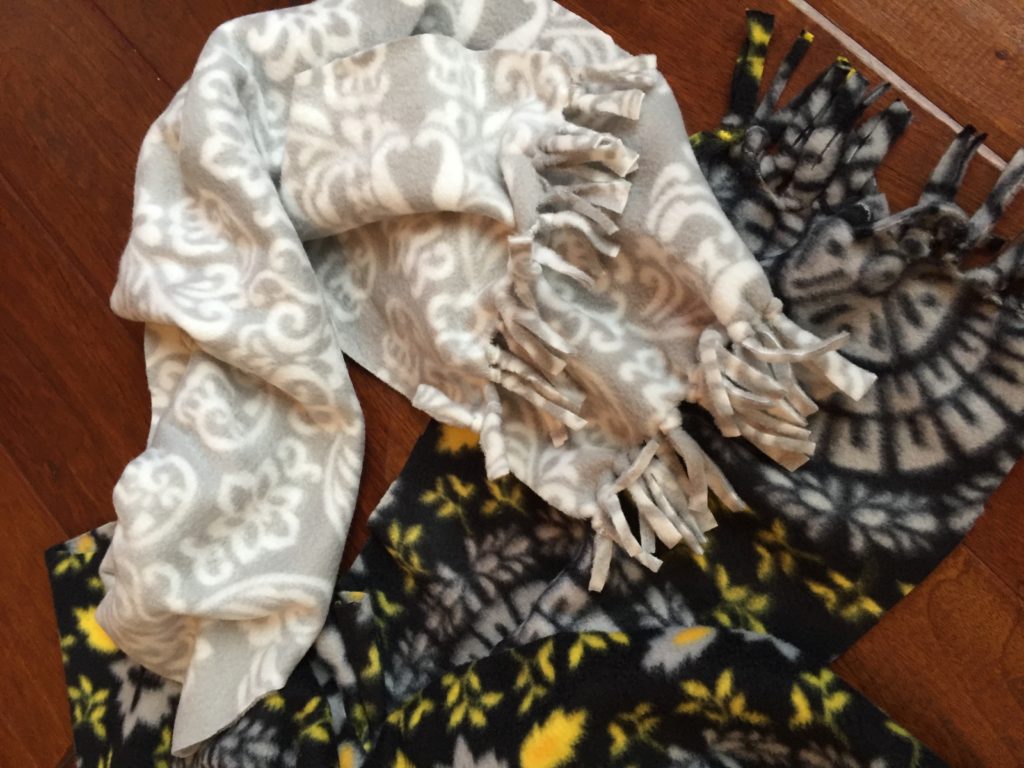
Well, with THIS project, you don’t need ANY hot glue, sewing machines, or even needle and thread! Just a yard of fleece fabric, some masking tape and sharp fabric scissors! (MY kind of sewing project!) And look how nice they are:

img_2967


This makes a great, last minute gift idea, or even better, it could become a community service project for middle school or high school students! Make a few scarves in one day and donate them to a homeless shelter!

A Few Tips:

  1. Fold the yard of fleece in half, line the edges up and cut off the white edging where the print stops.
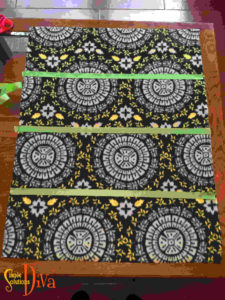
  2. ssd-scarf-3Use masking tape to mark off the four scarves and to provide a straight line to cut along. Scarves should be 8-10 inches wide – on this project I marked off 9.5 inches.

ssd-scarf-4


ssd-scarf-1


Simple Fall Decor For Your Home

ssd-fall-decor-2016

Happy Fall Y’all! I LOVE the cooler weather! Now is the perfect time to start decorating for the season, so I thought I would share some simple ways to bring a little fall into your décor!

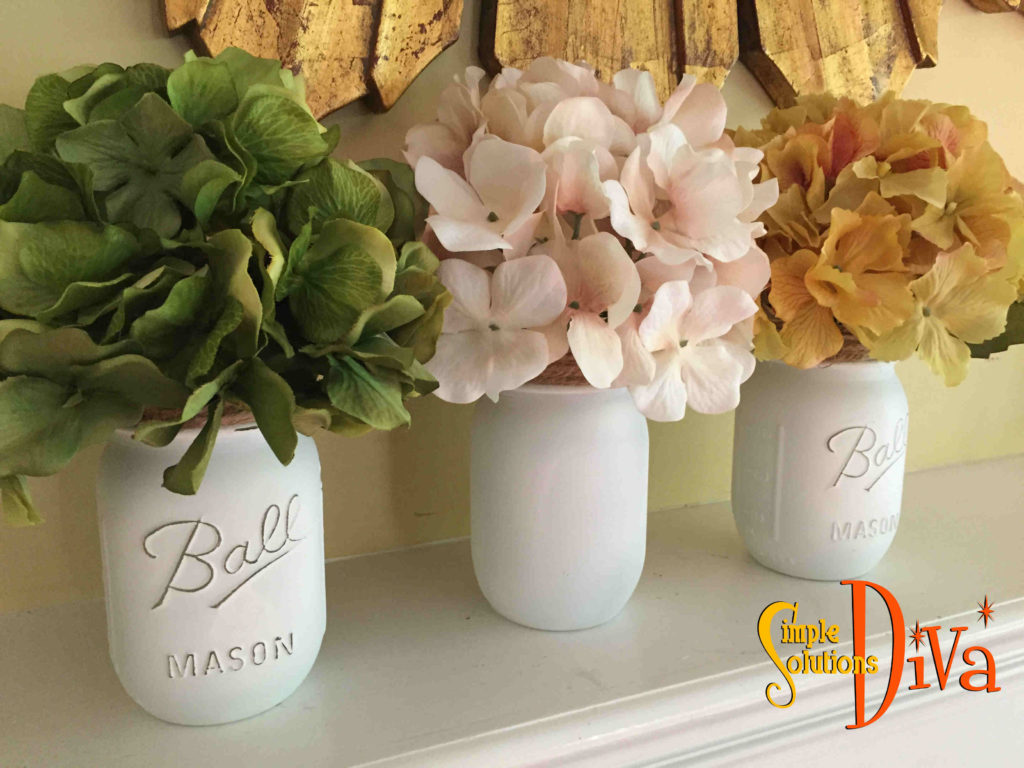
Decorate With Mason Jars! You can buy mason jars in bulk at Publix, Walmart or other stores. They are very plentiful now because people are canning their summer produce.

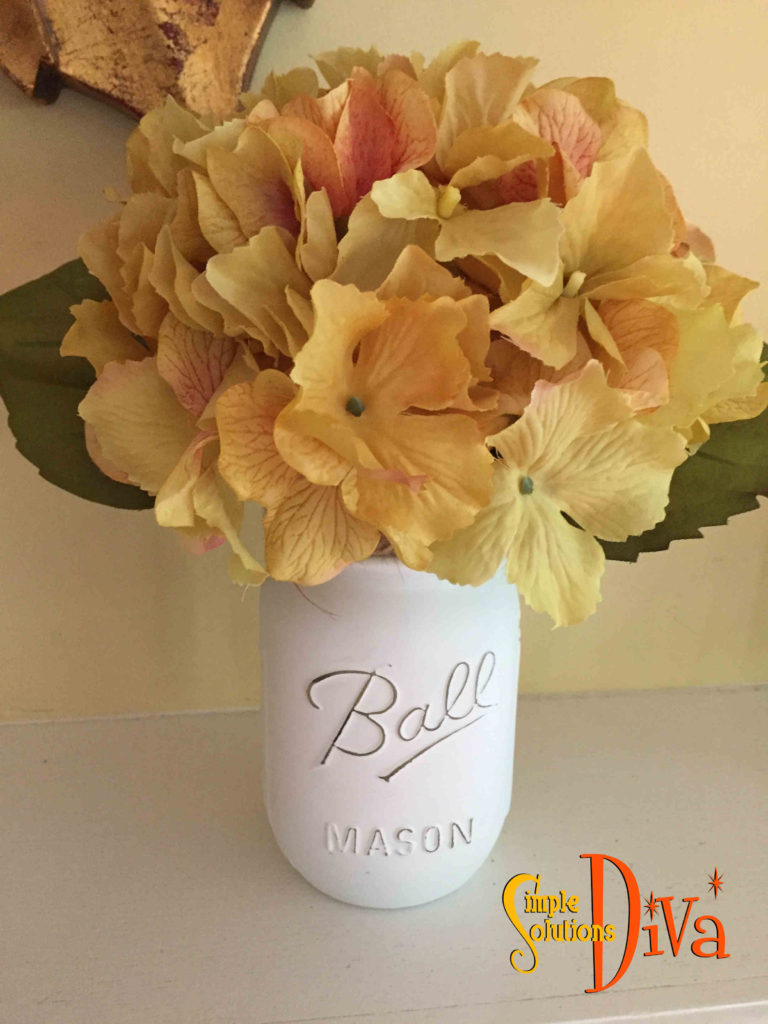
Distressed Can Be Good! Check out these cute, painted & distressed mason jars! I used Krylon Flat White Spray paint from Michael’s, sprayed the clean mason jars, then, when they were dry, I used a fine sandpaper to lightly distress the jars. I finished them off by wrapping natural twine around the top and added fall hydrangea! So simple!
fall-decor-3

fall-decor4


Get Leafy With It! If you like the look of fall leaves, grab a few, use glossy Modge Podge to affix the fall leaves to the mason jars – I use silk leaves when I do this project!

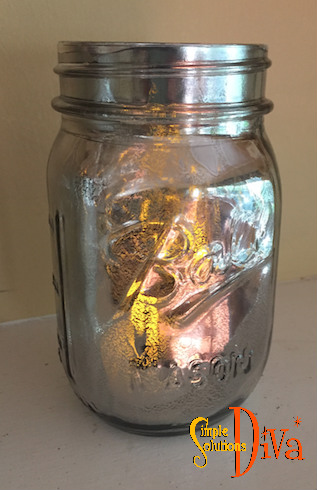
Love the Mercury Glass look? Grab a can of Krylon “Looking Glass” spray paint (I found it at a Michael’s Store) and spray the INSIDE of your mason jars. Add an LED candle inside and you have a cute candle! (Another Great Idea: You can also use the paint on the inside of one of those glass vases that come with flowers! I always have a few around the house! Or buy a simple glass vase from the Dollar Store!)
fall-decor-5

Bring A Little Nature Into The Home: Grab some pine cones from outside and use them in your decor! (But first be sure to dry & “debug” them with this simple tip from TwoitYourself.com)

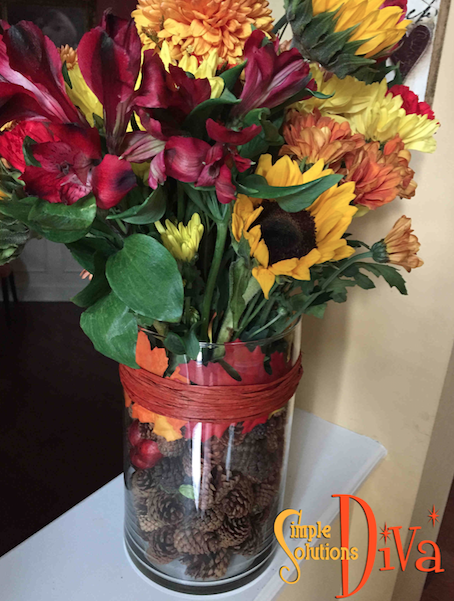
Pine cones & Flowers – Now check out this cute Flower display – it looks like the flowers are sitting in a jar of pine cones! (the Trick is, you have 2 vases – one small, one large. Put small inside the large, then add pinecones in between the two! Flower stems go inside the smaller vase!)
screen-shot-2016-09-23-at-6-26-06-am

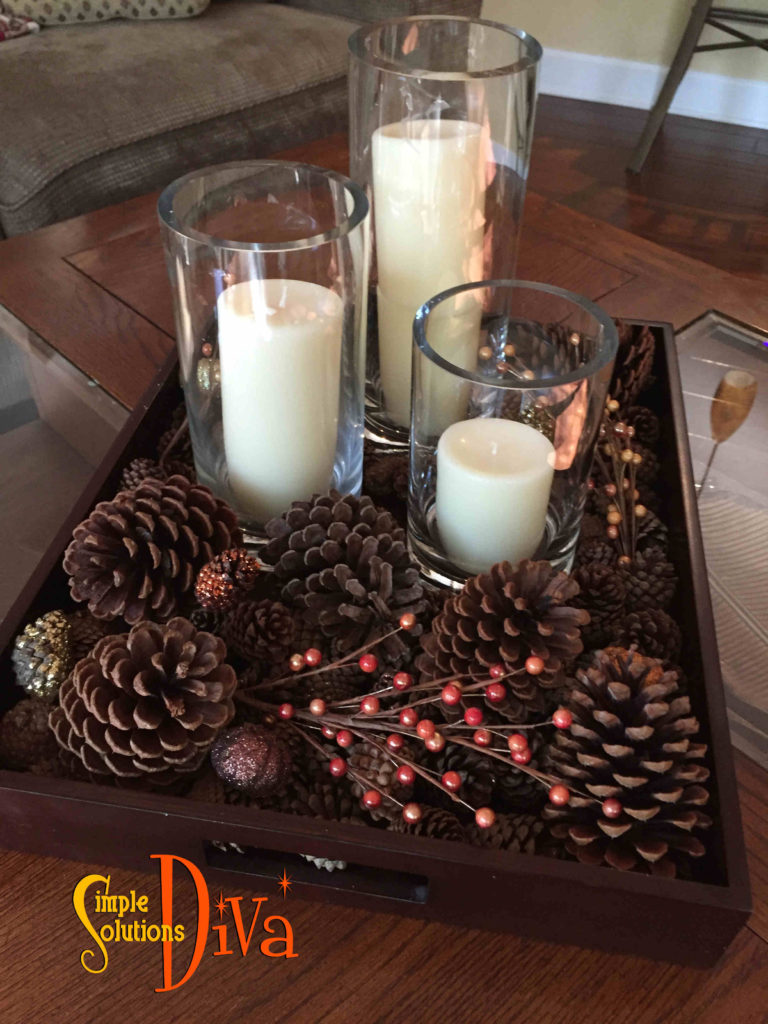
Shop Your Home! Using pine cones and items around your home, you can create a Fall Tablescape that can take you from early Fall, Halloween on through to Thanksgiving! The tray is one that has been sitting in my bedroom. I had the three glass jars. I got the pine cones from outside, and then I just added items appropriate for the season – orange berry sprays for Fall, glitter pumpkins for Halloween, and I can add small gourds & mini pumpkins for Thanksgiving! The only thing I bought were the candles!
fall-decor2

Dollar Store Deals – If you want to decorate for the fall, you’ve got to check out dollar stores NOW! They have all their products out for fall and Halloween! (And even a little Christmas now, too!) I found cute little mini pumpkins, felt placemats in the shape of fall leaves, and forms for wreaths!

Special Giveaway! I will be cooking things up on the Jacksonville Magazine Cooking Stage Sunday, October 2, 11:30 a.m. at the Jacksonville Home + Patio Show. I have 4 pairs of tickets to the Jacksonville Home + Patio Show, September 29-October 2. The first four people to email me at info@simplesolutionsdiva.com will win the tickets.

If you don’t win, don’t be upset because I have a coupon code you can use to get discounted tickets at the Home & Patio Show – Use the code DIVA!

Thank you to WTLV-TV’s First Coast Living for inviting me on to share these simple tips!
 

“Green” Ways To Clear Your Drains

SSD Clog drain


Let’s face it, clogged drains are gross. No one really wants to deal with them, but deal with it we must! Do you want to start with chemicals and toxins? Nope! The Diva has some “green” tips on how to clear that clog and prevent them!

Note: I have two daughters with very long hair, and you can imagine how often their bathtub (and bathroom sink) get clogged. I have tried chemicals to unclog them, but I really wanted to find more “green” ways of unclogging and KEEPING the drain clear.

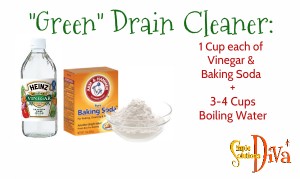
Step 1: “Green” Drain Cleaner (A Natural Clog Clearing Solution) – Remove all water as best as possible. Boil 3- 4 cups water. Pour down the drain 1 cup each of baking soda and white vinegar. Let that sit in the drain for 10 minutes, then follow it up with the hot water. Try it a couple of times if it doesn’t work.

SSD Drain Cleaner


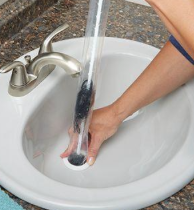
Step 2: Remove the Clog –You’ve heard people say they are going to “snake” the drain? This is an easy way to do it and costs a LOT less than the plumber (less than that grande, fancy coffee drink you might order!). Try using a product called Pypthon Drain Tool (picked it up at Home Depot).Kind of gross but cool!  You feed this plastic tool down the drain, and twist it around a bit, making sure you have the built-in cover/protector set over the drain. Then you slowly pull the tool out — yes, it is covered with gunk! But the cover/protector (see photo below) keeps the gunk from touching your hands!  FYI – You shouldn’t do this after you have used a chemical drain cleaner. Here is a link to the product if you are interested: Python Drain Tool

Screen Shot 2016-04-02 at 1.47.36 PM
Photo Courtesy of HomeDepot.com.


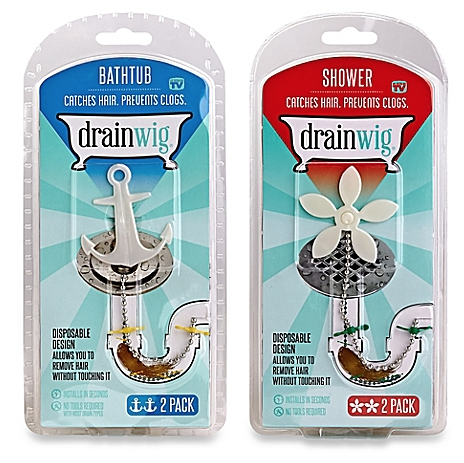
Step 3: Prevent The Clog – Try the Drain Wig (perfect for the tub!). After you’ve cleared the clog in the drain, place this in the tub and it will catch hair and debris that might clog your drain. Pull it out, throw away and replace every 2-4 months. You can find it at Bed Bath & Beyond – here is the link: Drain Wig

Photo Courtesy of BedBathandBeyond.com


Thank you to WTLV-TV’s First Coast Living for inviting me on to share these tips! 

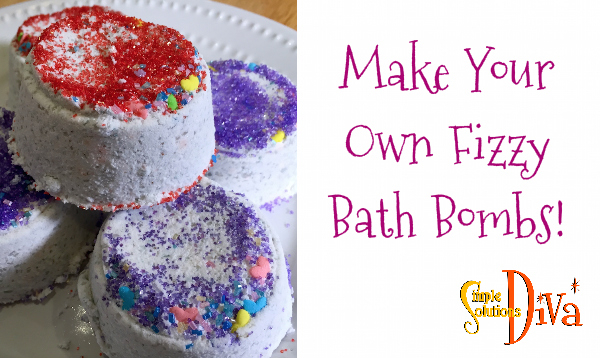
Make Your Own Fizzy Bath Bombs

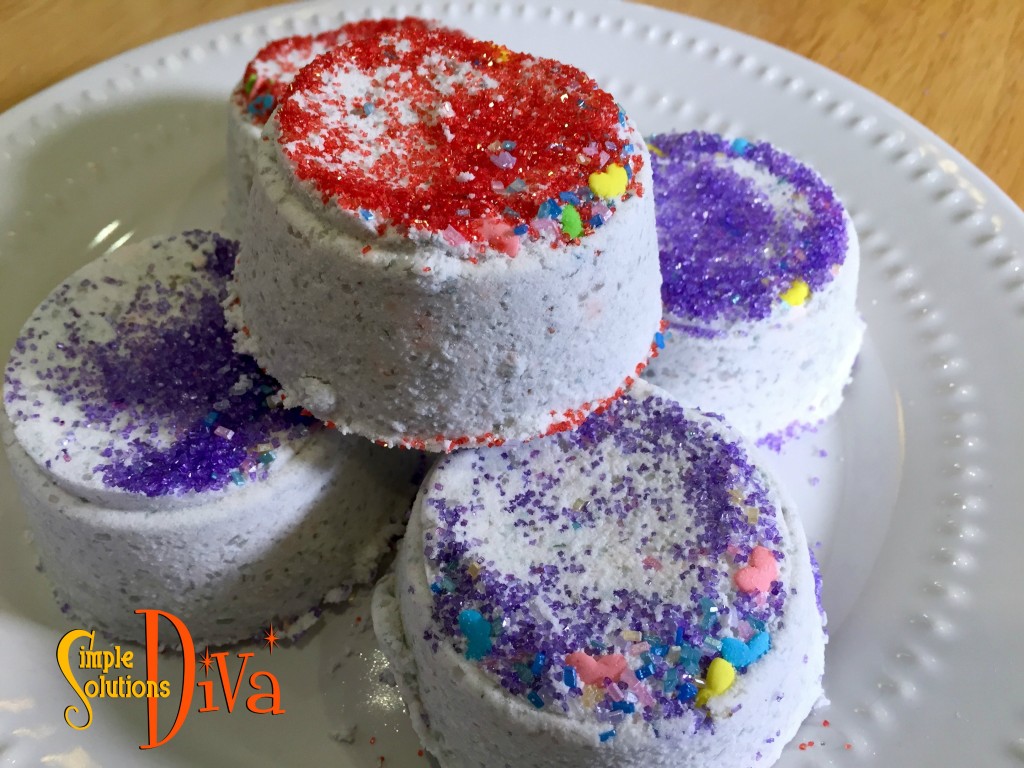
A hot, warm bath and a fizzy bath bomb, along with a wonderful glass of wine, make a perfect evening in! Here is a recipe to make those fizzy bath bombs, using whatever essential oils you like! These make the perfect little hostess gift, or a gift to friends or family, or even just for yourself!

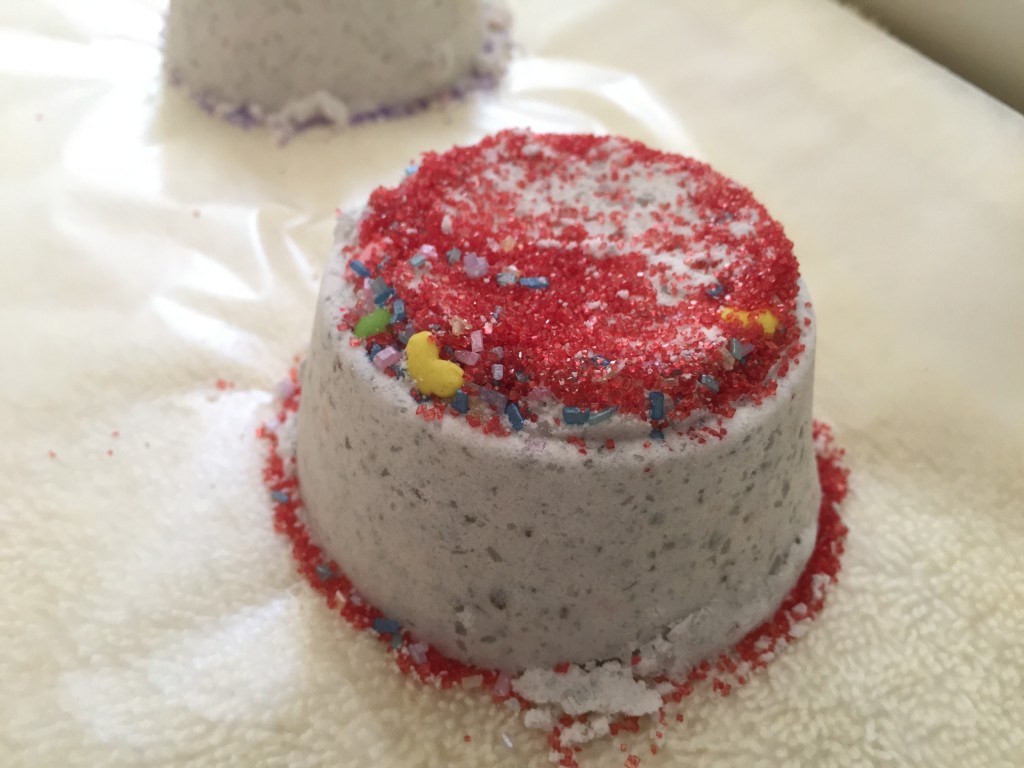
IMG_9460
A Homemade Bath Bomb drying on wax paper, on top of a towel, overnight!


Now, will someone please pour me a glass of wine? I’m going to go use one these right now!

SSD Bath Bombs w logo


SSD Fizzy BB


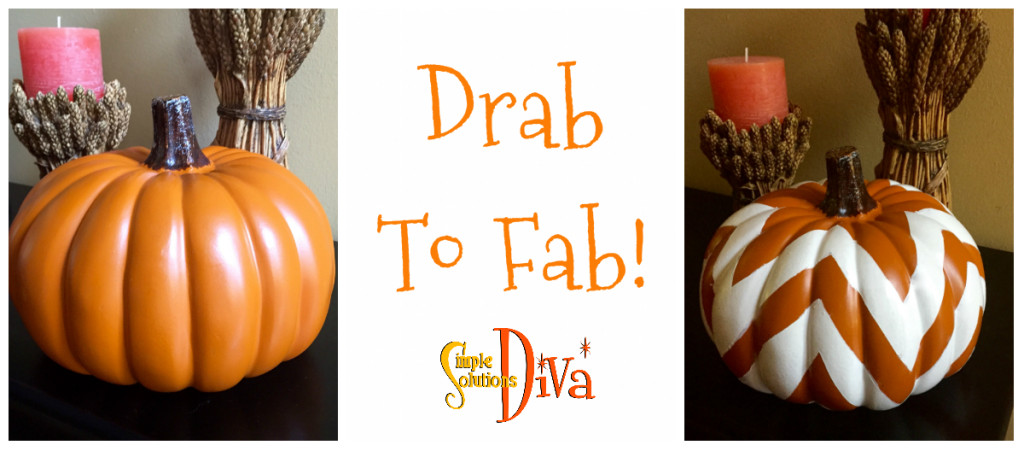
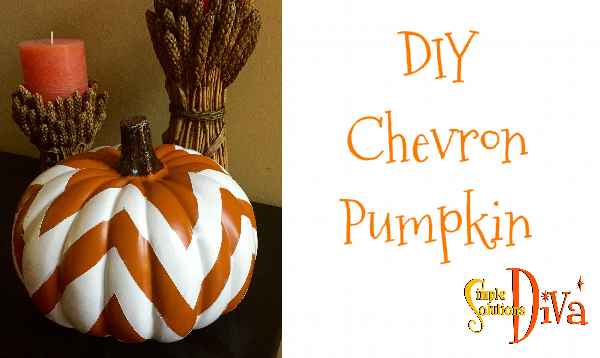
DIY Chevron Pumpkin

Everyone loves the chevron pattern! Here is a simple craft perfect for Halloween through Thanksgiving! It takes your regular pumpkin from Drab to Fab!

Pumpkin Collage

Supplies Needed:

  • Artificial Pumpkin
  • White Spray Paint  or White Latex Paint (also need a brush if you are not using spray paint)
  • Frog Tape Multipurpose tape (green color is the multipurpose tape)
  • Old Newspapers to protect your work surface

Here are some tips to make taping off your pumpkin easier:

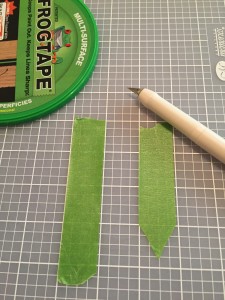
I like to use an exact knife to cut the points in the pattern, because i like clean lines. In the photo below, I’m FINALLY using my Creative Memories cutting pad! Once I’ve cut the points I apply them to the pumpkin, building up the design from the points.

IMG_8323

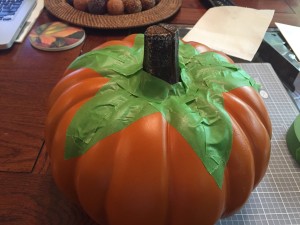
I start by taping off the top of the pumpkin, then repeating the pattern down the rest of the pumpkin (as seen below):

IMG_8324


Chevron Pumpkin

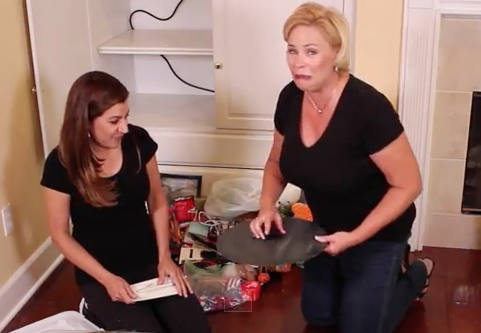
A Simple Challenge: Clear The Clutter, Part 2


So when I decided to do this video series with Chris Stone of NeatlyDesigned.com, I thought to myself,

This will be great! I will get organized and someone will actually HELP me do it! Easy Peasy!  . . .  Well, I was in for a shocker!

What I didn’t expect was to feel a combination of anxiety, embarrassment and attachment to silly things like fuzzy balls and googly eyes (watch the video and you will understand)!

Laura is not too happy!

When you have clutter, there is a reason you are keeping it around, whether you know why or not. When you start to get rid of it, you start to see patterns. This video is meant to really illustrate the sometimes difficult process of letting go of the clutter! These are my true and honest reactions; I’m not acting. And the funny thing is, Chris knew it was going to happen! She’s a pro, she’s seen this before with all of her clients, and knows how to help people get through it to a nice, clean, organized space!

So sit back and enjoy! And realize, if I can do it, so can you!

SSD Clutter Cover Slide Part 2

Make a Three-Tiered Herb Garden In Just 20 Minutes

Yes, in 20 minutes you really CAN make a three tiered herb garden. It is simple and, if you use clay pots, pretty cost effective!

Supplies Needed:

  • Five Clay Pots of various sizes – I used a 15″, 12″, 8.5″ (two of them), and a 6.5″ pot.
  • Garen Soil – I used Miracle Grow Potting Soil with moisture control.
  • Plant Food – I used Osmocote for Flowers and Vegetables.
  • Stones for Drainage

Directions:

Check out the easy to follow the directions in the video!

SSD Herb Garden

How Easy Is It To Make Your Own Artwork?

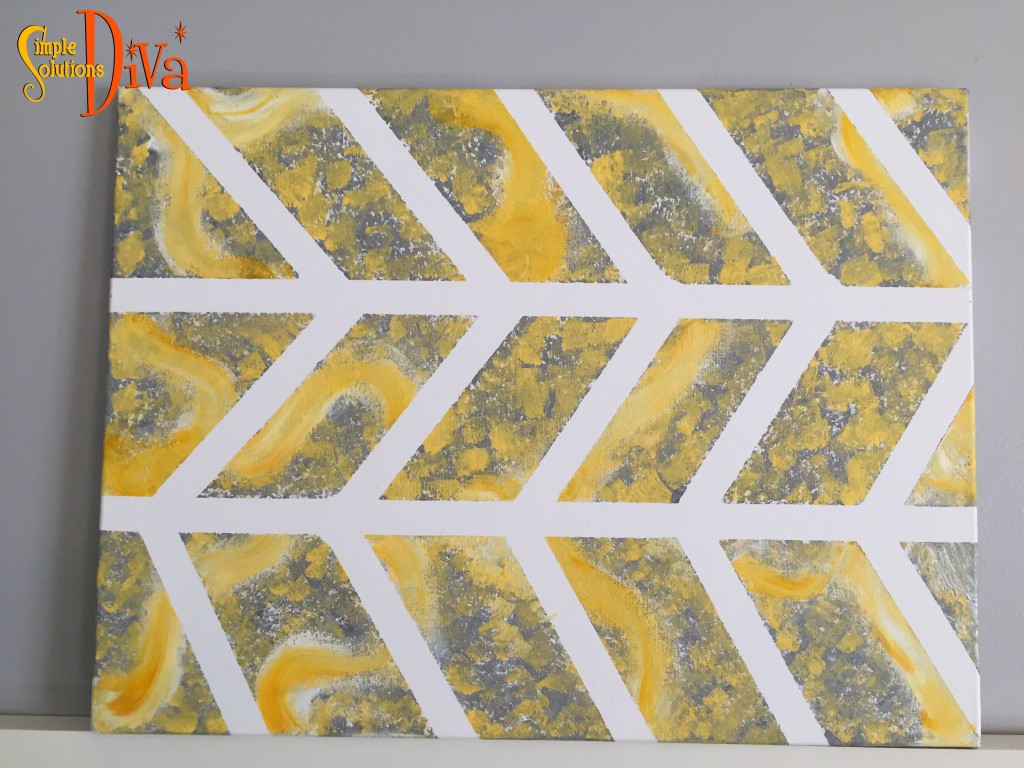
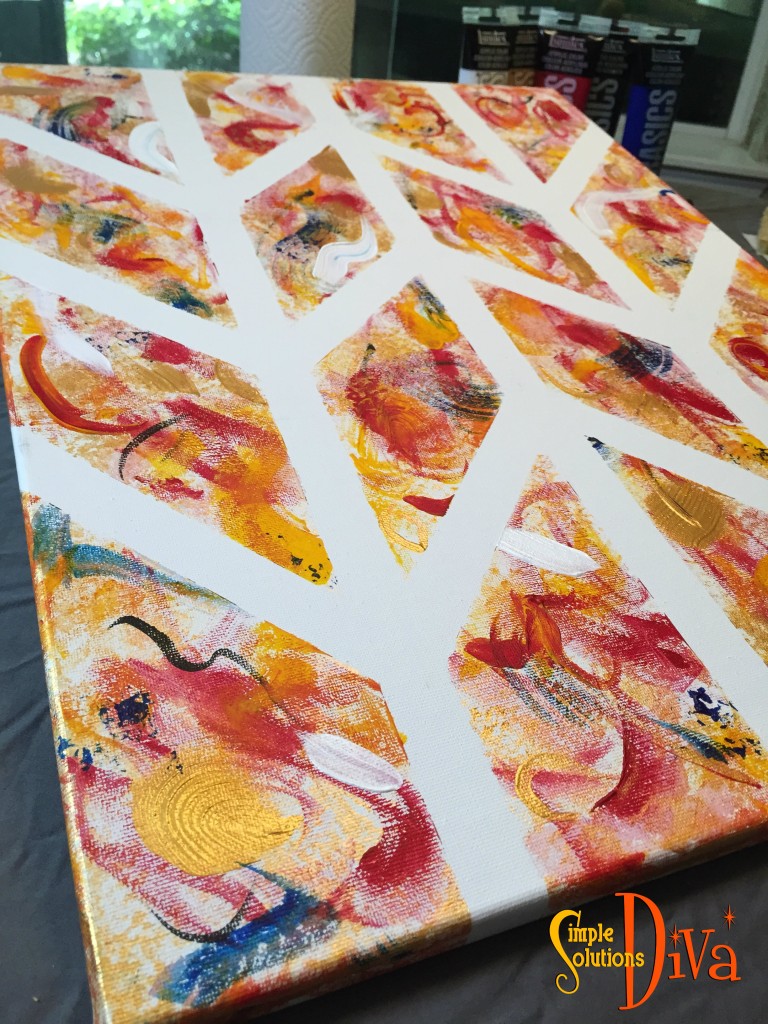
Today’s video is part of the “Putting Pinterest To The Test” Video Series! The Diva tests a pin that says it is easy to make your own, beautiful wall art – as easy as having some acrylic paints, a canvas and some masking tape. How easy is it? Do you need an art degree, or at least a little creativity?

Additionally, the Diva was a little wary that the masking tape might not create a good seal on the canvas, so she tested masking tape versus Frogtape Multi-surface painting tape.


SSD DIY Art


To make your own wall art, you need will the following:

Check the video for directions and helpful tips!

What do you think of our artwork?

Artwork created by the Diva's daughter!
Artwork created by the Diva’s daughter!
Artwork created by the Diva!


1 2

© 2015 SIMPLESOLUTIONSDIVA.COM Designed by The Web Design Chic | ADMIN LOGIN